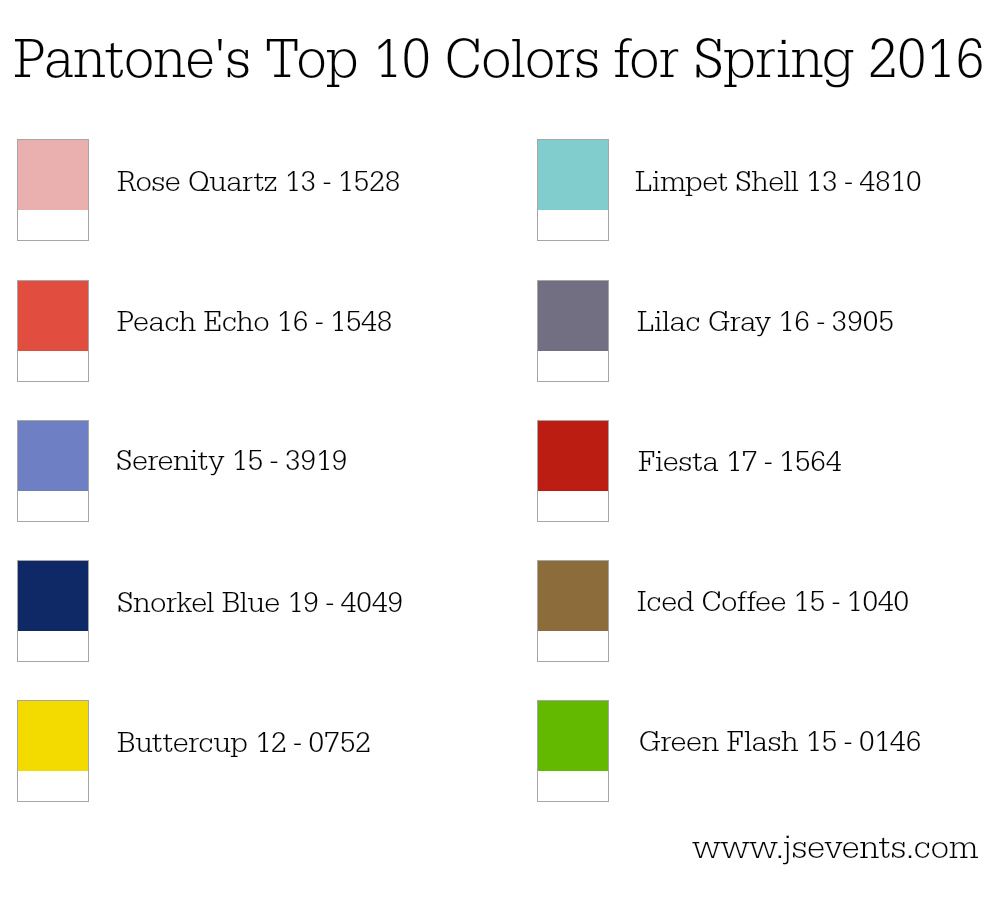
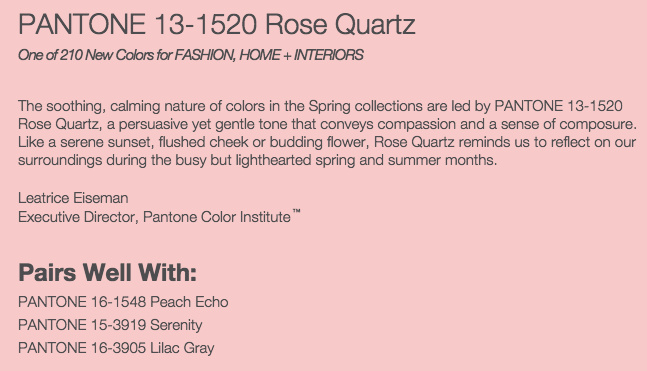
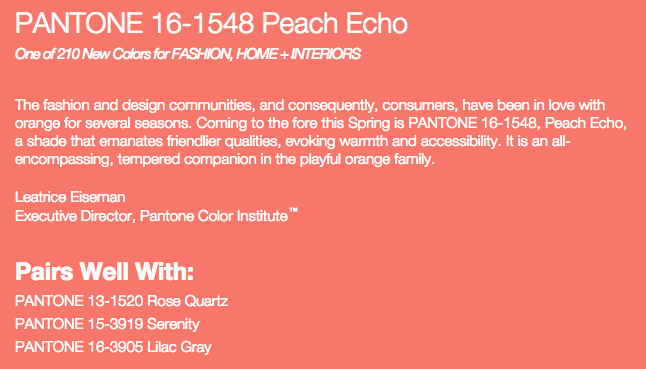
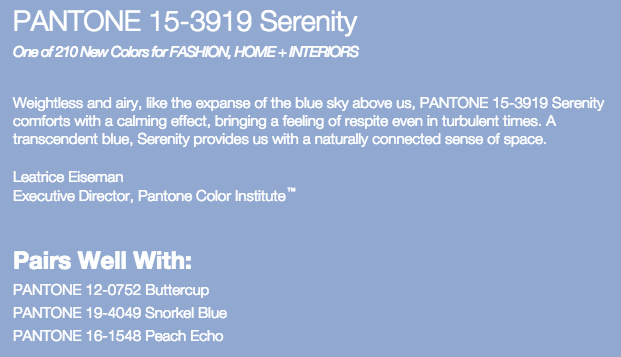
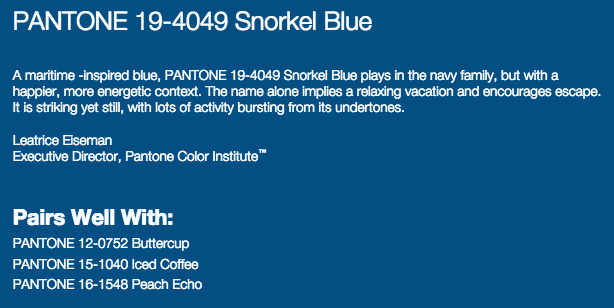
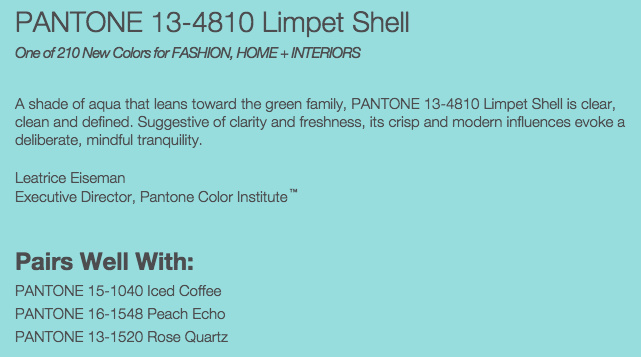
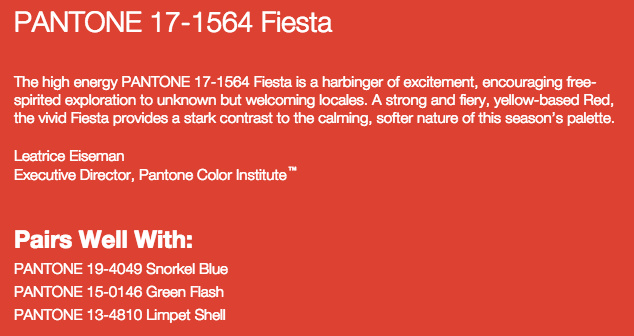
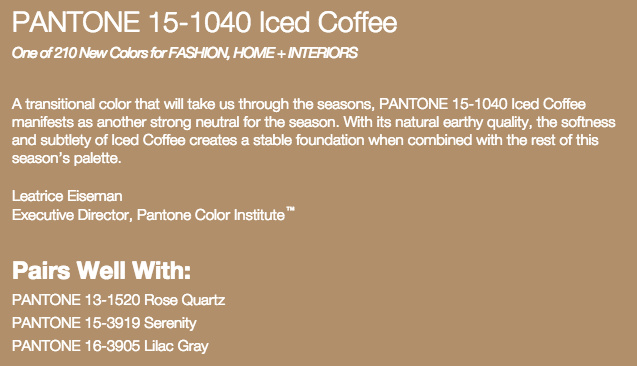
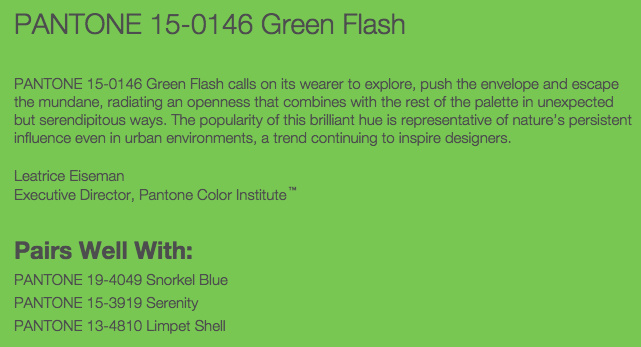
Pantone’s top 10 colors for Spring 2016 have been revealed and the palette is a wonderful mix between calm and energetic, cool and warm, soft and vibrant.
“Influenced by the world of art, new global doors opening and the desire to disconnect from technology and unwind, designers this season have gravitated toward a palette that is first and foremost calming. Paying homage to the beauty of natural resources, colors emerging in the Spring collections serve as vehicles that transport wearers to more tranquil, mindful environs which encourage relaxation first, followed by curiosity and exploration.”
Colors this season transport us to a happier, sunnier place where we feel free to express a wittier version of our real selves… and I couldn’t agree more with Leatrice Eiseman.
Take a look at these wonderful colors and make sure to check back soon for a more in-depth look at each color and how you can incorporate them into your own wedding.
Which color is your favorite? I’ll tell you mine: Limpet Shell all the way.
https://jsevents.com/wp-content/uploads/2021/08/logo-pink-1030x925.png00Jessica Swagmanhttps://jsevents.com/wp-content/uploads/2021/08/logo-pink-1030x925.pngJessica Swagman2016-01-06 14:51:132016-02-20 20:58:37Pantone’s Top 10 Colors for Spring 2016
Grand Rapids may not be the biggest city, and it definitely isn’t the most stylish city, but that doesn’t mean we don’t keep up with the latest wedding trends. Below are the top wedding dress trends of 2016.
Flower Appliques: Angel Sanchez, Rivini, Christos
Feathers: Lela Rose, Monique Lhuillier, Kelly Faetanini
Illusion Bodice: Ines Di Santo, Monique Lhuillier, Pronovias
Keyhole + Plunging Necklines: Rivini, J. Mendel, Angel sanchez
Layer Love + Tiers: Alvina Valenta, Antonia Riva, Temperley london
Wishing you a season of gladness, a season of cheer, and to top it all off, a wonderful year.
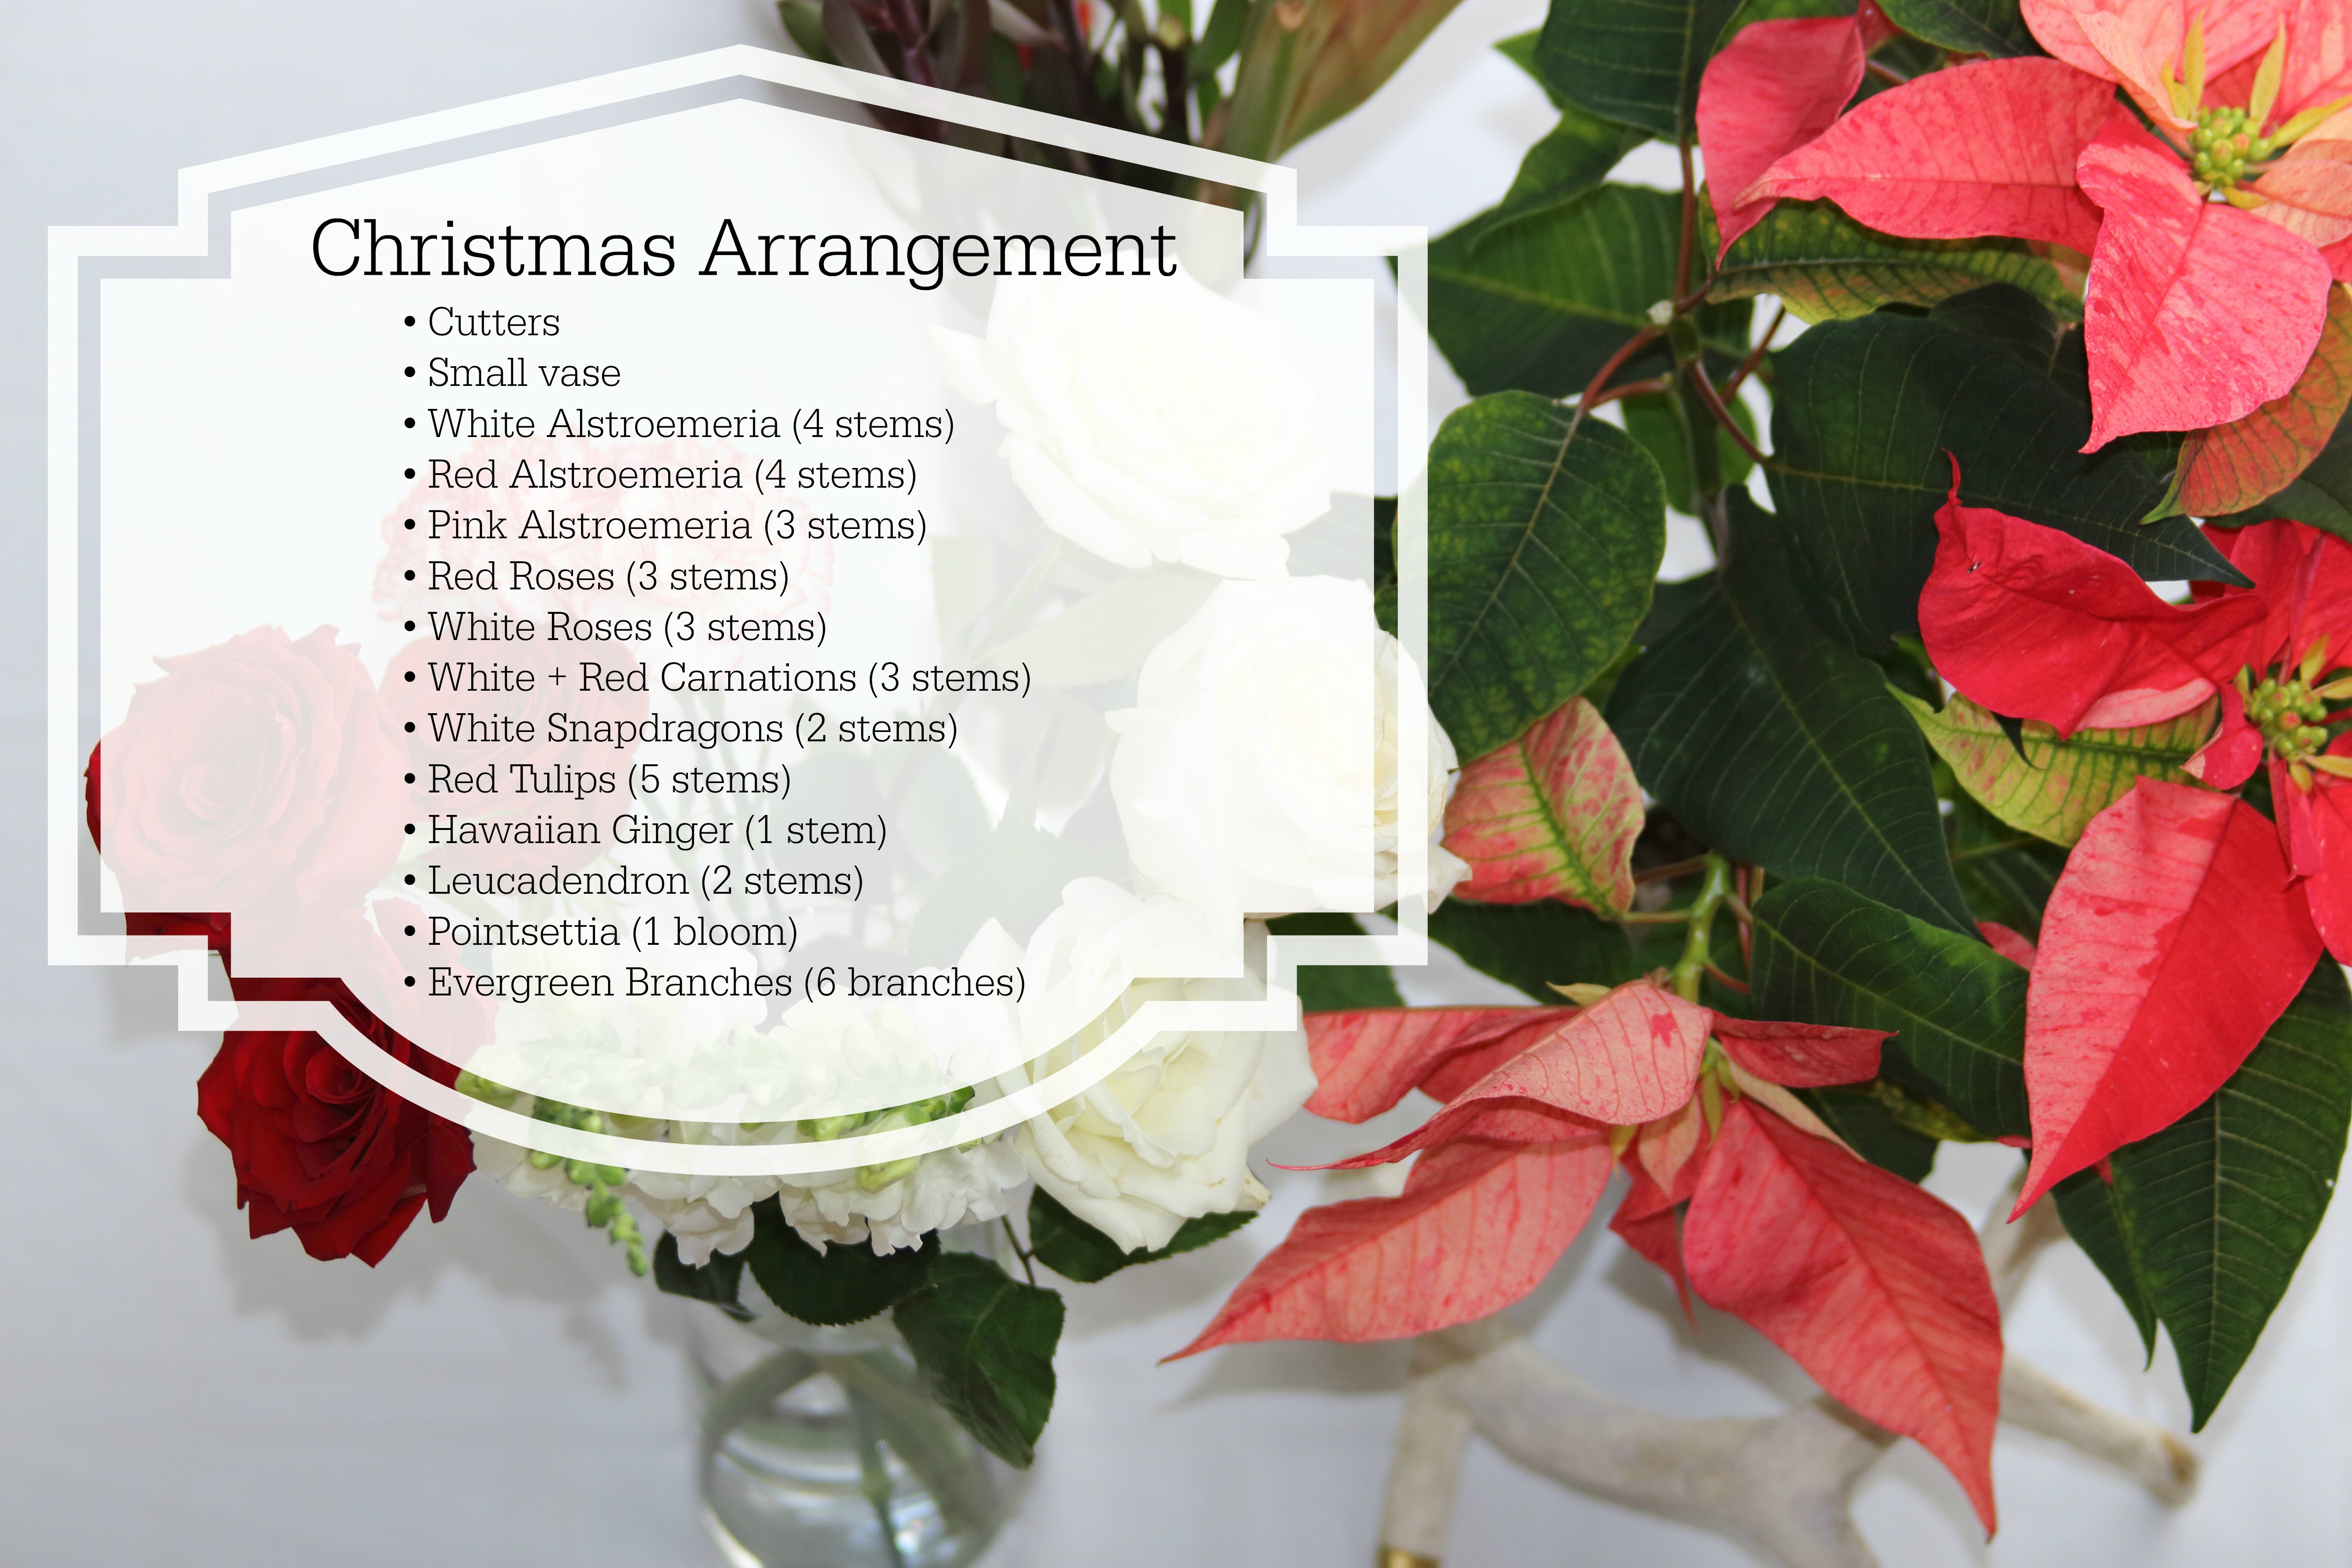
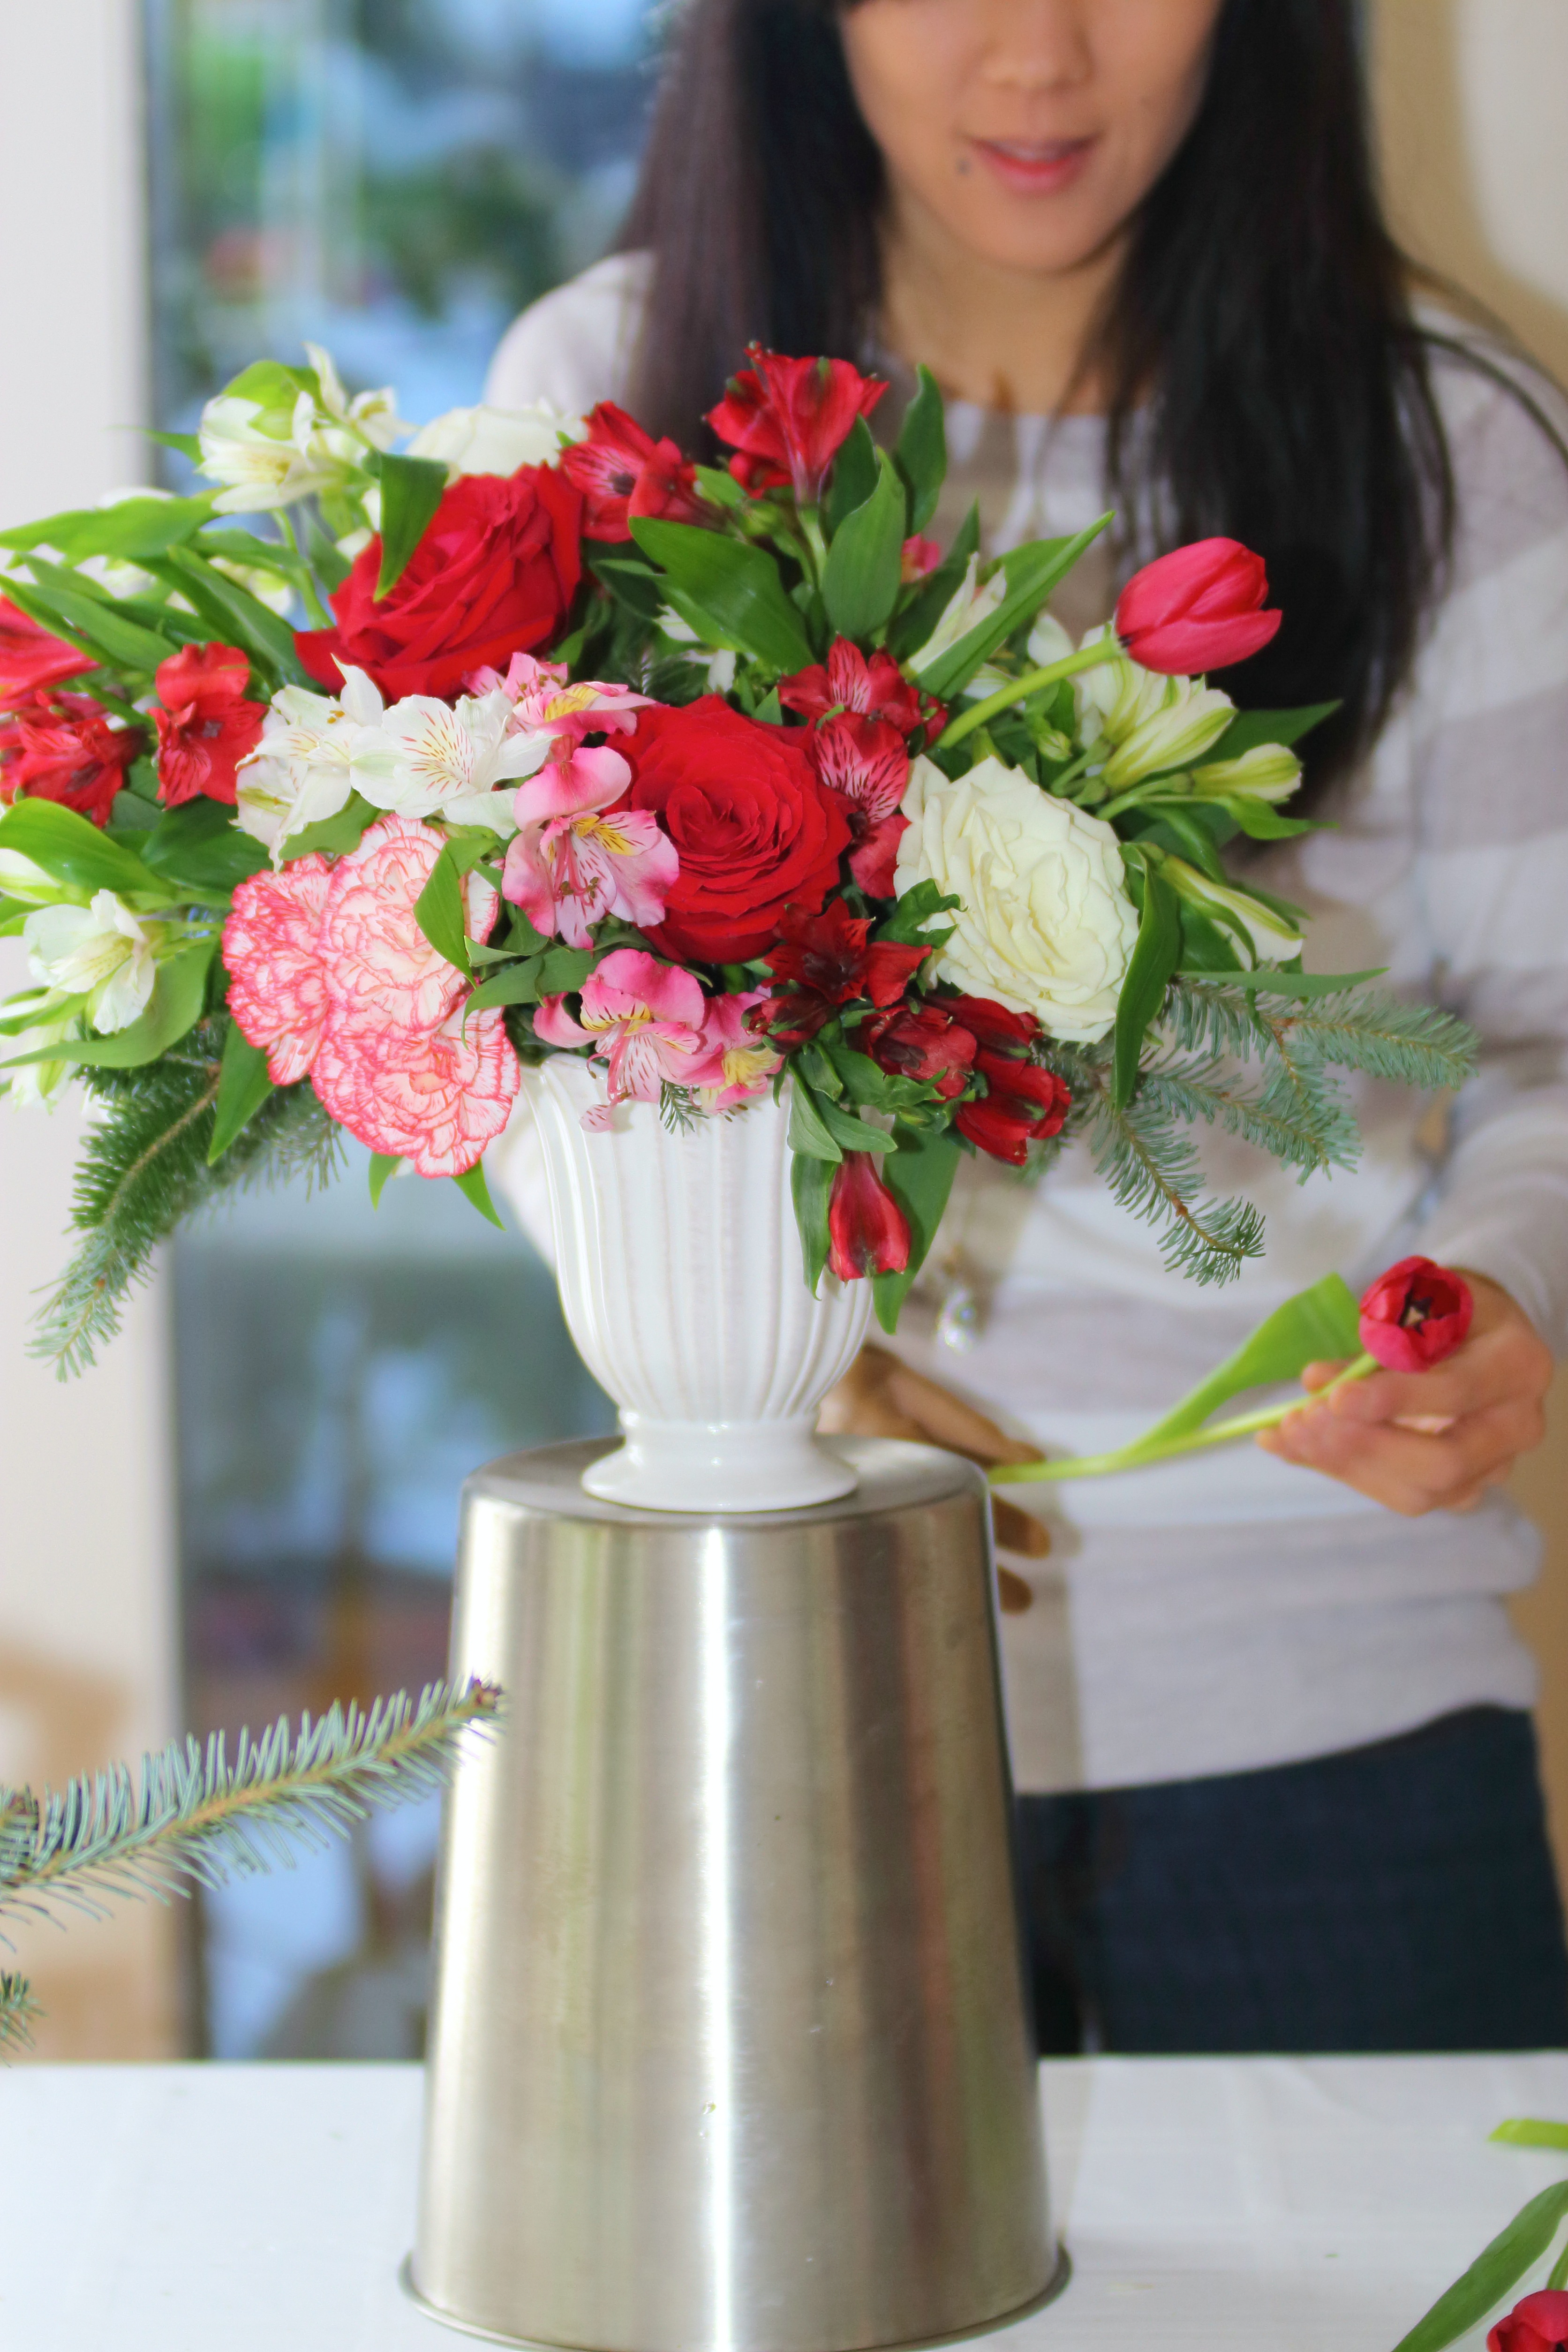
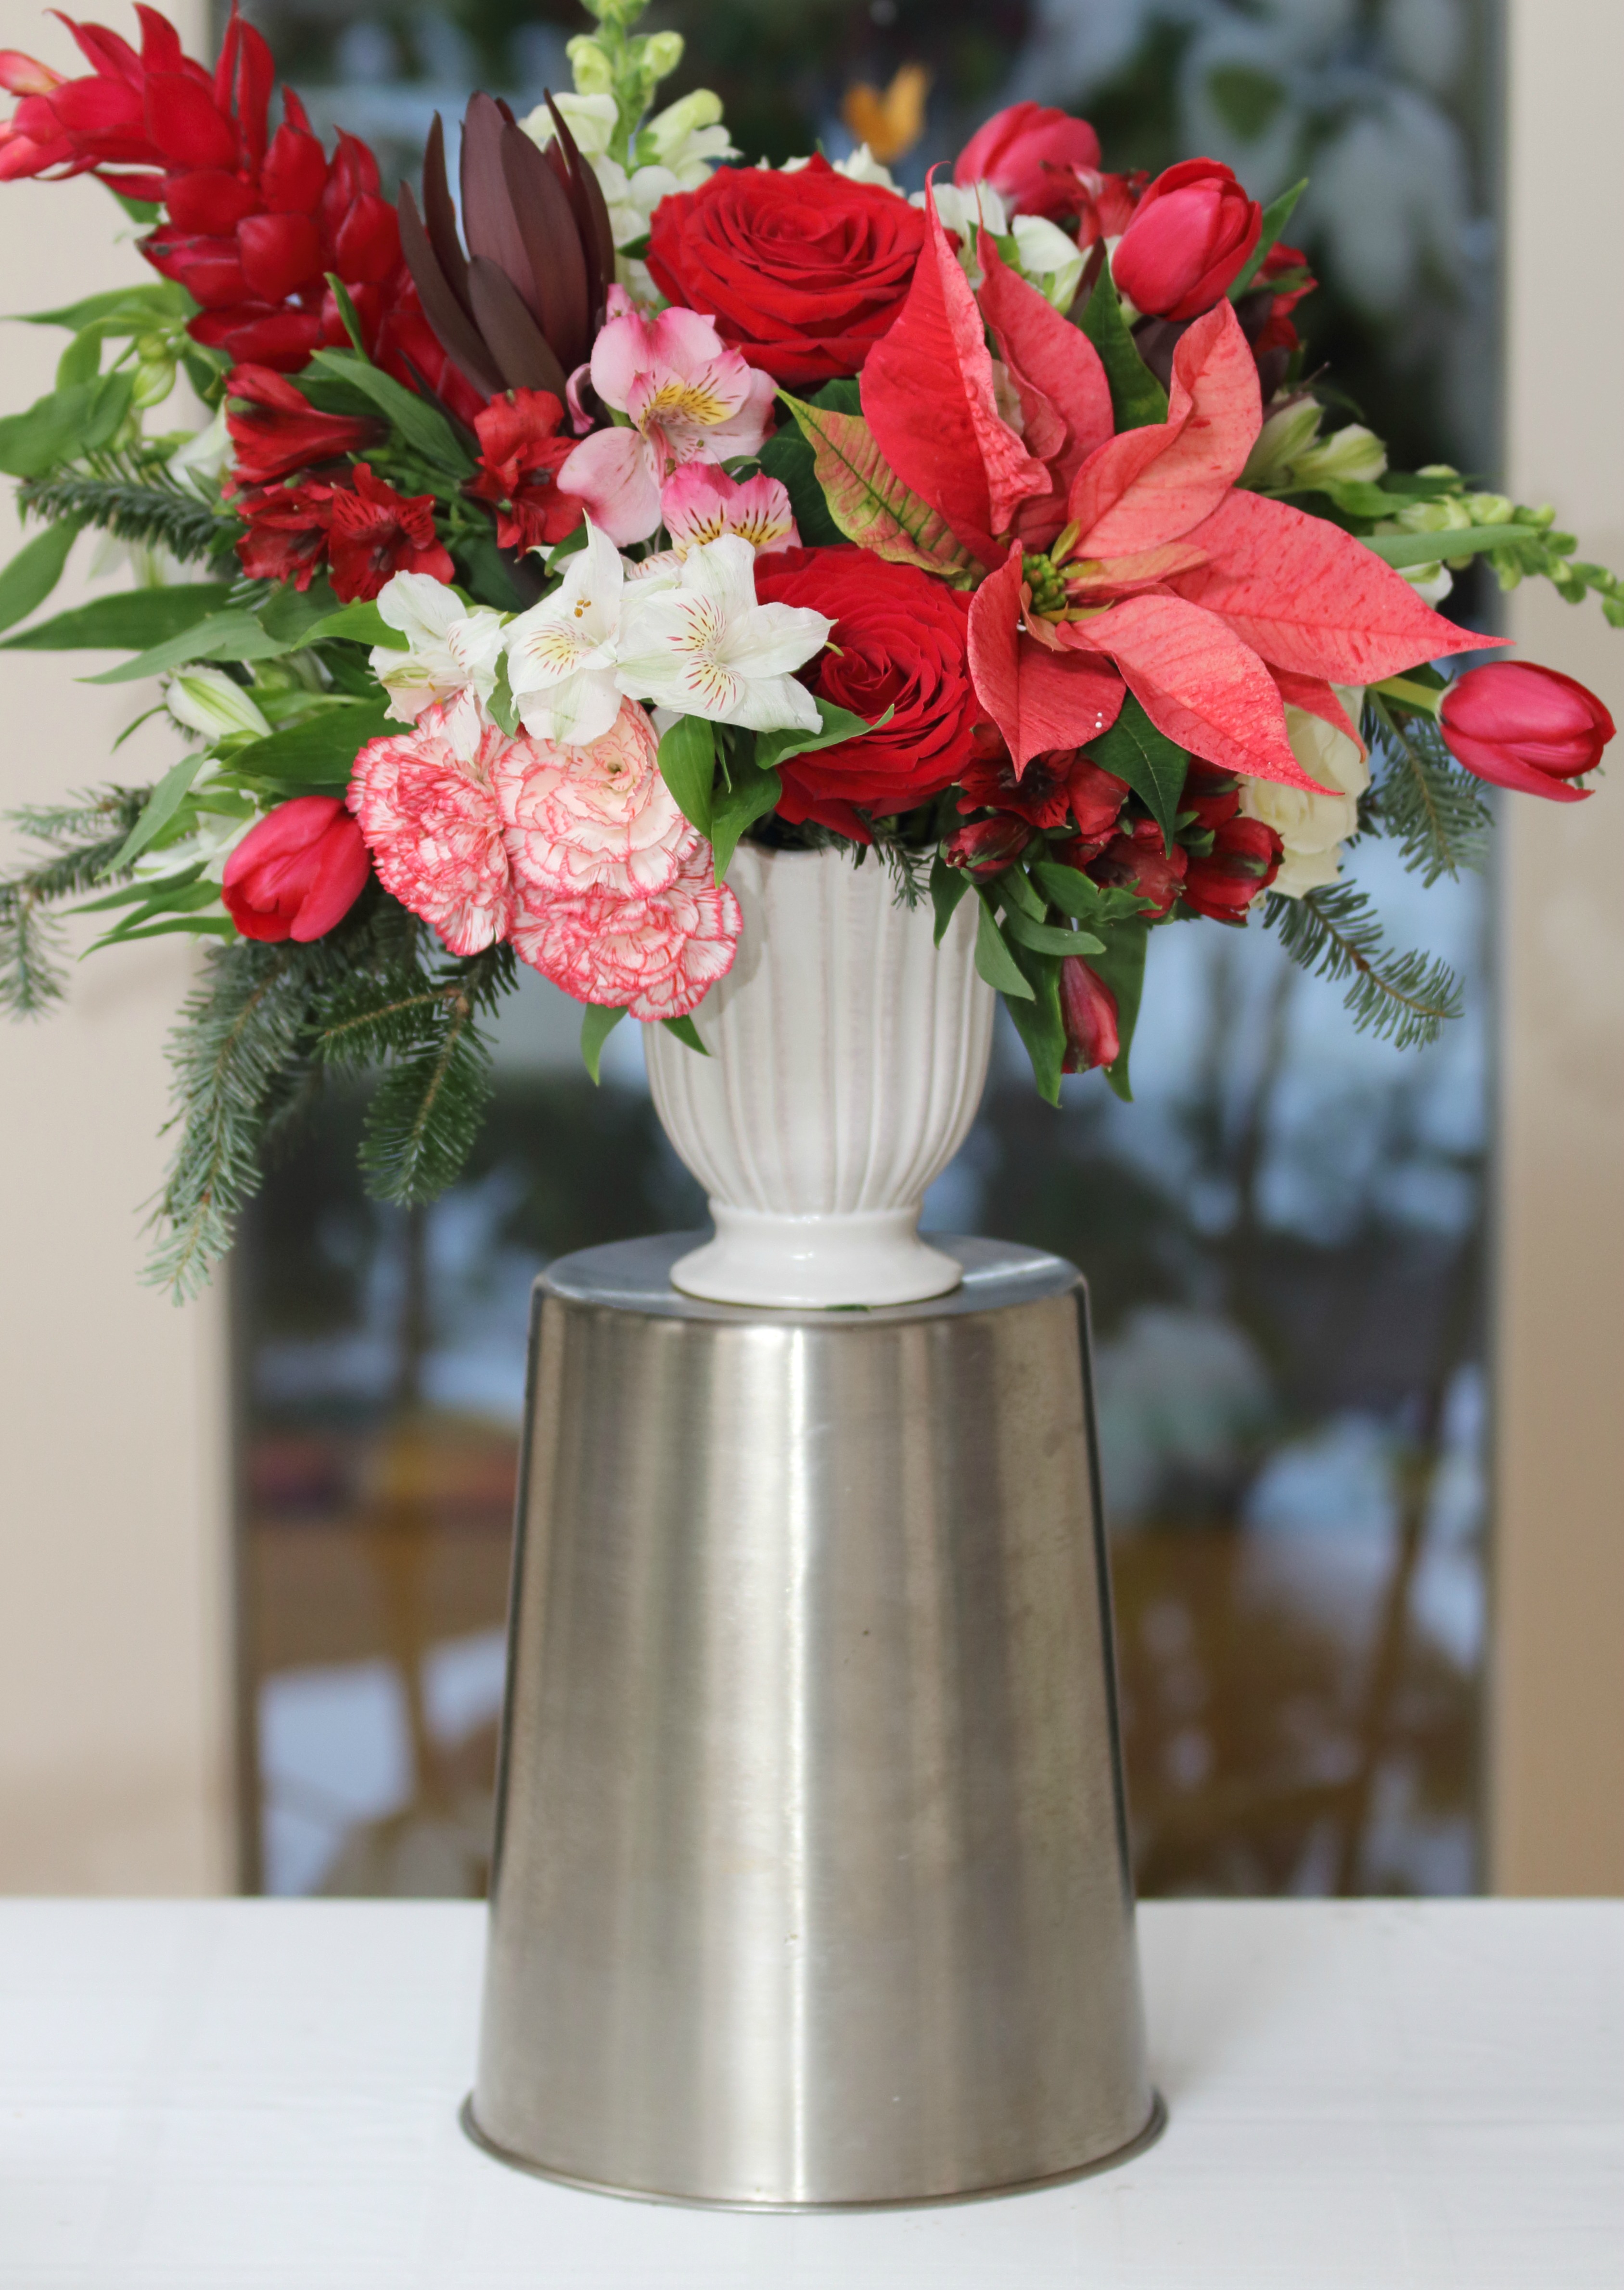
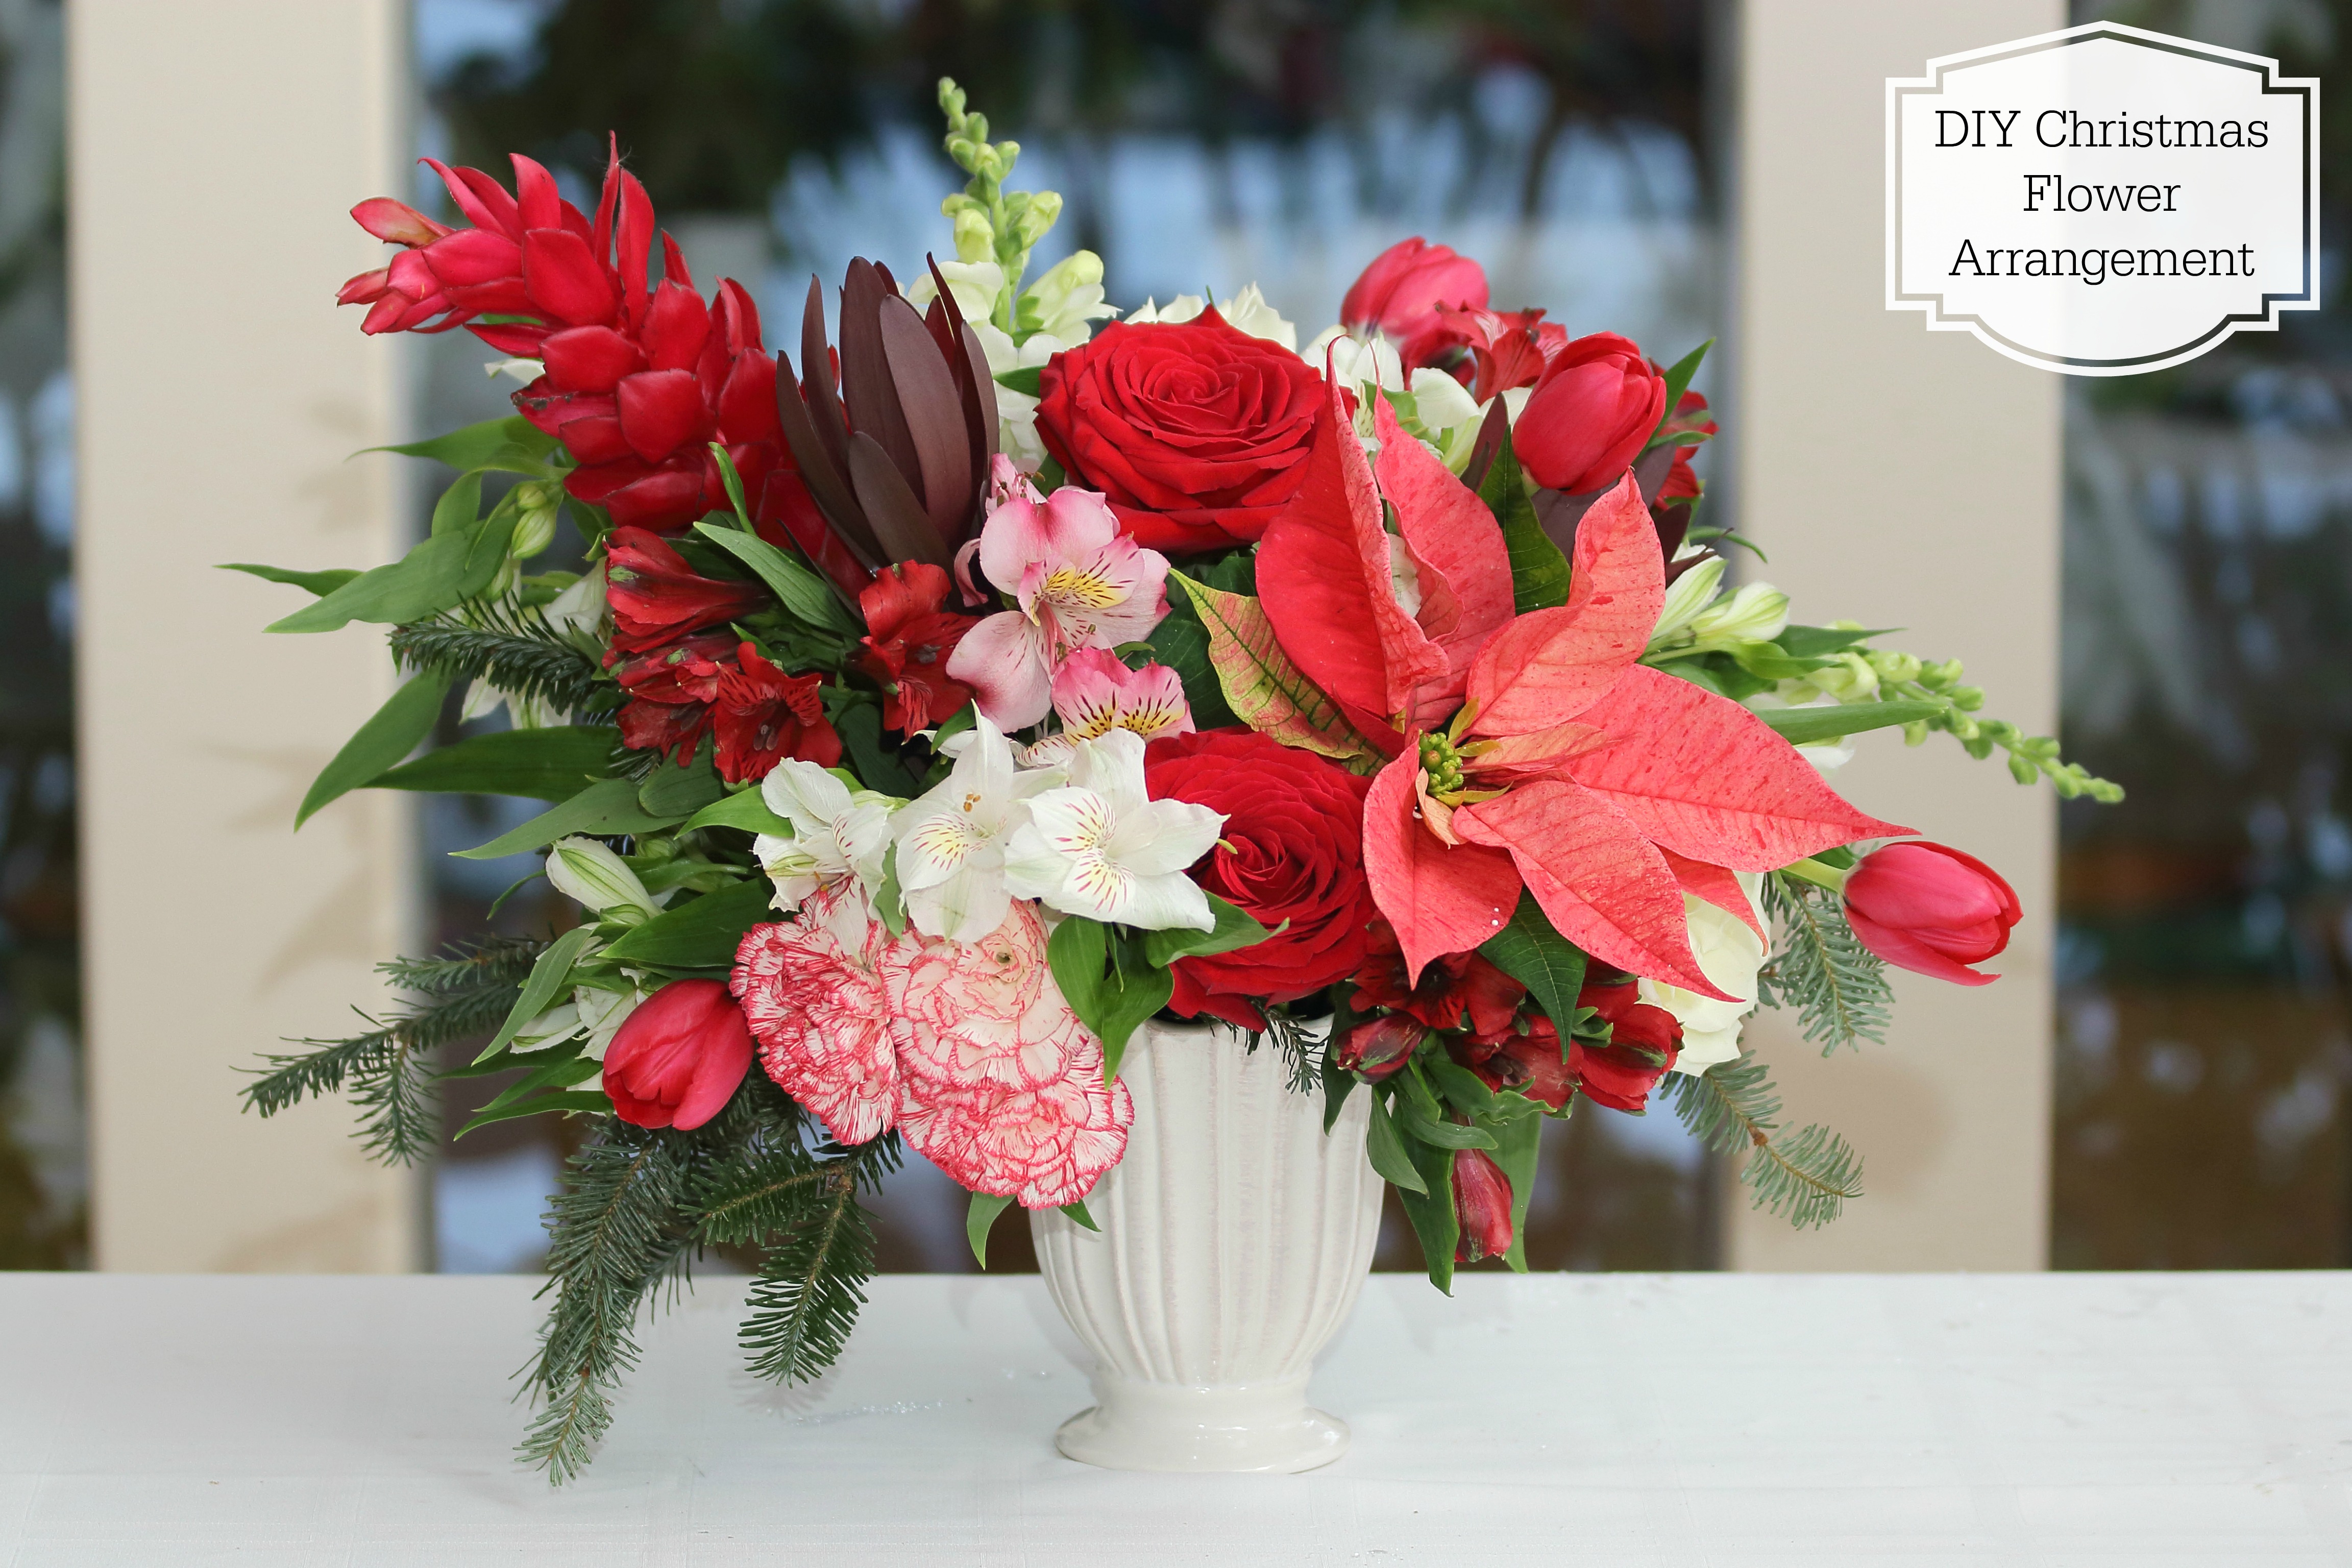
What you’ll need:
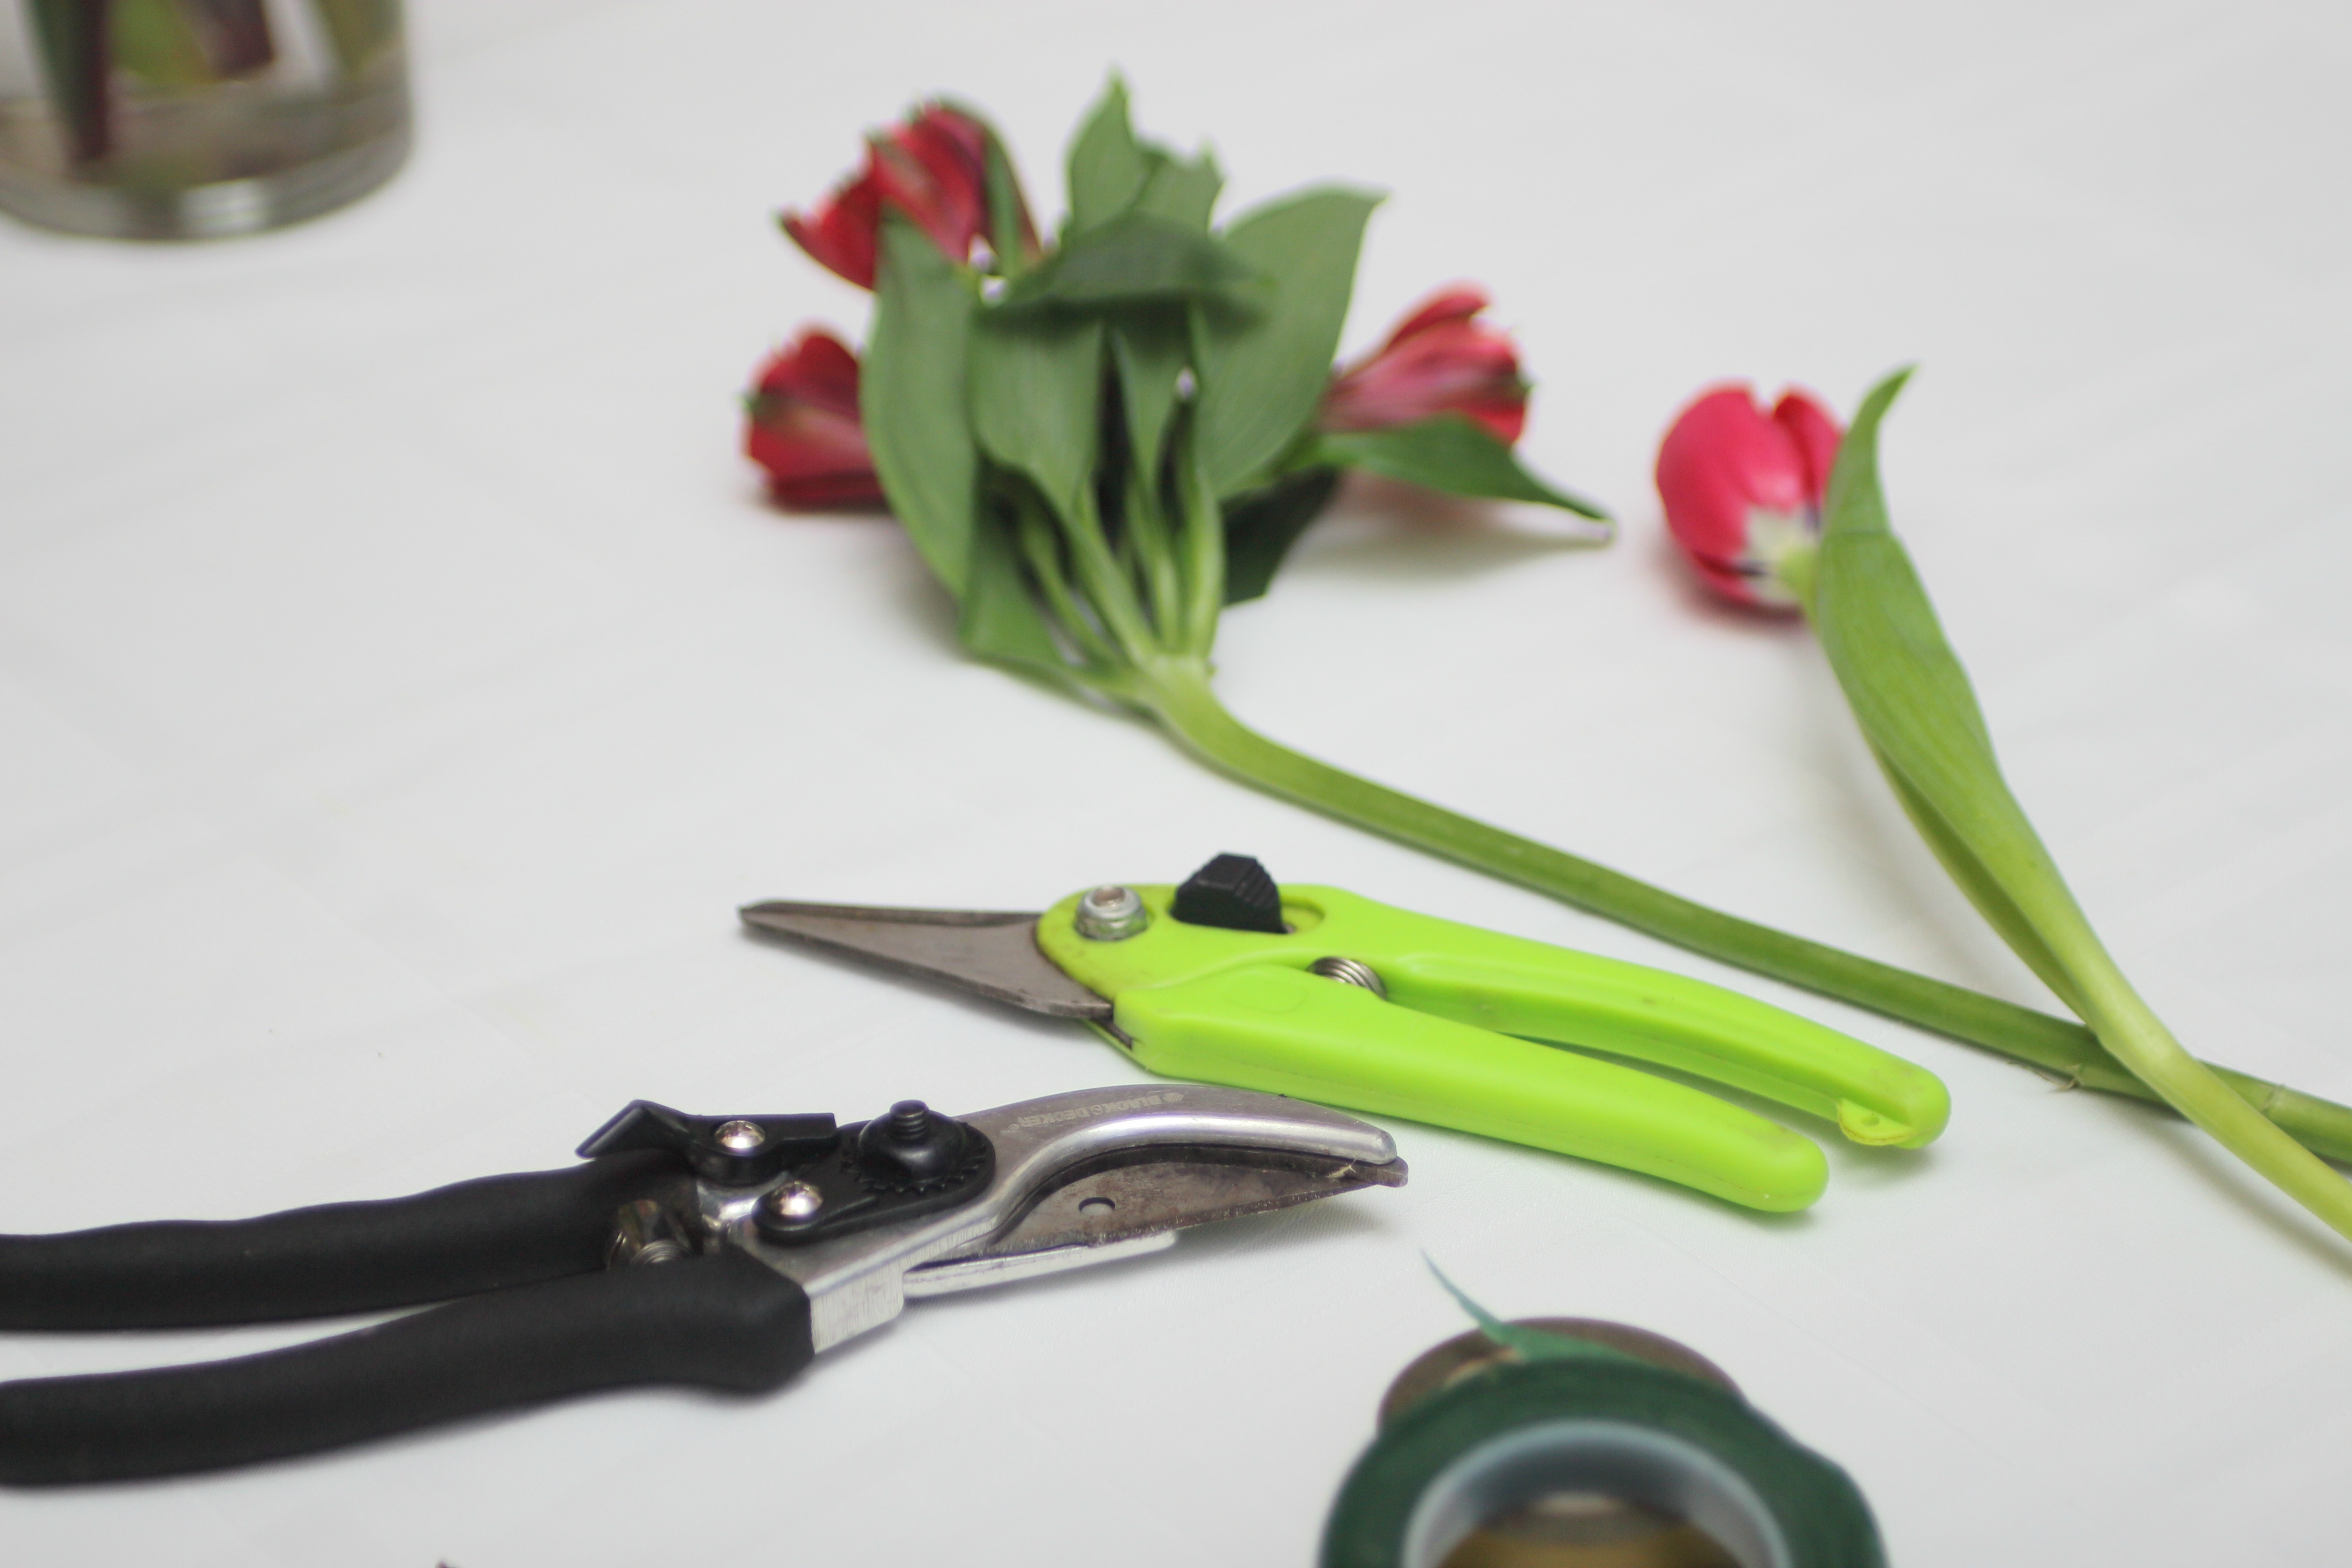
• Cutters
• Small vase
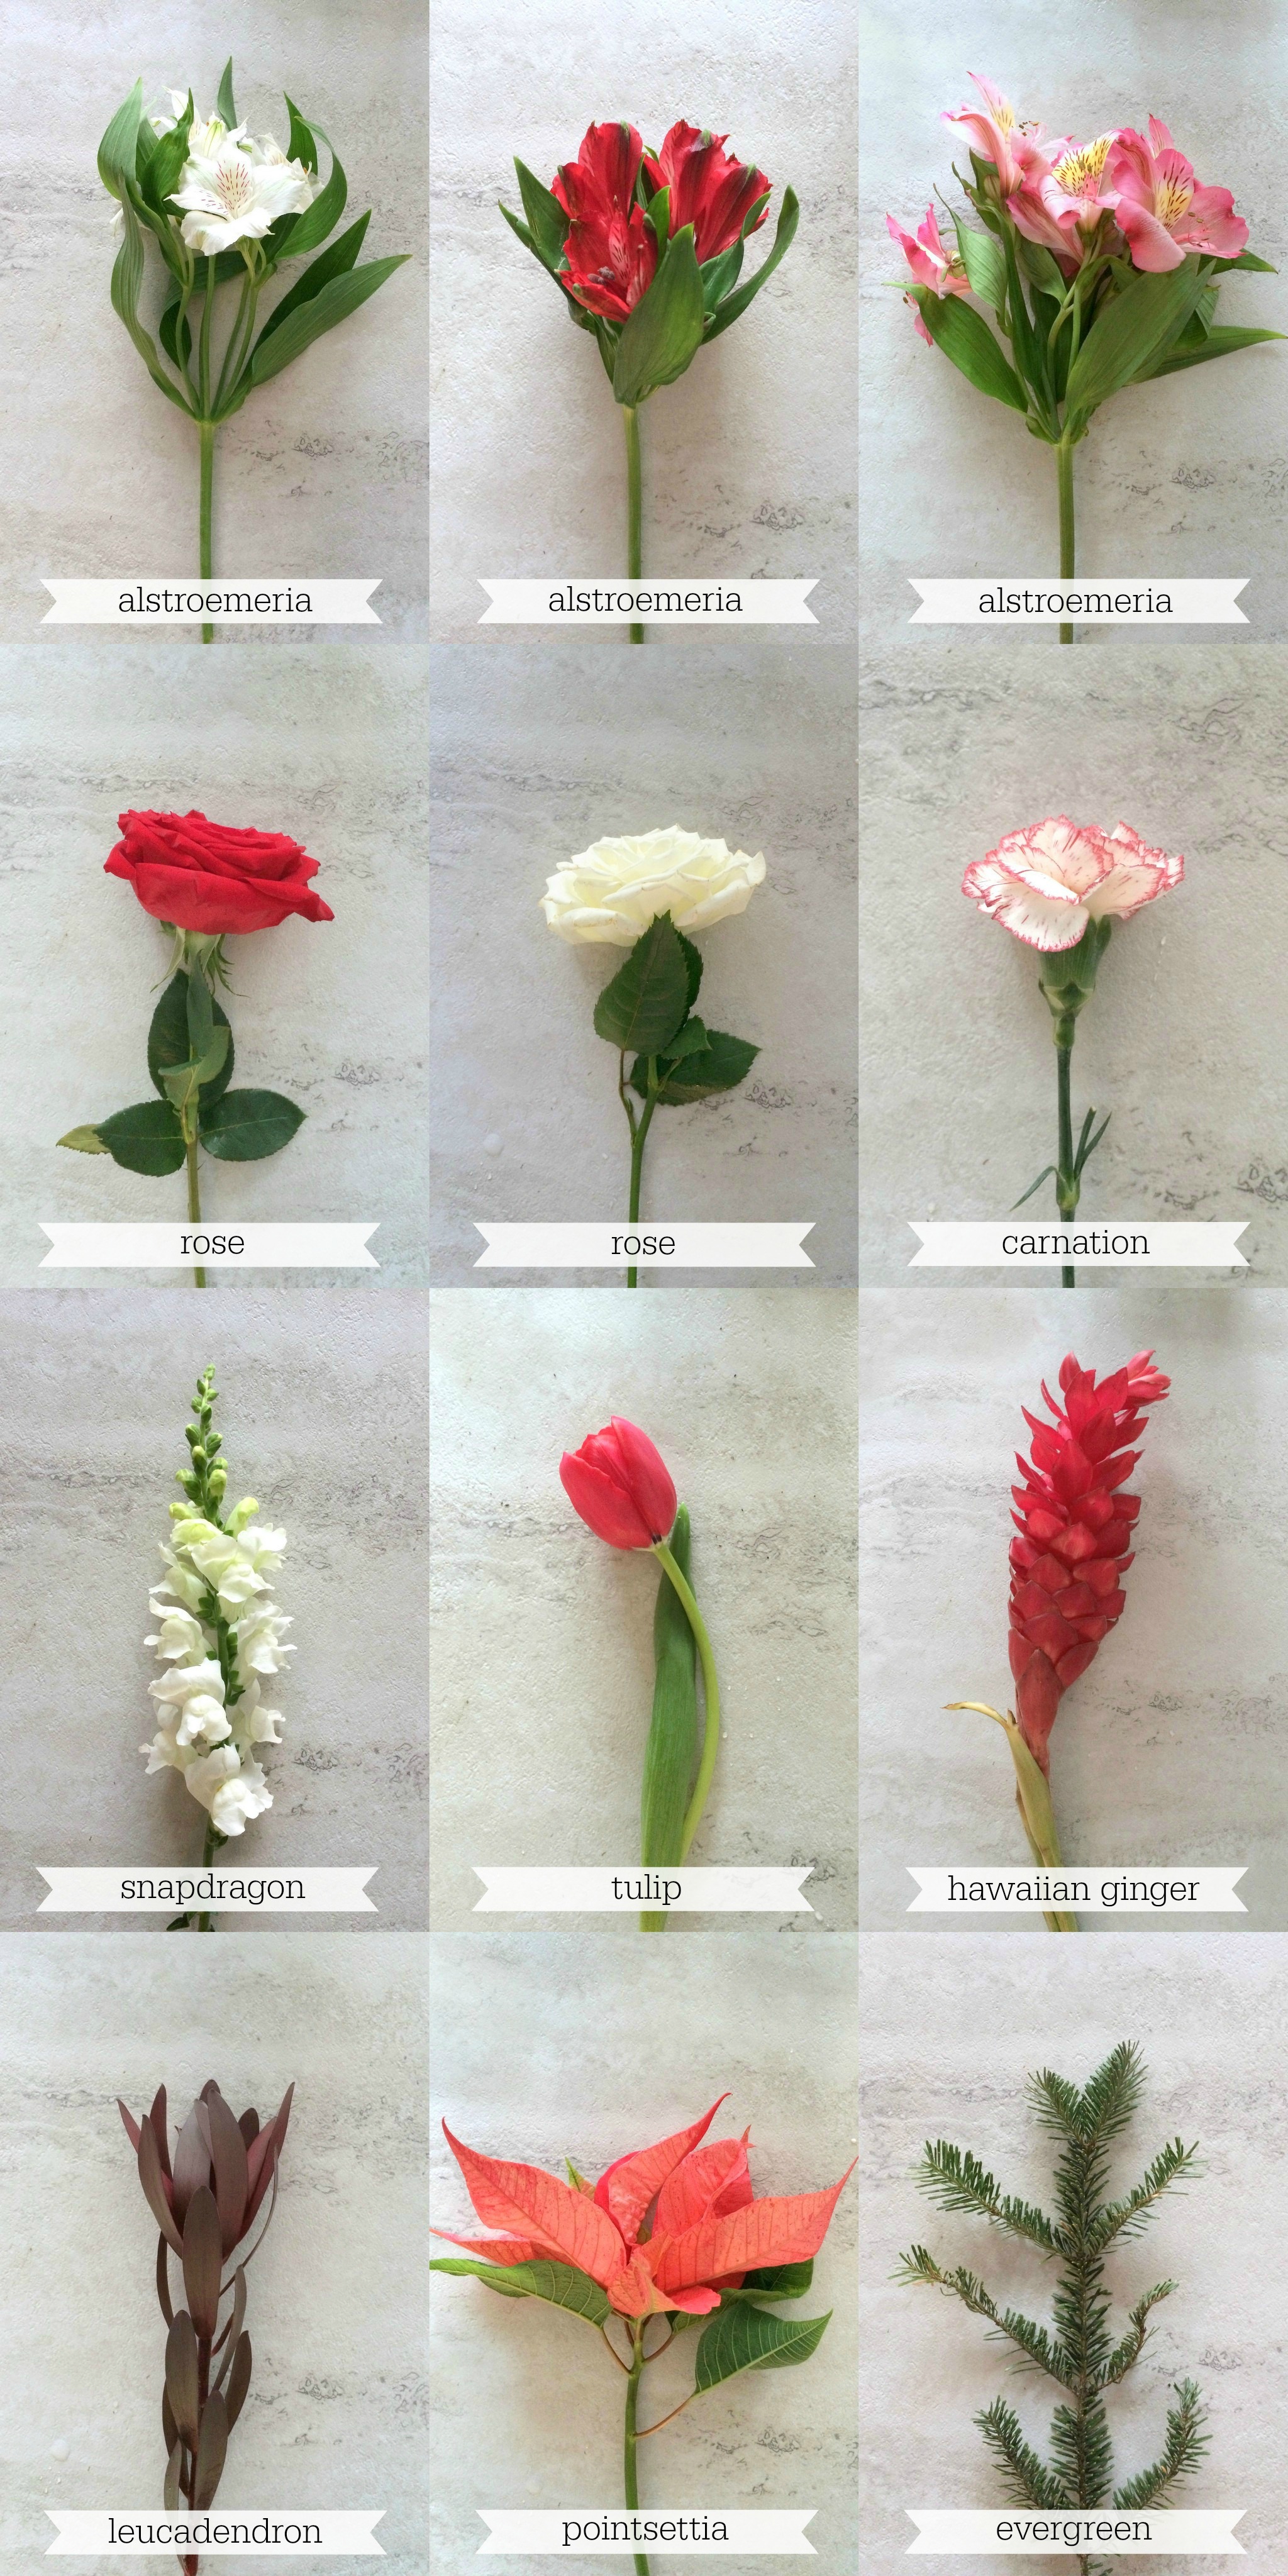
• White Alstroemeria (4 stems)
• Red Alstroemeria (4 stems)
• Pink Alstroemeria (3 stems)
• Red Roses (3 stems)
• White Roses (3 stems)
• White + Red Carnations (3 stems)
• White Snapdragons (2 stems)
• Red Tulips (5 stems)
• Hawaiian Ginger (1 stem)
• Leucadendron (2 stems)
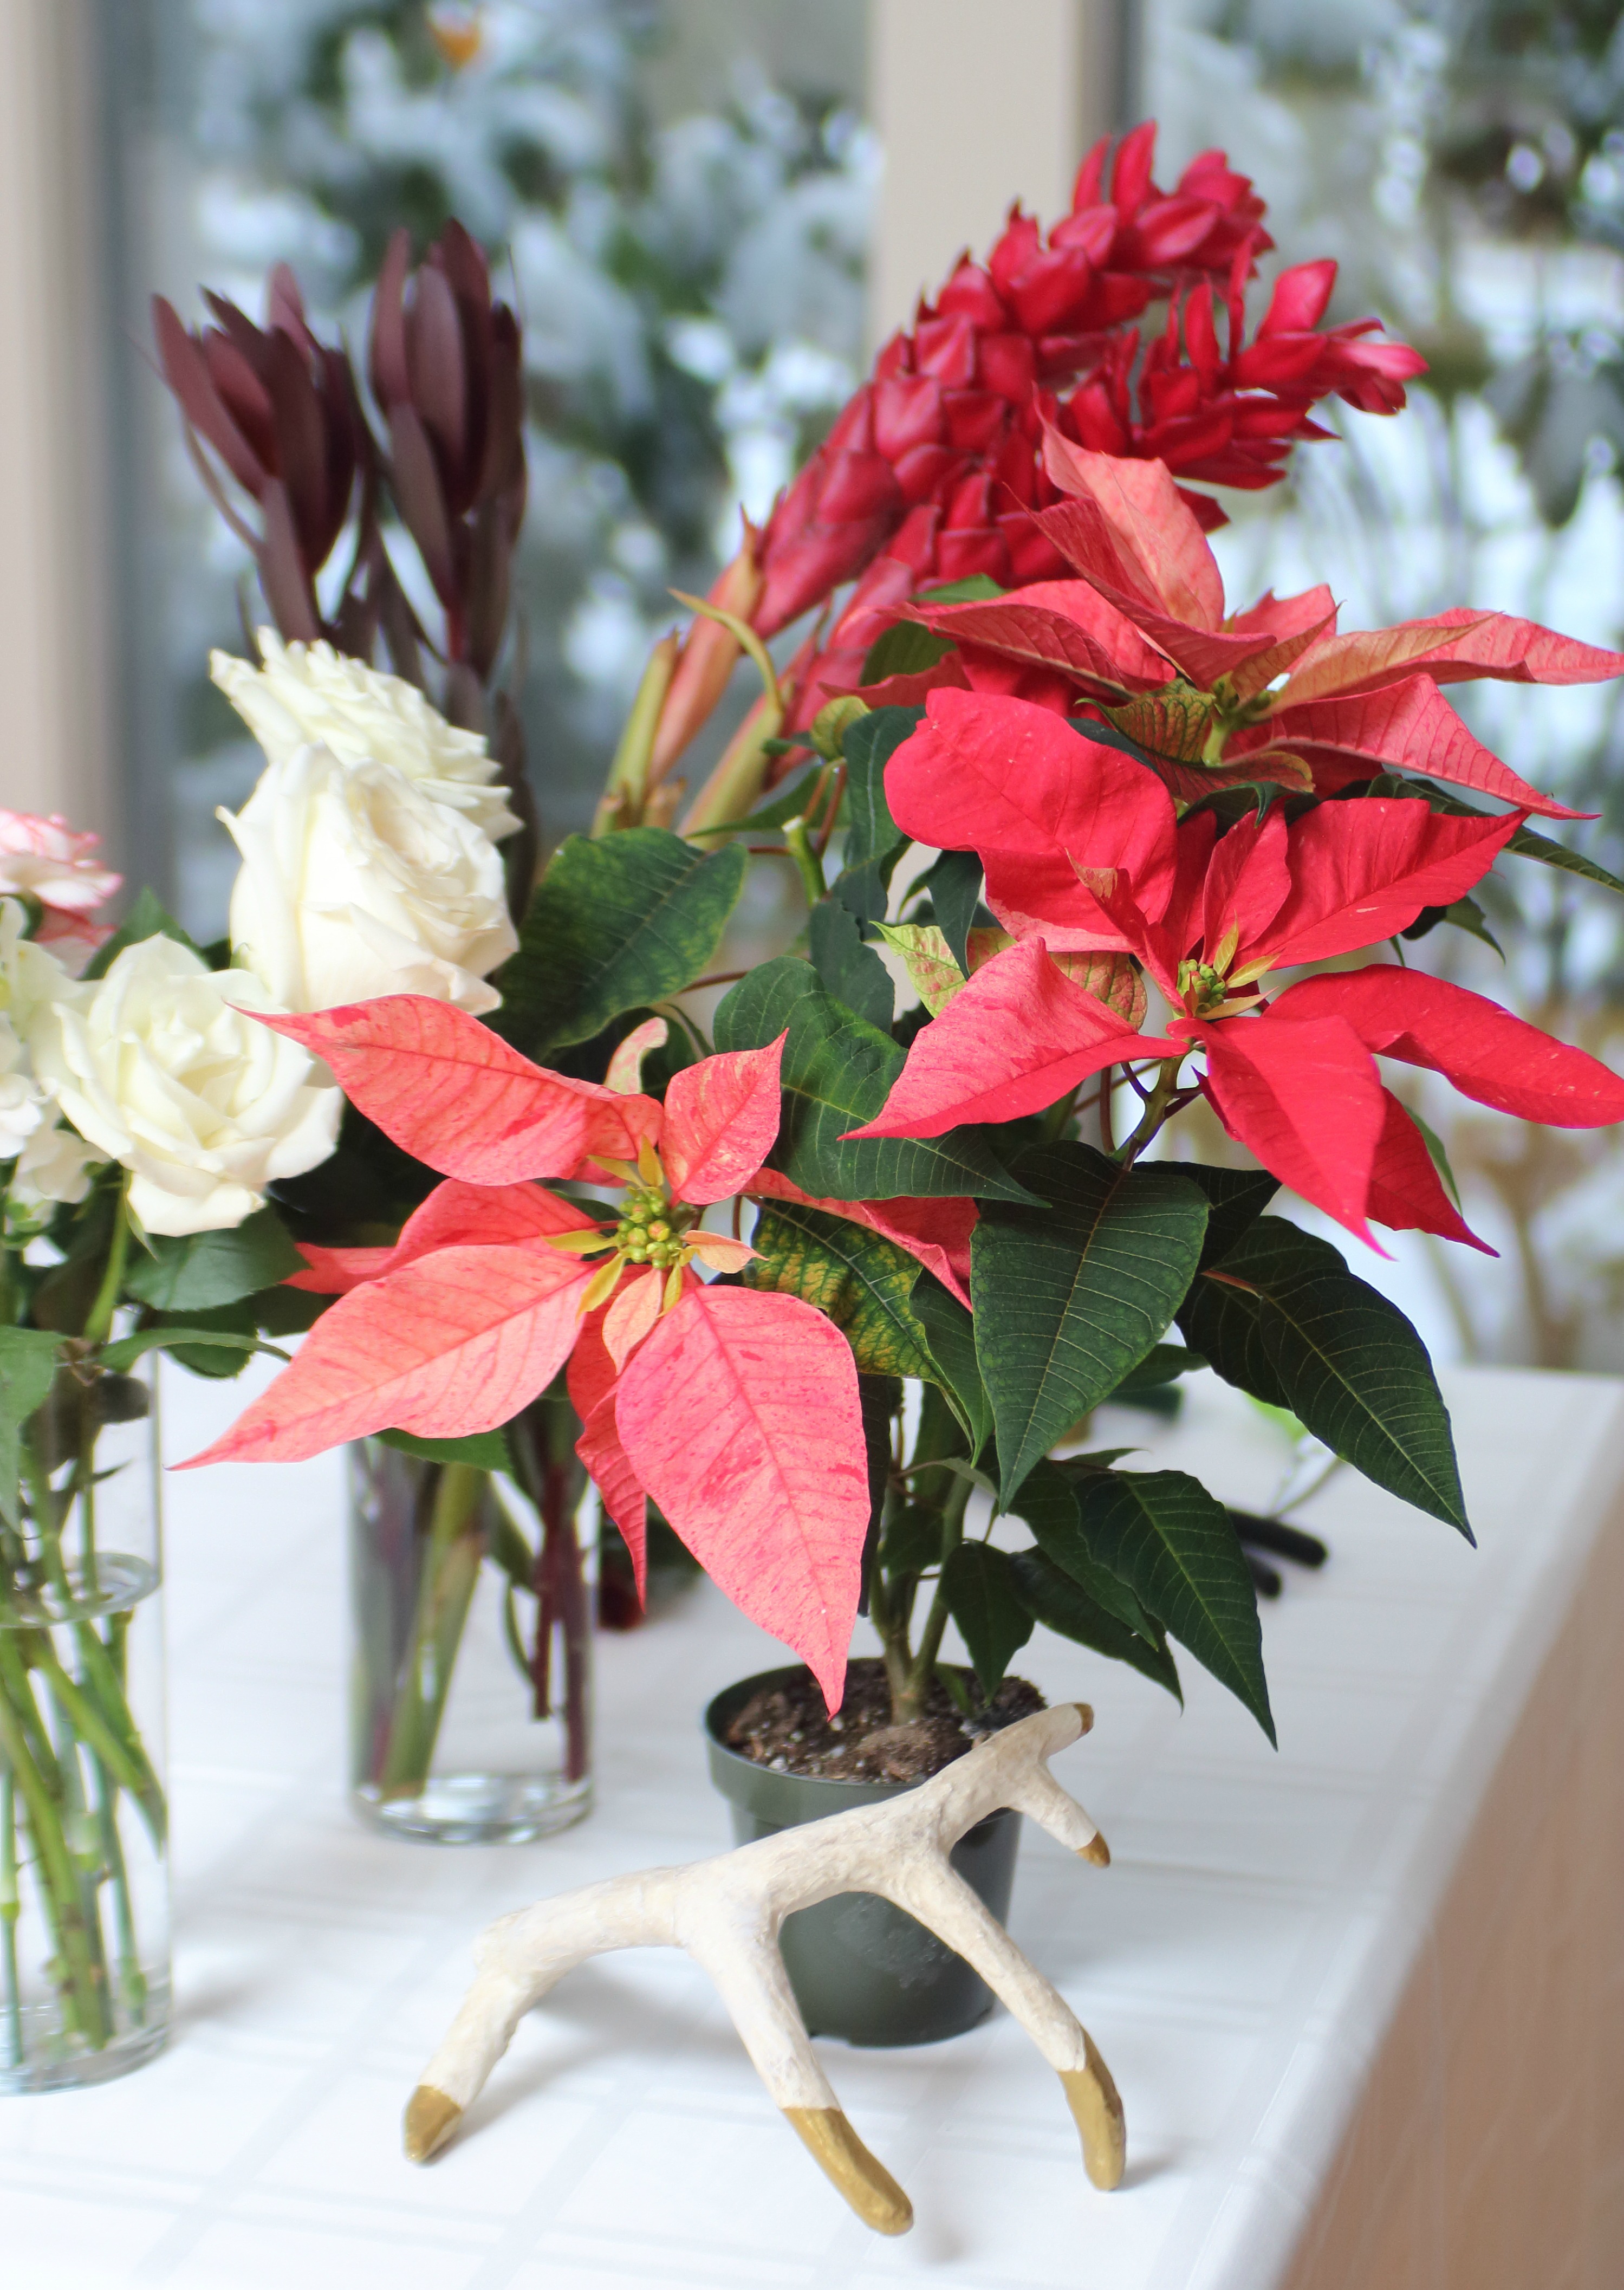
• Pointsettia (1 bloom)
• Evergreen Branches (6 branches)
Notes:
Keep the stems long until you are ready to place them in the vase. Then cut them to the appropriate length.
Have fun with the shape of the arrangement and don’t be afraid to move a stem to a different spot if you don’t like where you first placed it.
Always turn your arrangement so that it looks good from all sides.
Think of your vase in quarters: Front Left, Front Right, Back Left, Back Right.
Instructions:
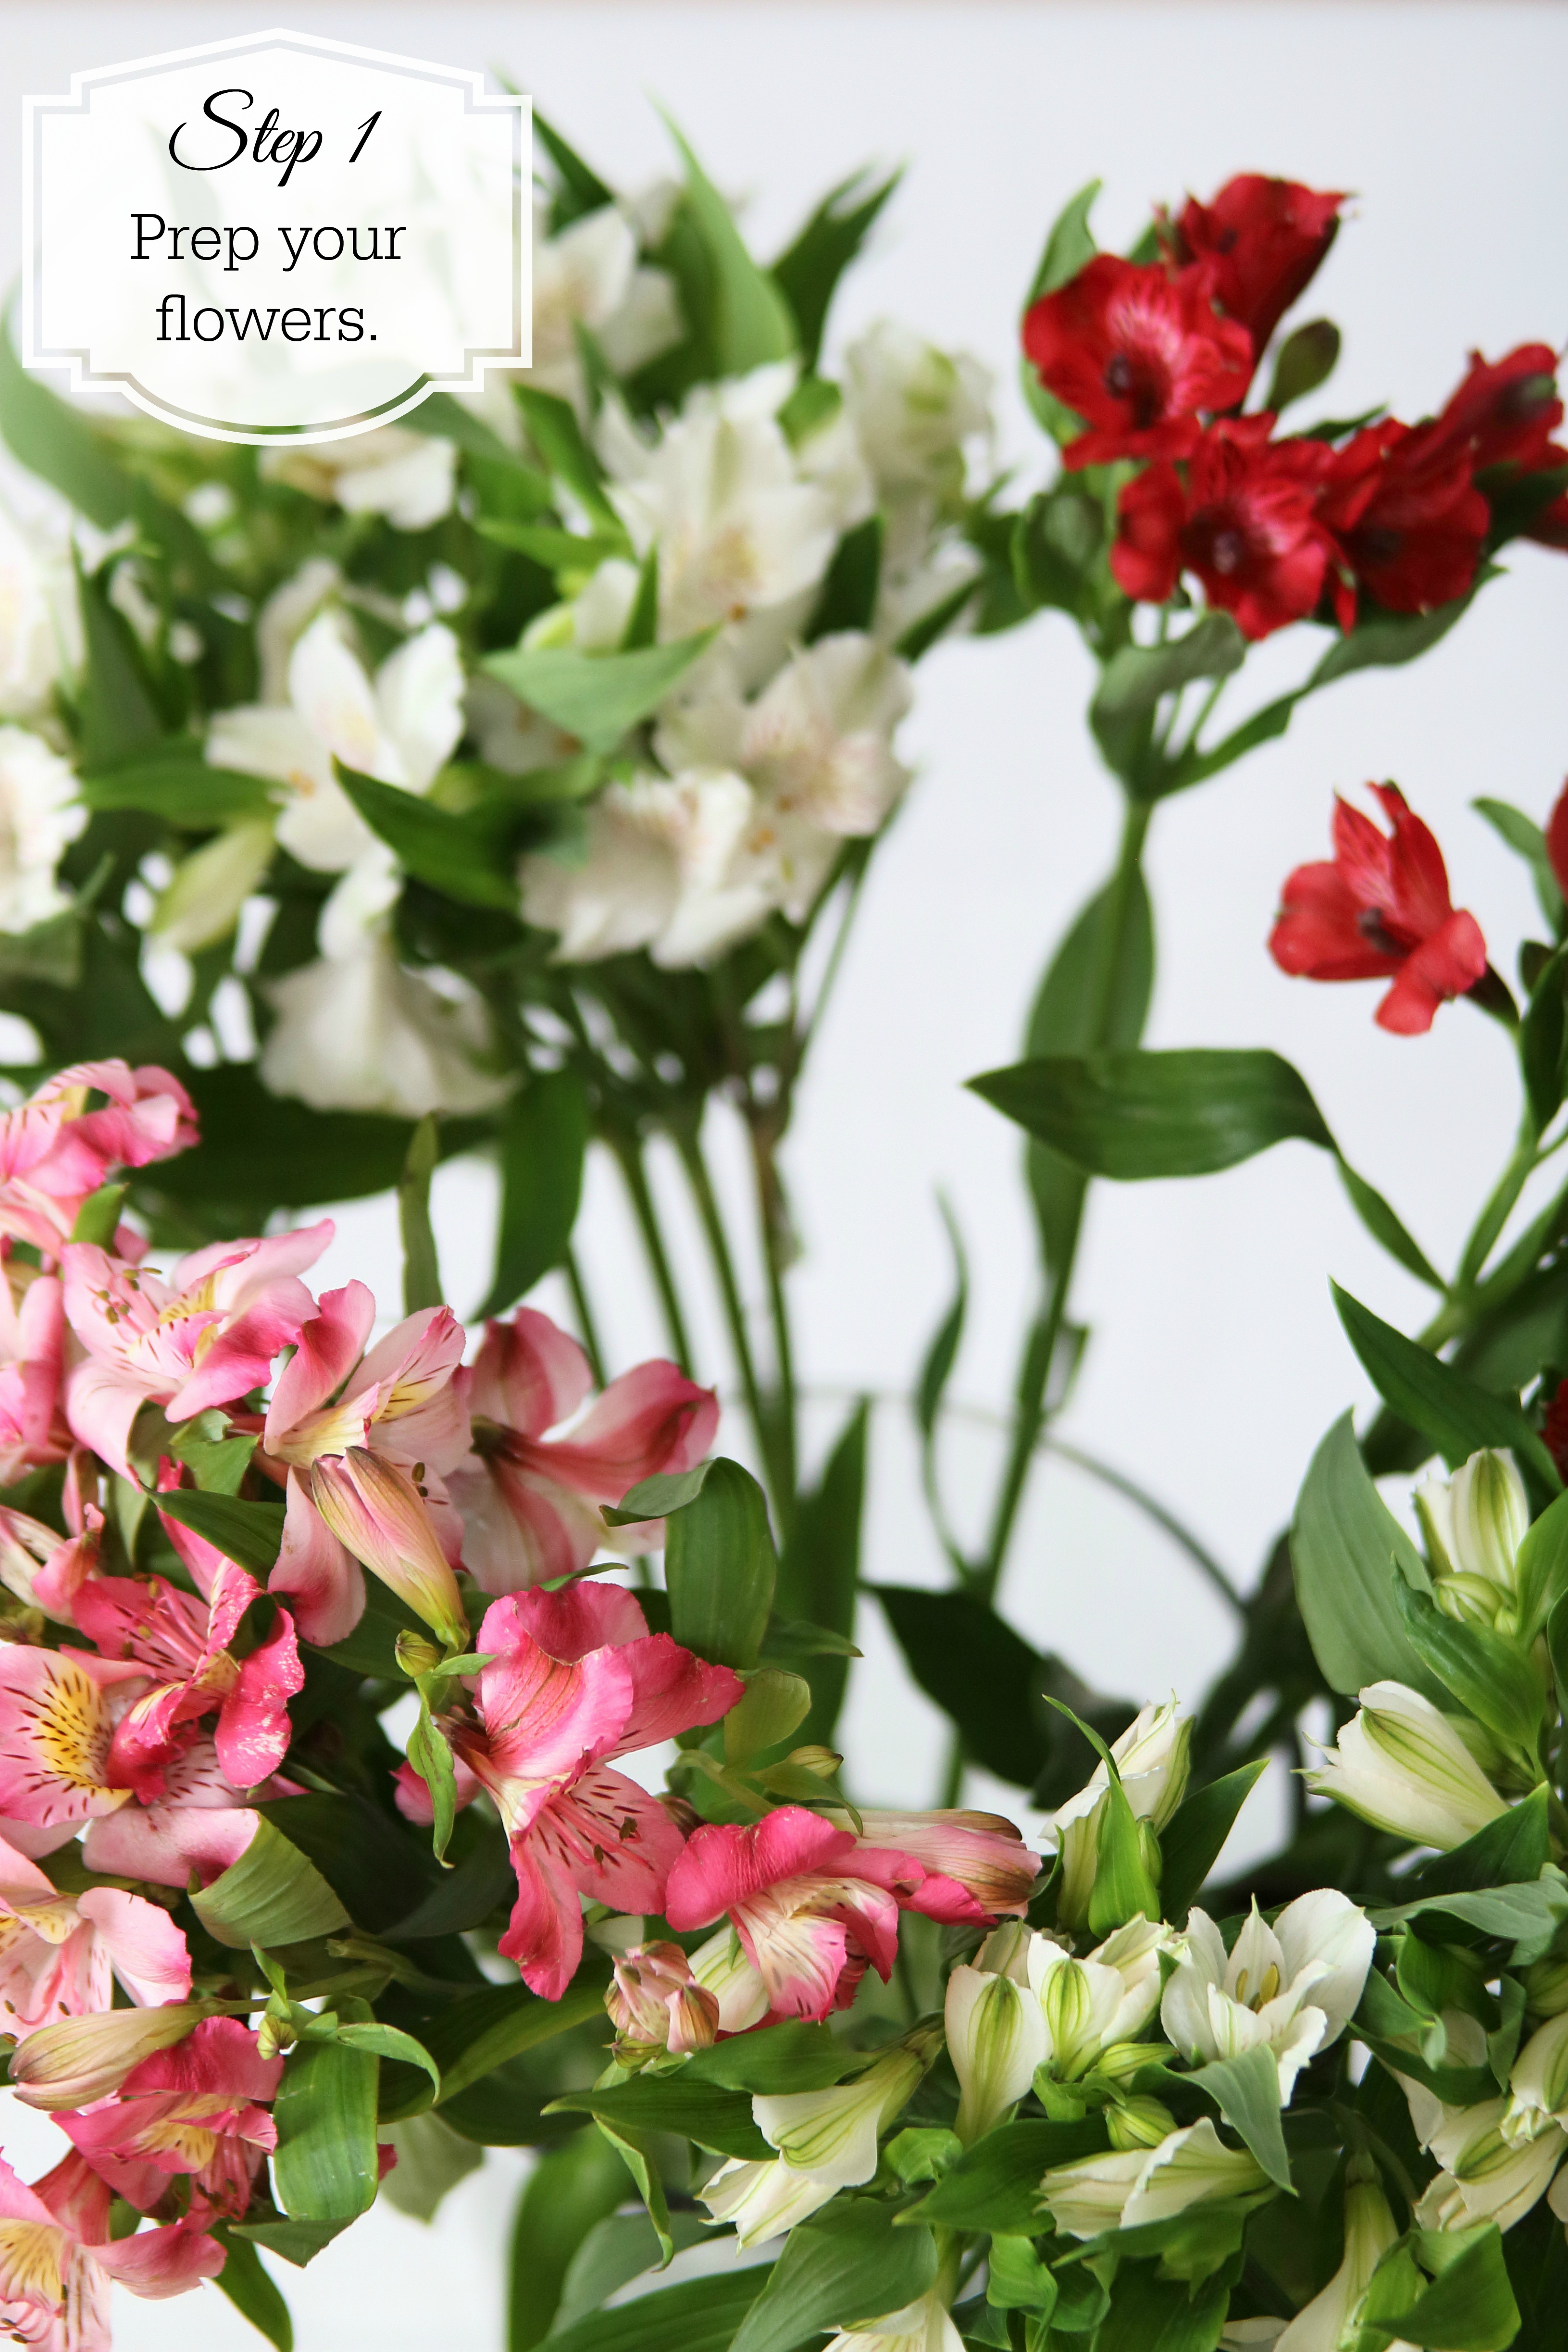
1. Prep your flowers. Take the vase you will use for the centerpiece arrangement and fill with cool water.
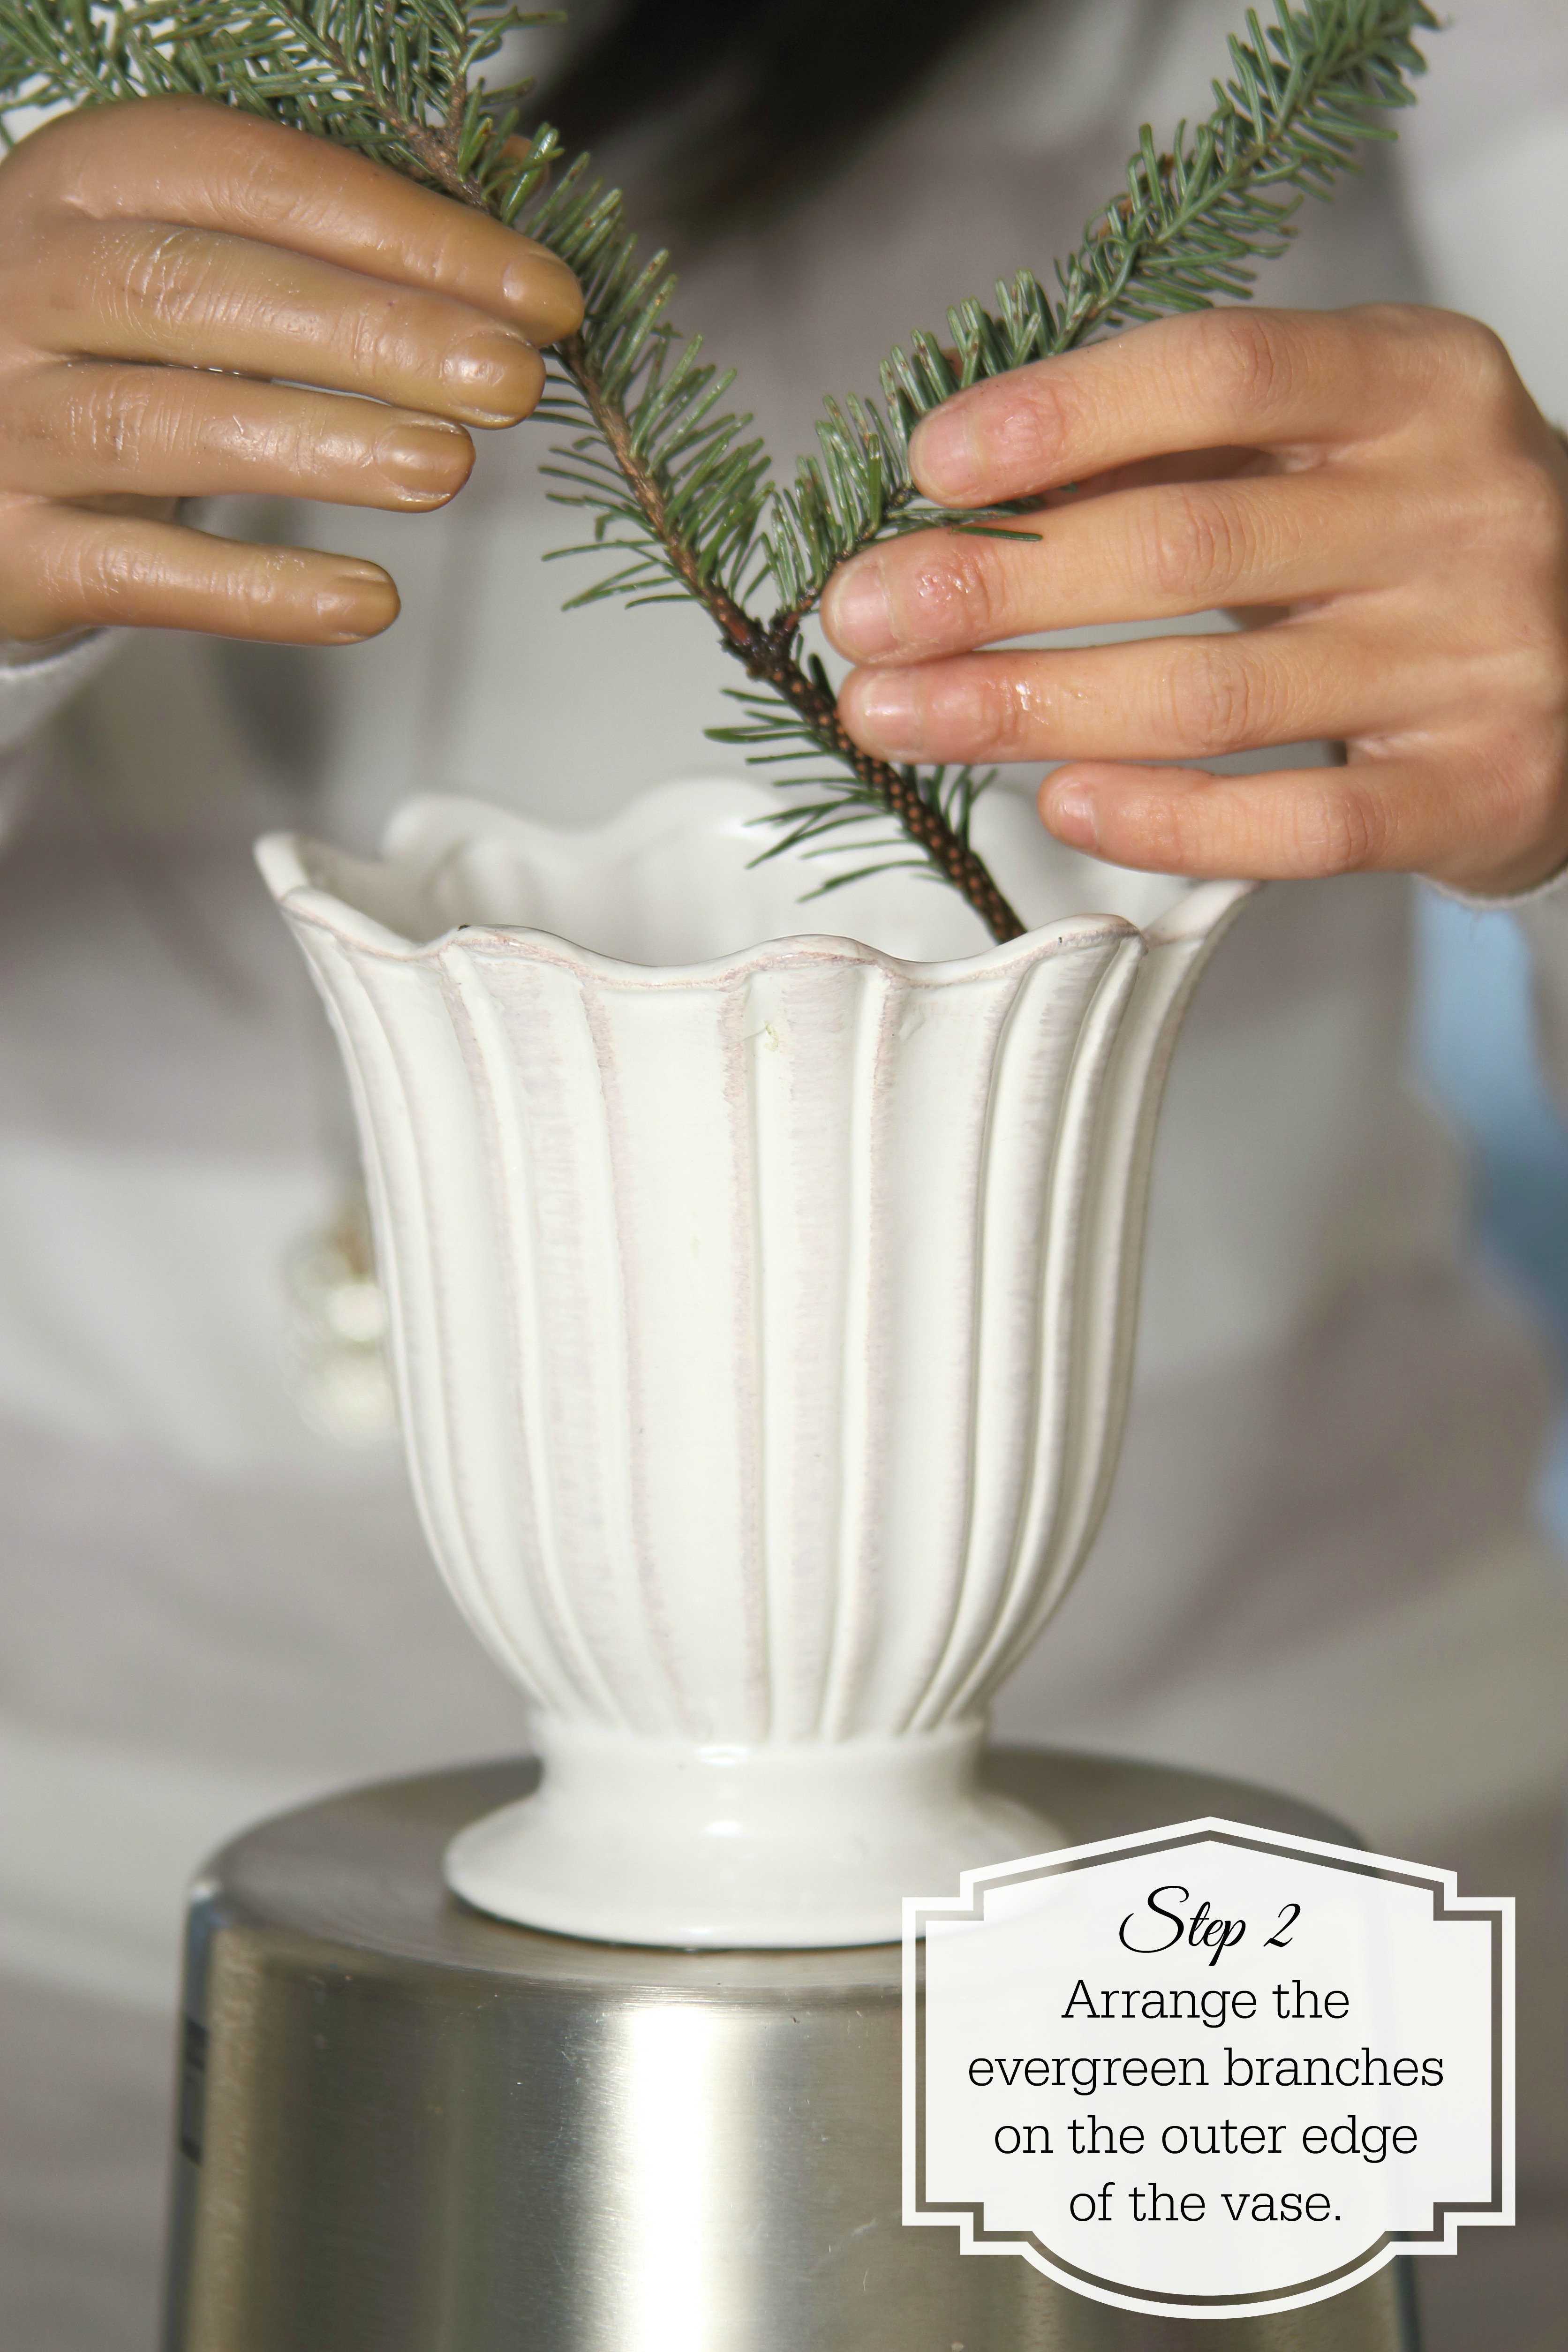
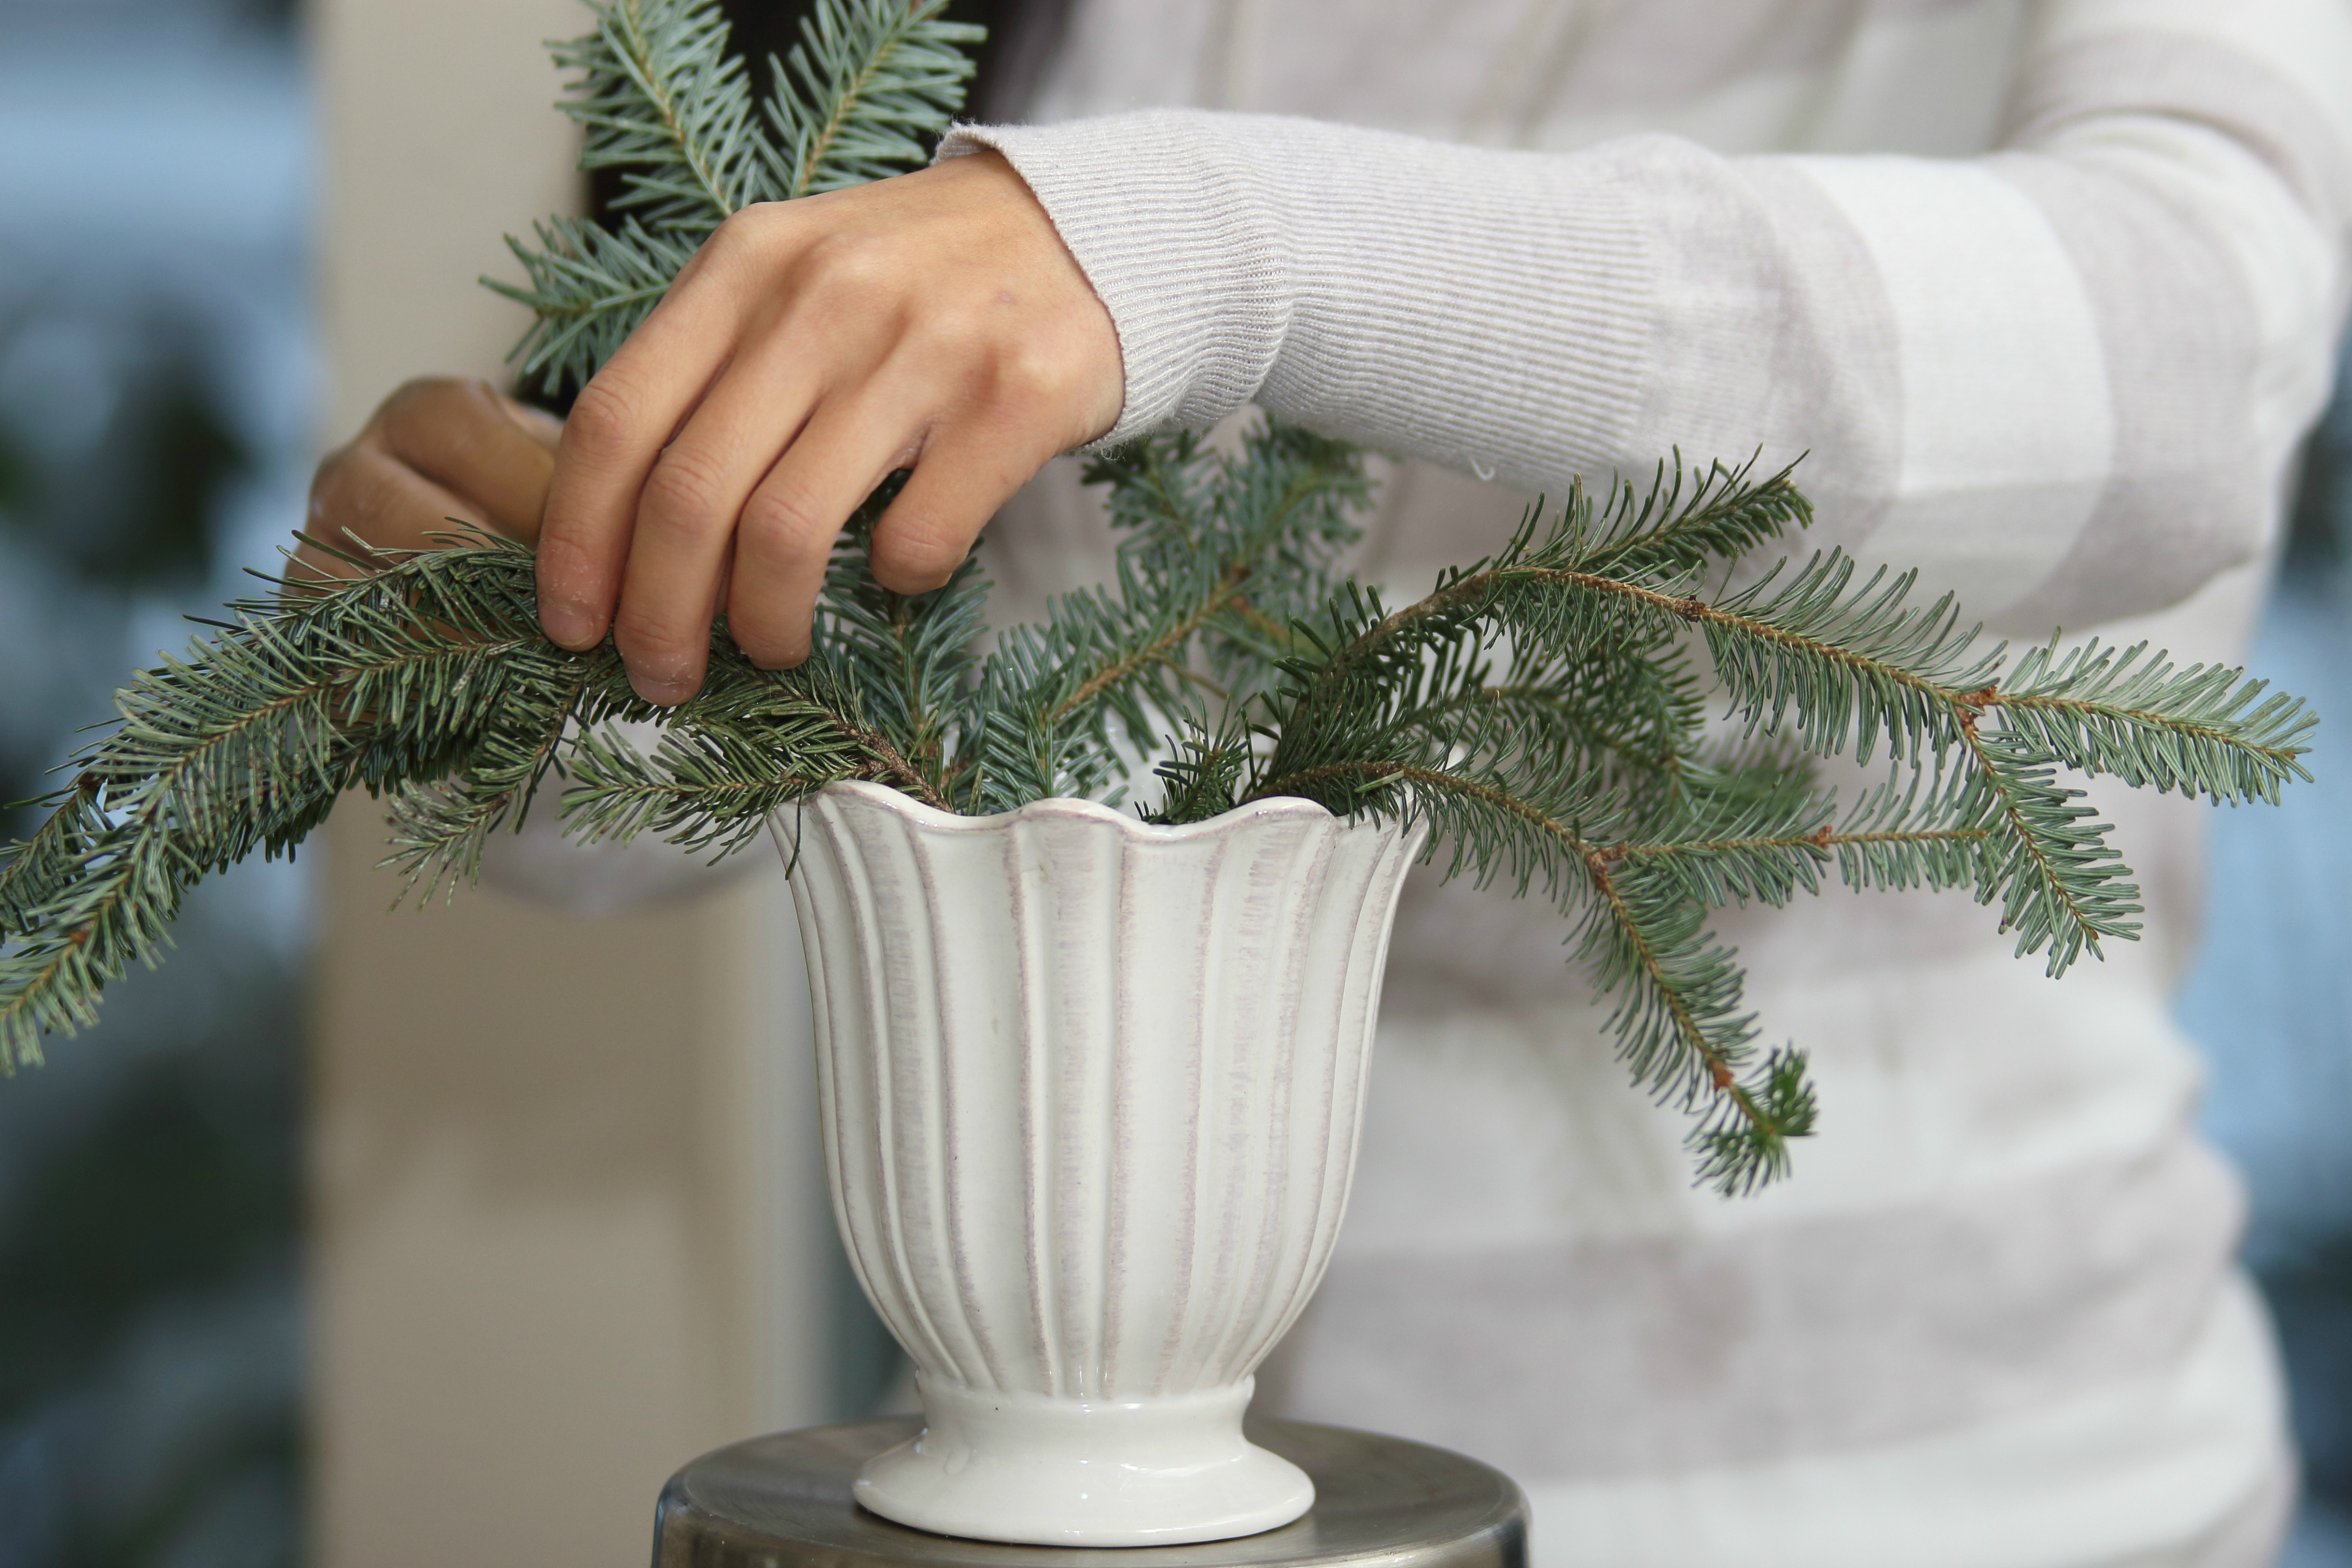
2. Start with the evergreen branches. Arrange the branches on the outer edge of the vase, with a few of the branches draping over one side of the vase (front left quarter) and take a few taller branches and place on the opposite side (back right quarter).
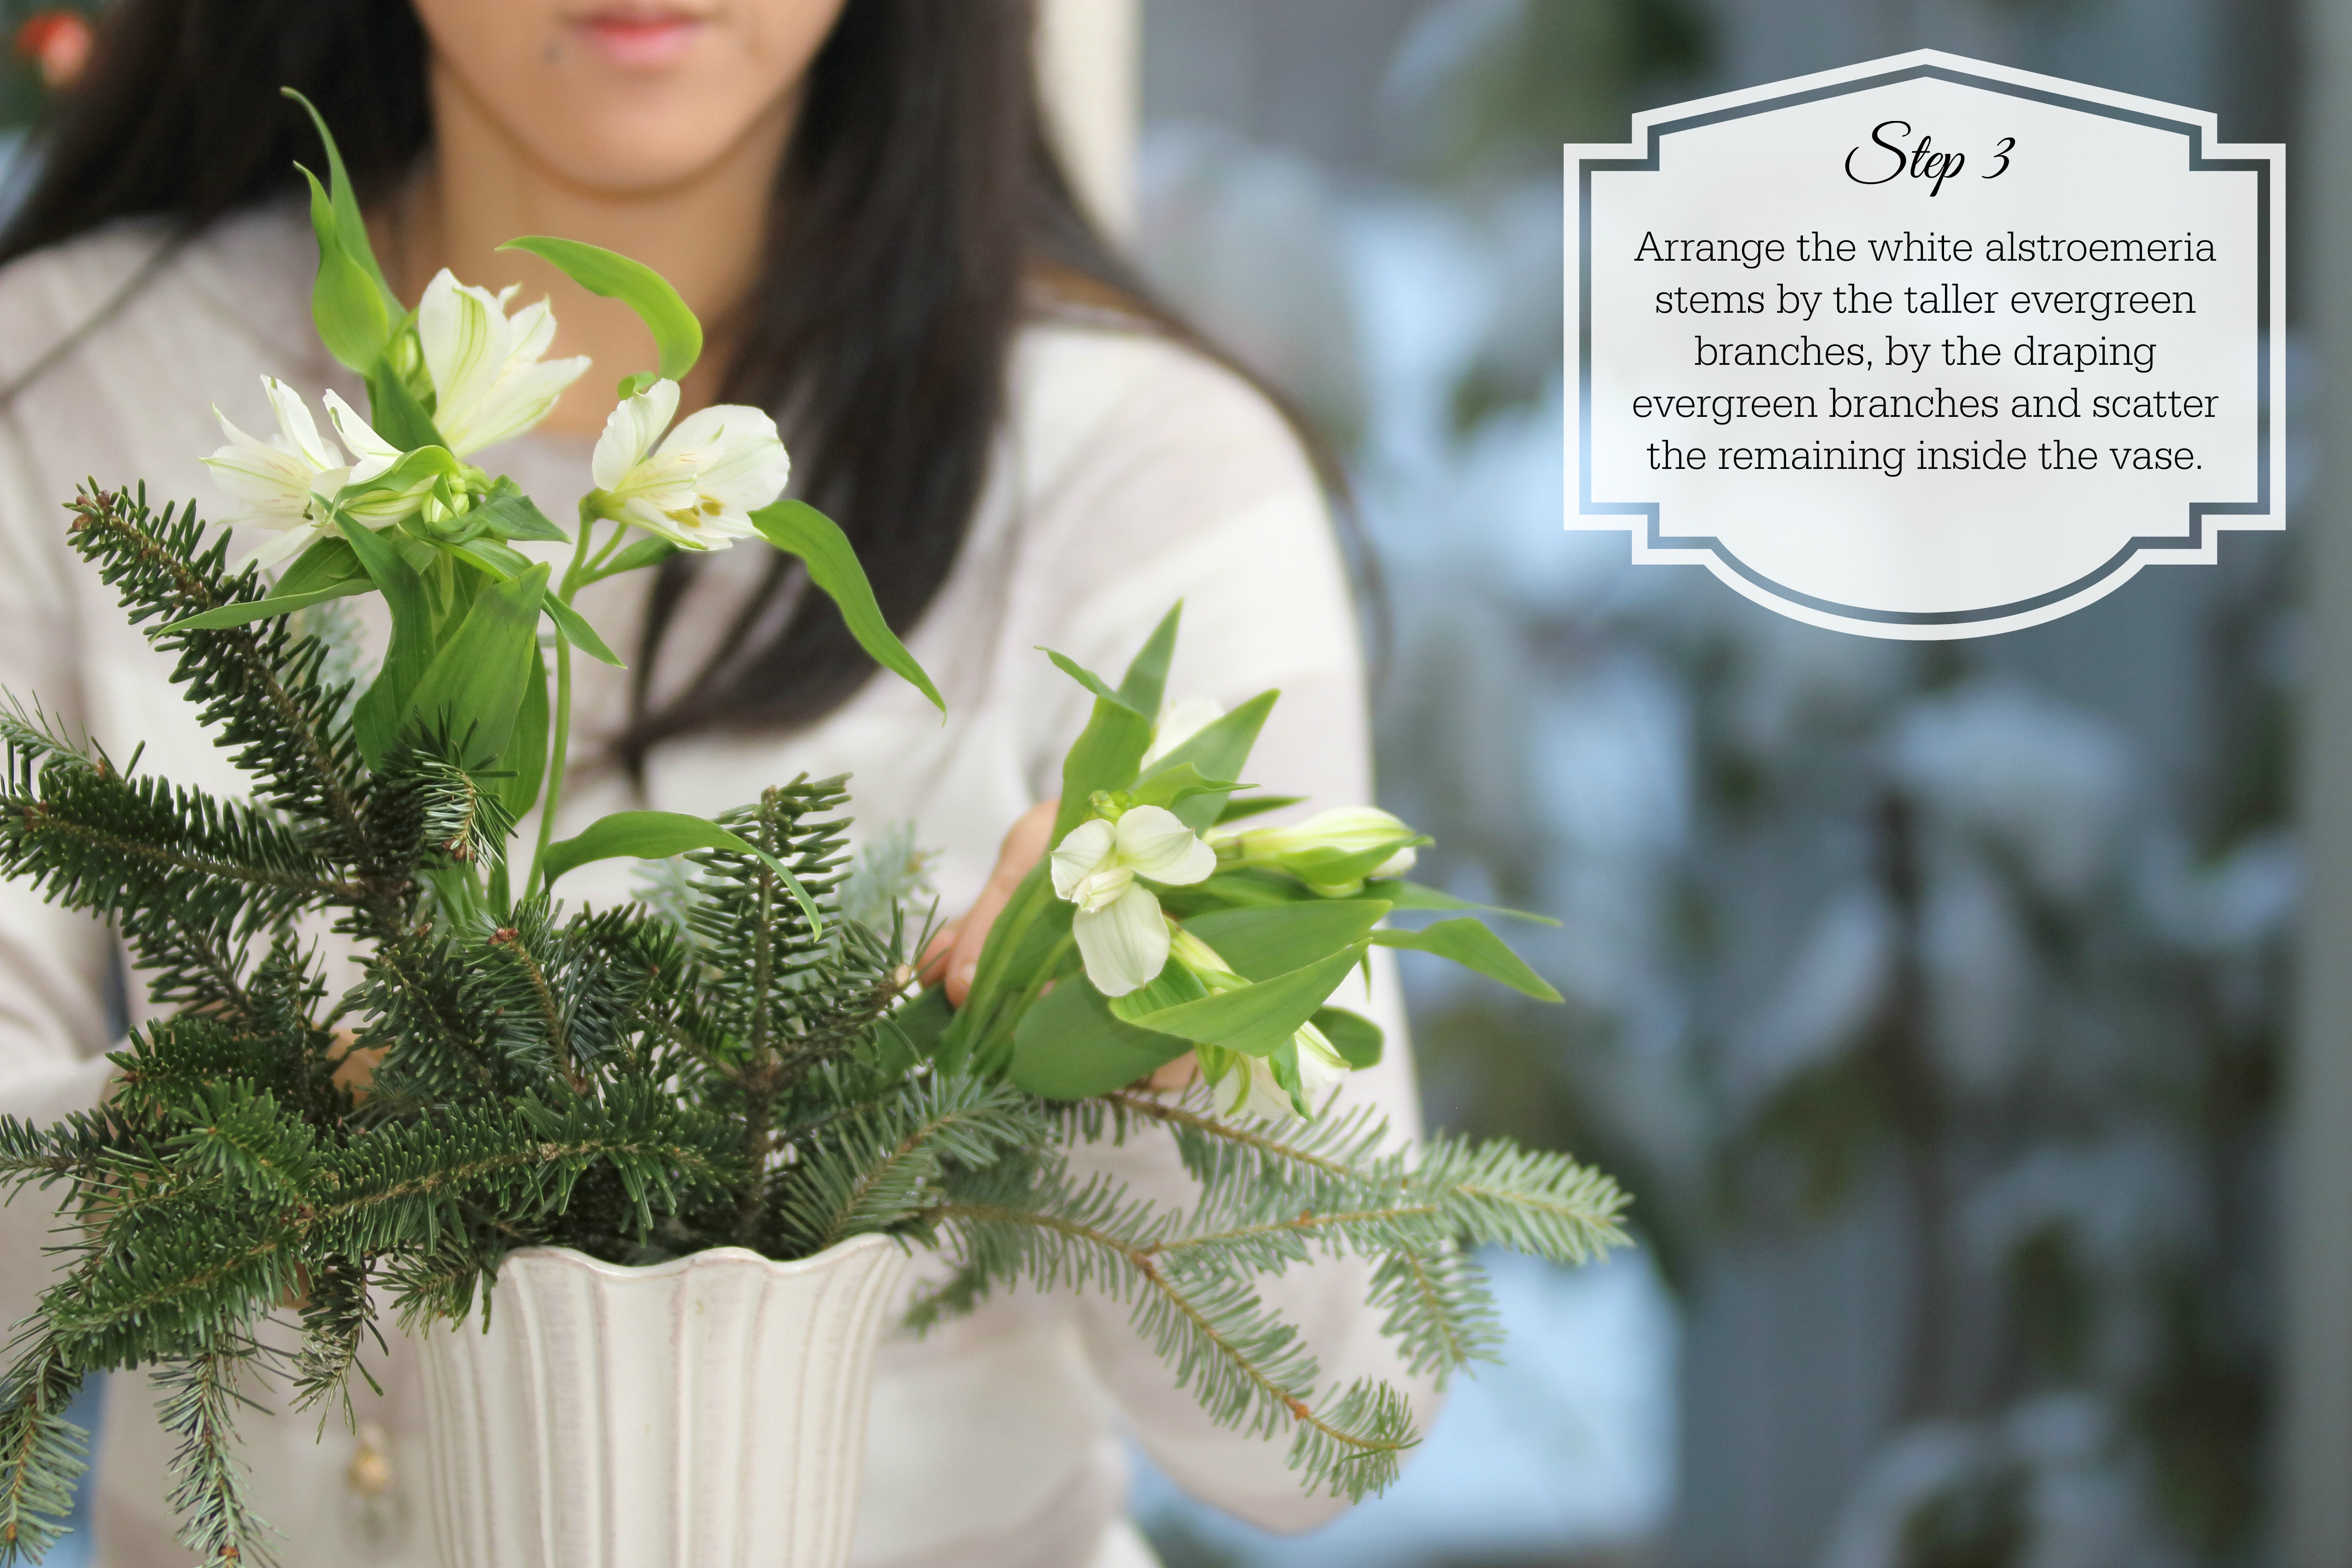
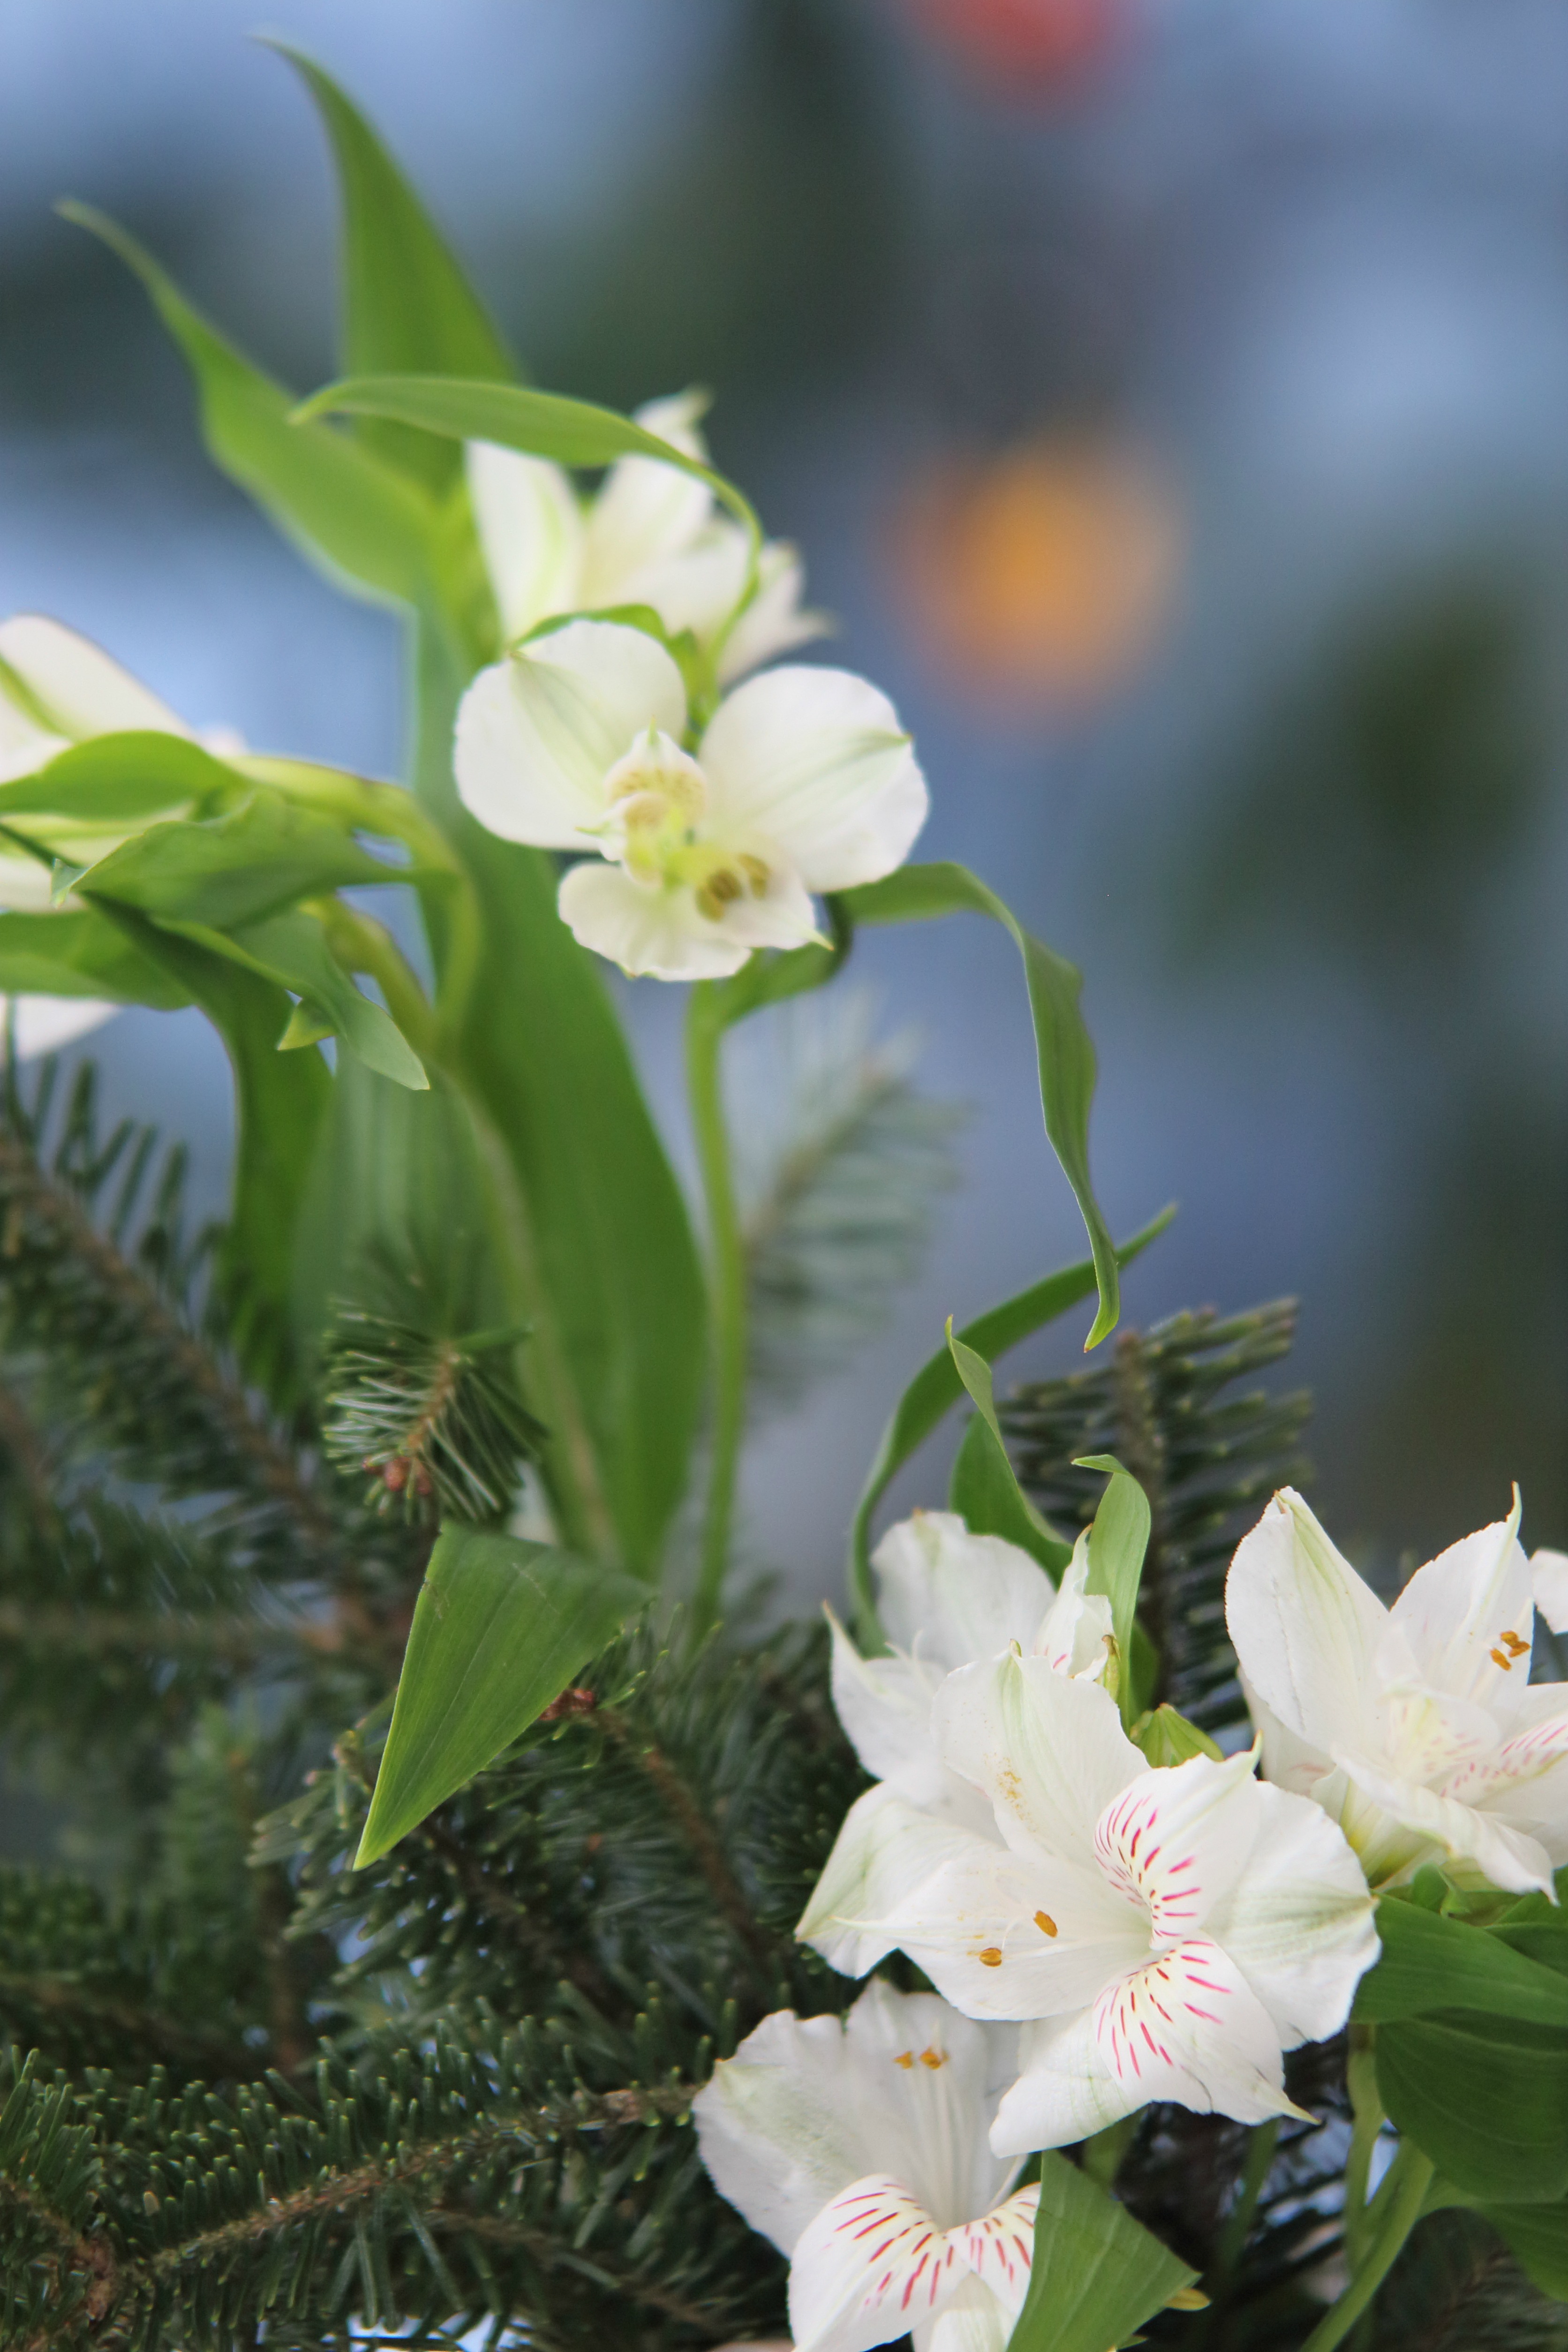
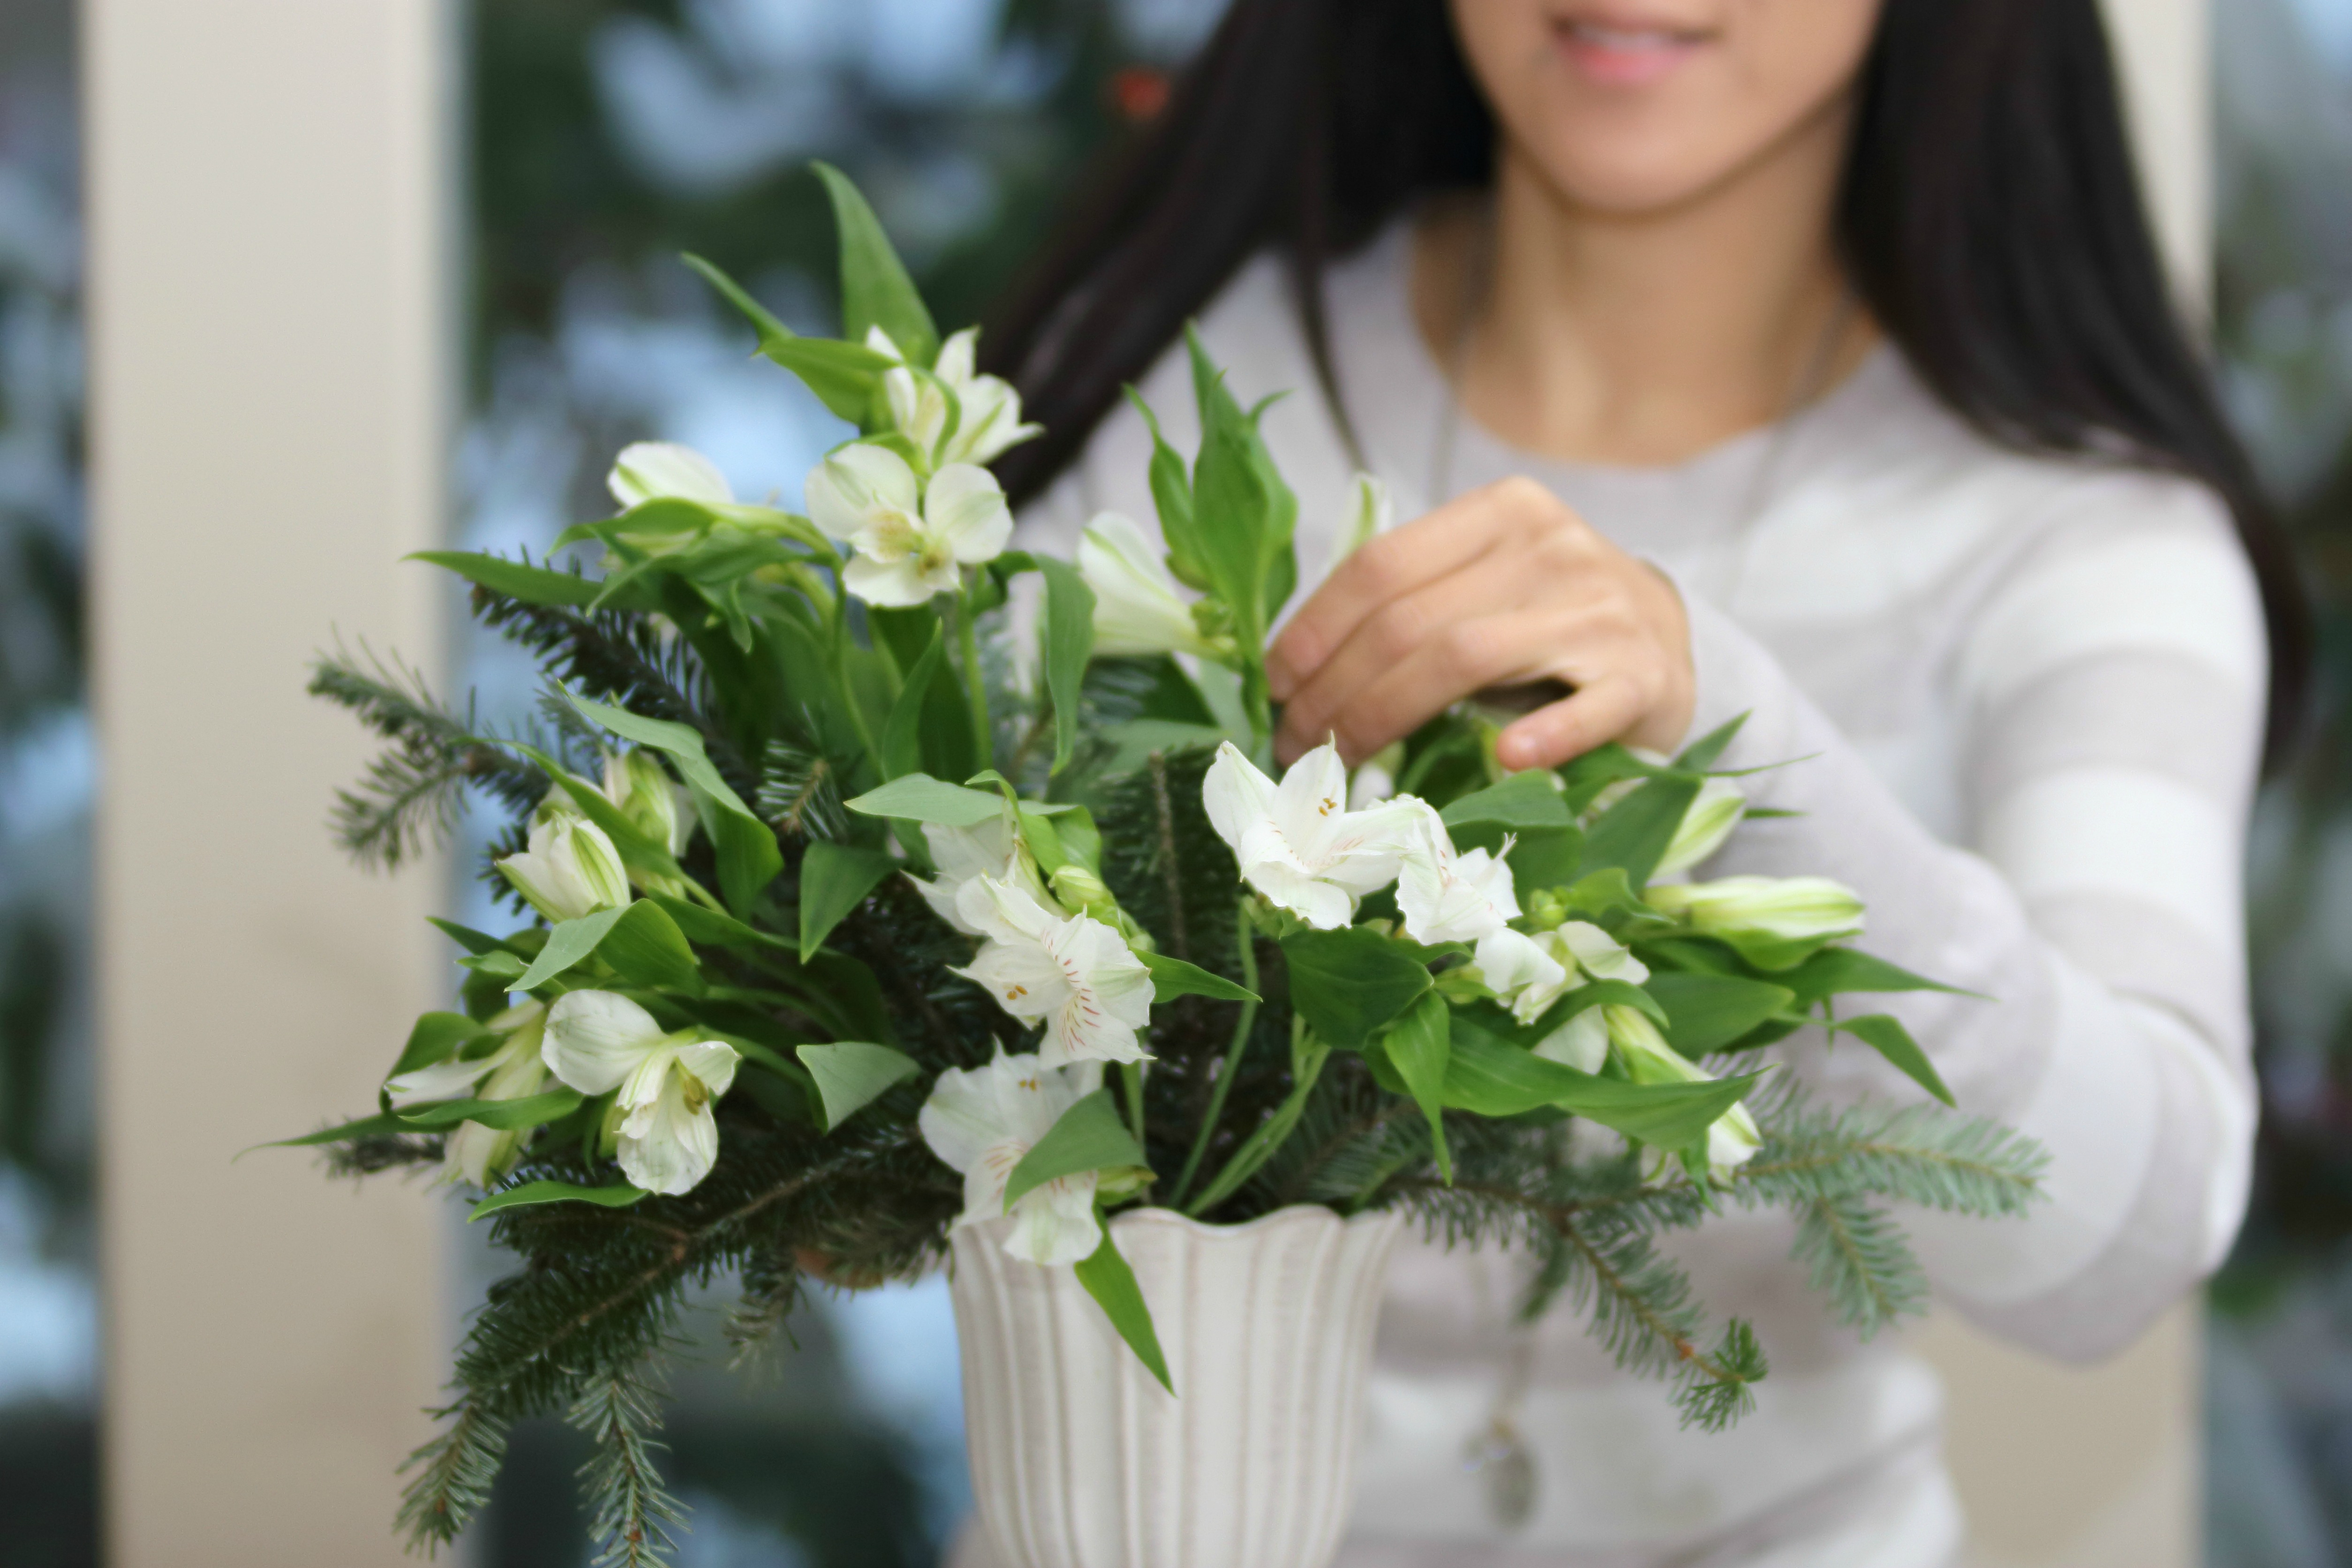
3. Take the white alstroemeria stems and place a few near the taller evergreen branches and some by the draping evergreen branches. Arrange the remaining white alstroemeria stems inside the vase.
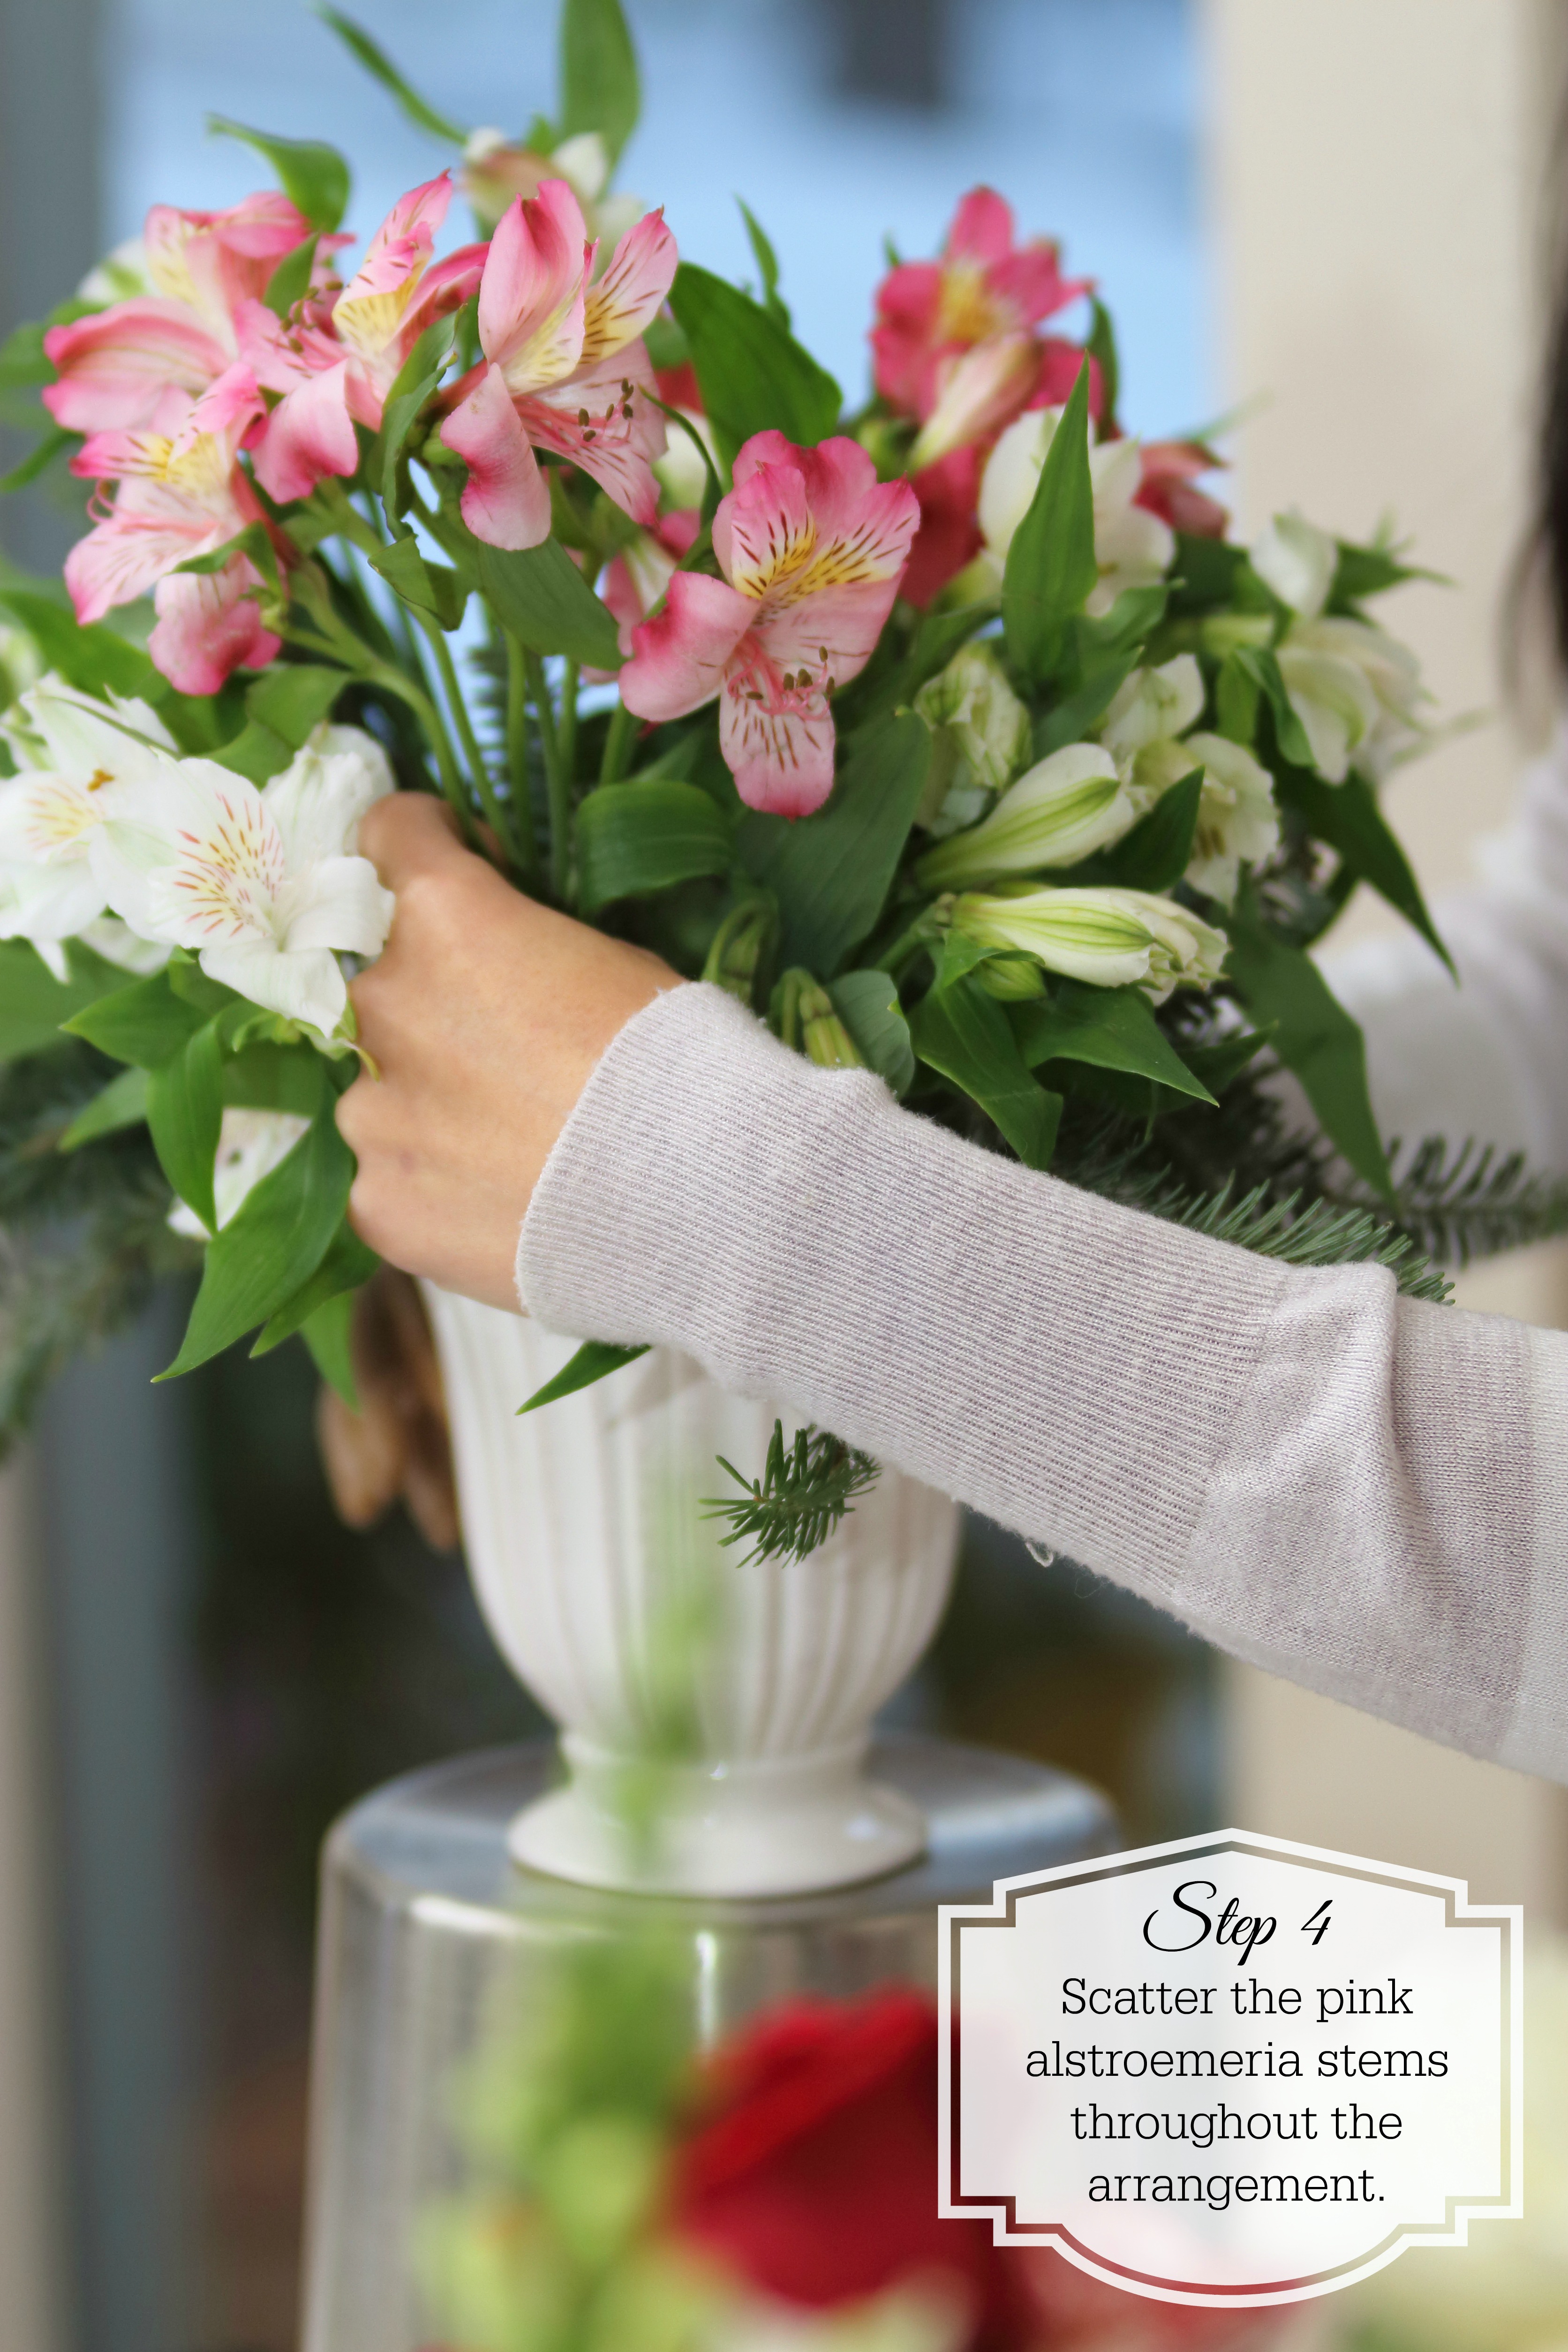
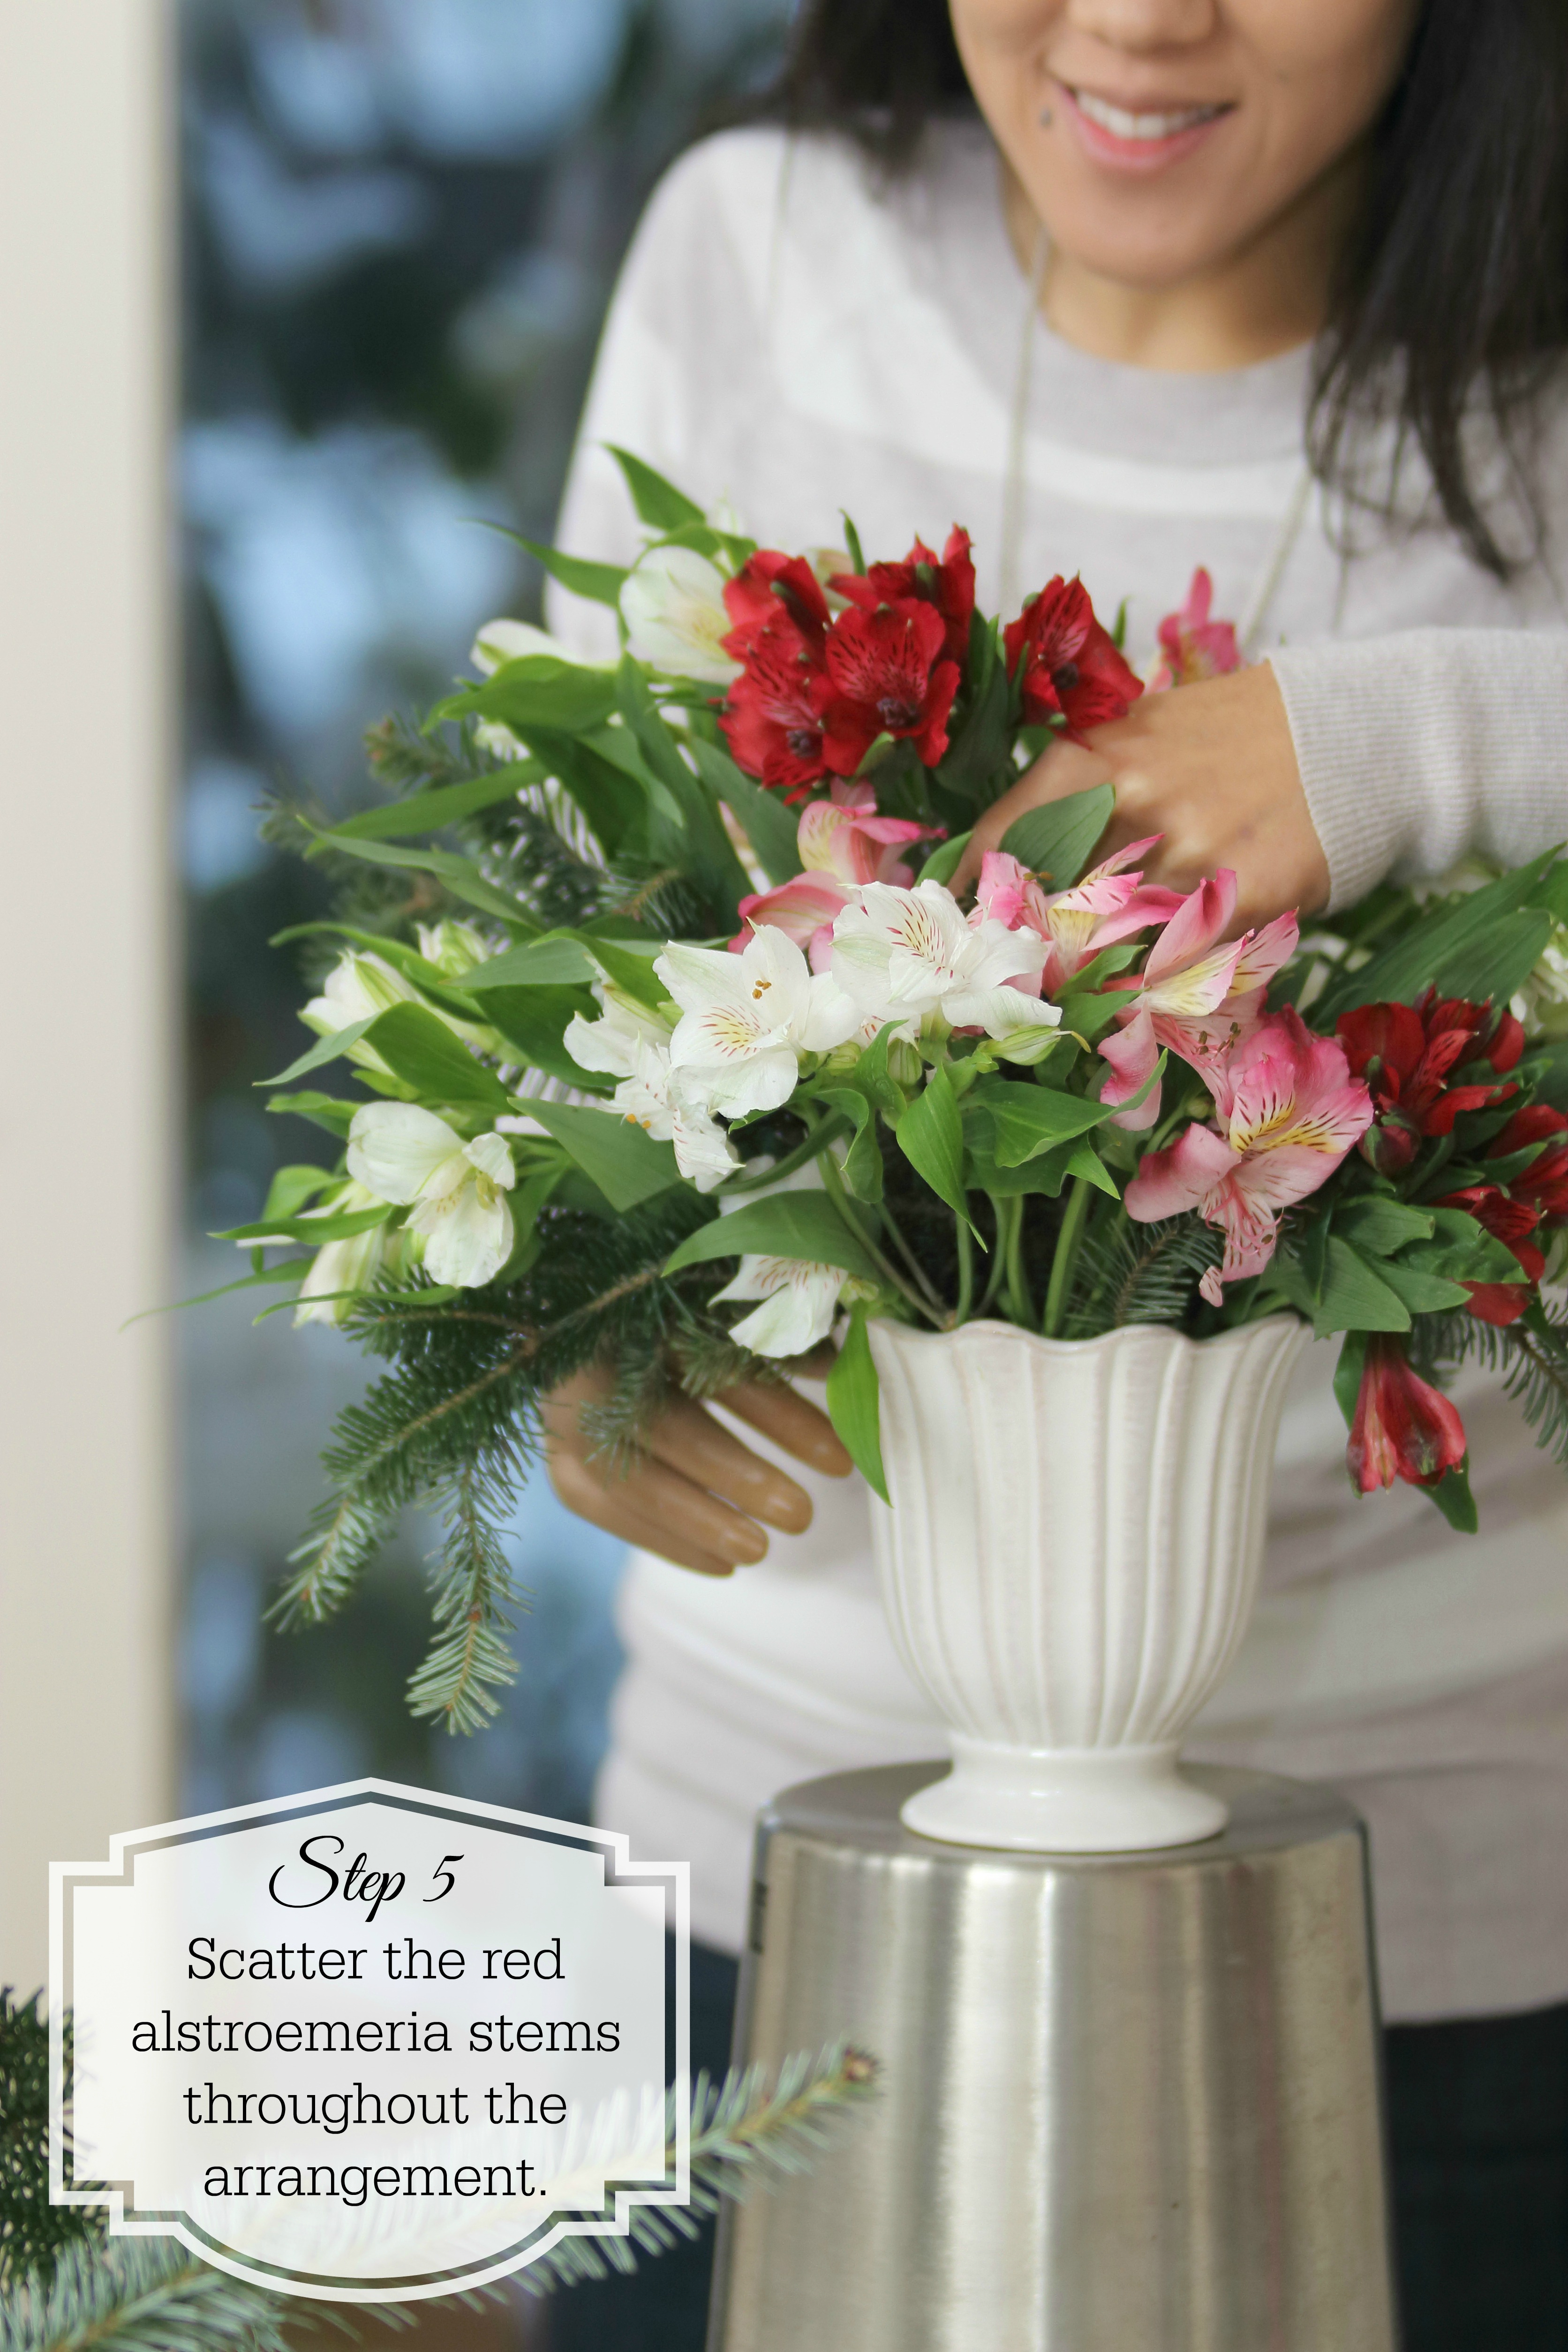
4. Take the pink alstroemeria stems and scatter them throughout the arrangement and in-between the white alstroemeria.
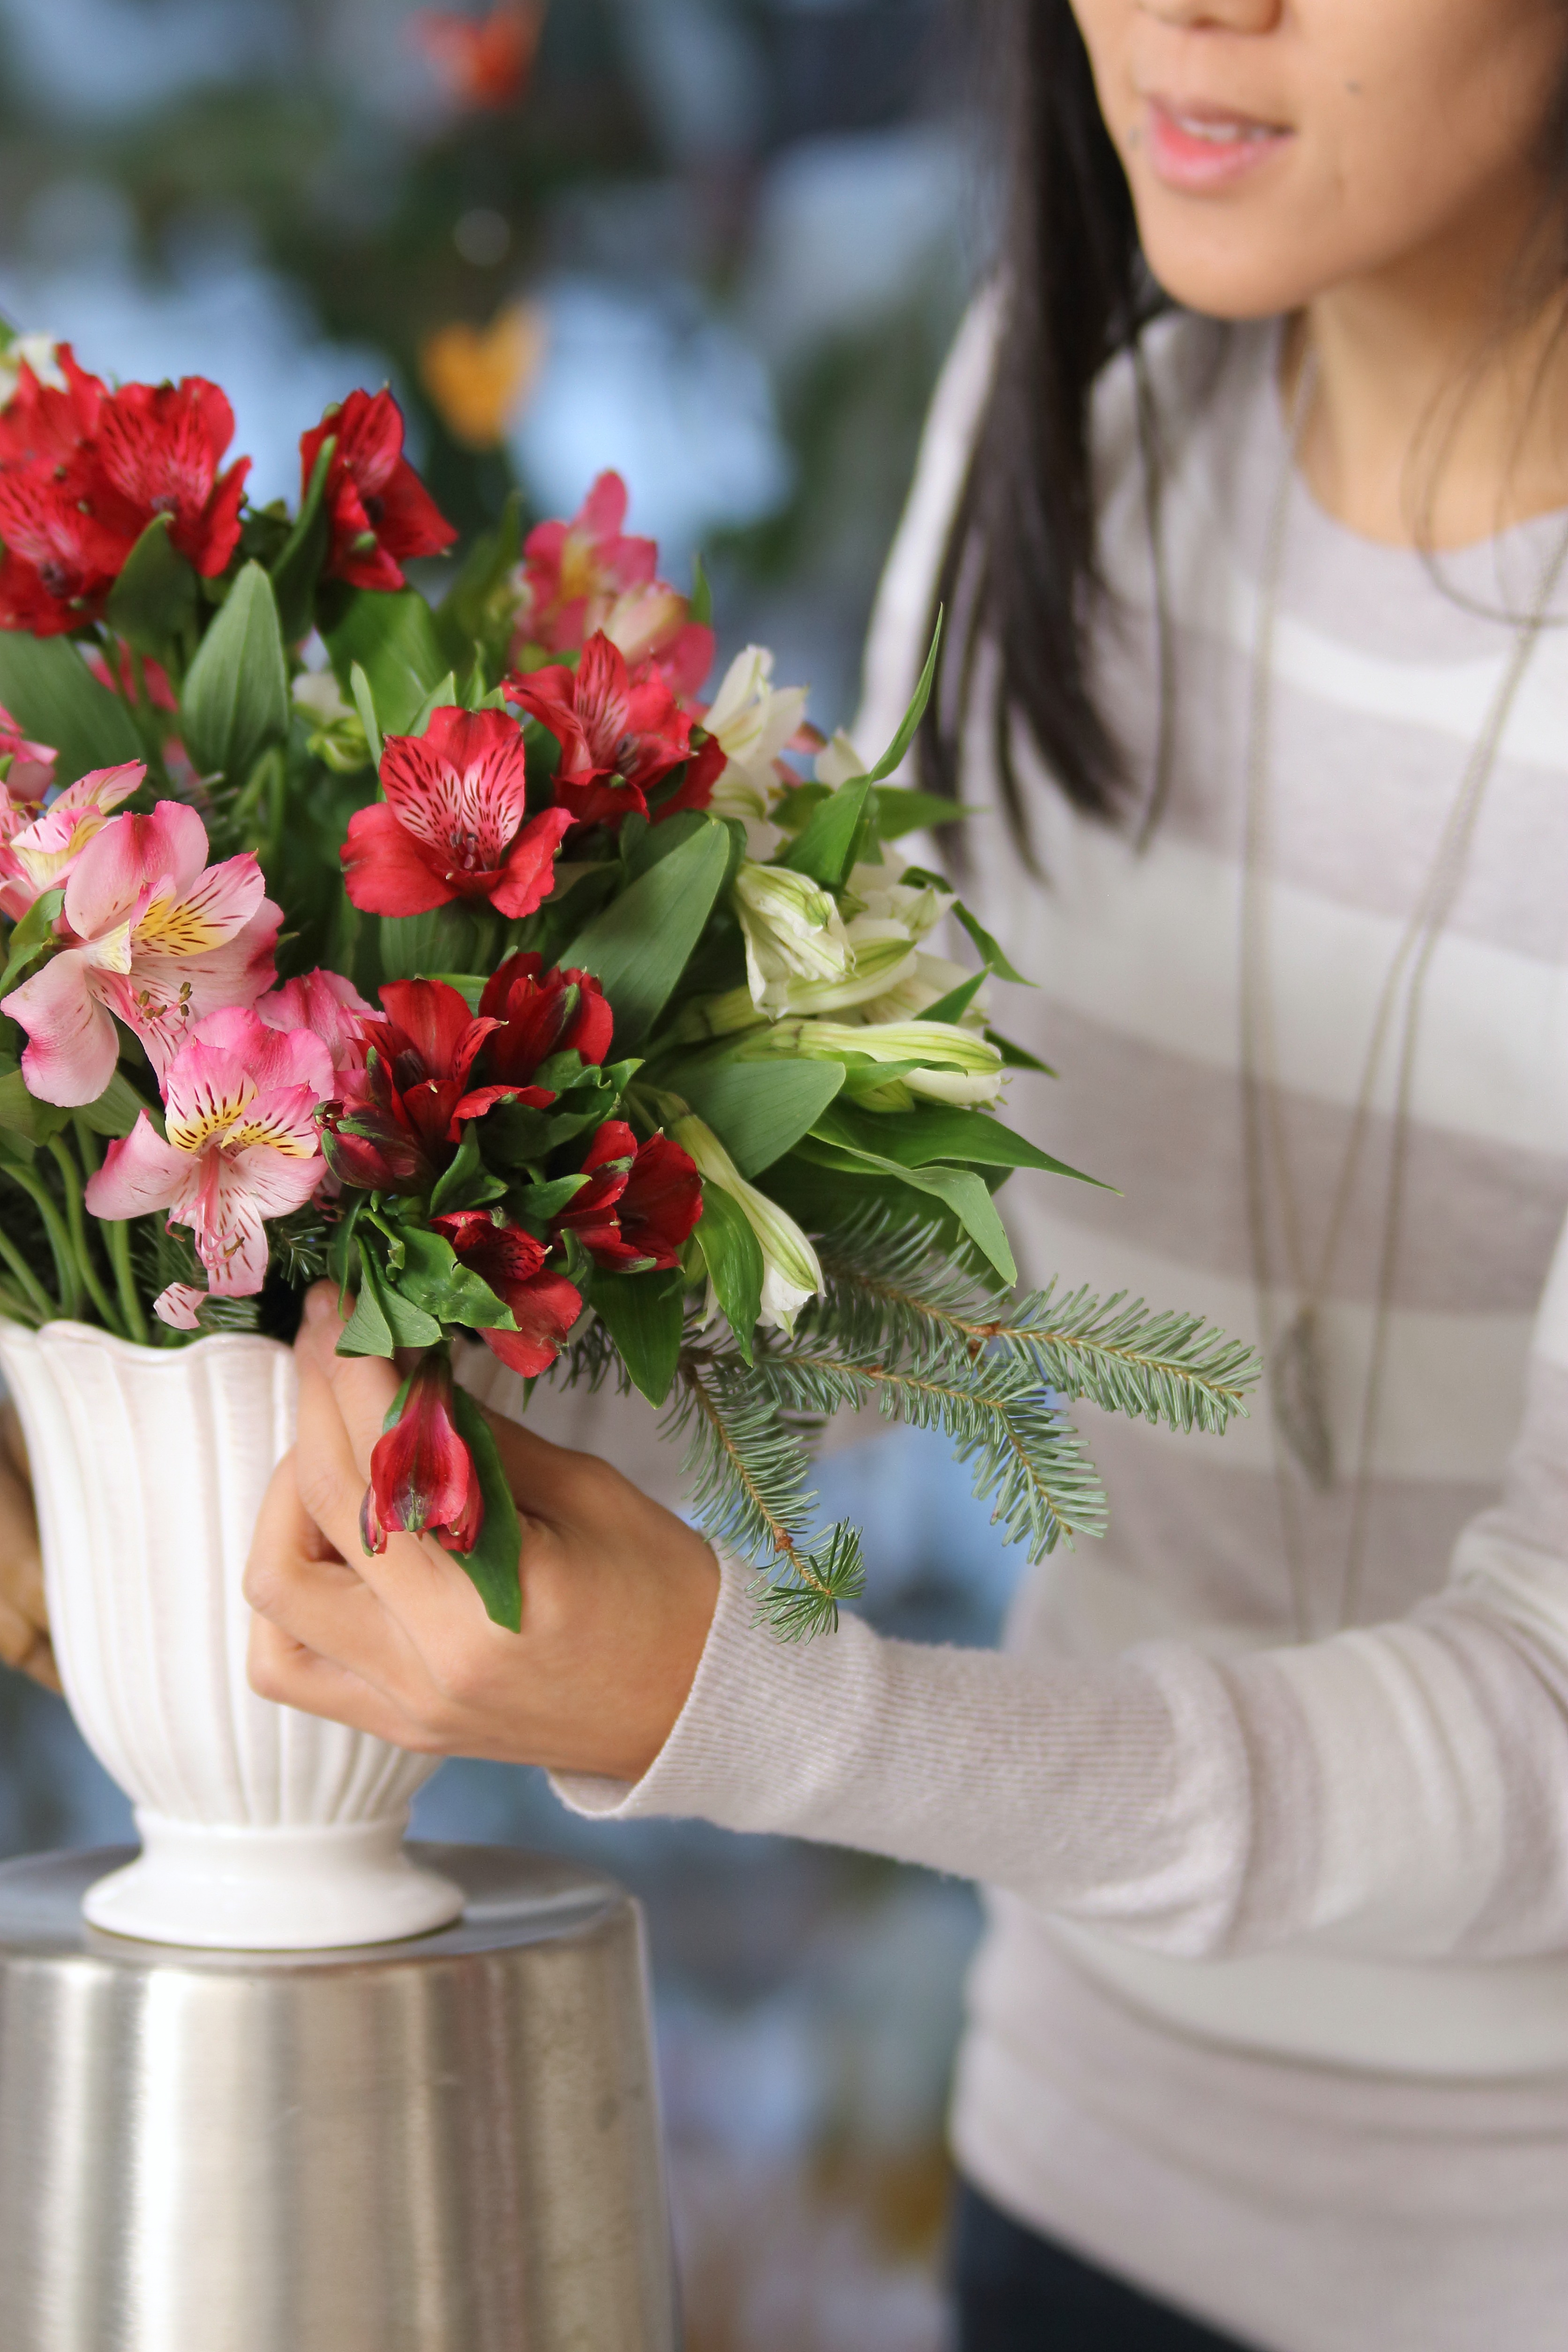
5. Do the same with the red alstroemeria stems.
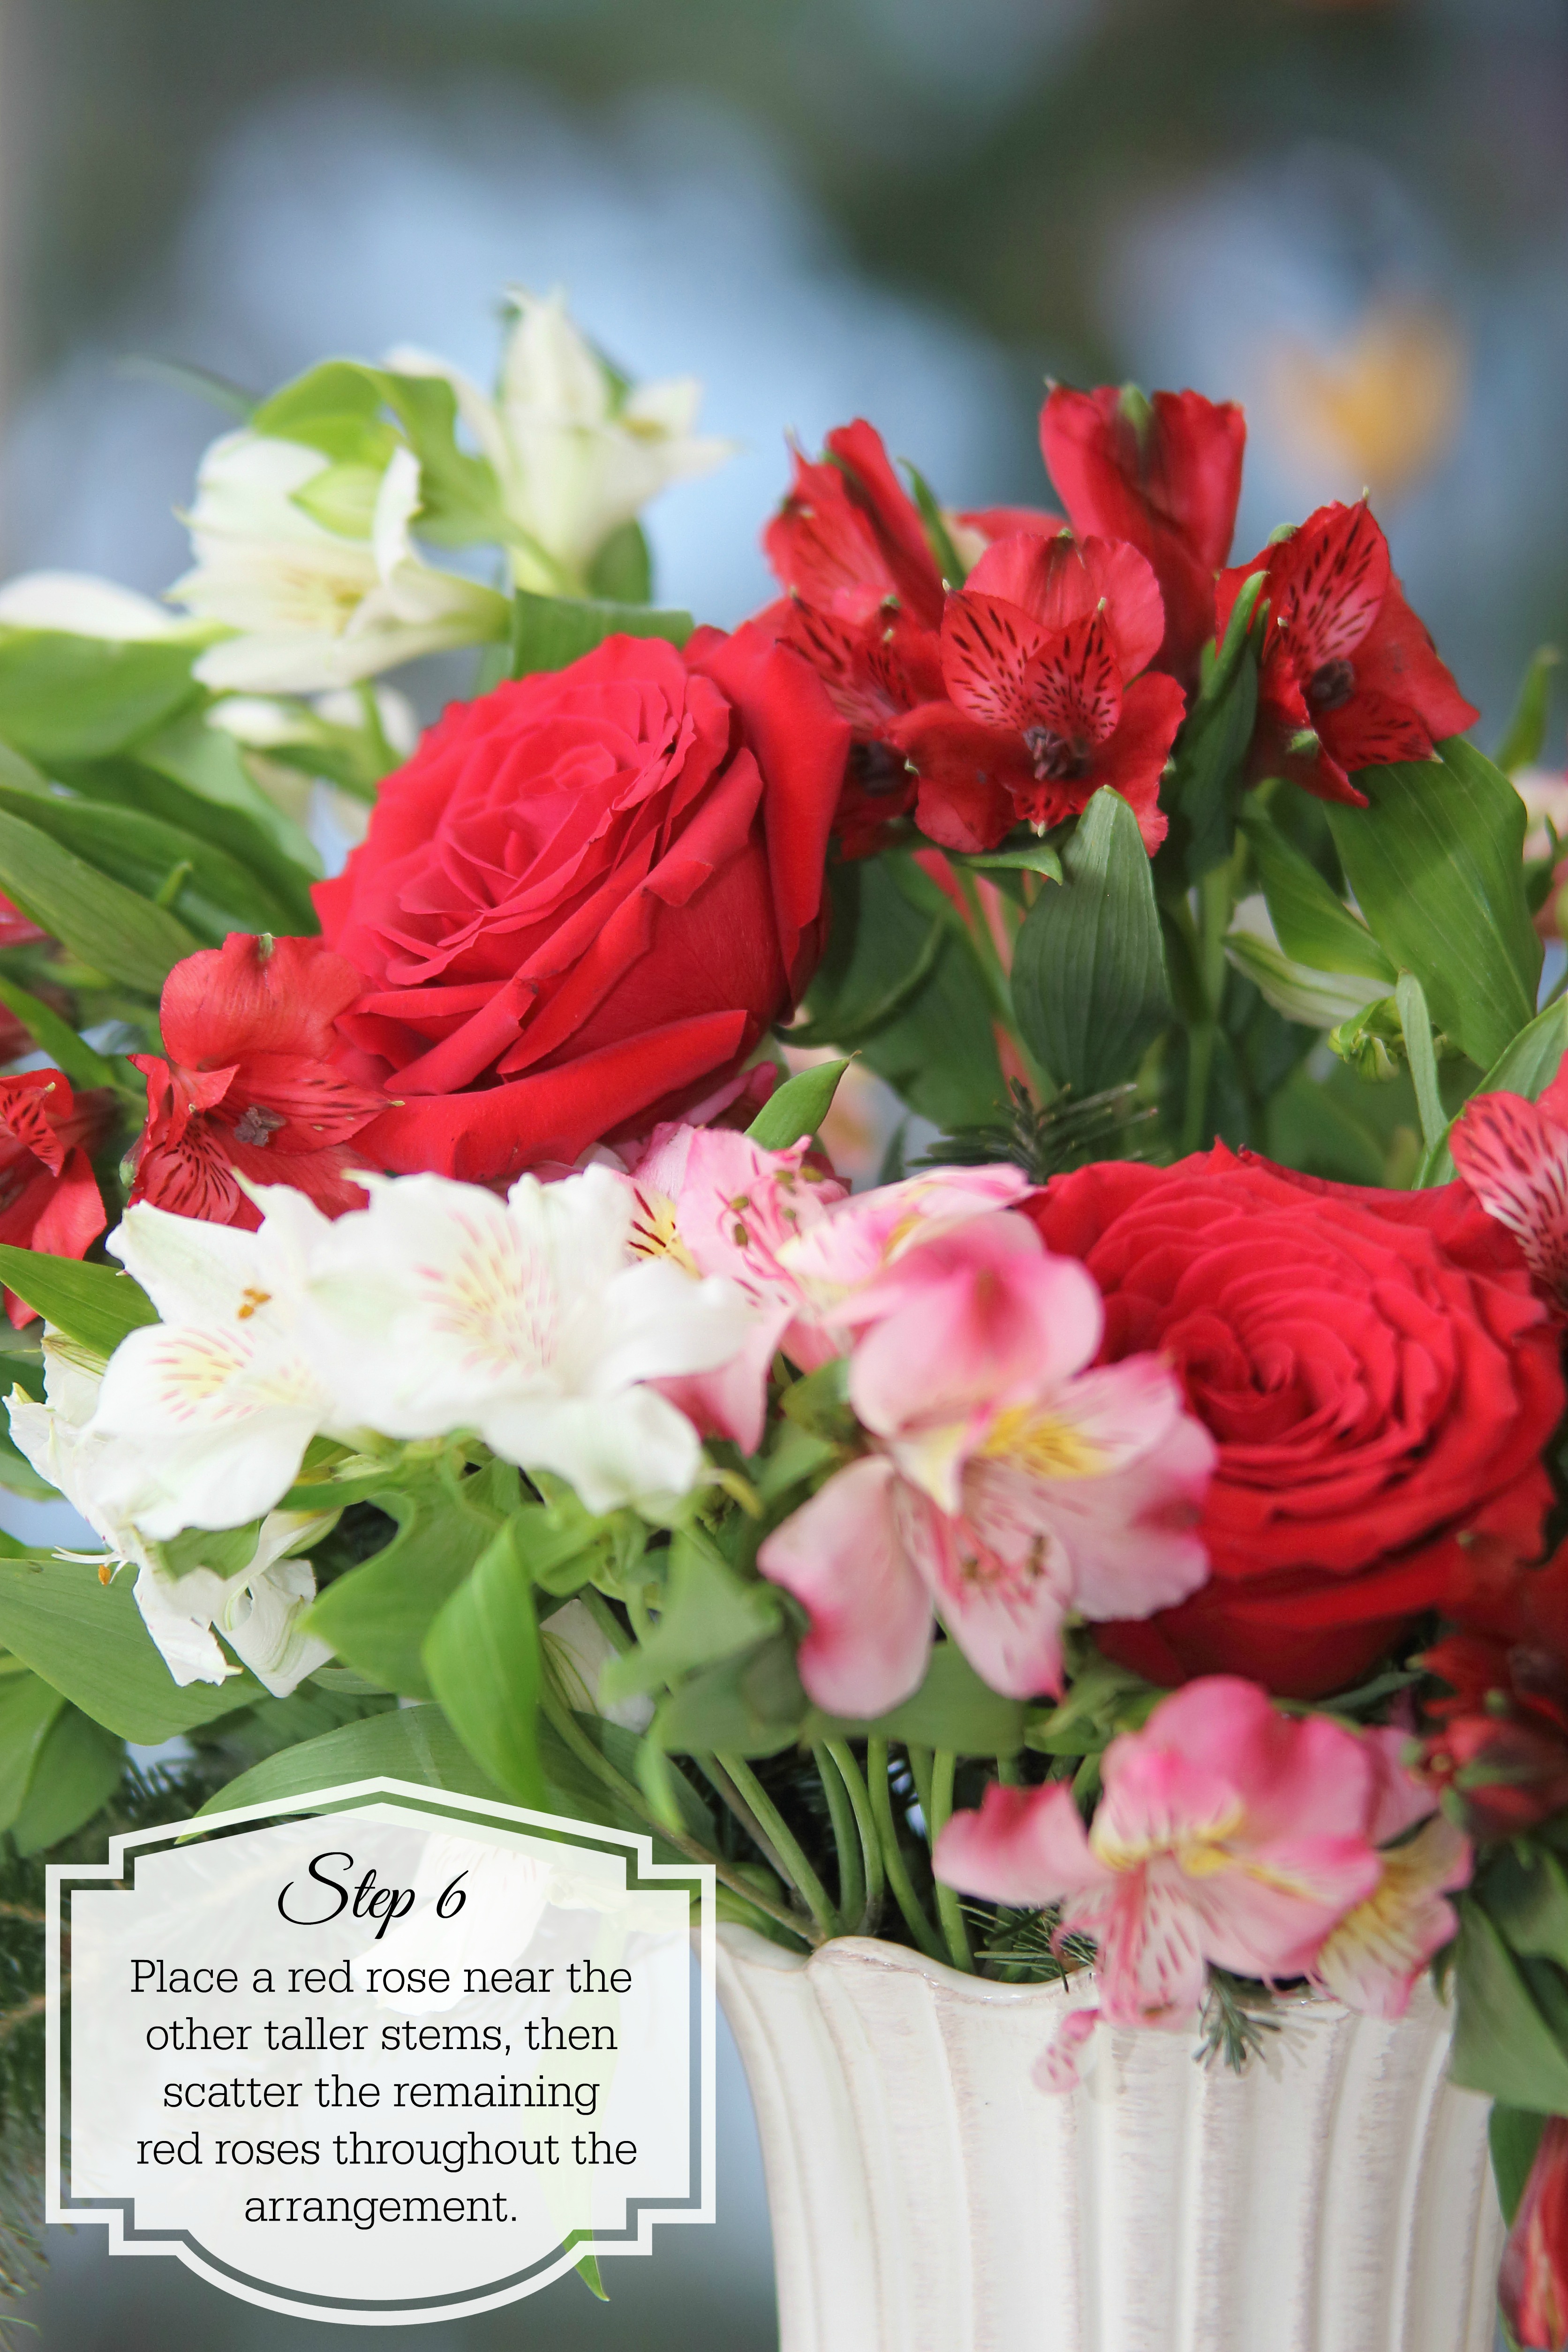
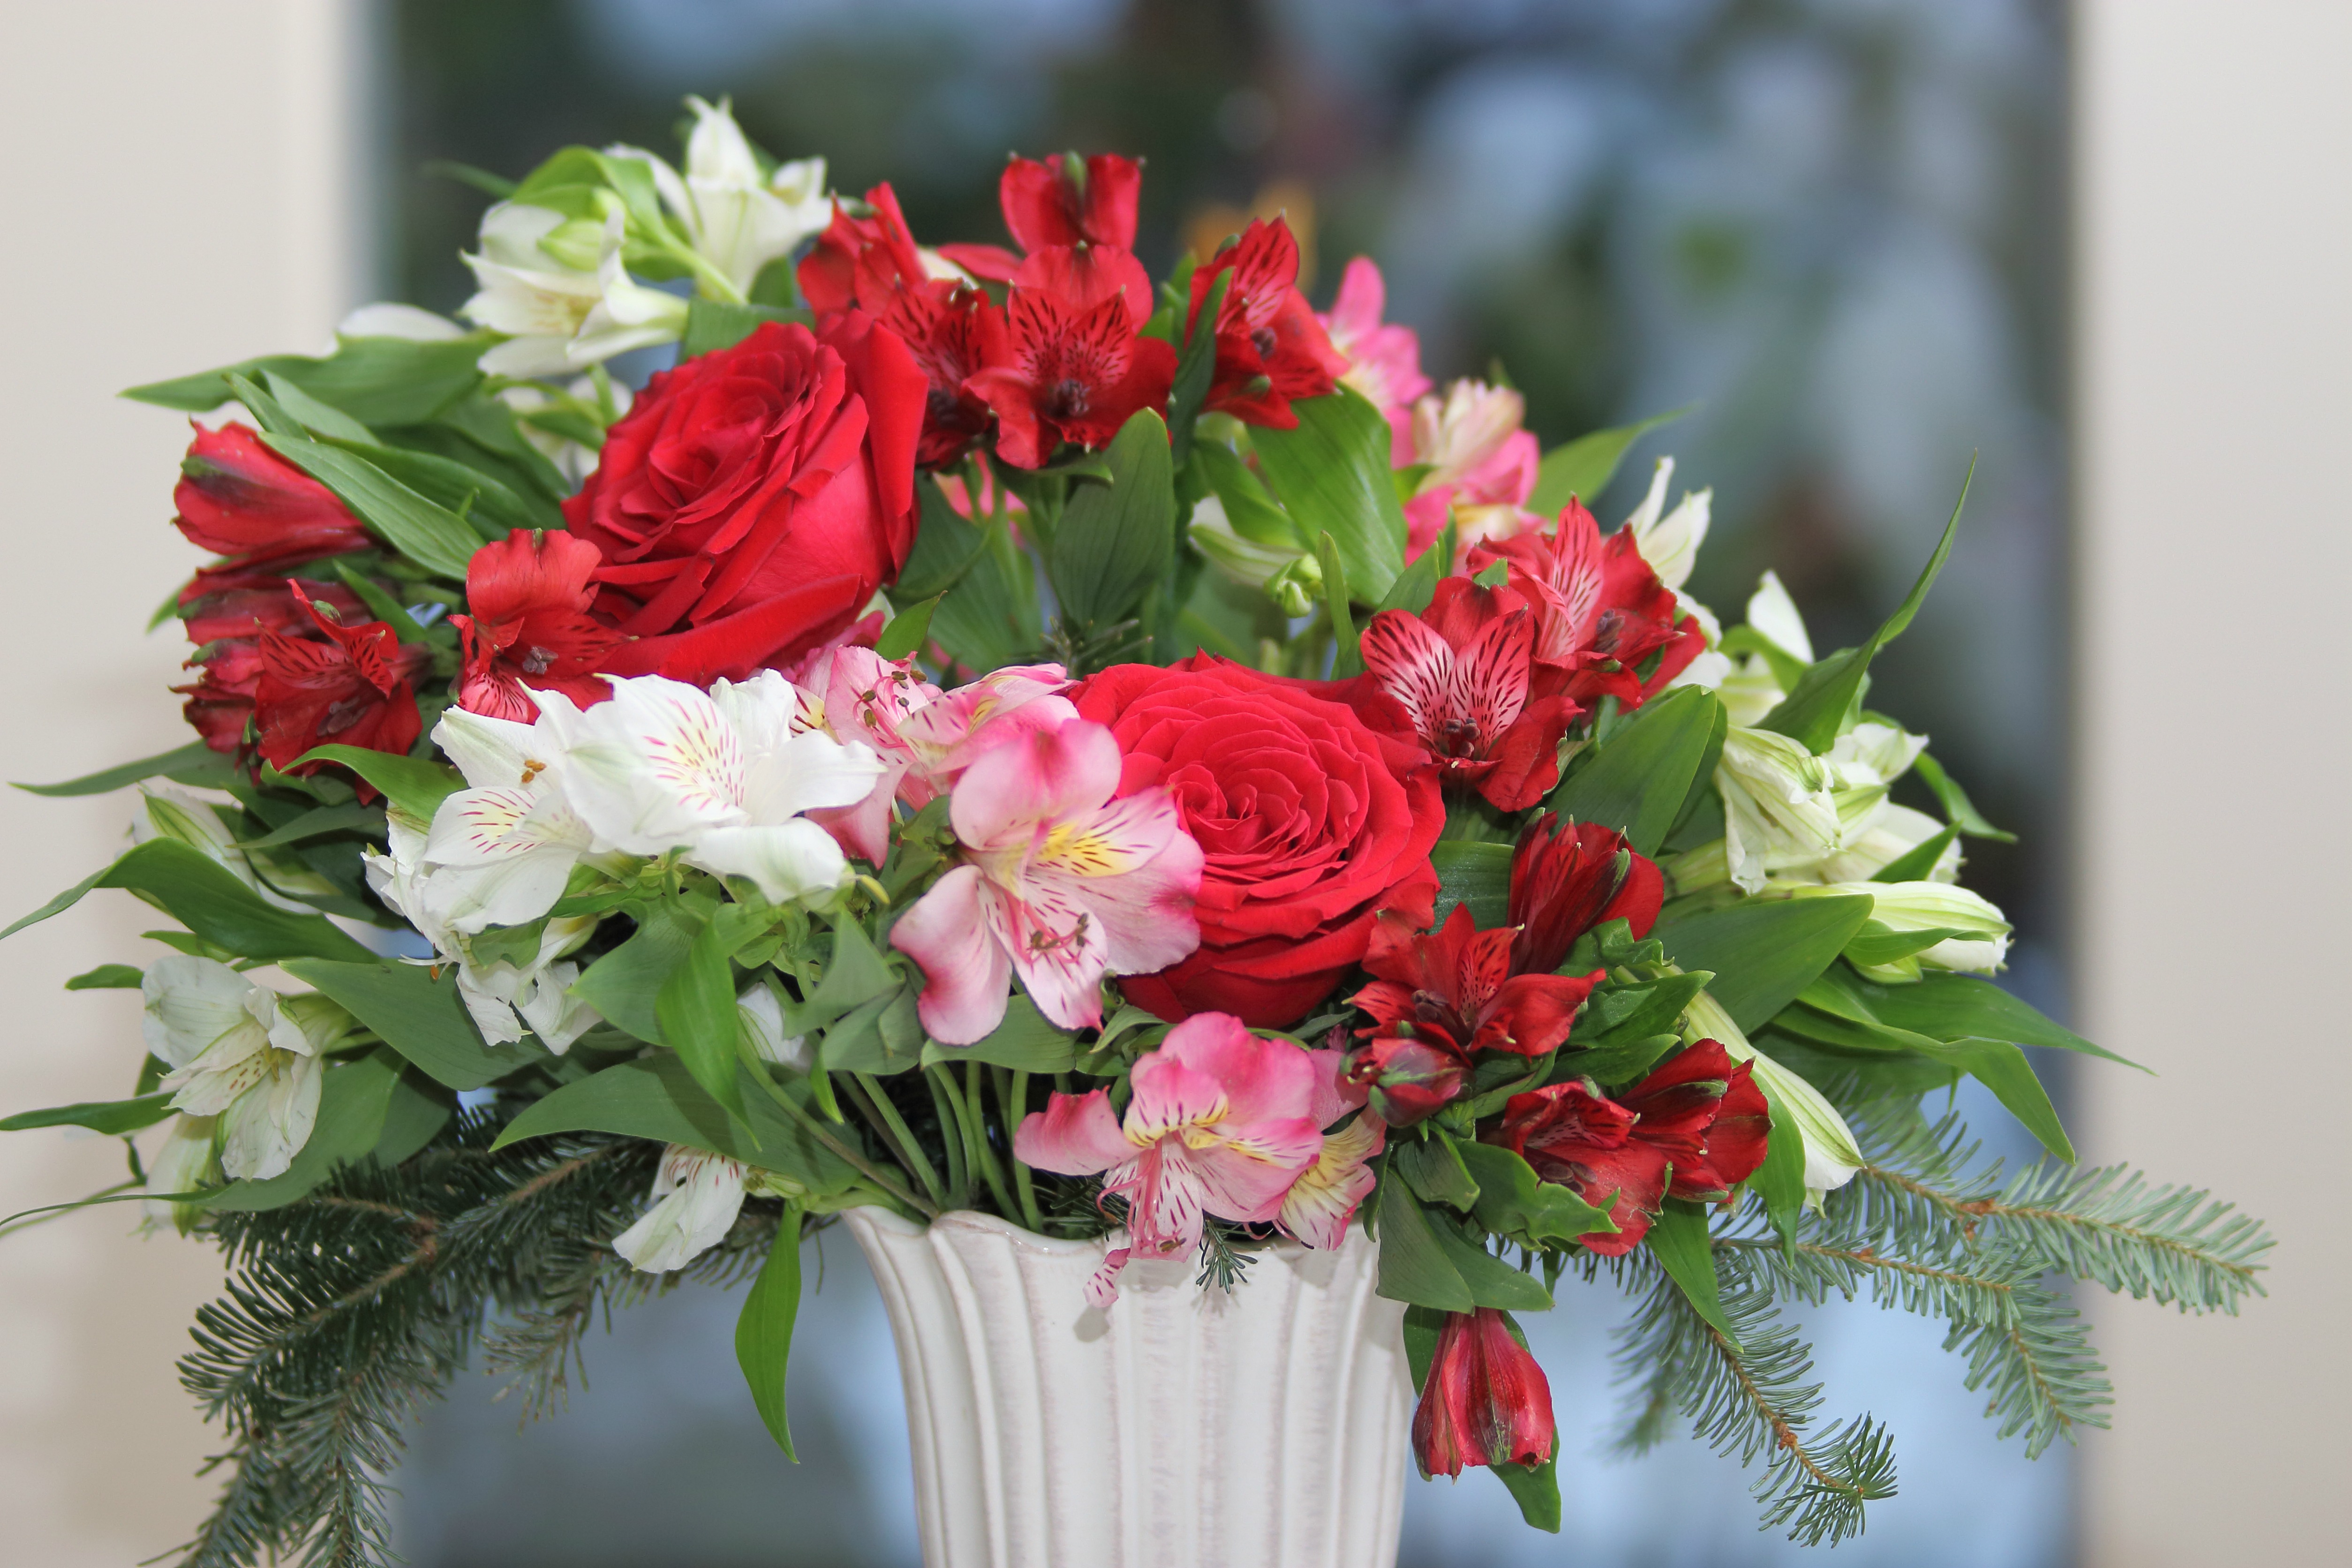
6. Take one of the red roses and place near the other taller stems and then scatter the other red roses throughout the arrangement.
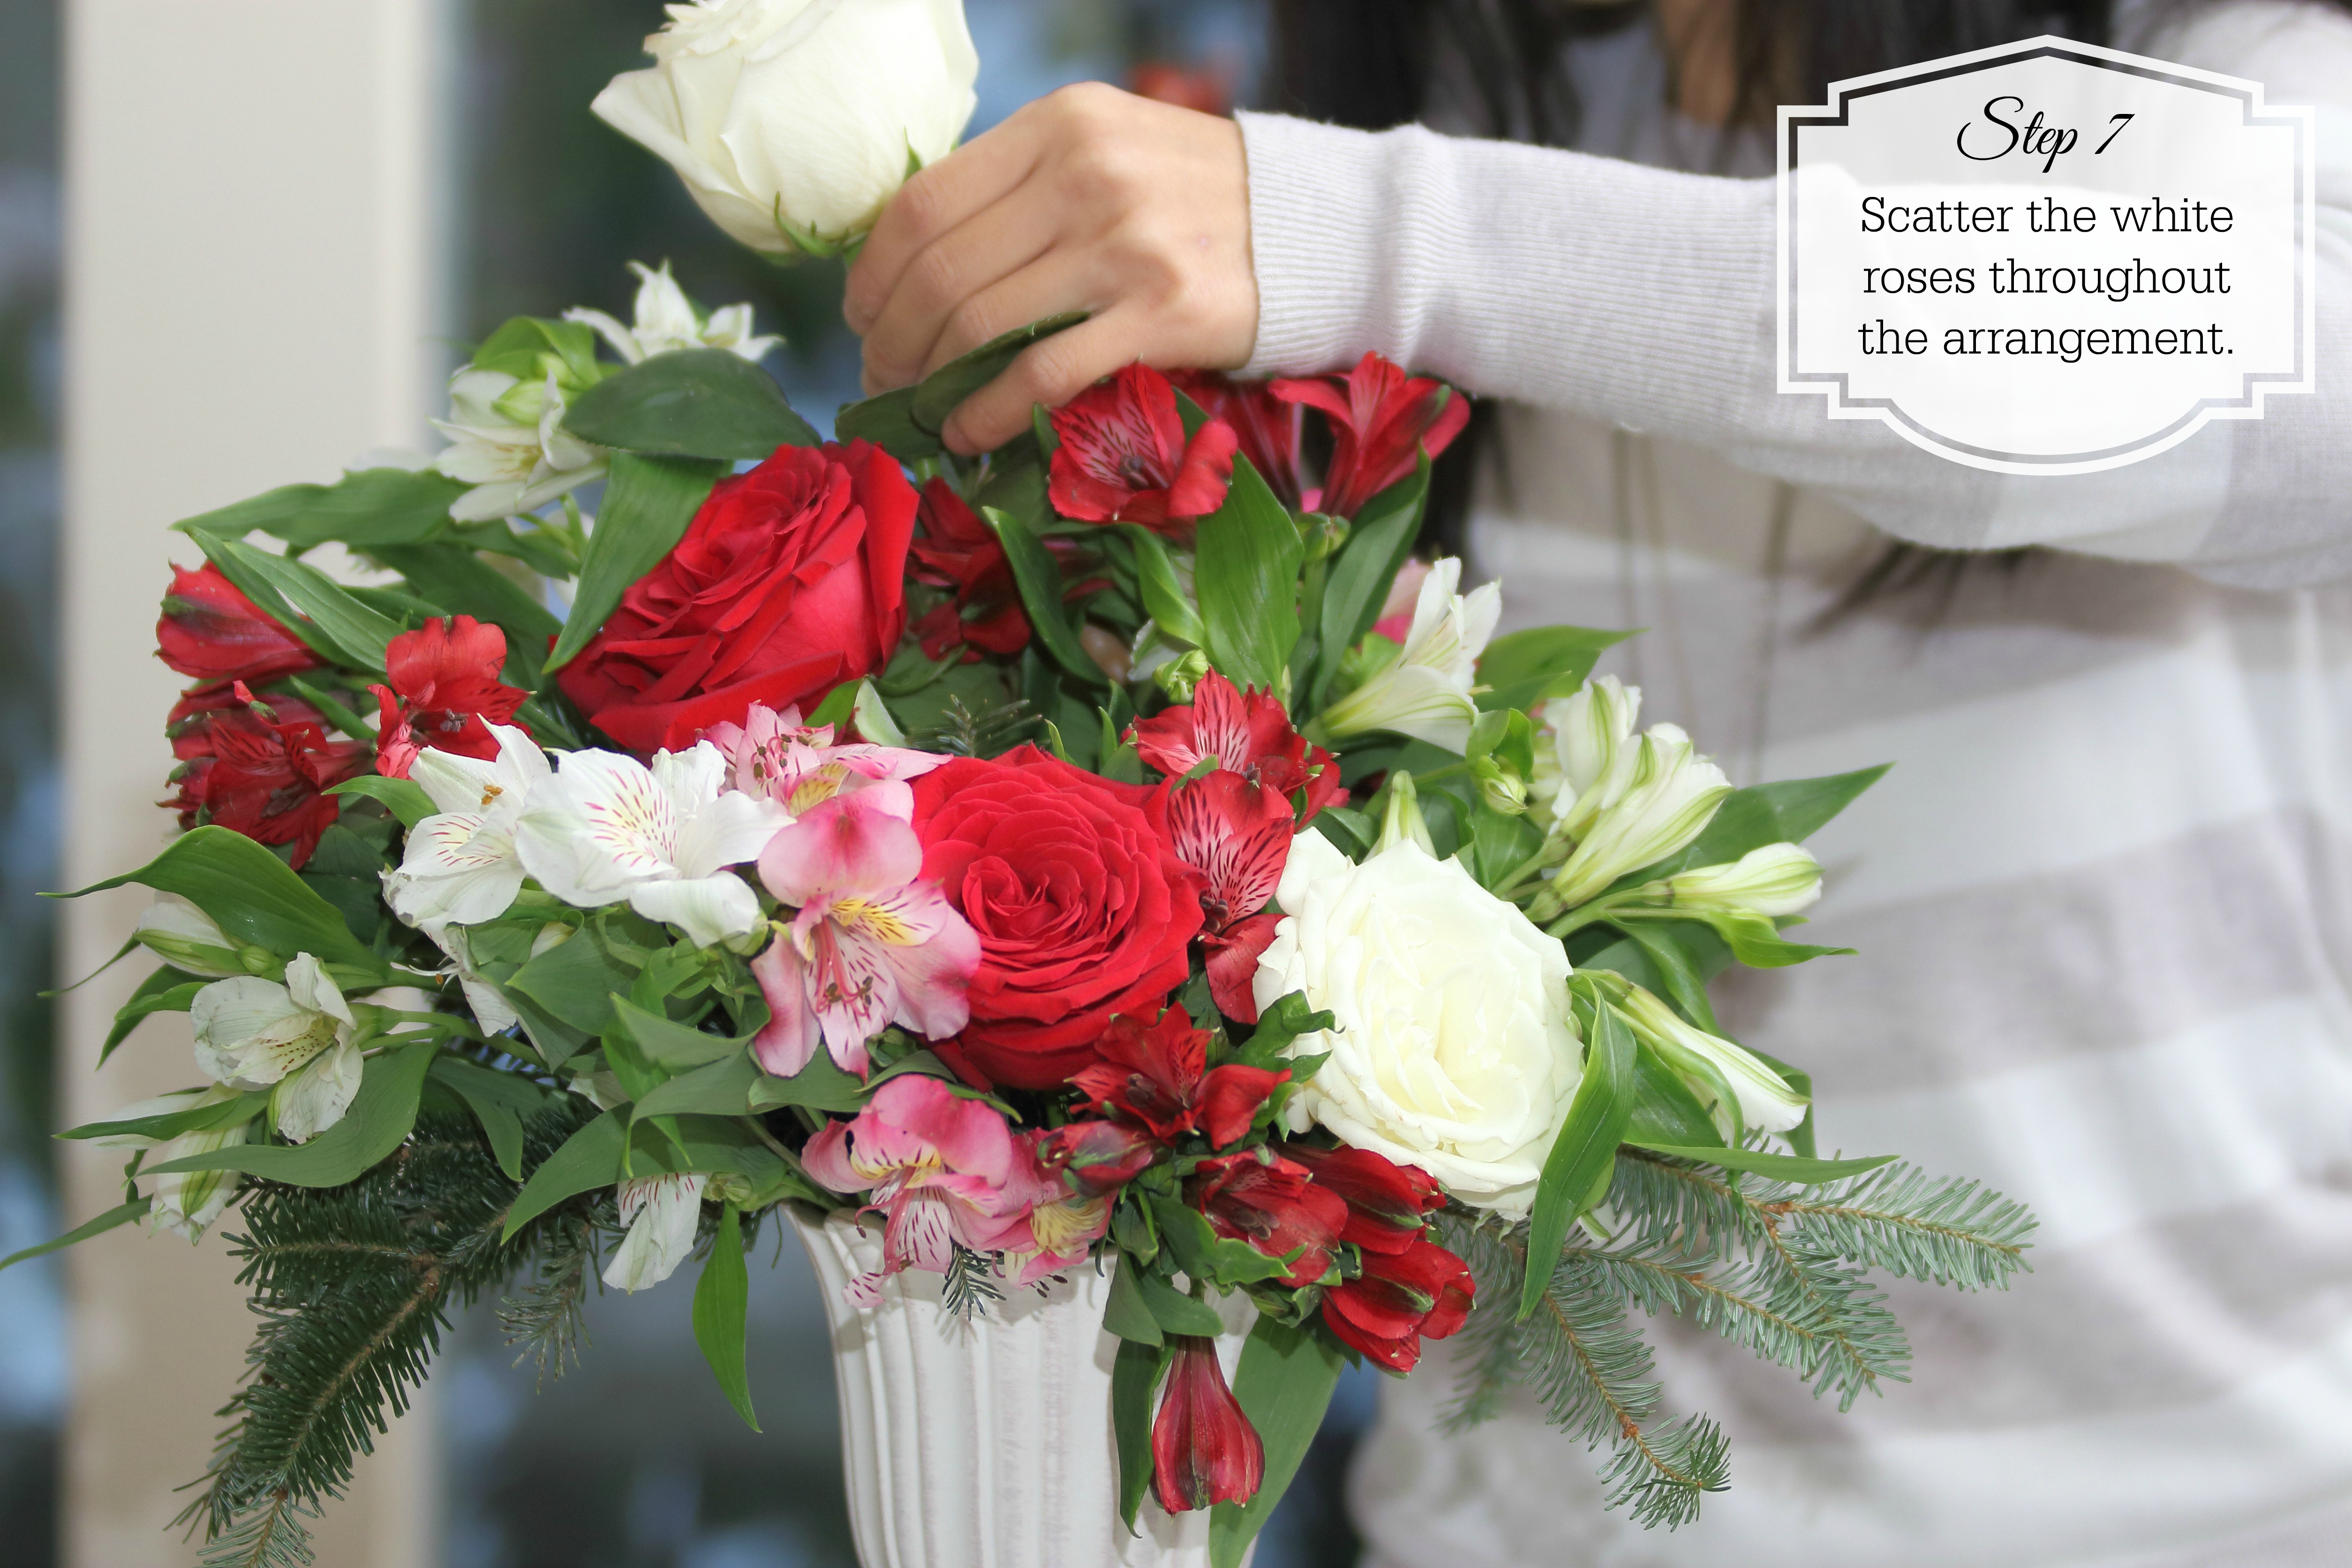
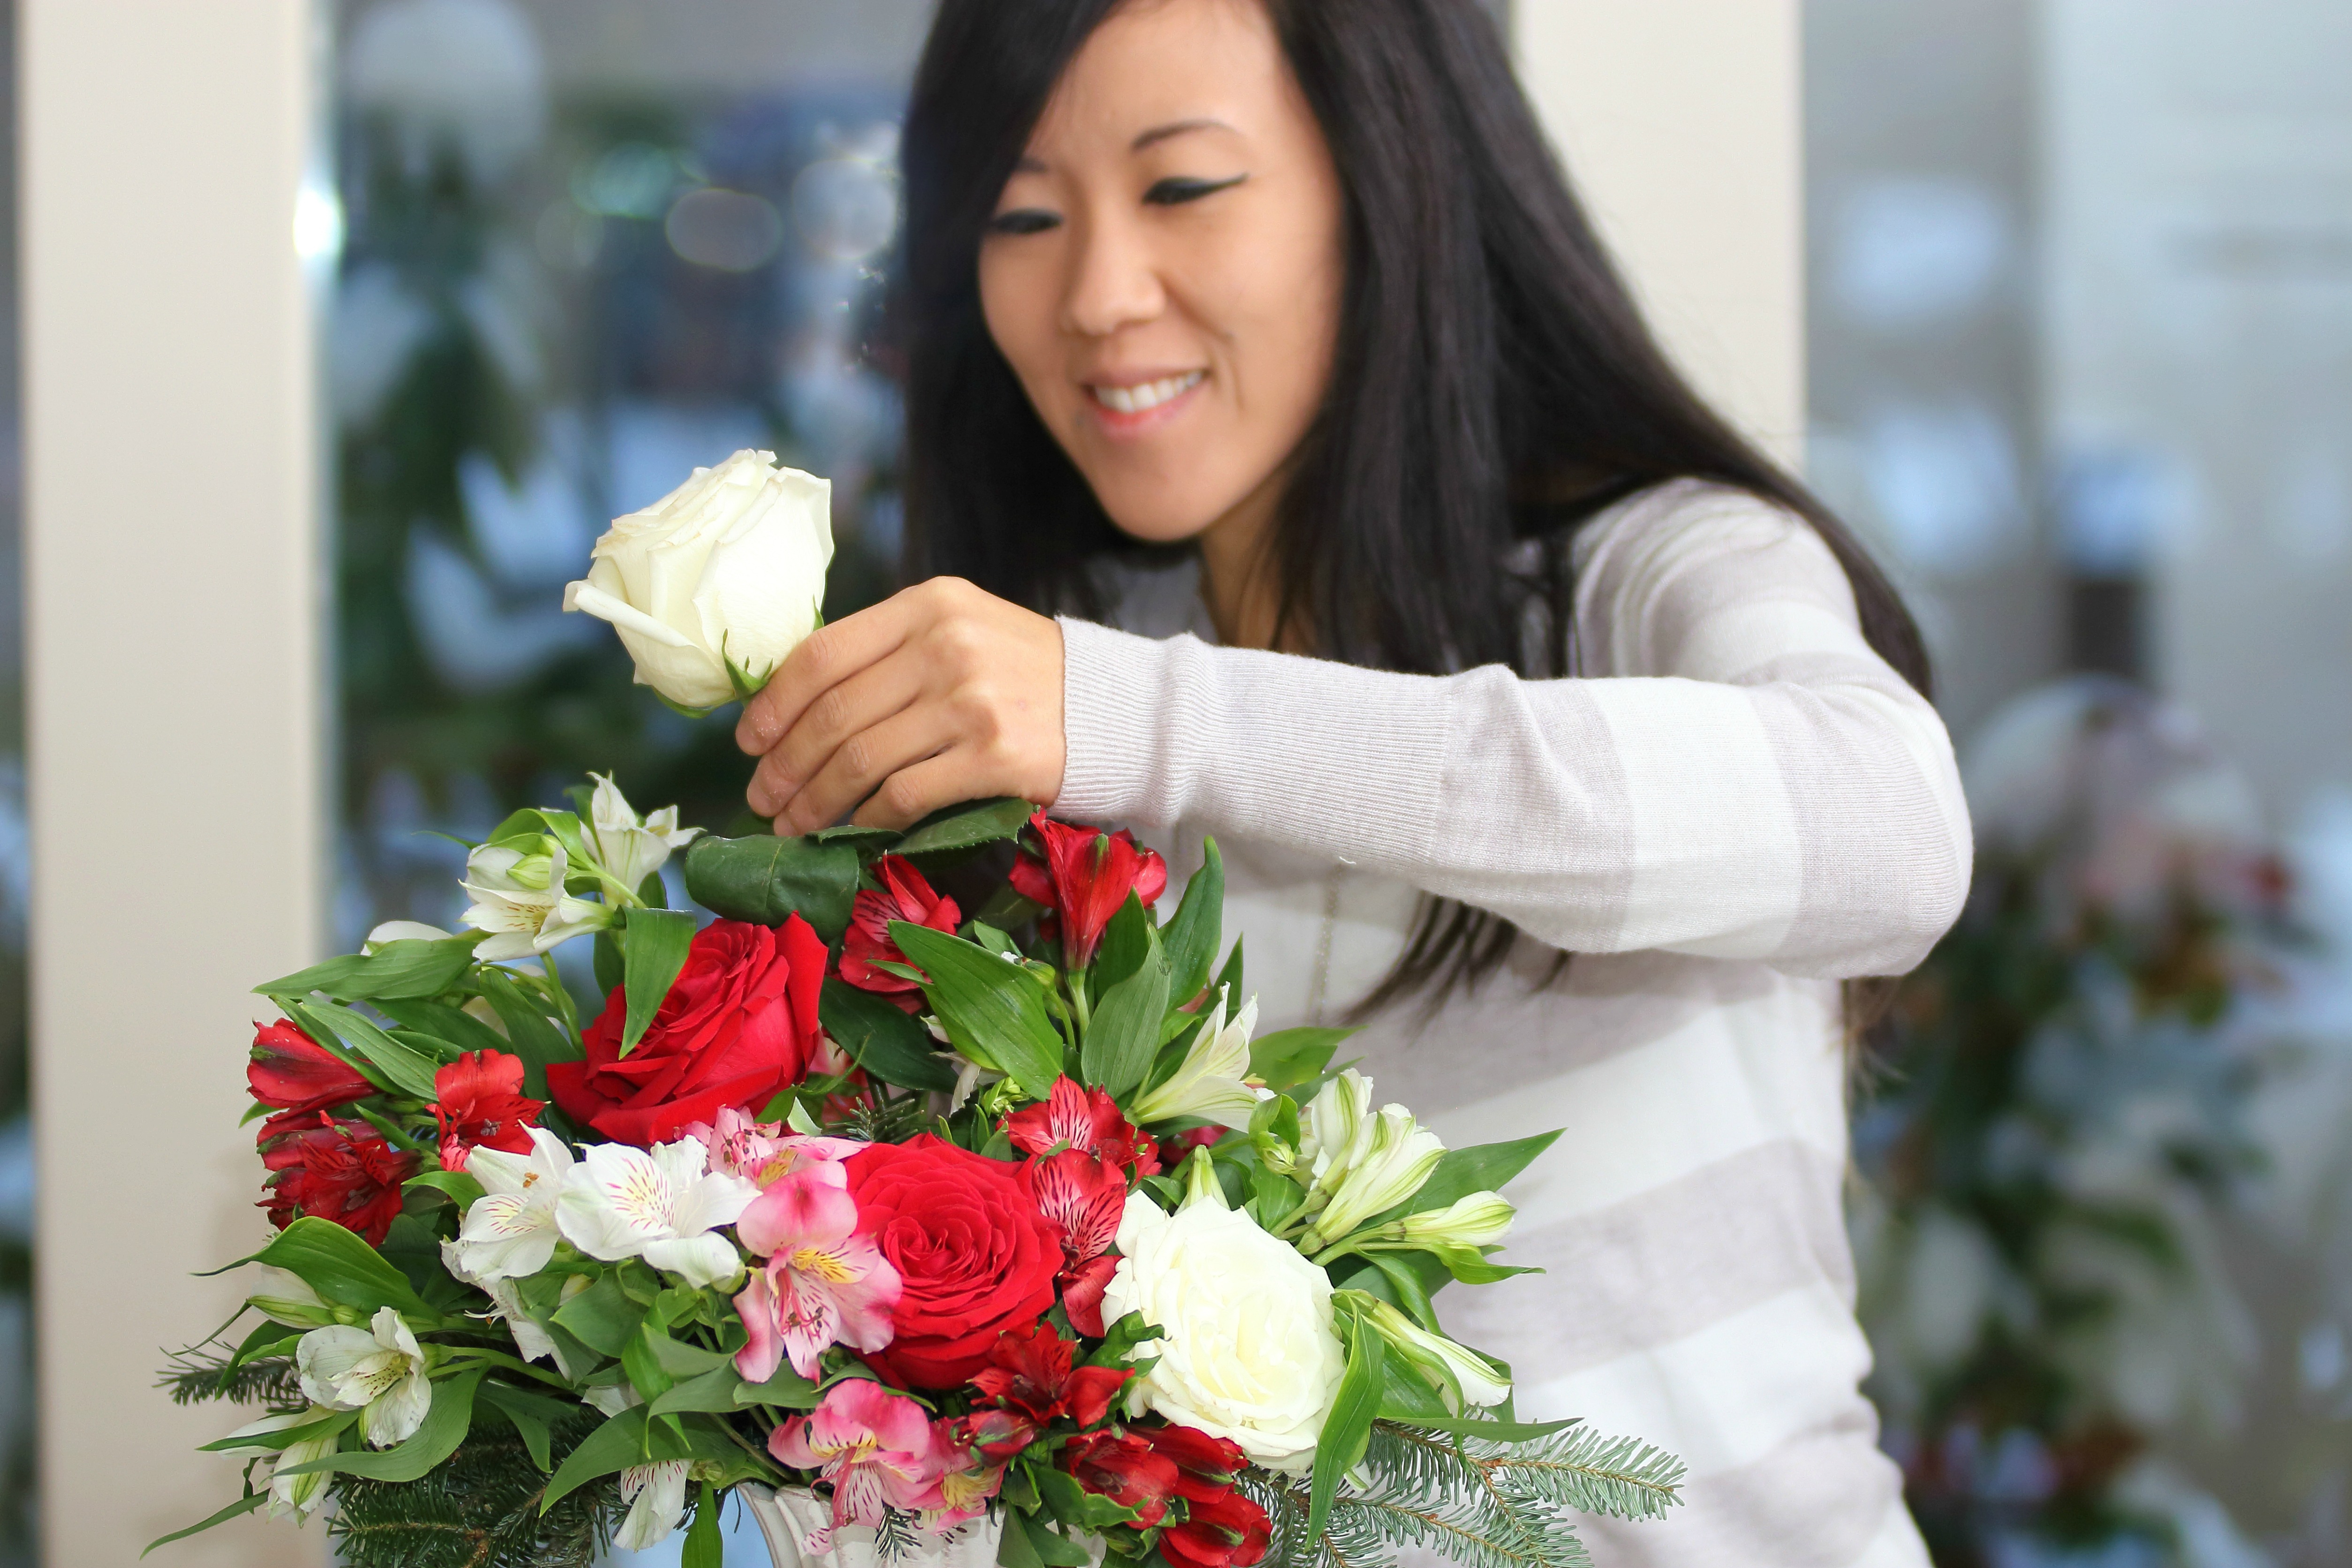
7. Scatter the white roses throughout the arrangement.
8. Take the 3 carnations, group them together and place them near the front of the vase (front right quarter), on the same side as the taller evergreen branches.
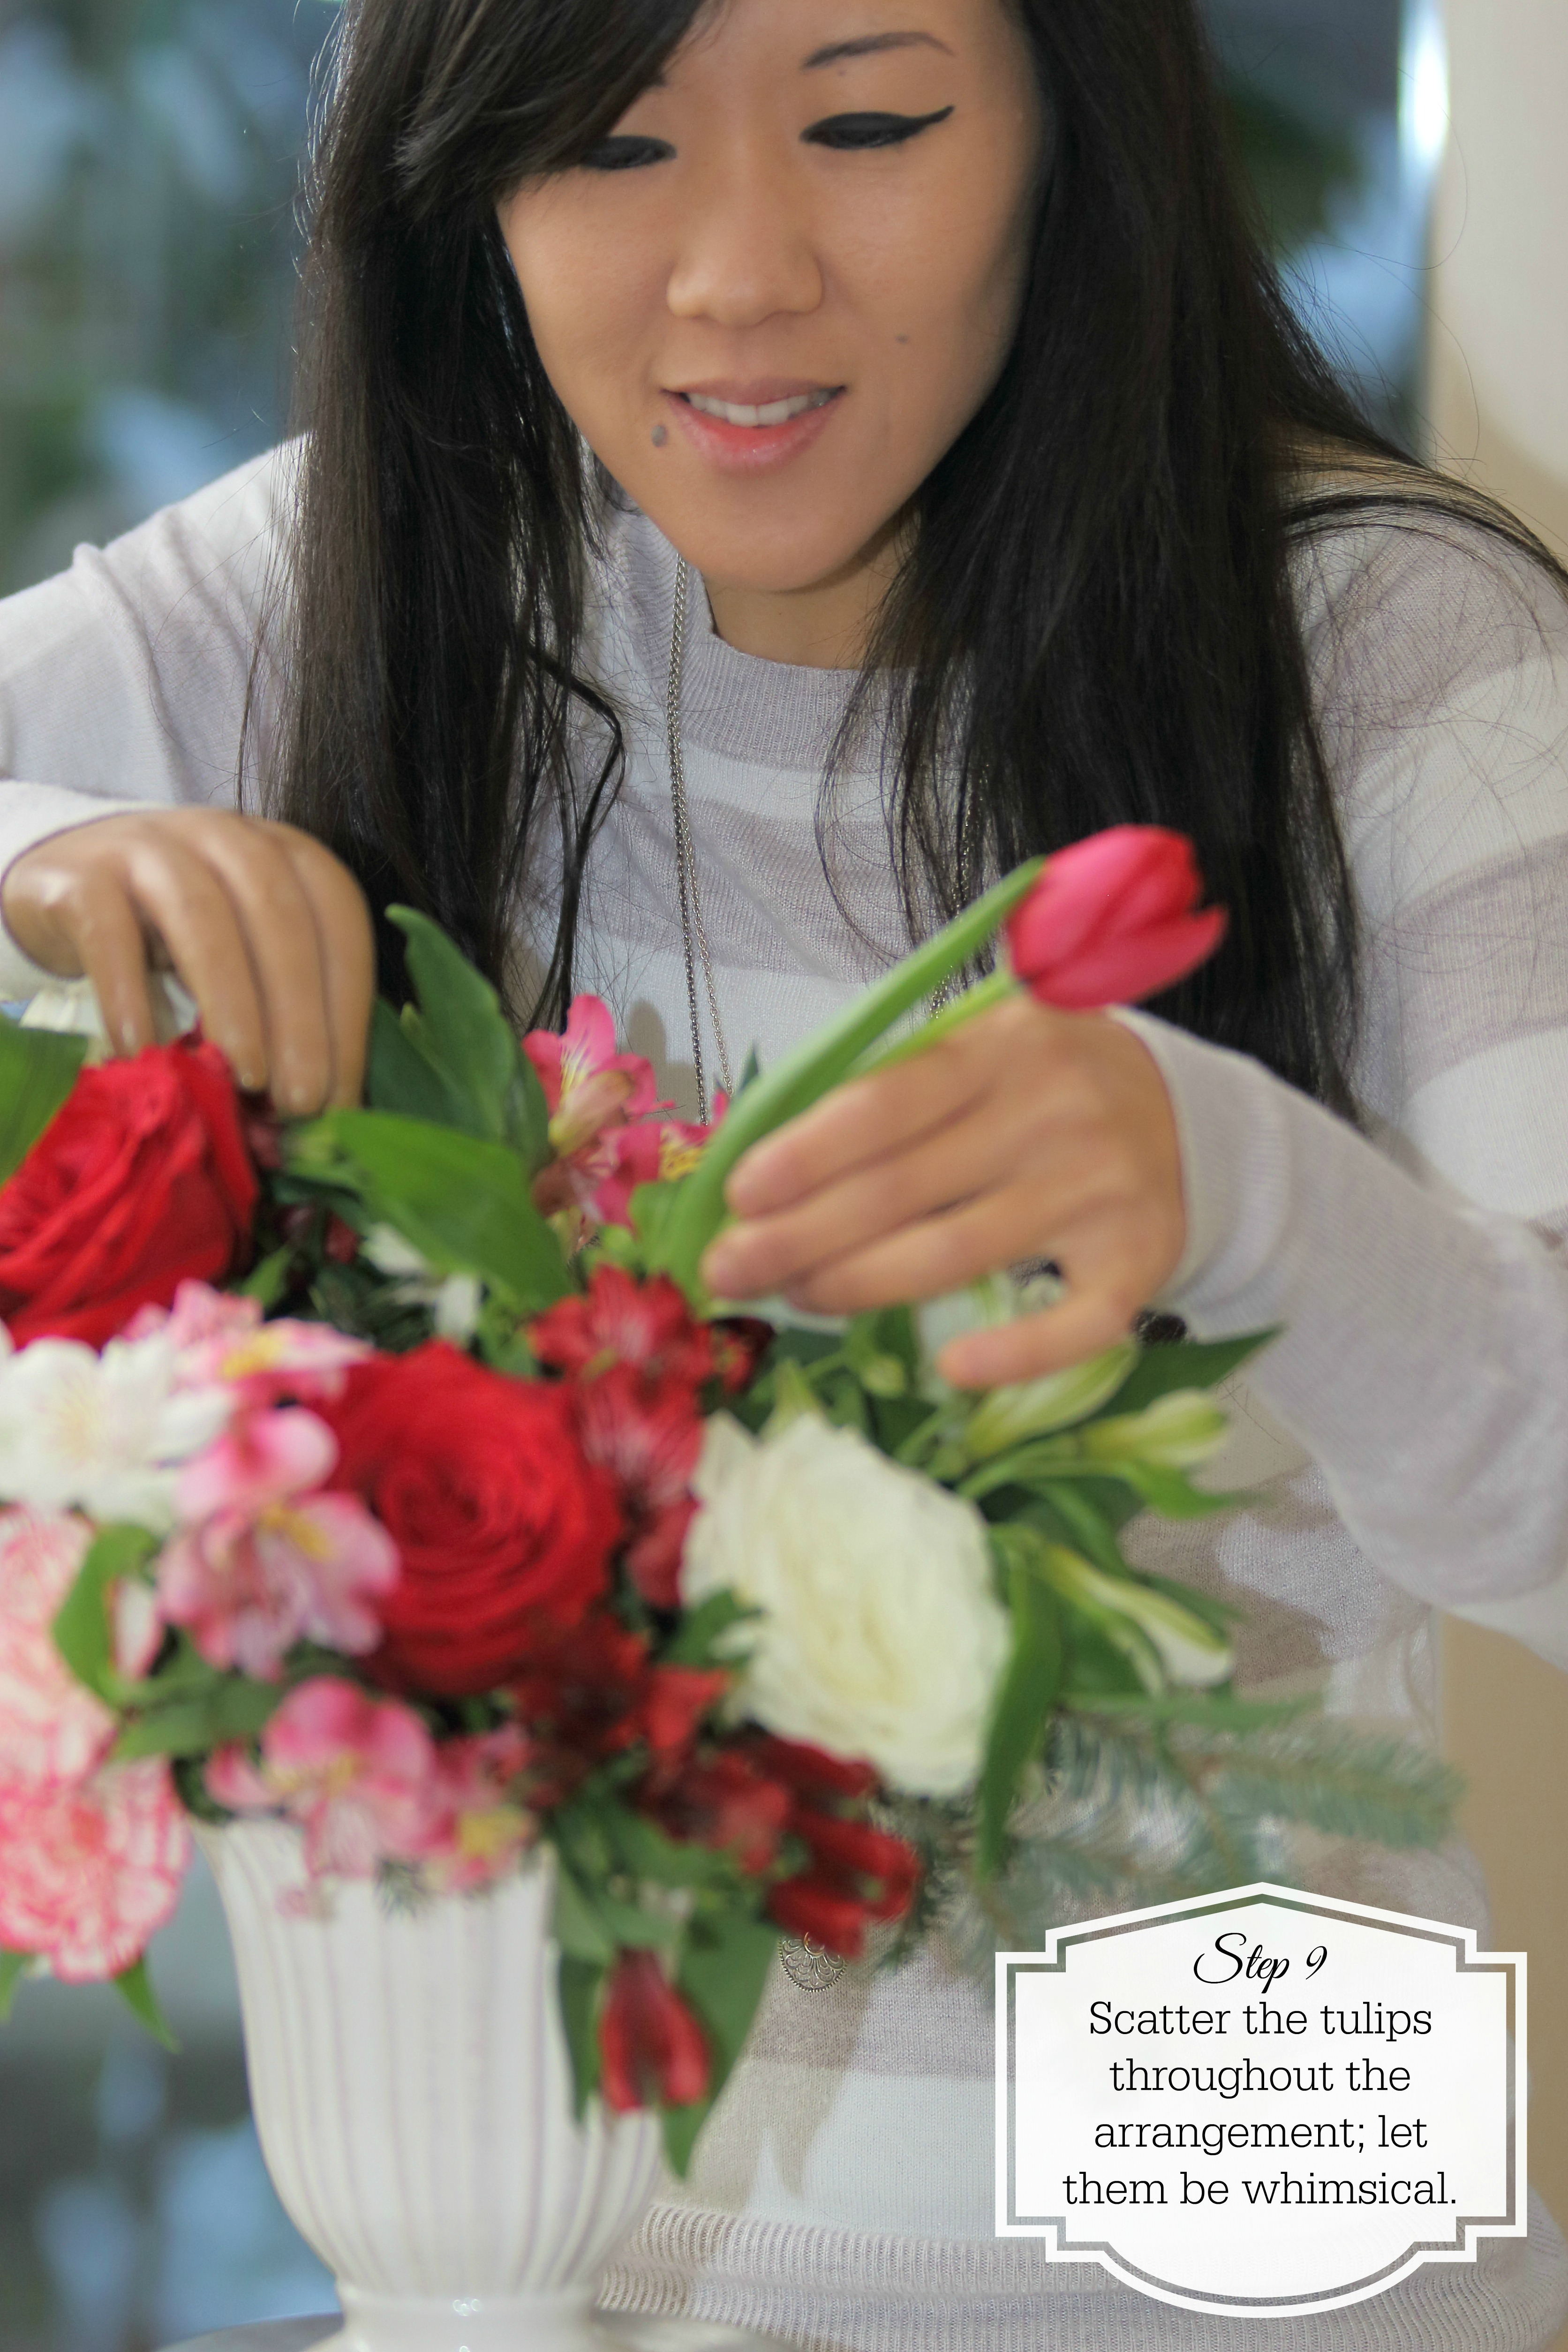
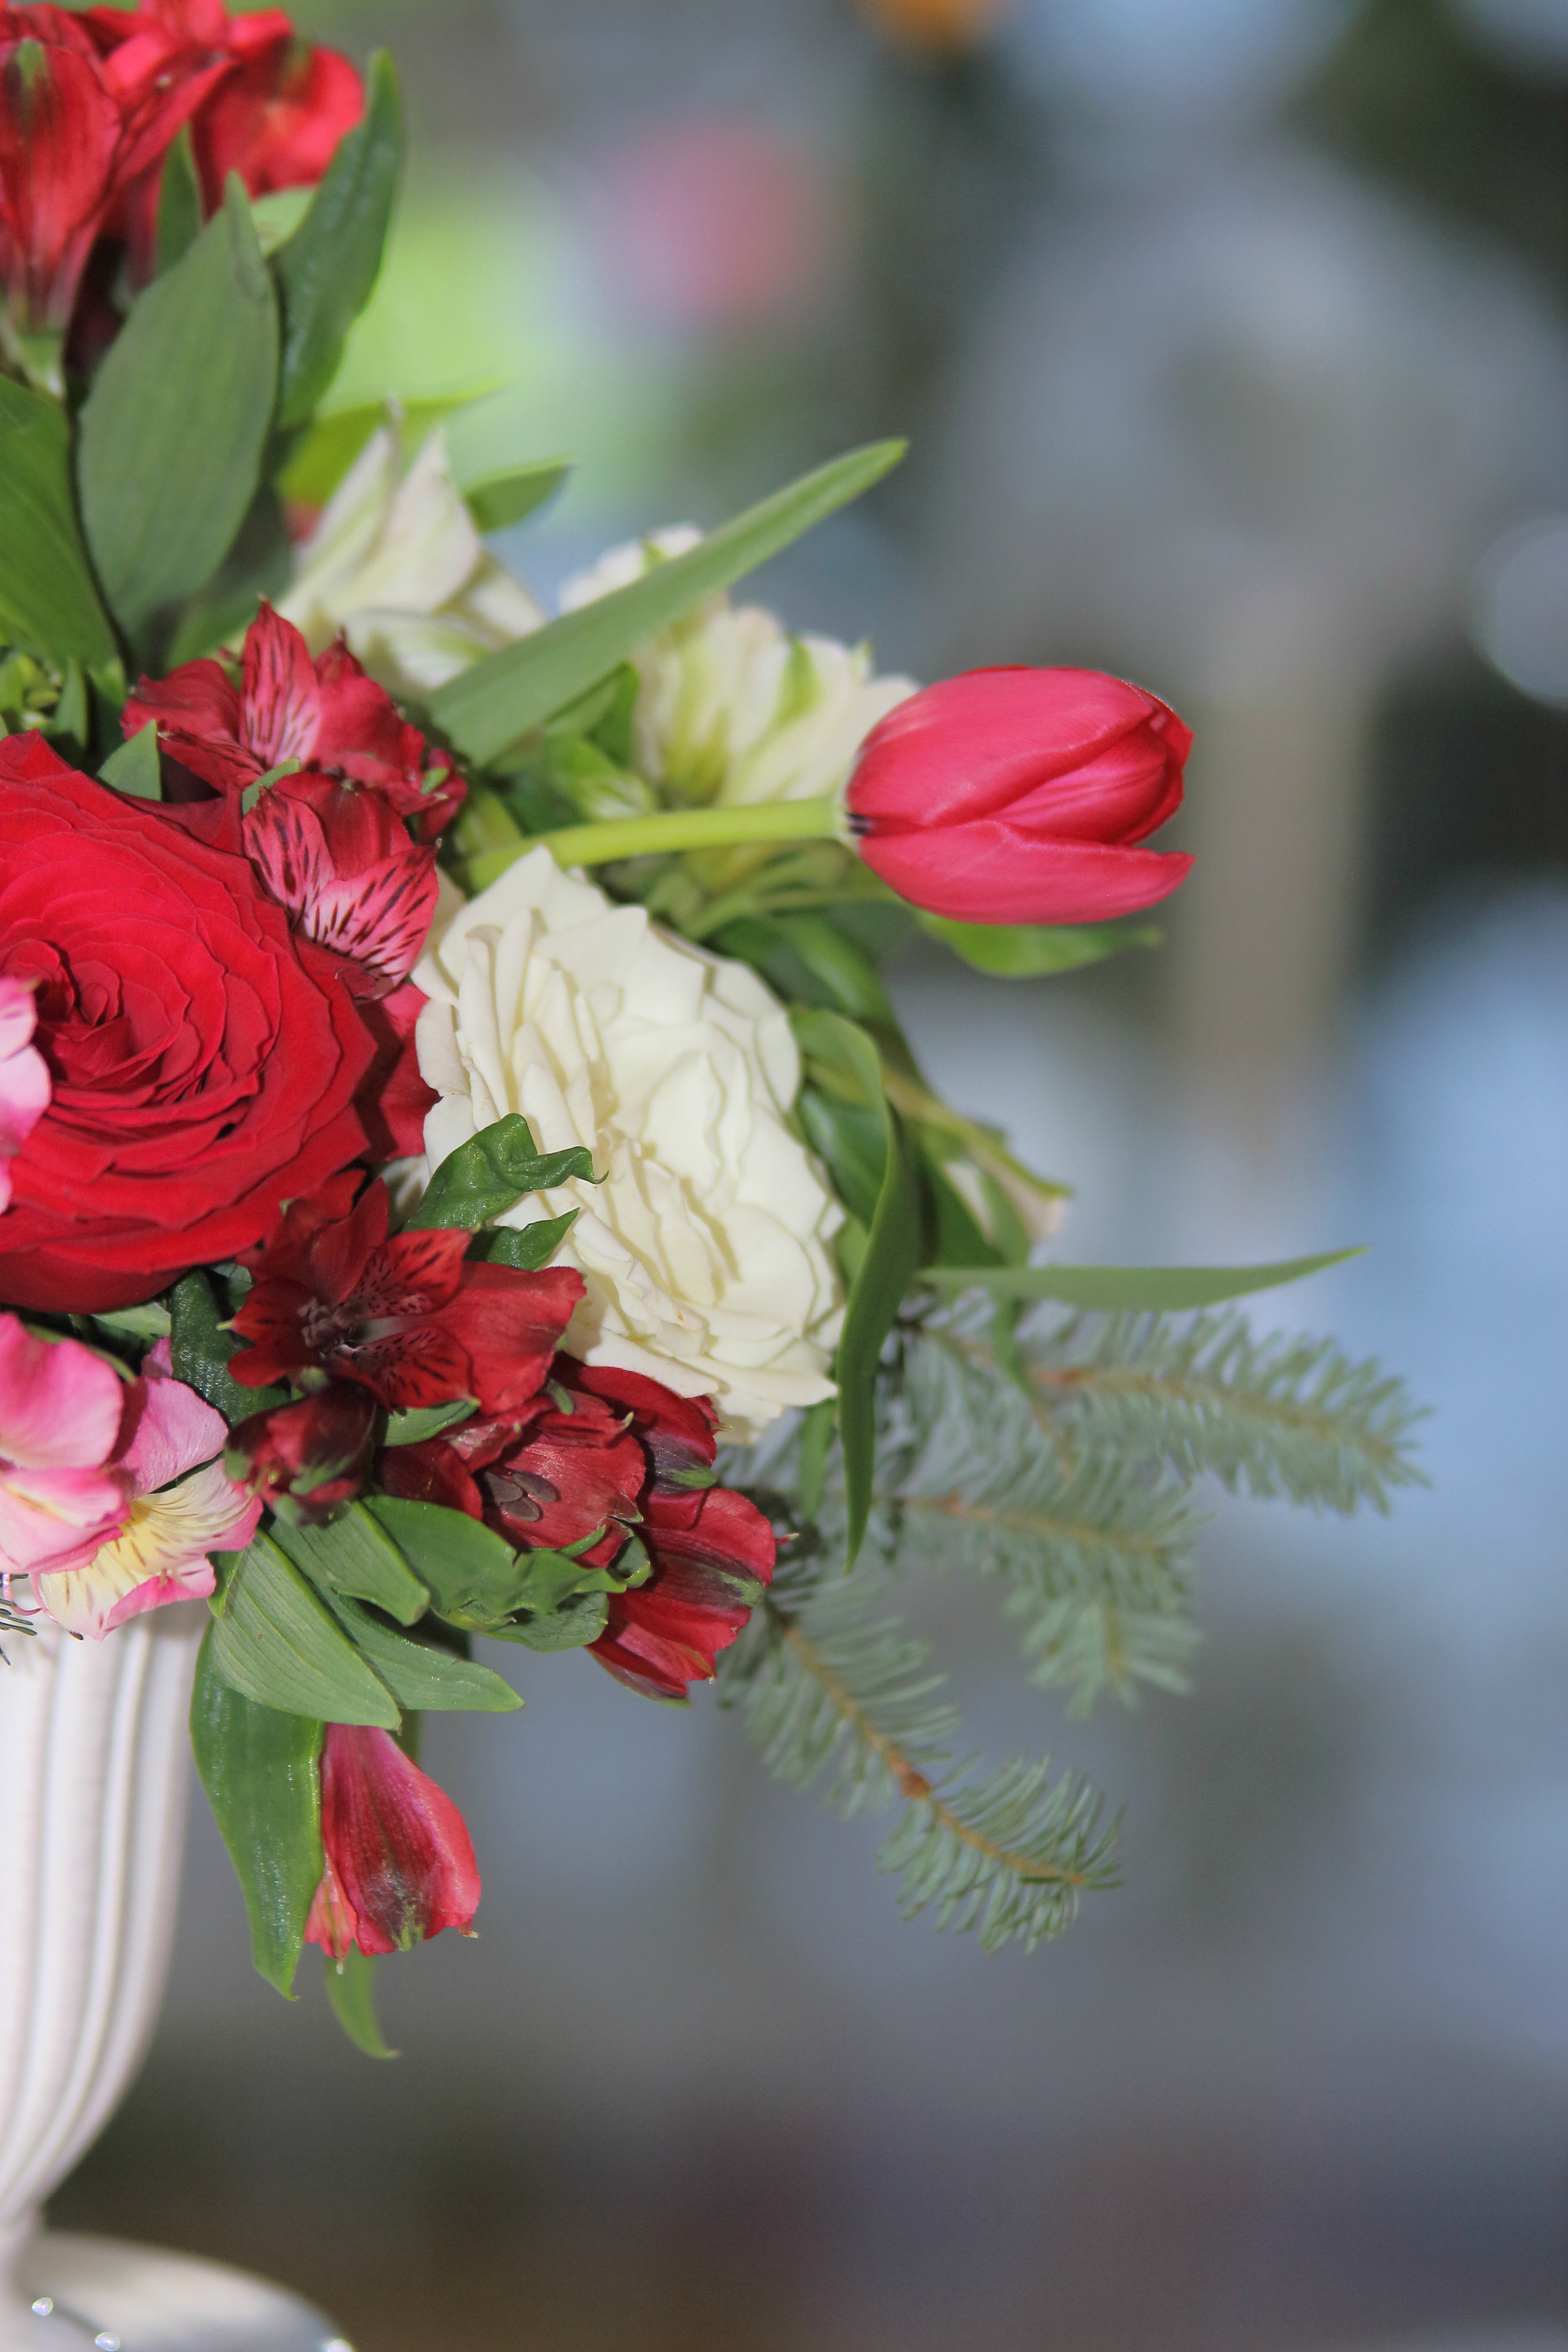
9. Next take the tulips and scatter them throughout the arrangement. These tulips are meant to be wild and whimsical, so let them just go where they want to.
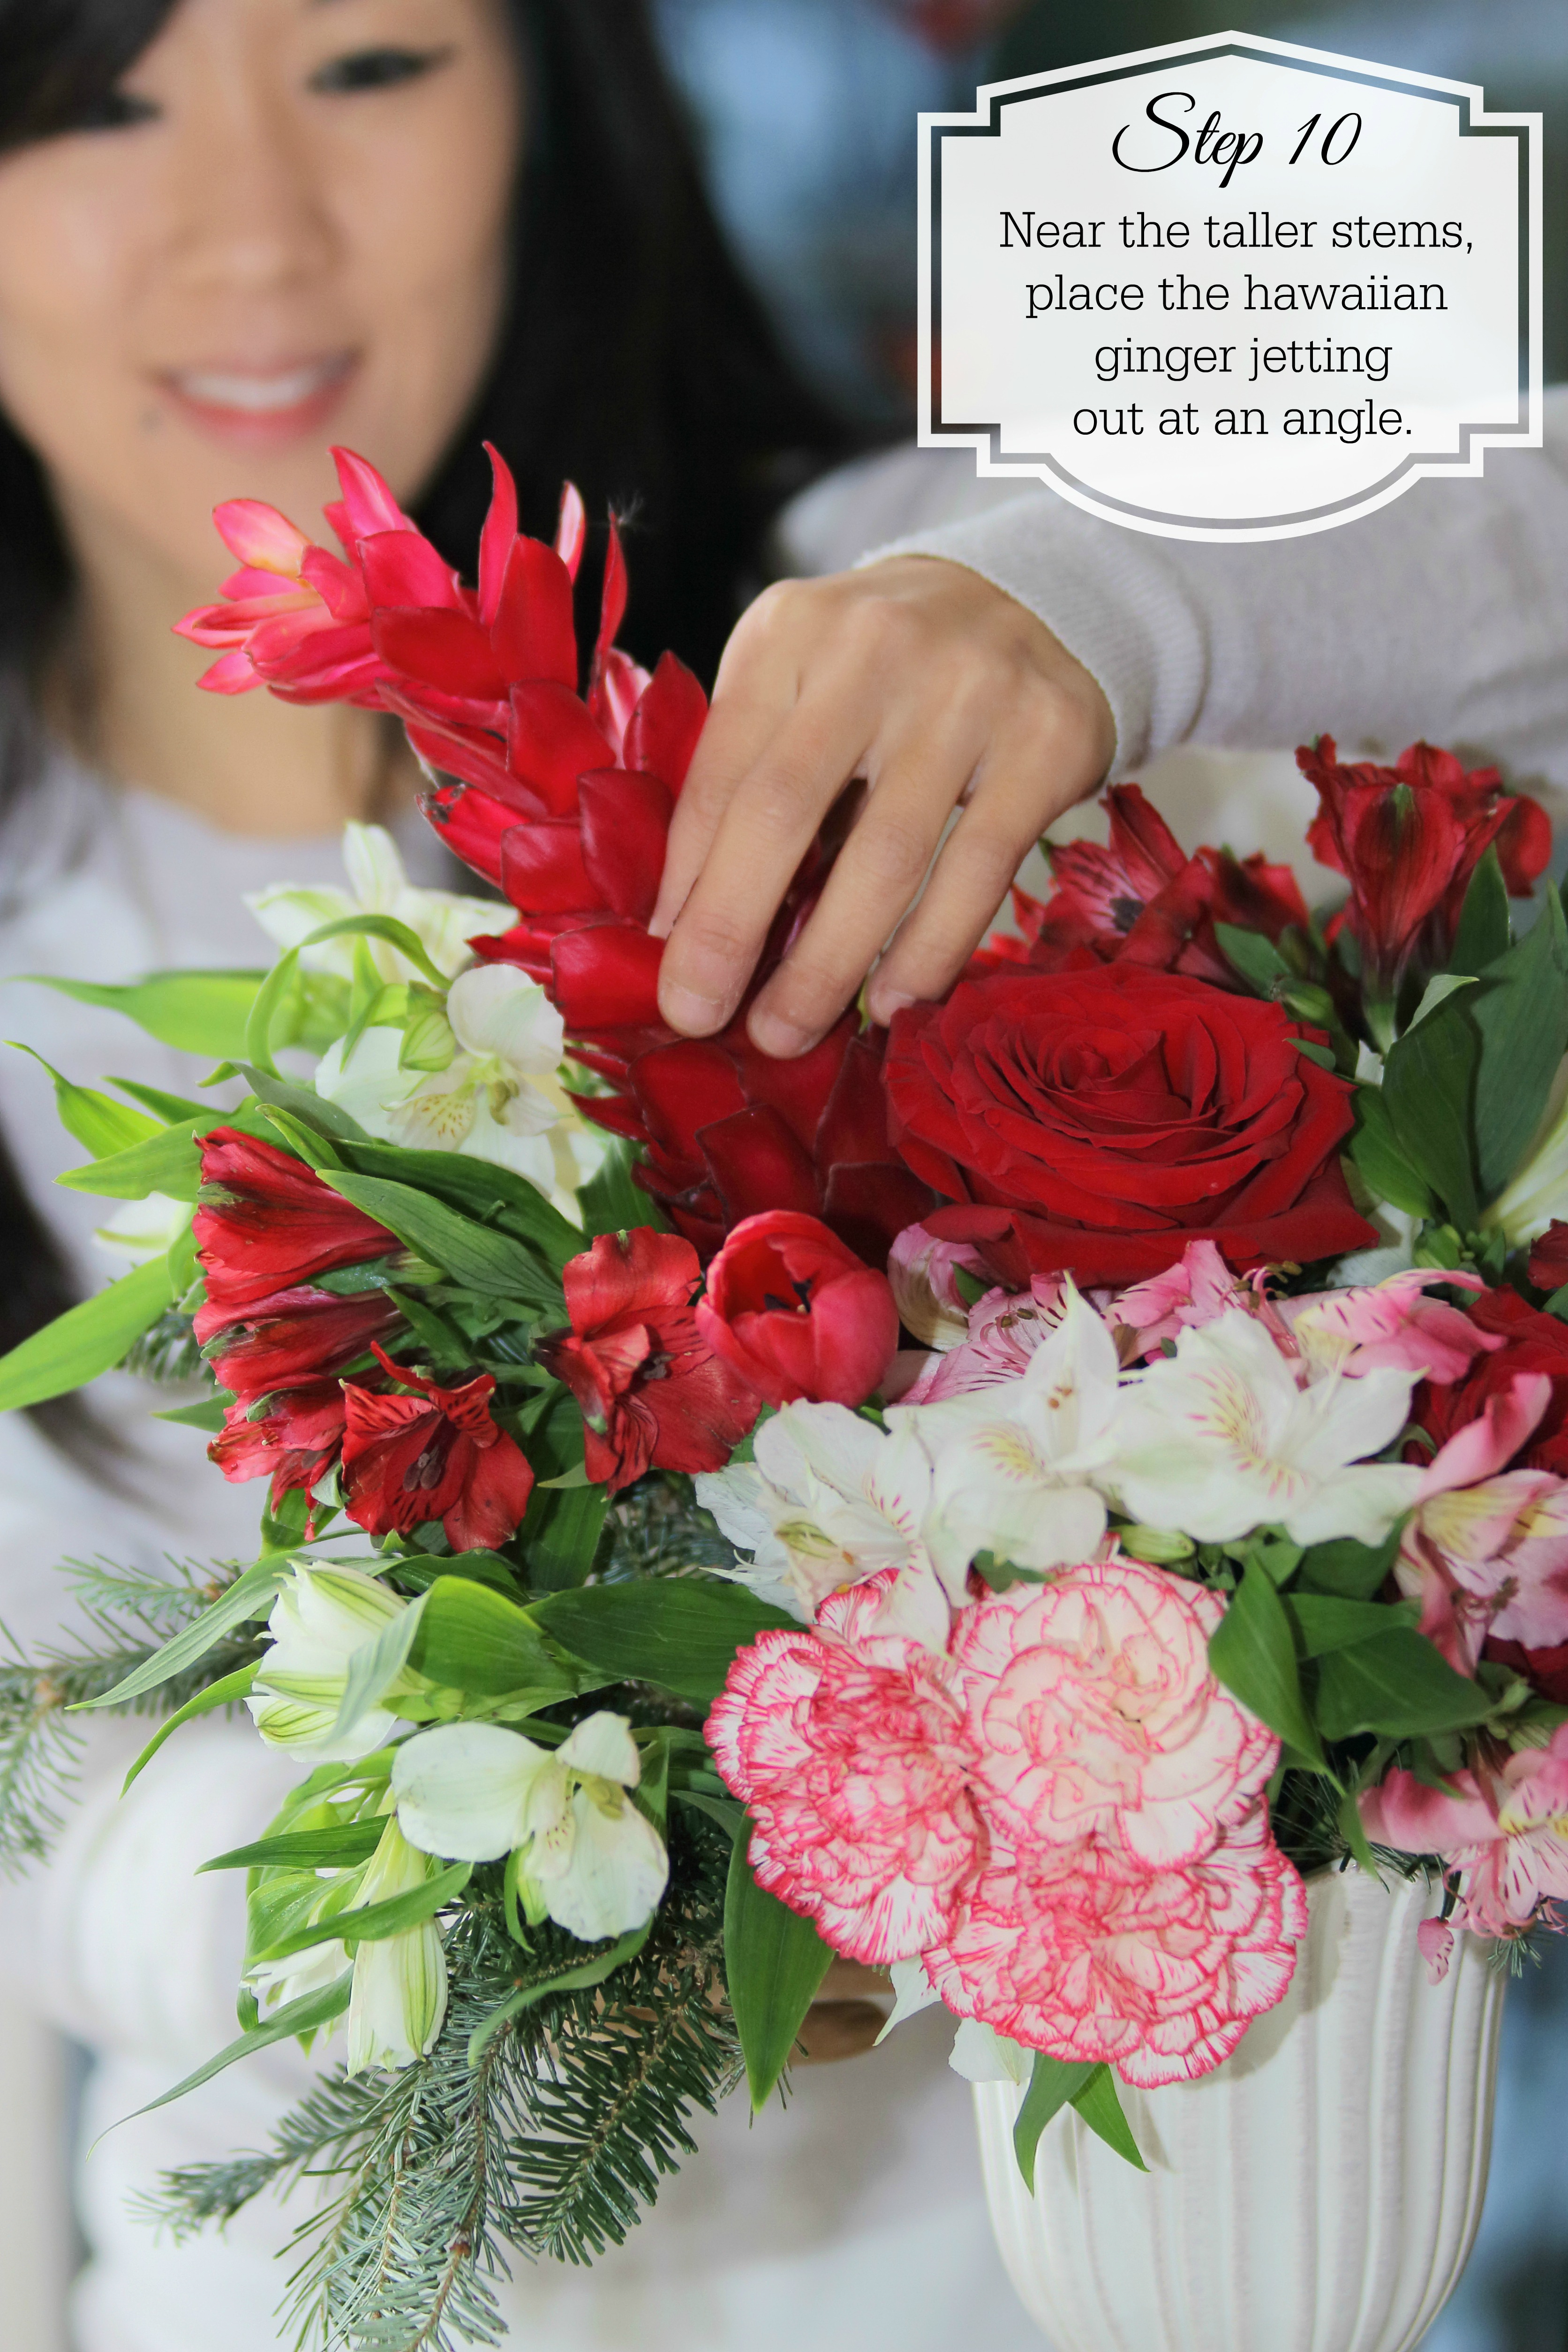
10. Place the hawaiian ginger near the taller evergreen branches, jetting out at an angle.
11. Tuck in the leucadendron in opposite quarters (Front Right, Back Left).
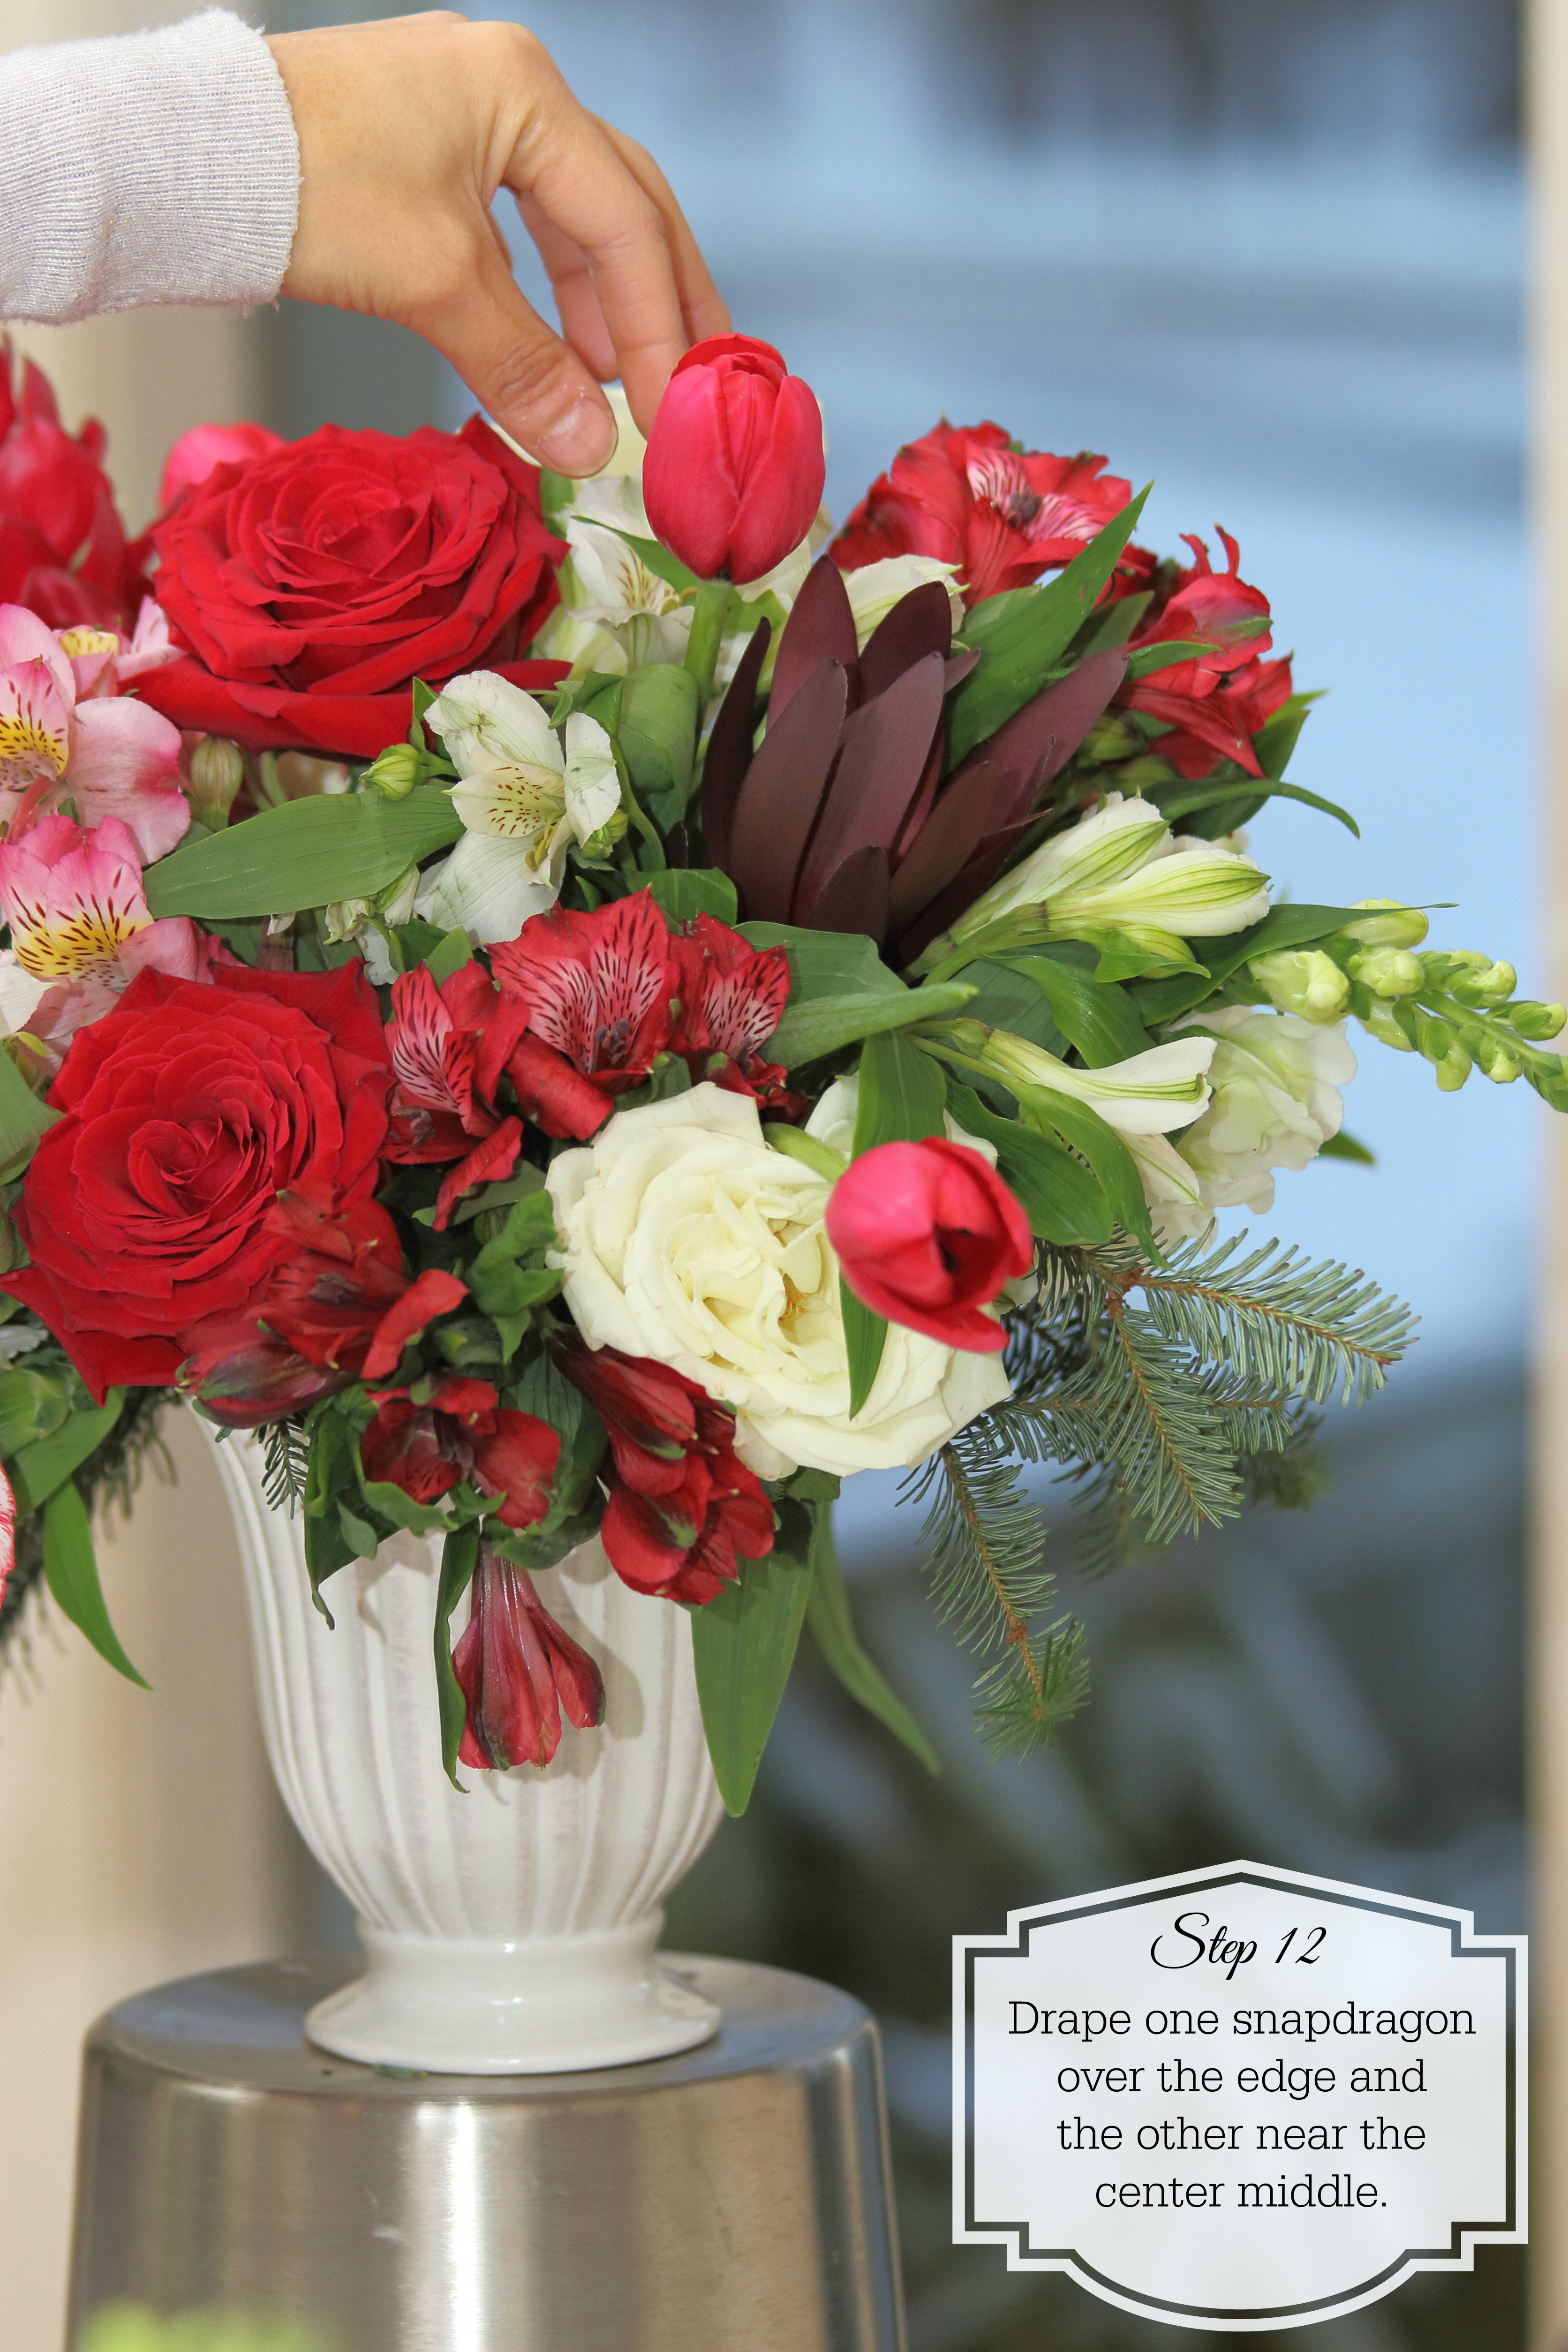
12. Take the snapdragons and place one so it’s partially draping over the left side (front left quarter) and the other near the center middle.
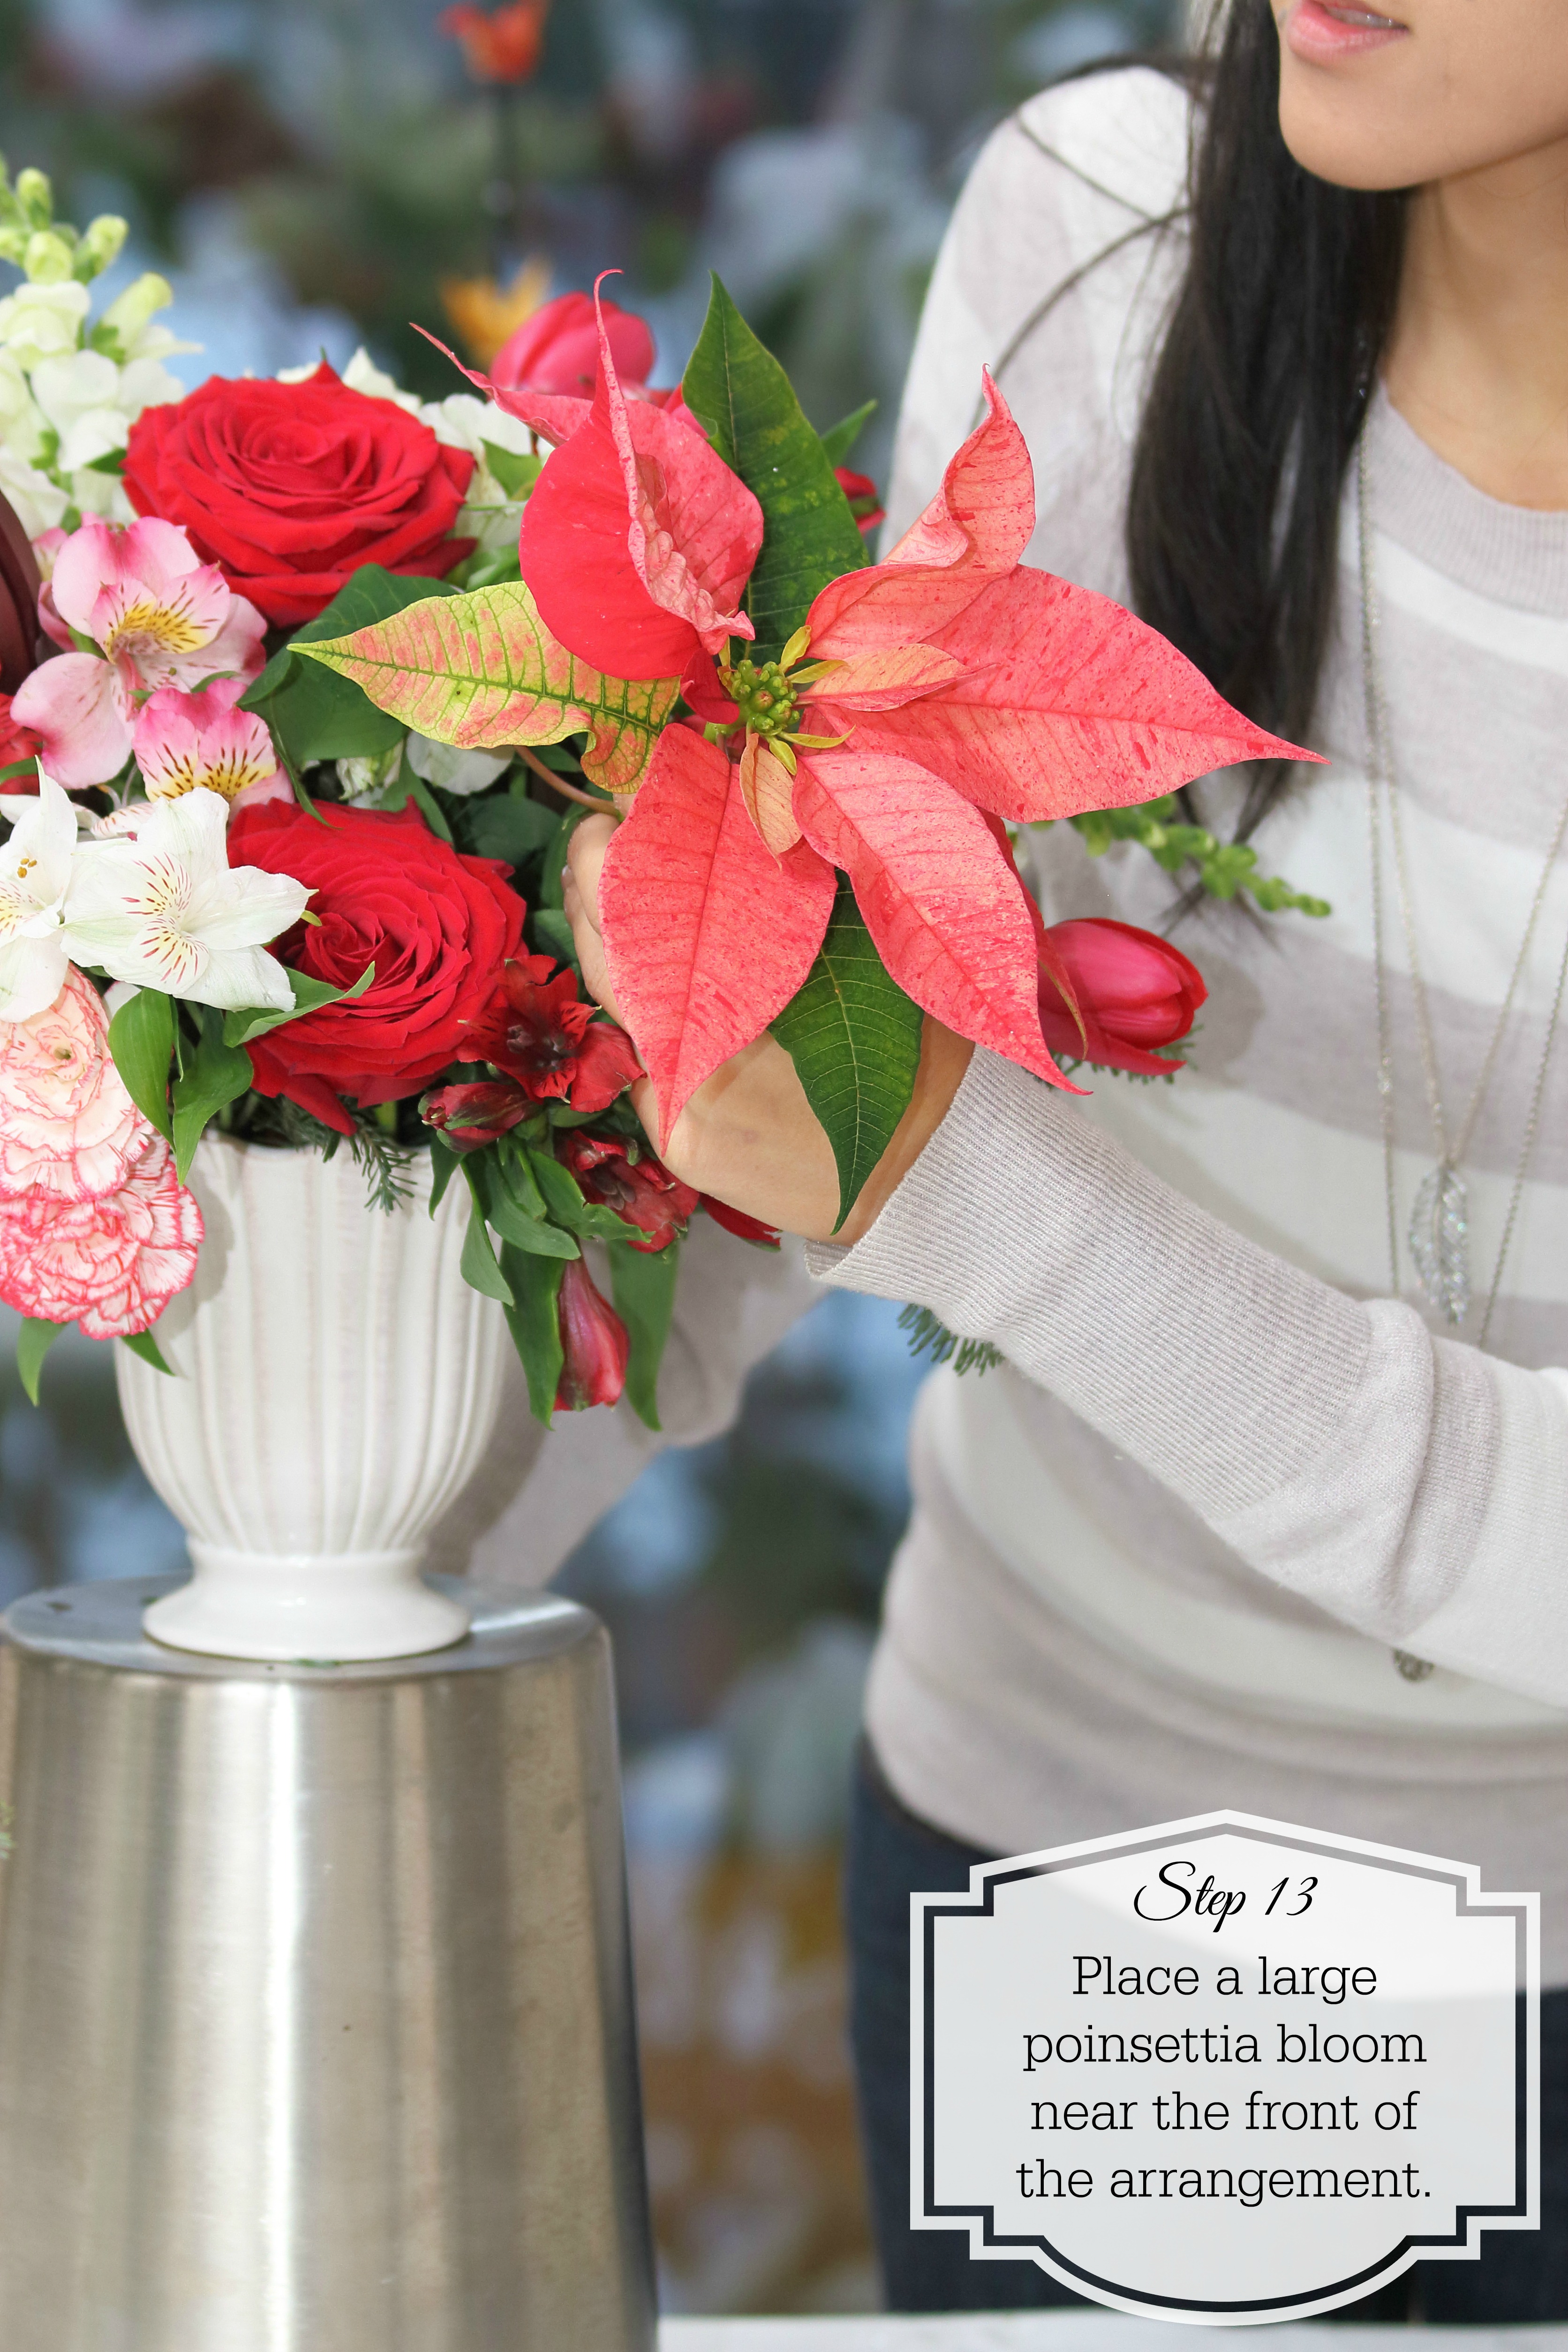
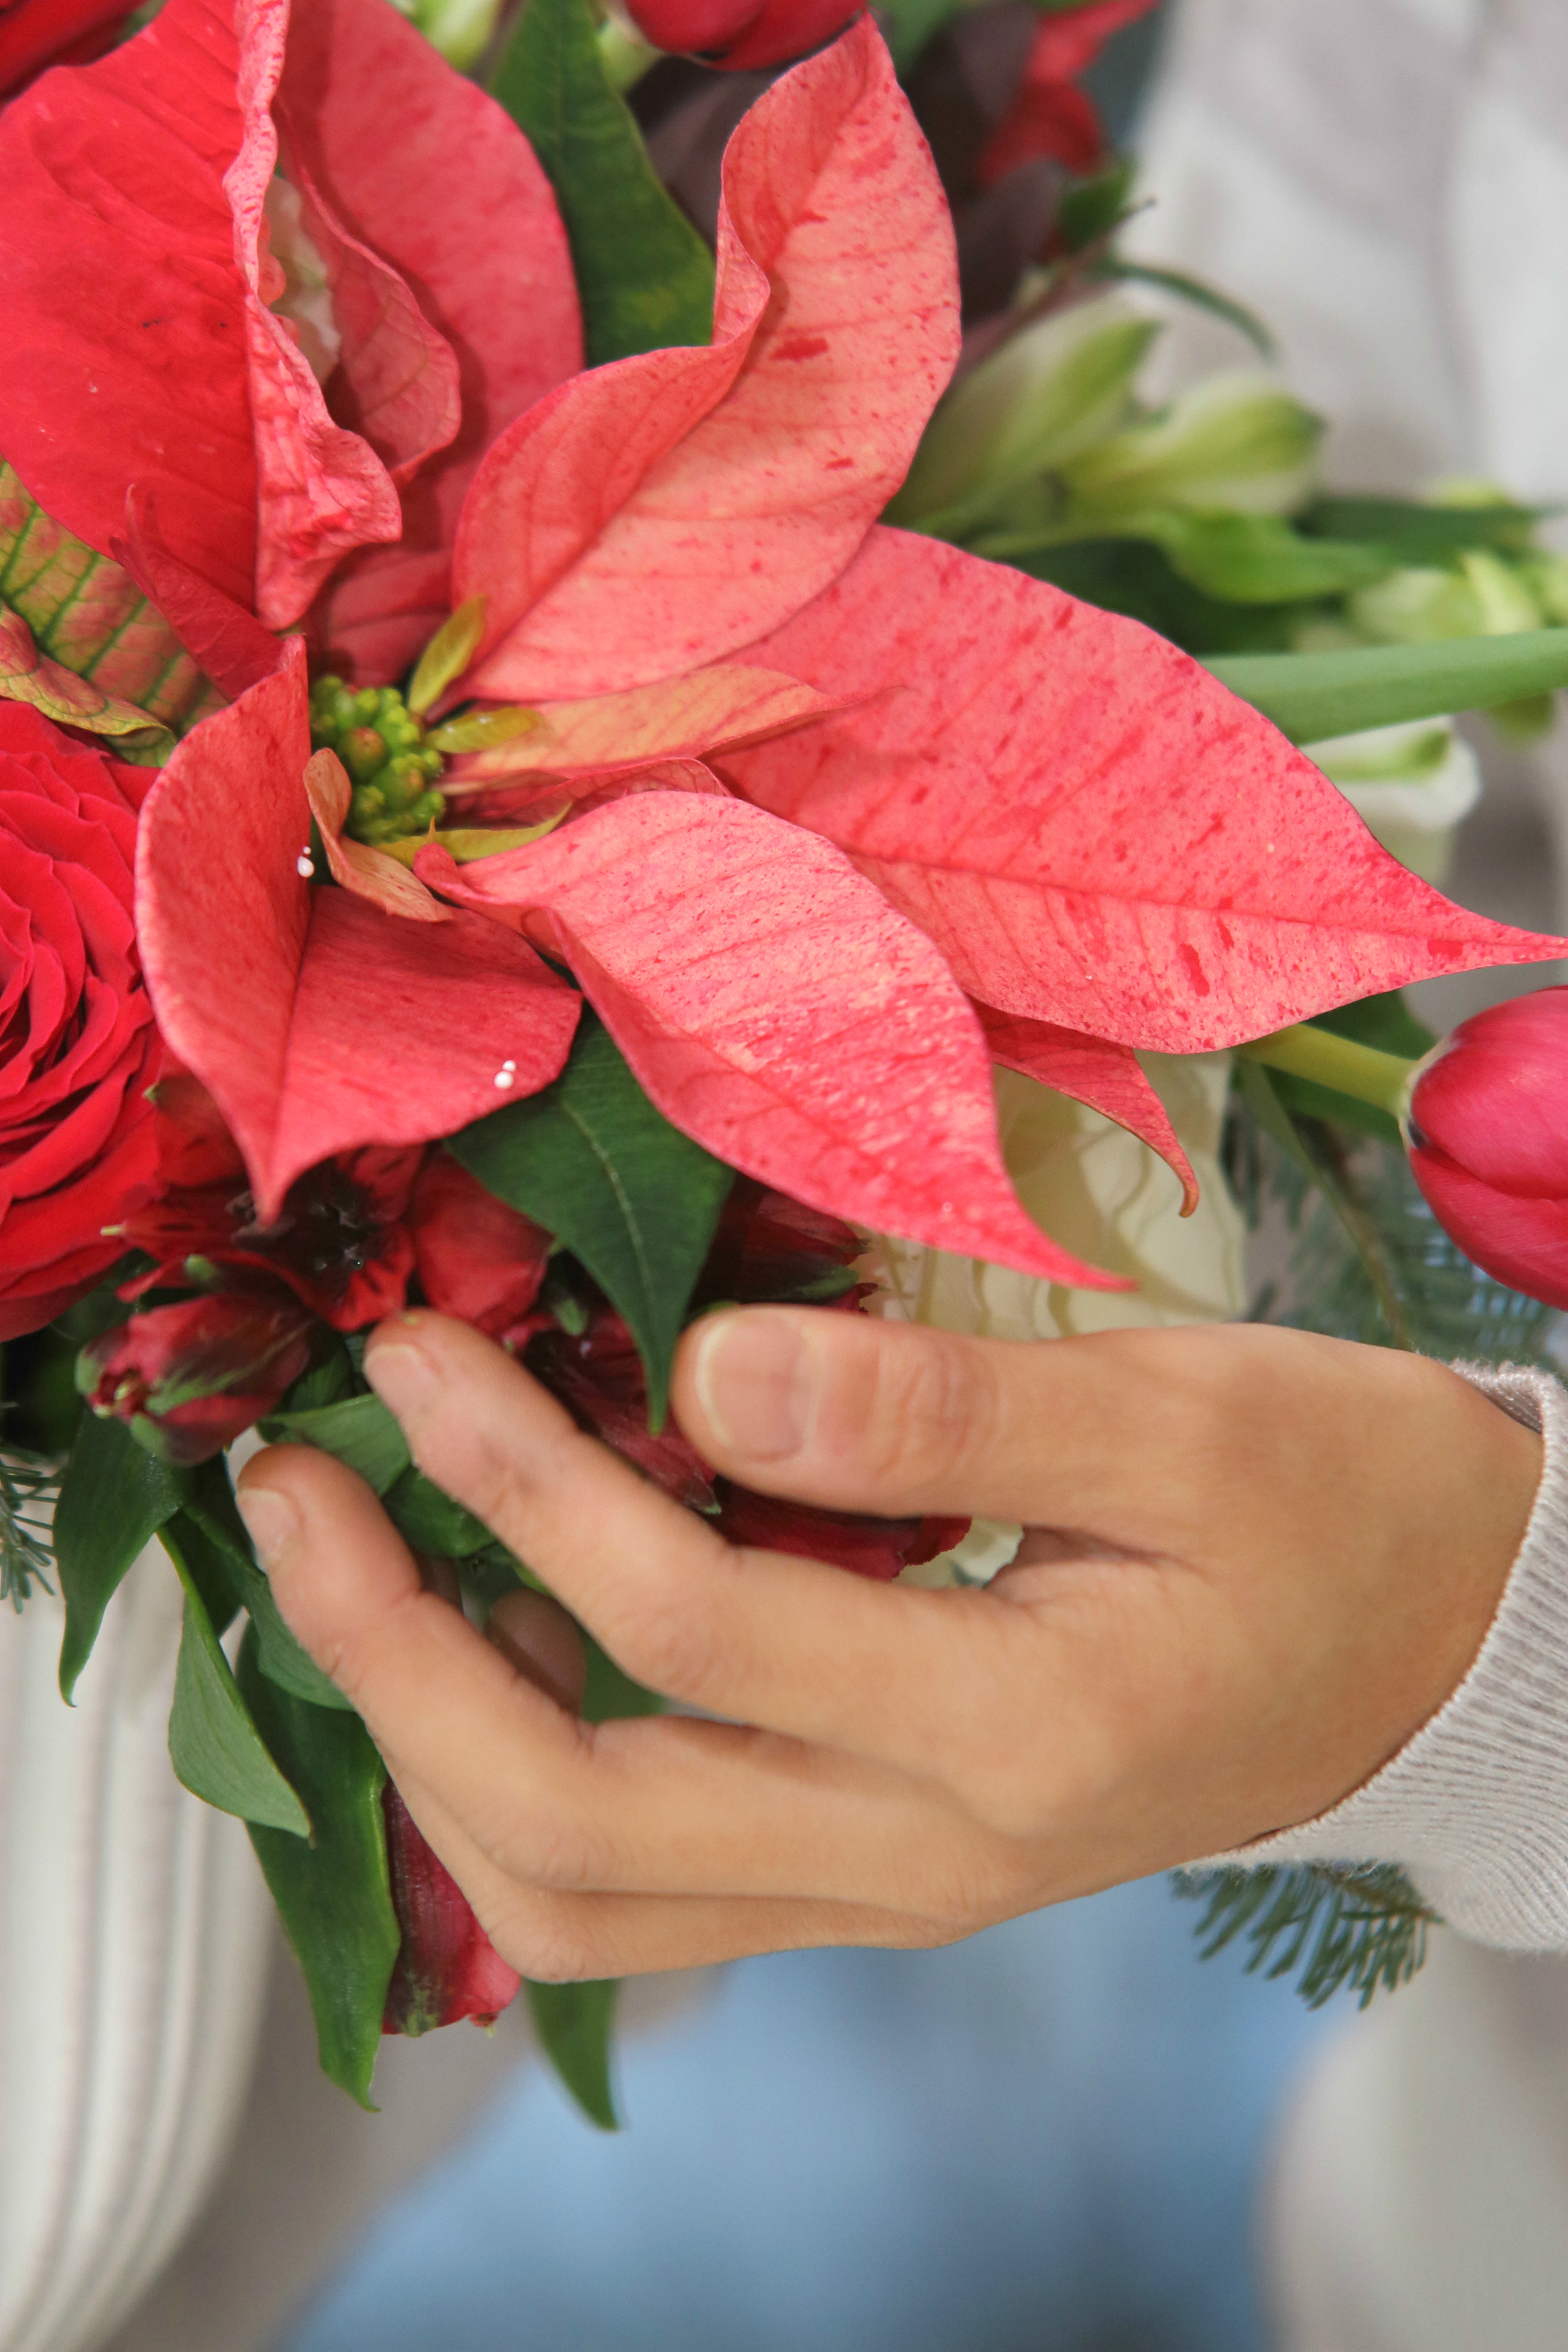
13. Place a large poinsettia bloom near the front of the arrangement (front left quarter).
“I’m dreaming of a white Christmas
Just like the ones I used to know
Where the treetops glisten
and children listen
To hear sleigh bells in the snow.”
It’s hard to believe that Christmas is in 1 week. Up until today, because as I sit and type this, my view is getting whiter by the second, it definitely hasn’t felt like Christmas; the weather has been mild and there really hasn’t been any snowfall. It has been so nice not having to worry about snowy roads, scraping my car, or forgetting my mittens. I am thoroughly enjoying the extra months of being able to forage in the woods for berries and evergreens with relative ease versus last year when I had to defrost every branch because the needles were frozen together. But, here’s to hoping we have a white Christmas
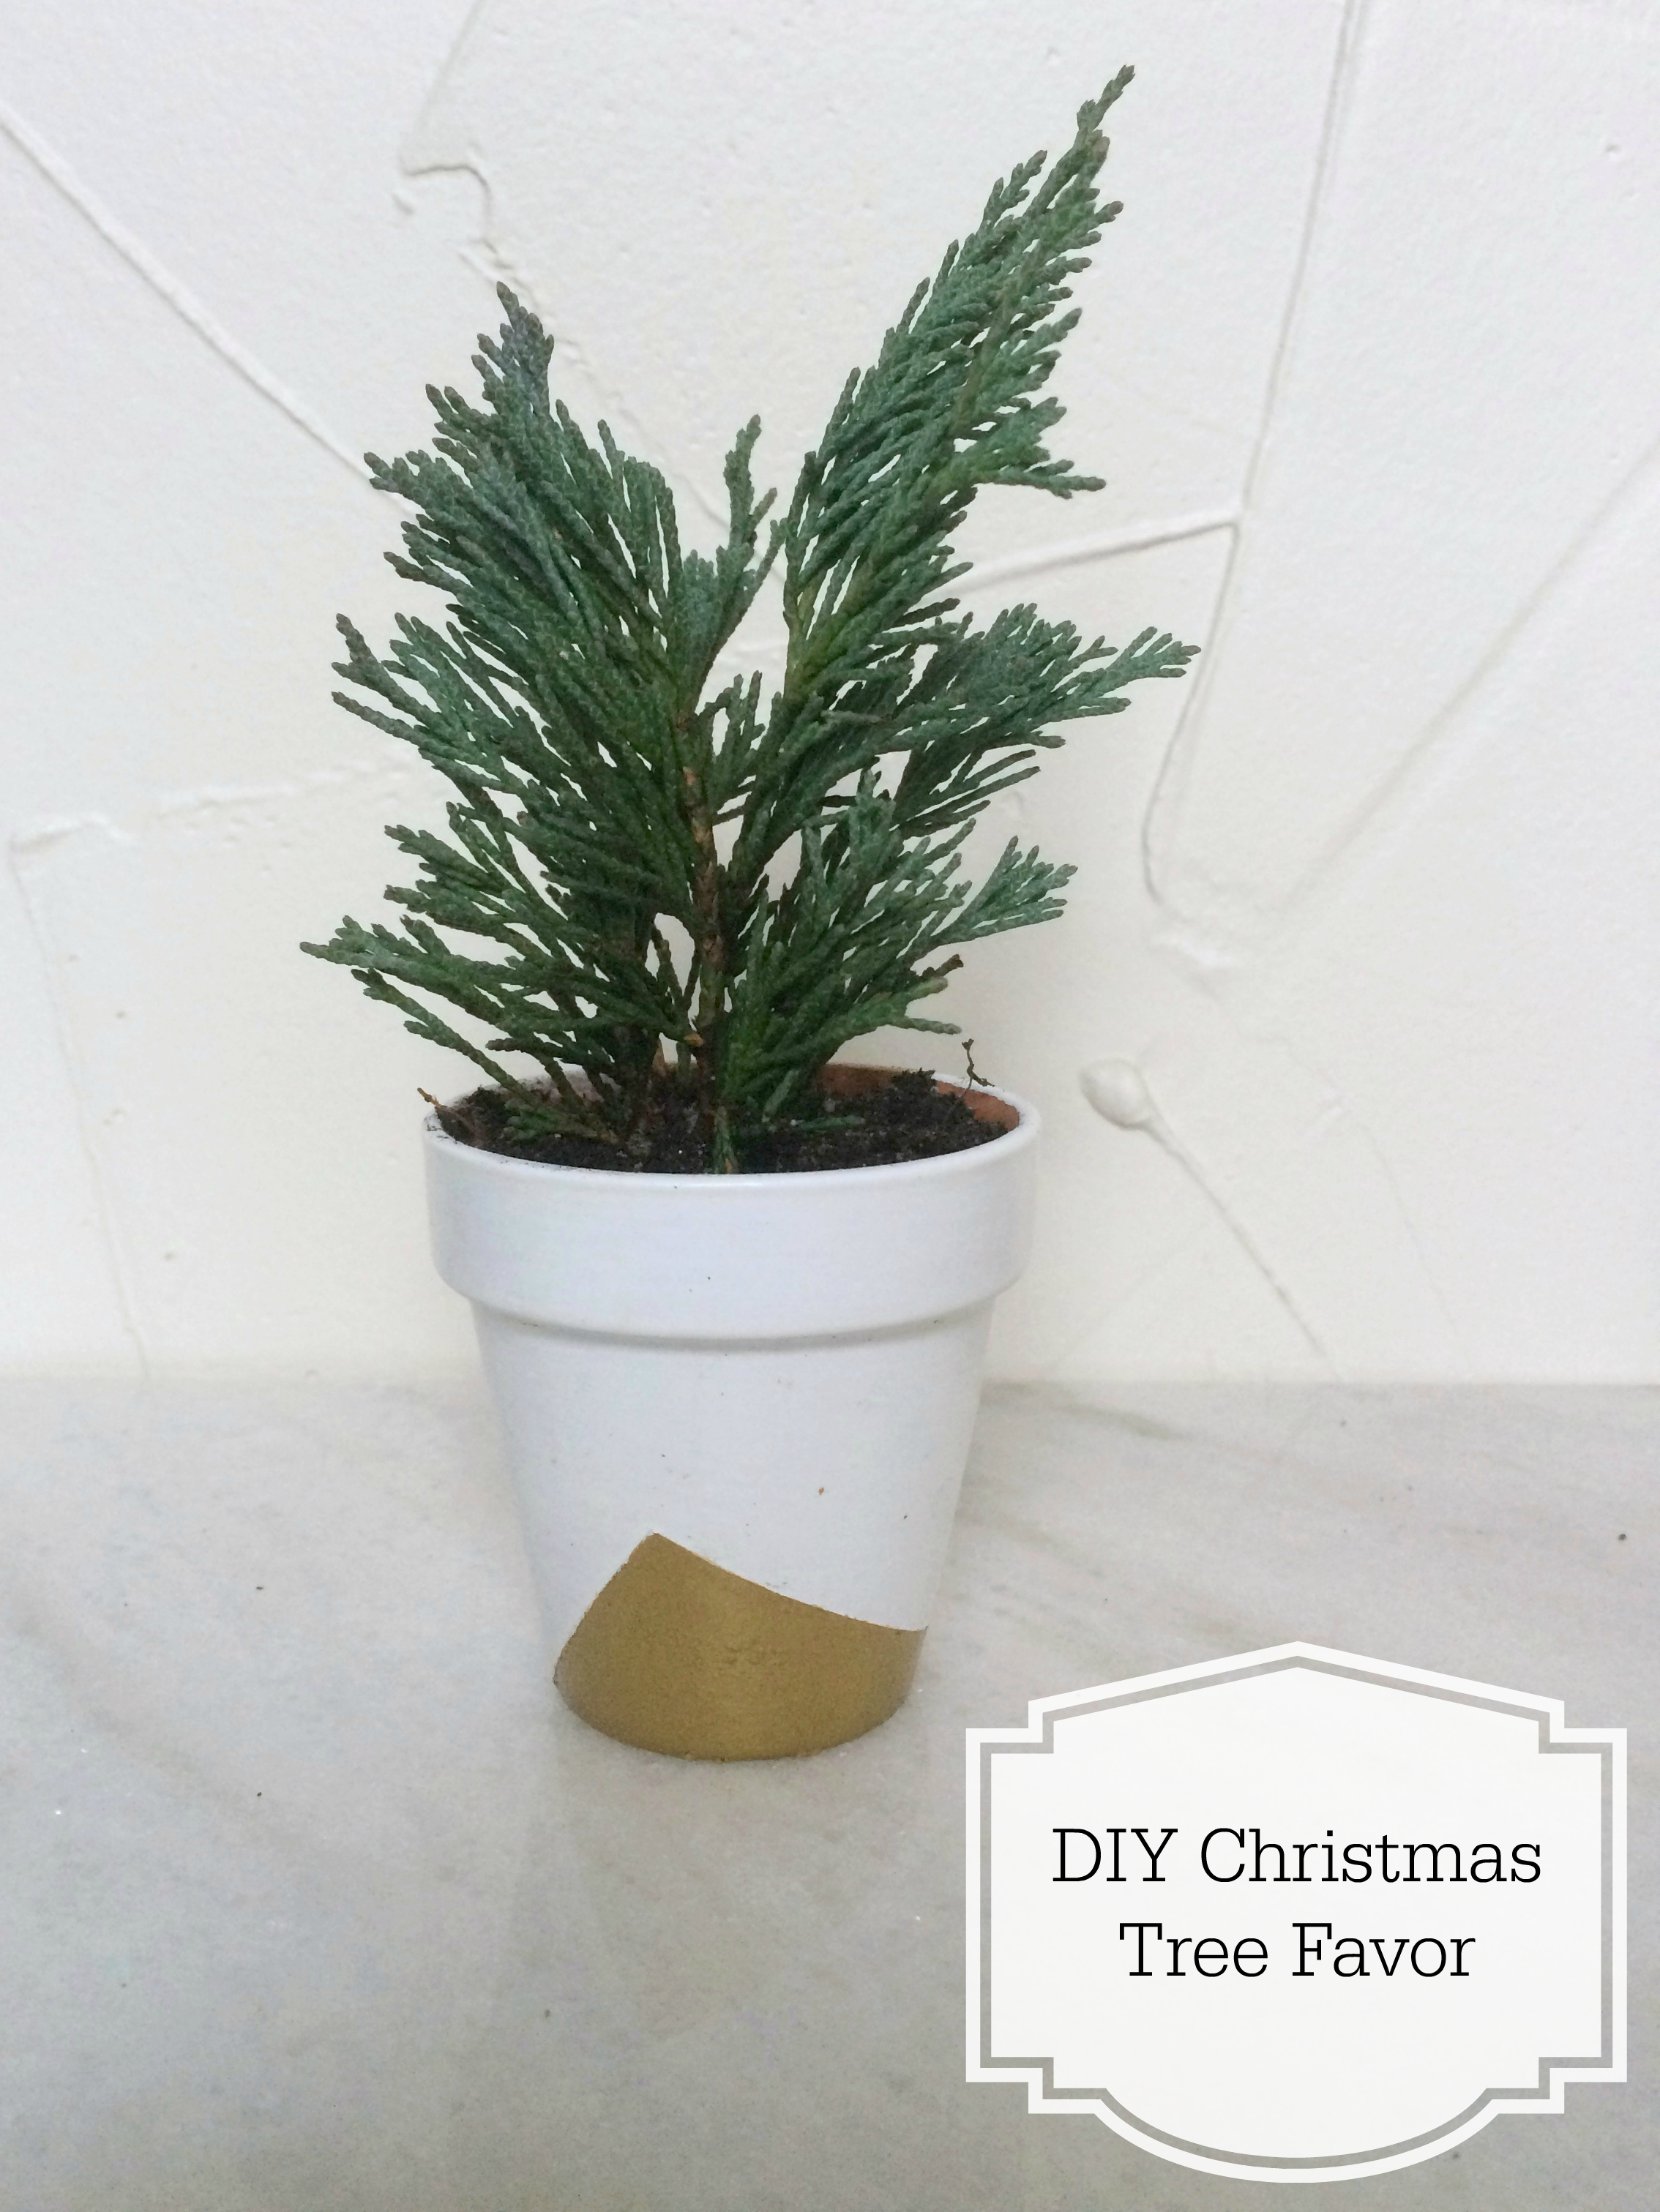
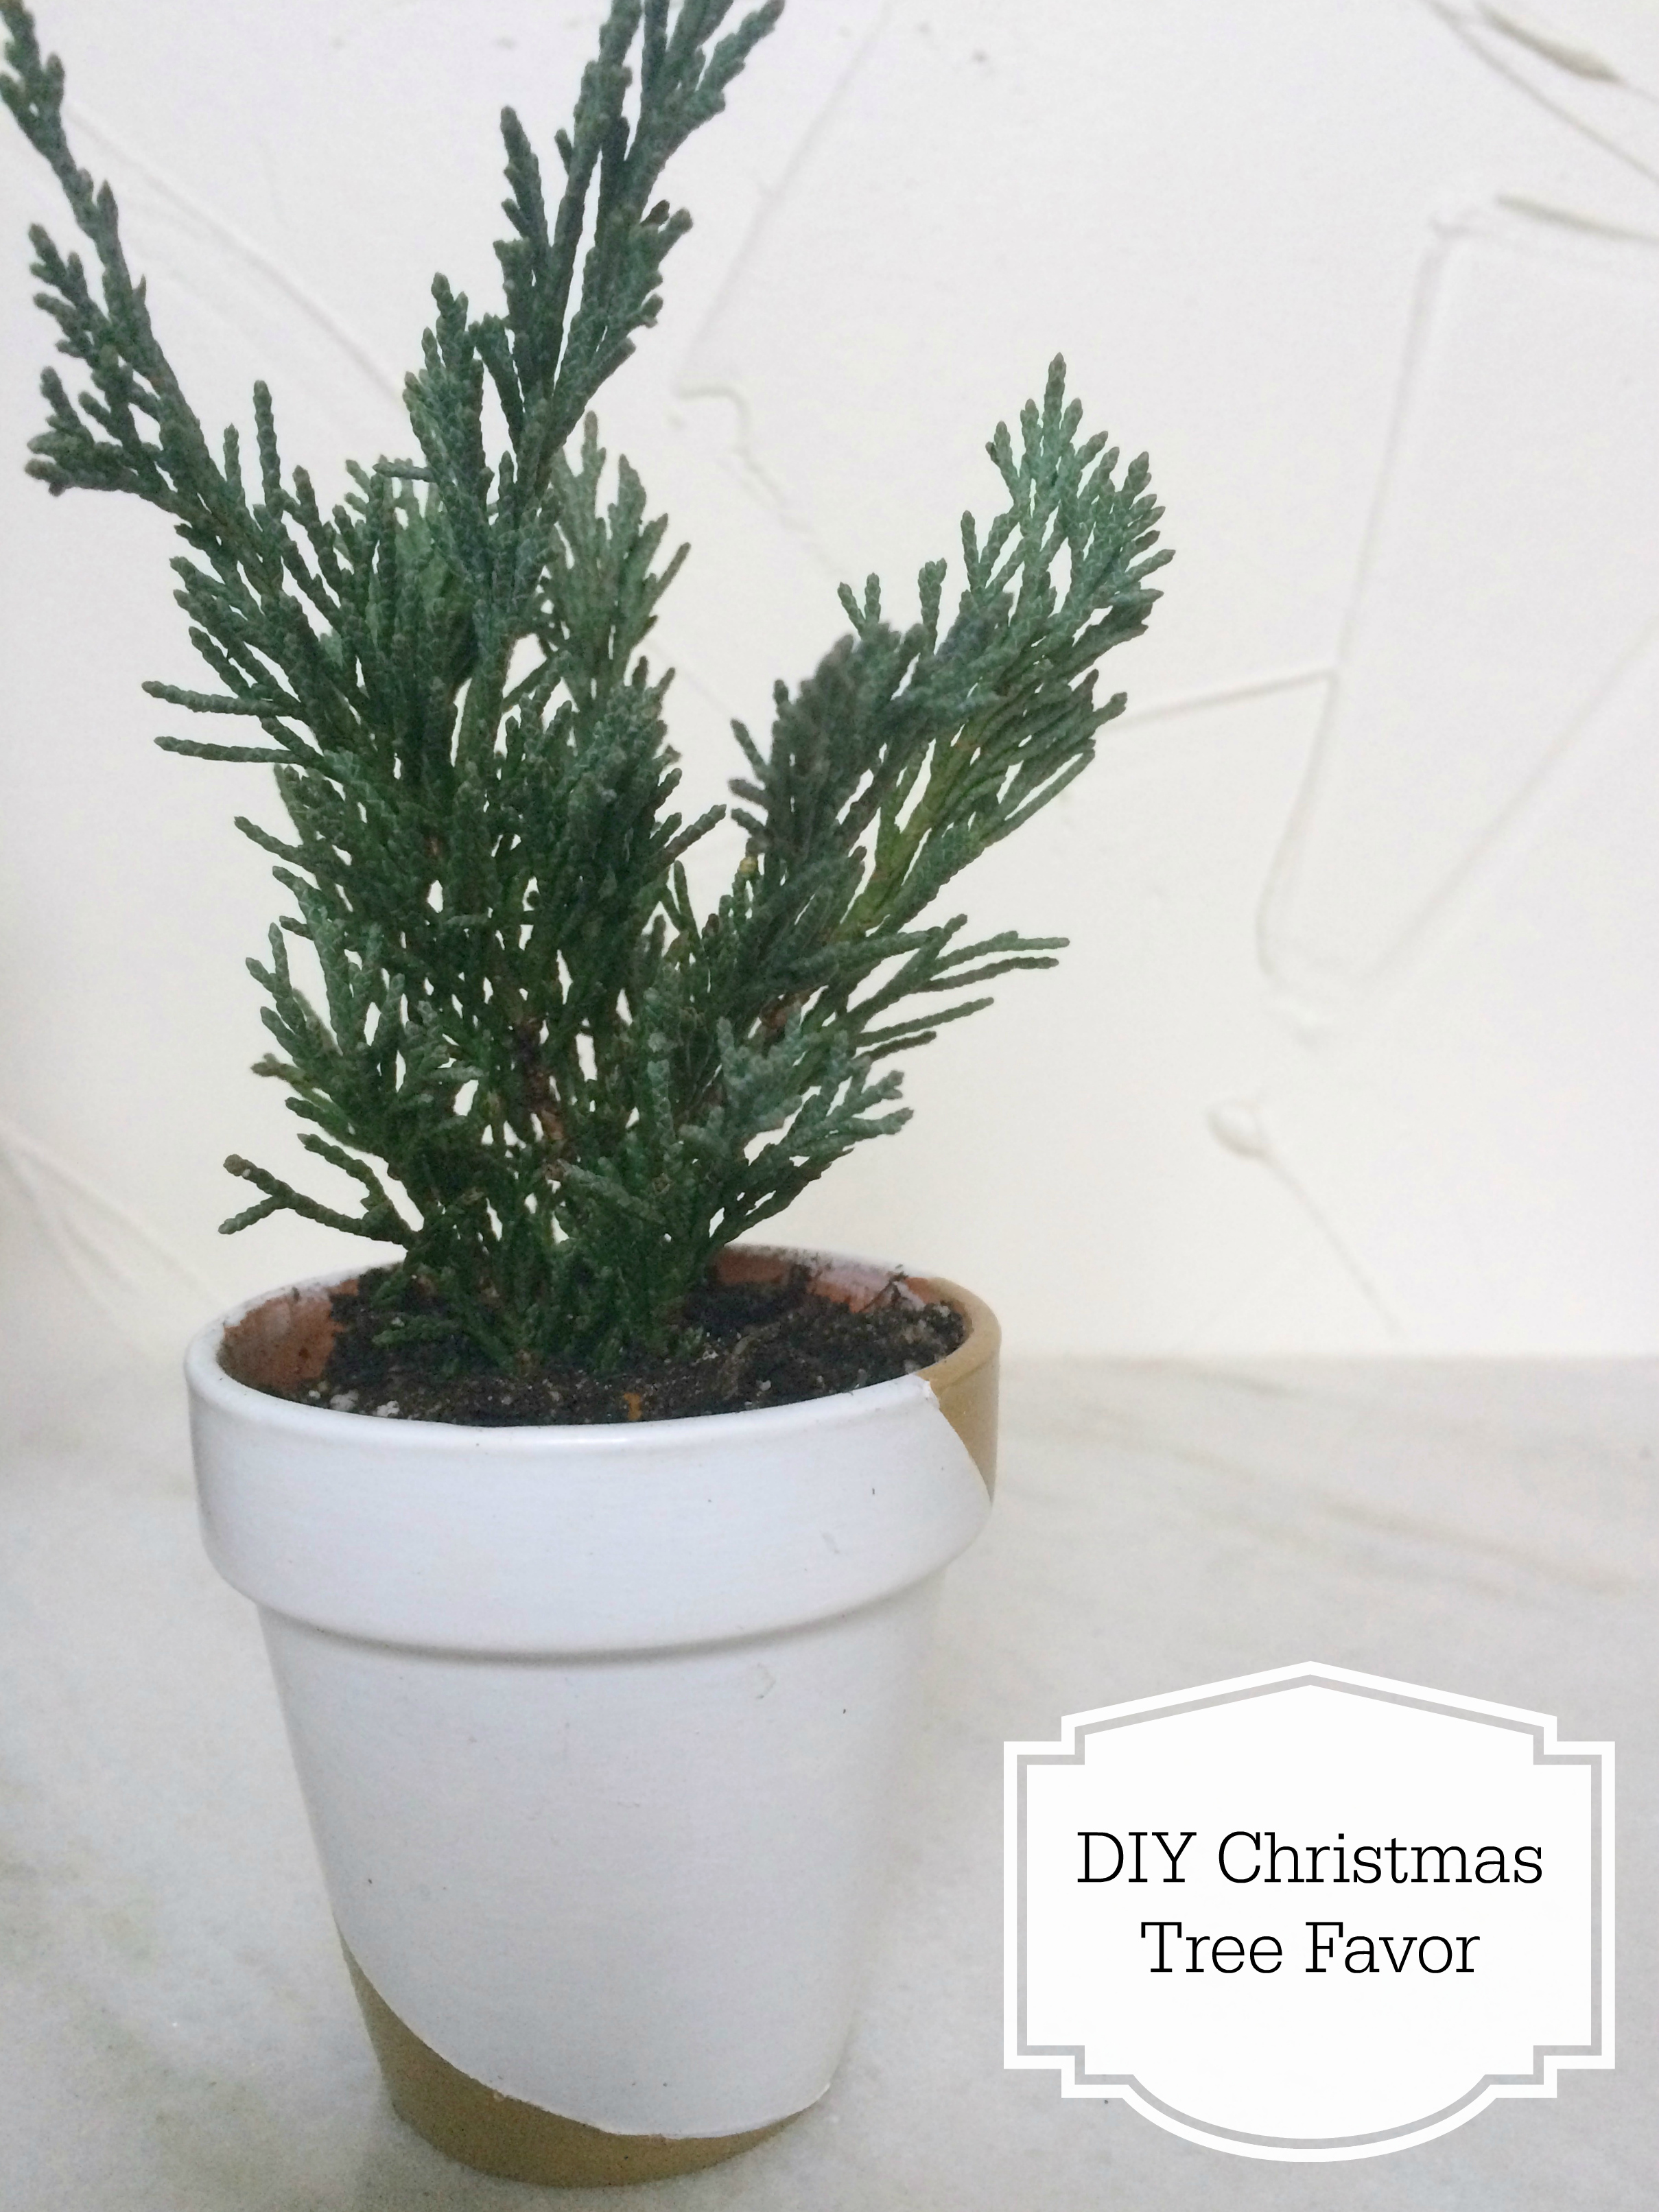
That being said, since it’s so close to Christmas, here is another quick and easy DIY Christmas favor, just in case.
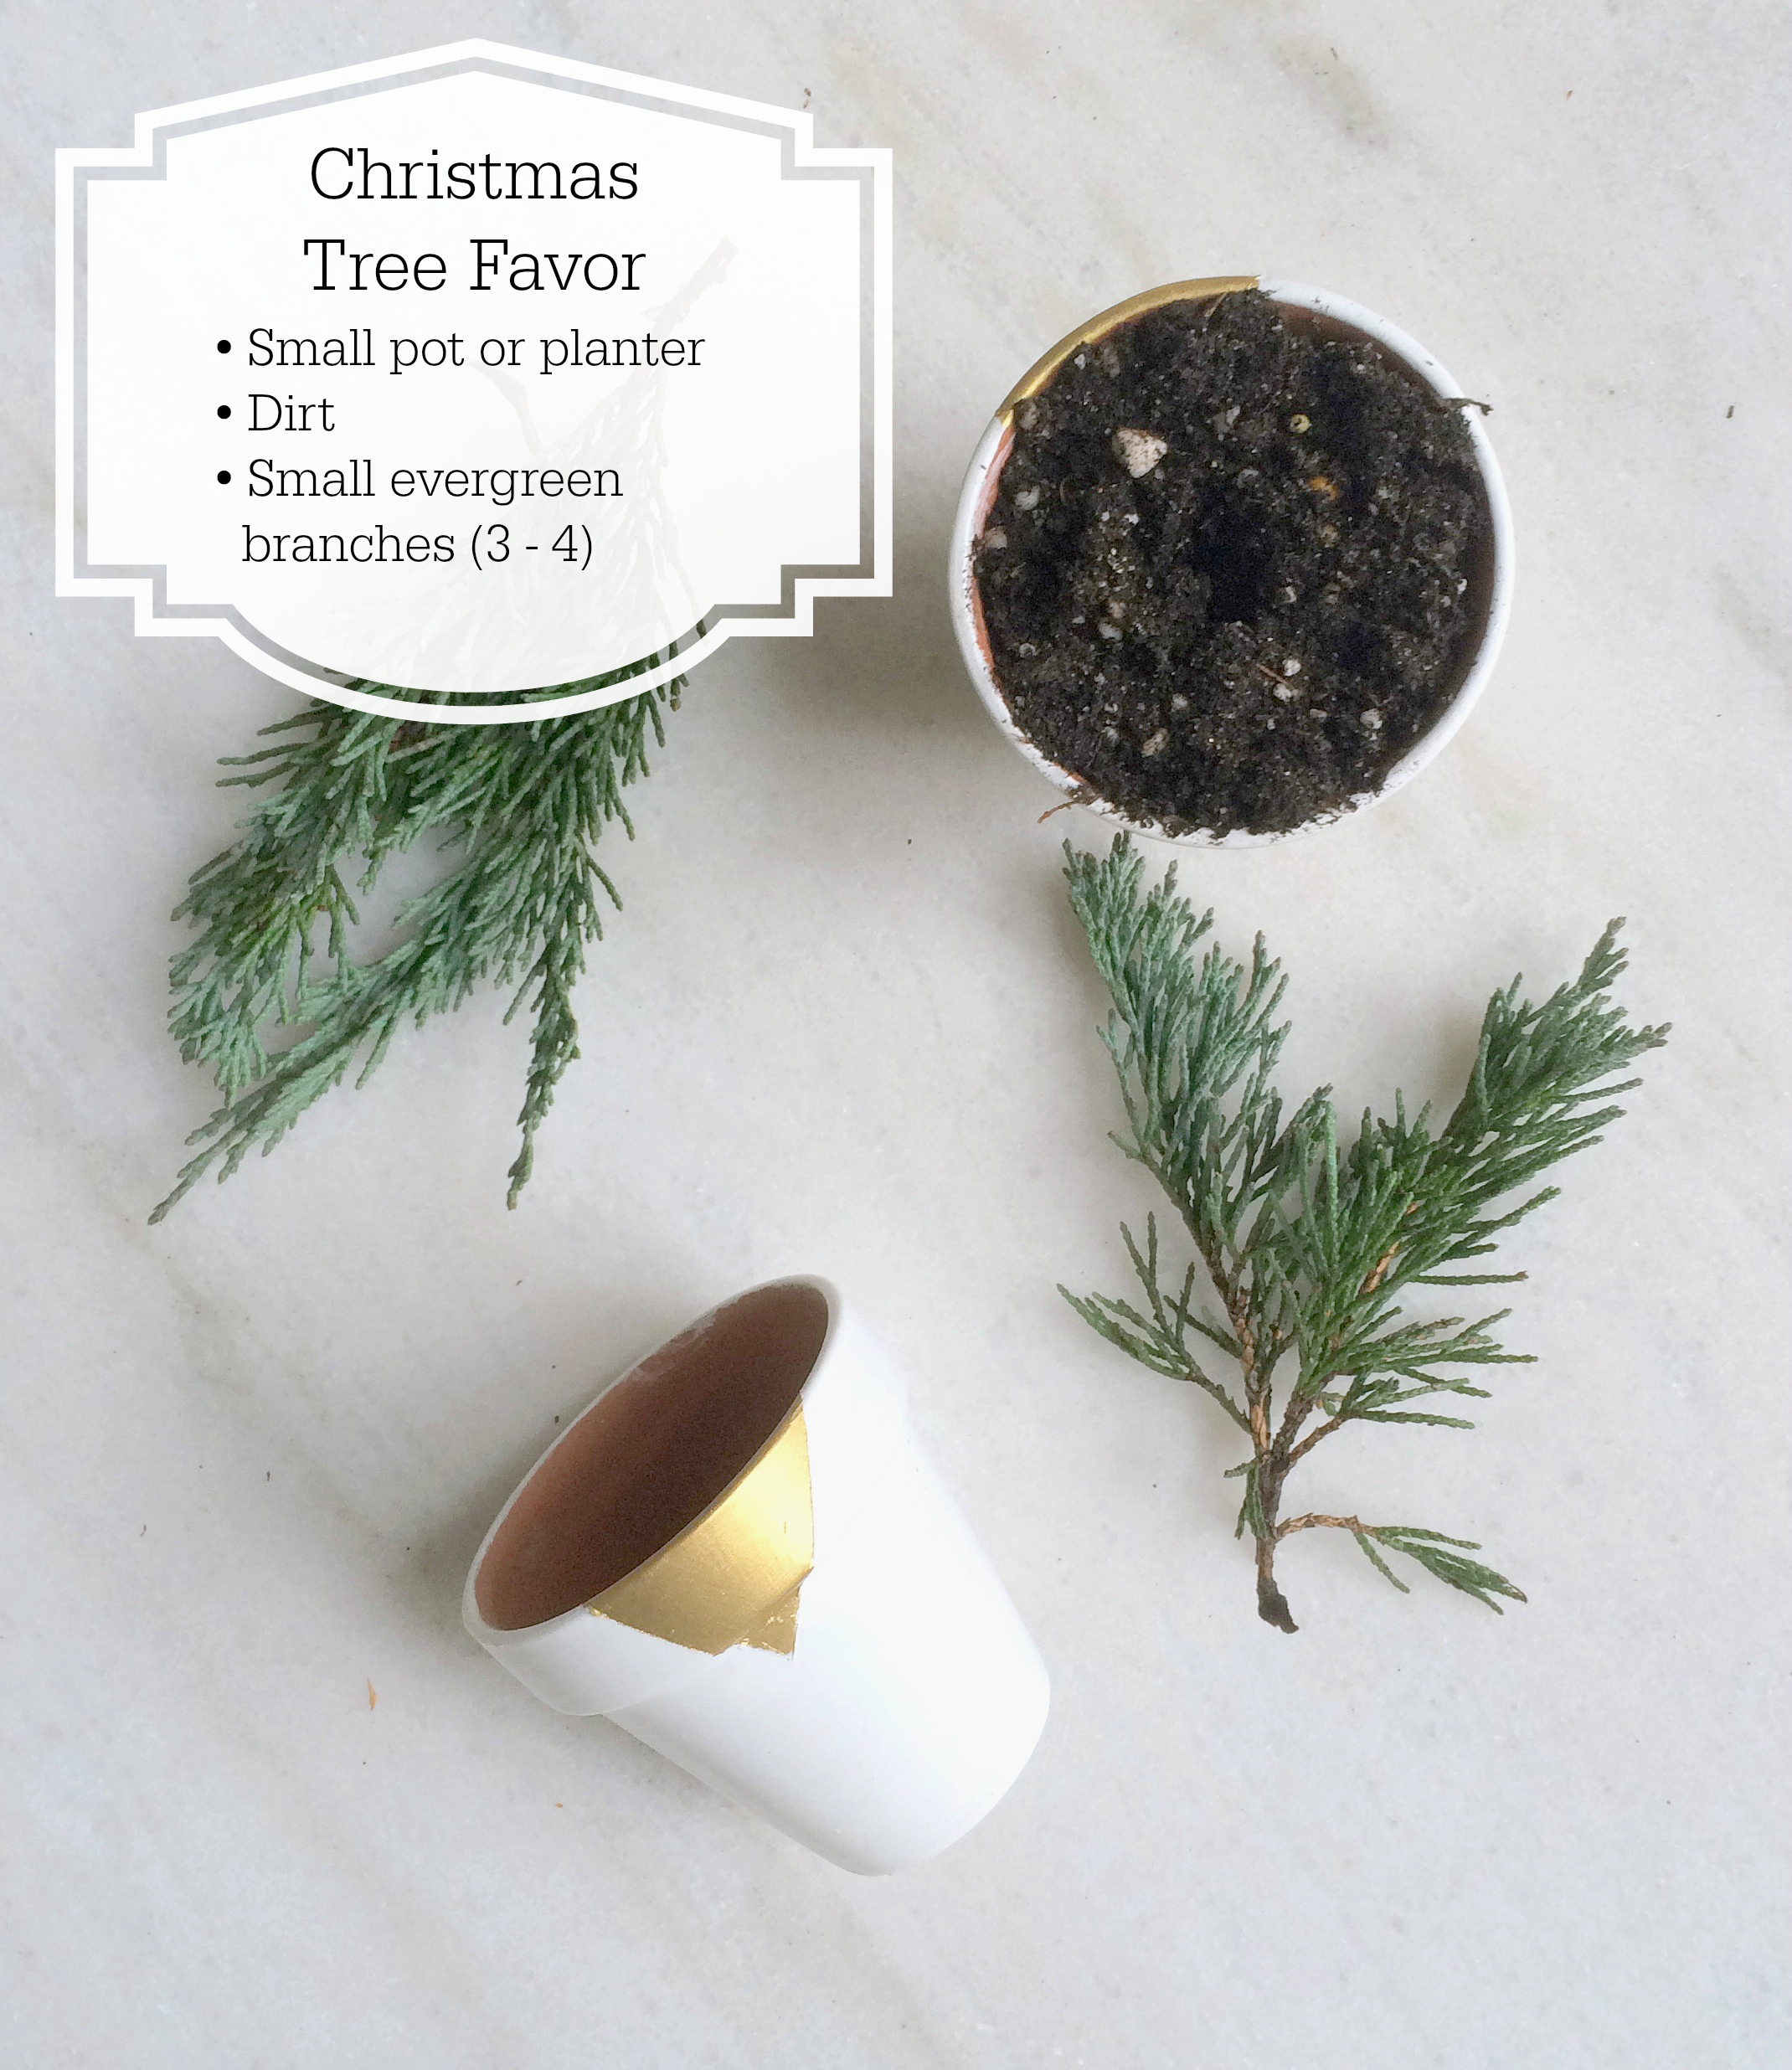
What you’ll need:
• Small pot or planter (I used mini terra cotta pots and painted them)
• Dirt
• Small evergreen branches (I used 3 small ones)
Instructions:
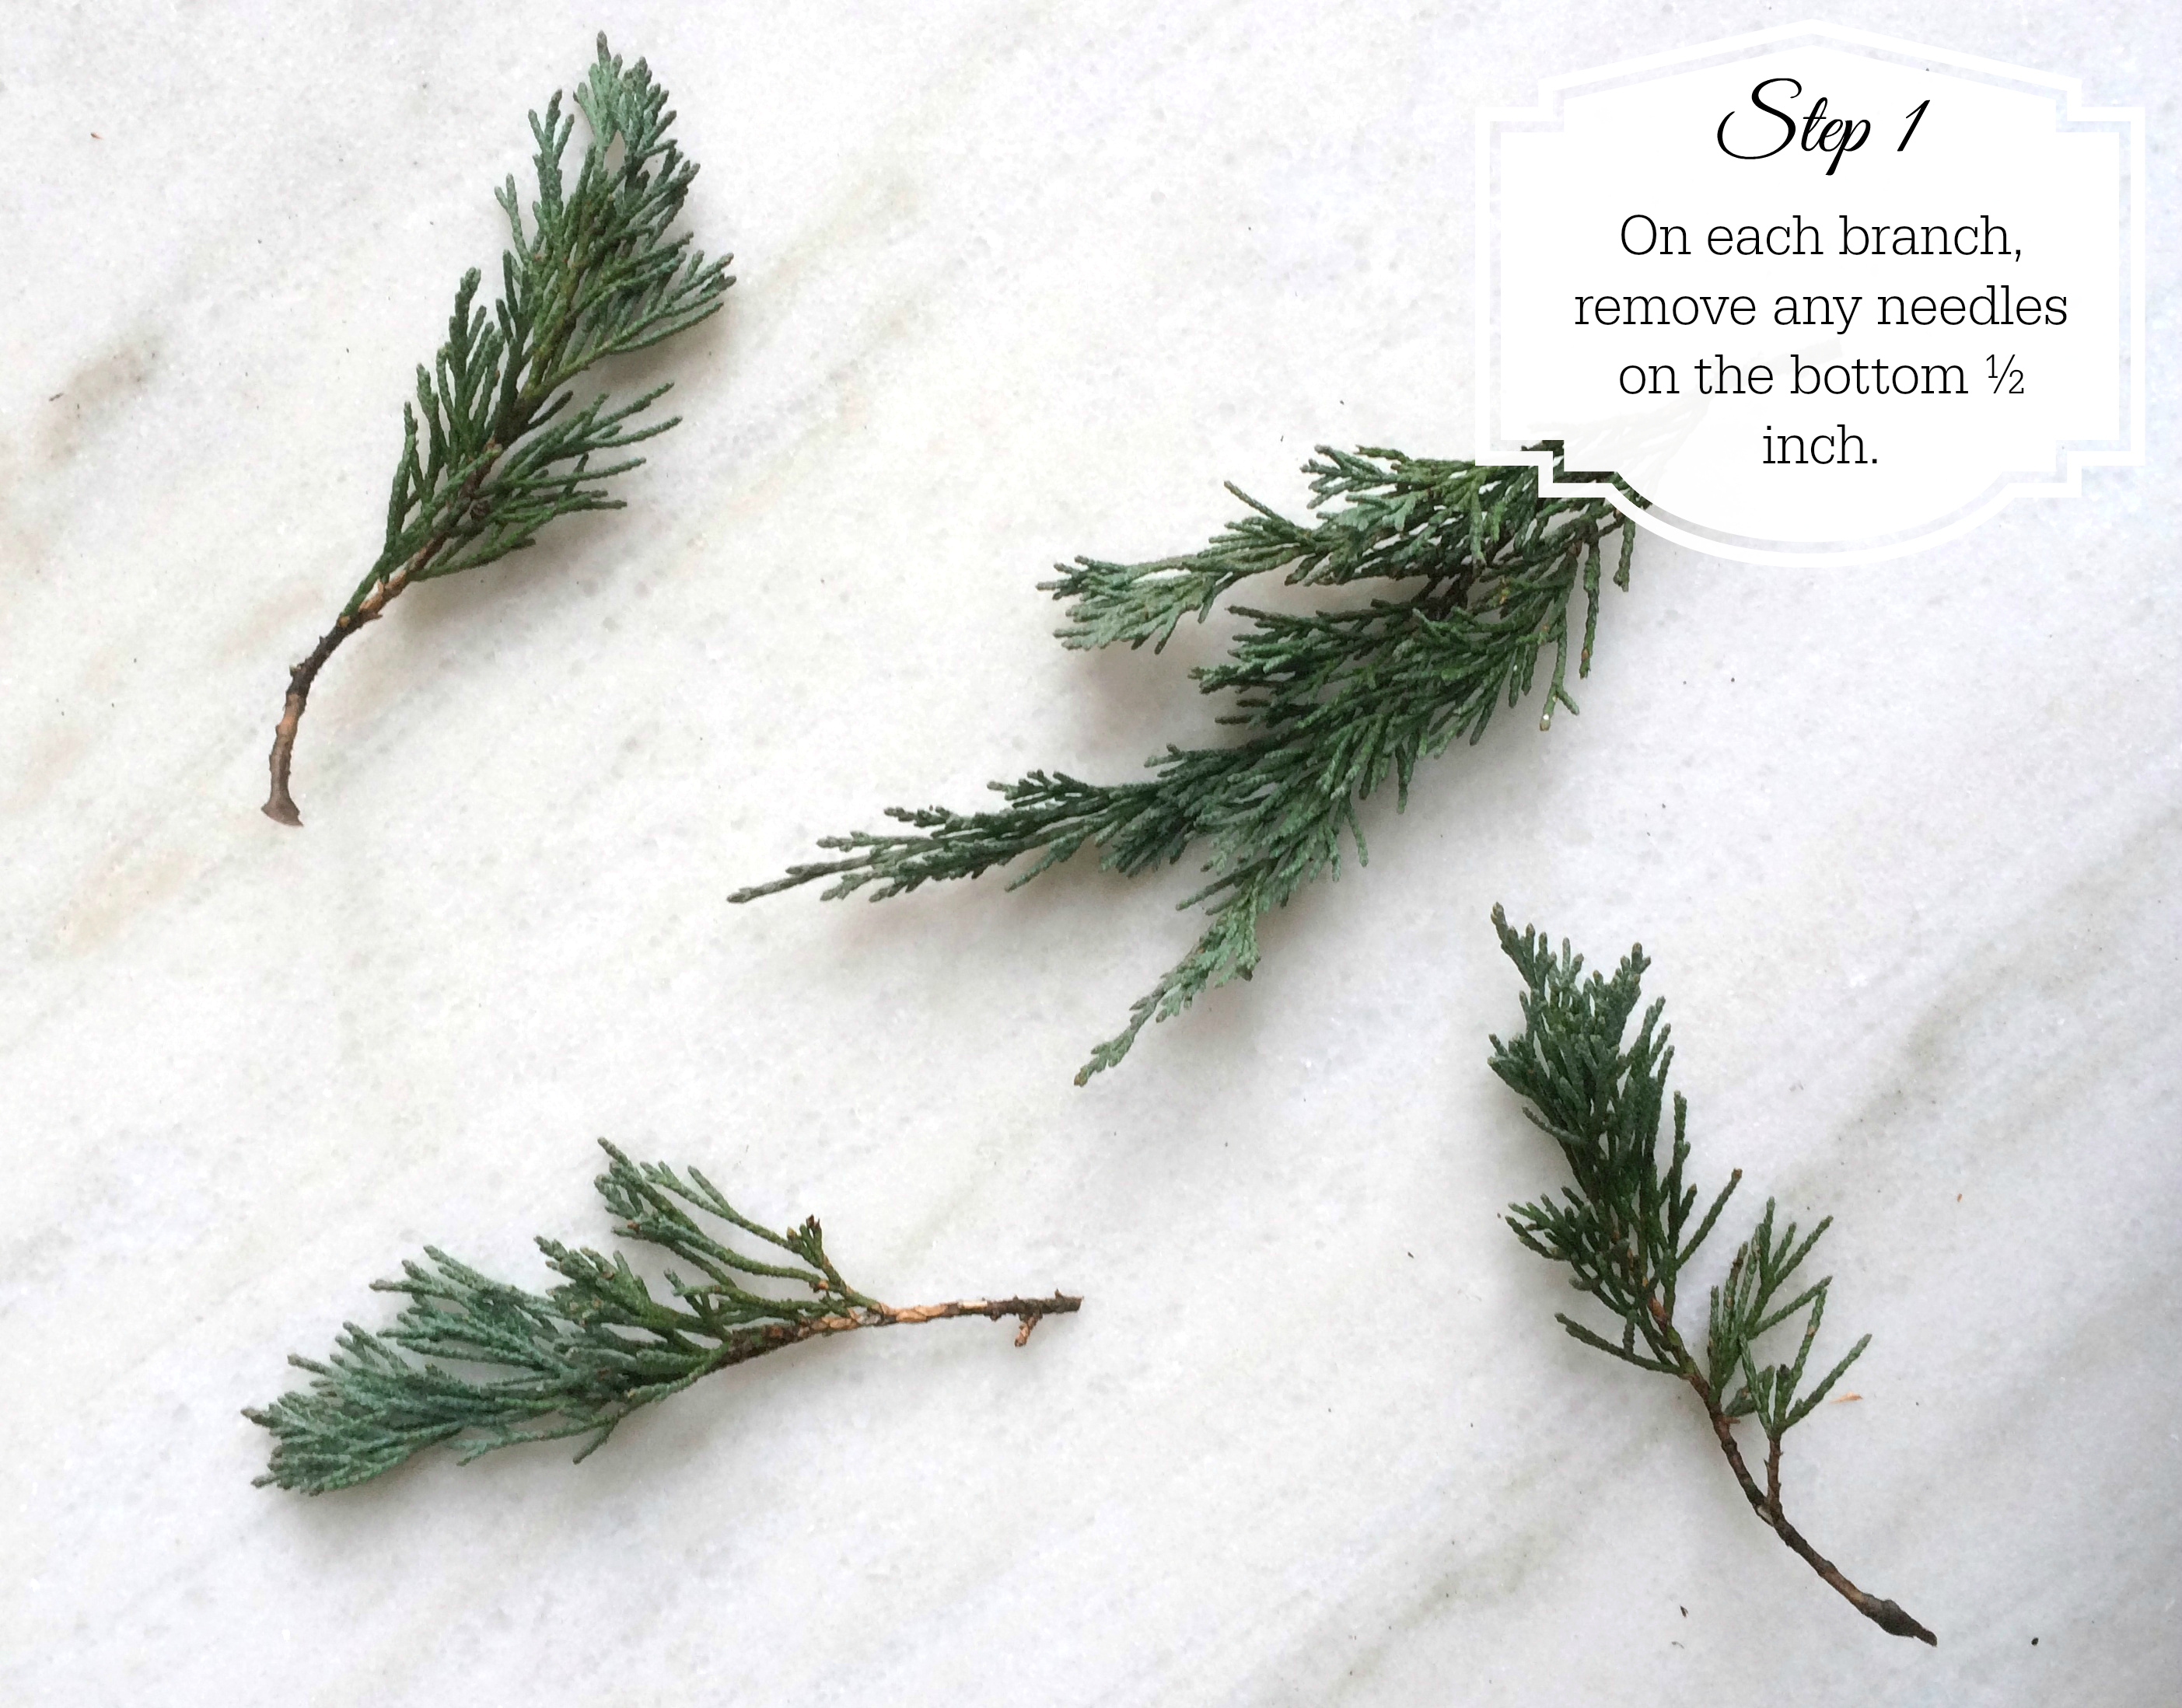
1. On each branch, remove any needles on the bottom ½ inch. Having this ½ inch of clean branch makes placing it in the dirt a lot easier.
2. Fill your pot with dirt all the way to the top edge.
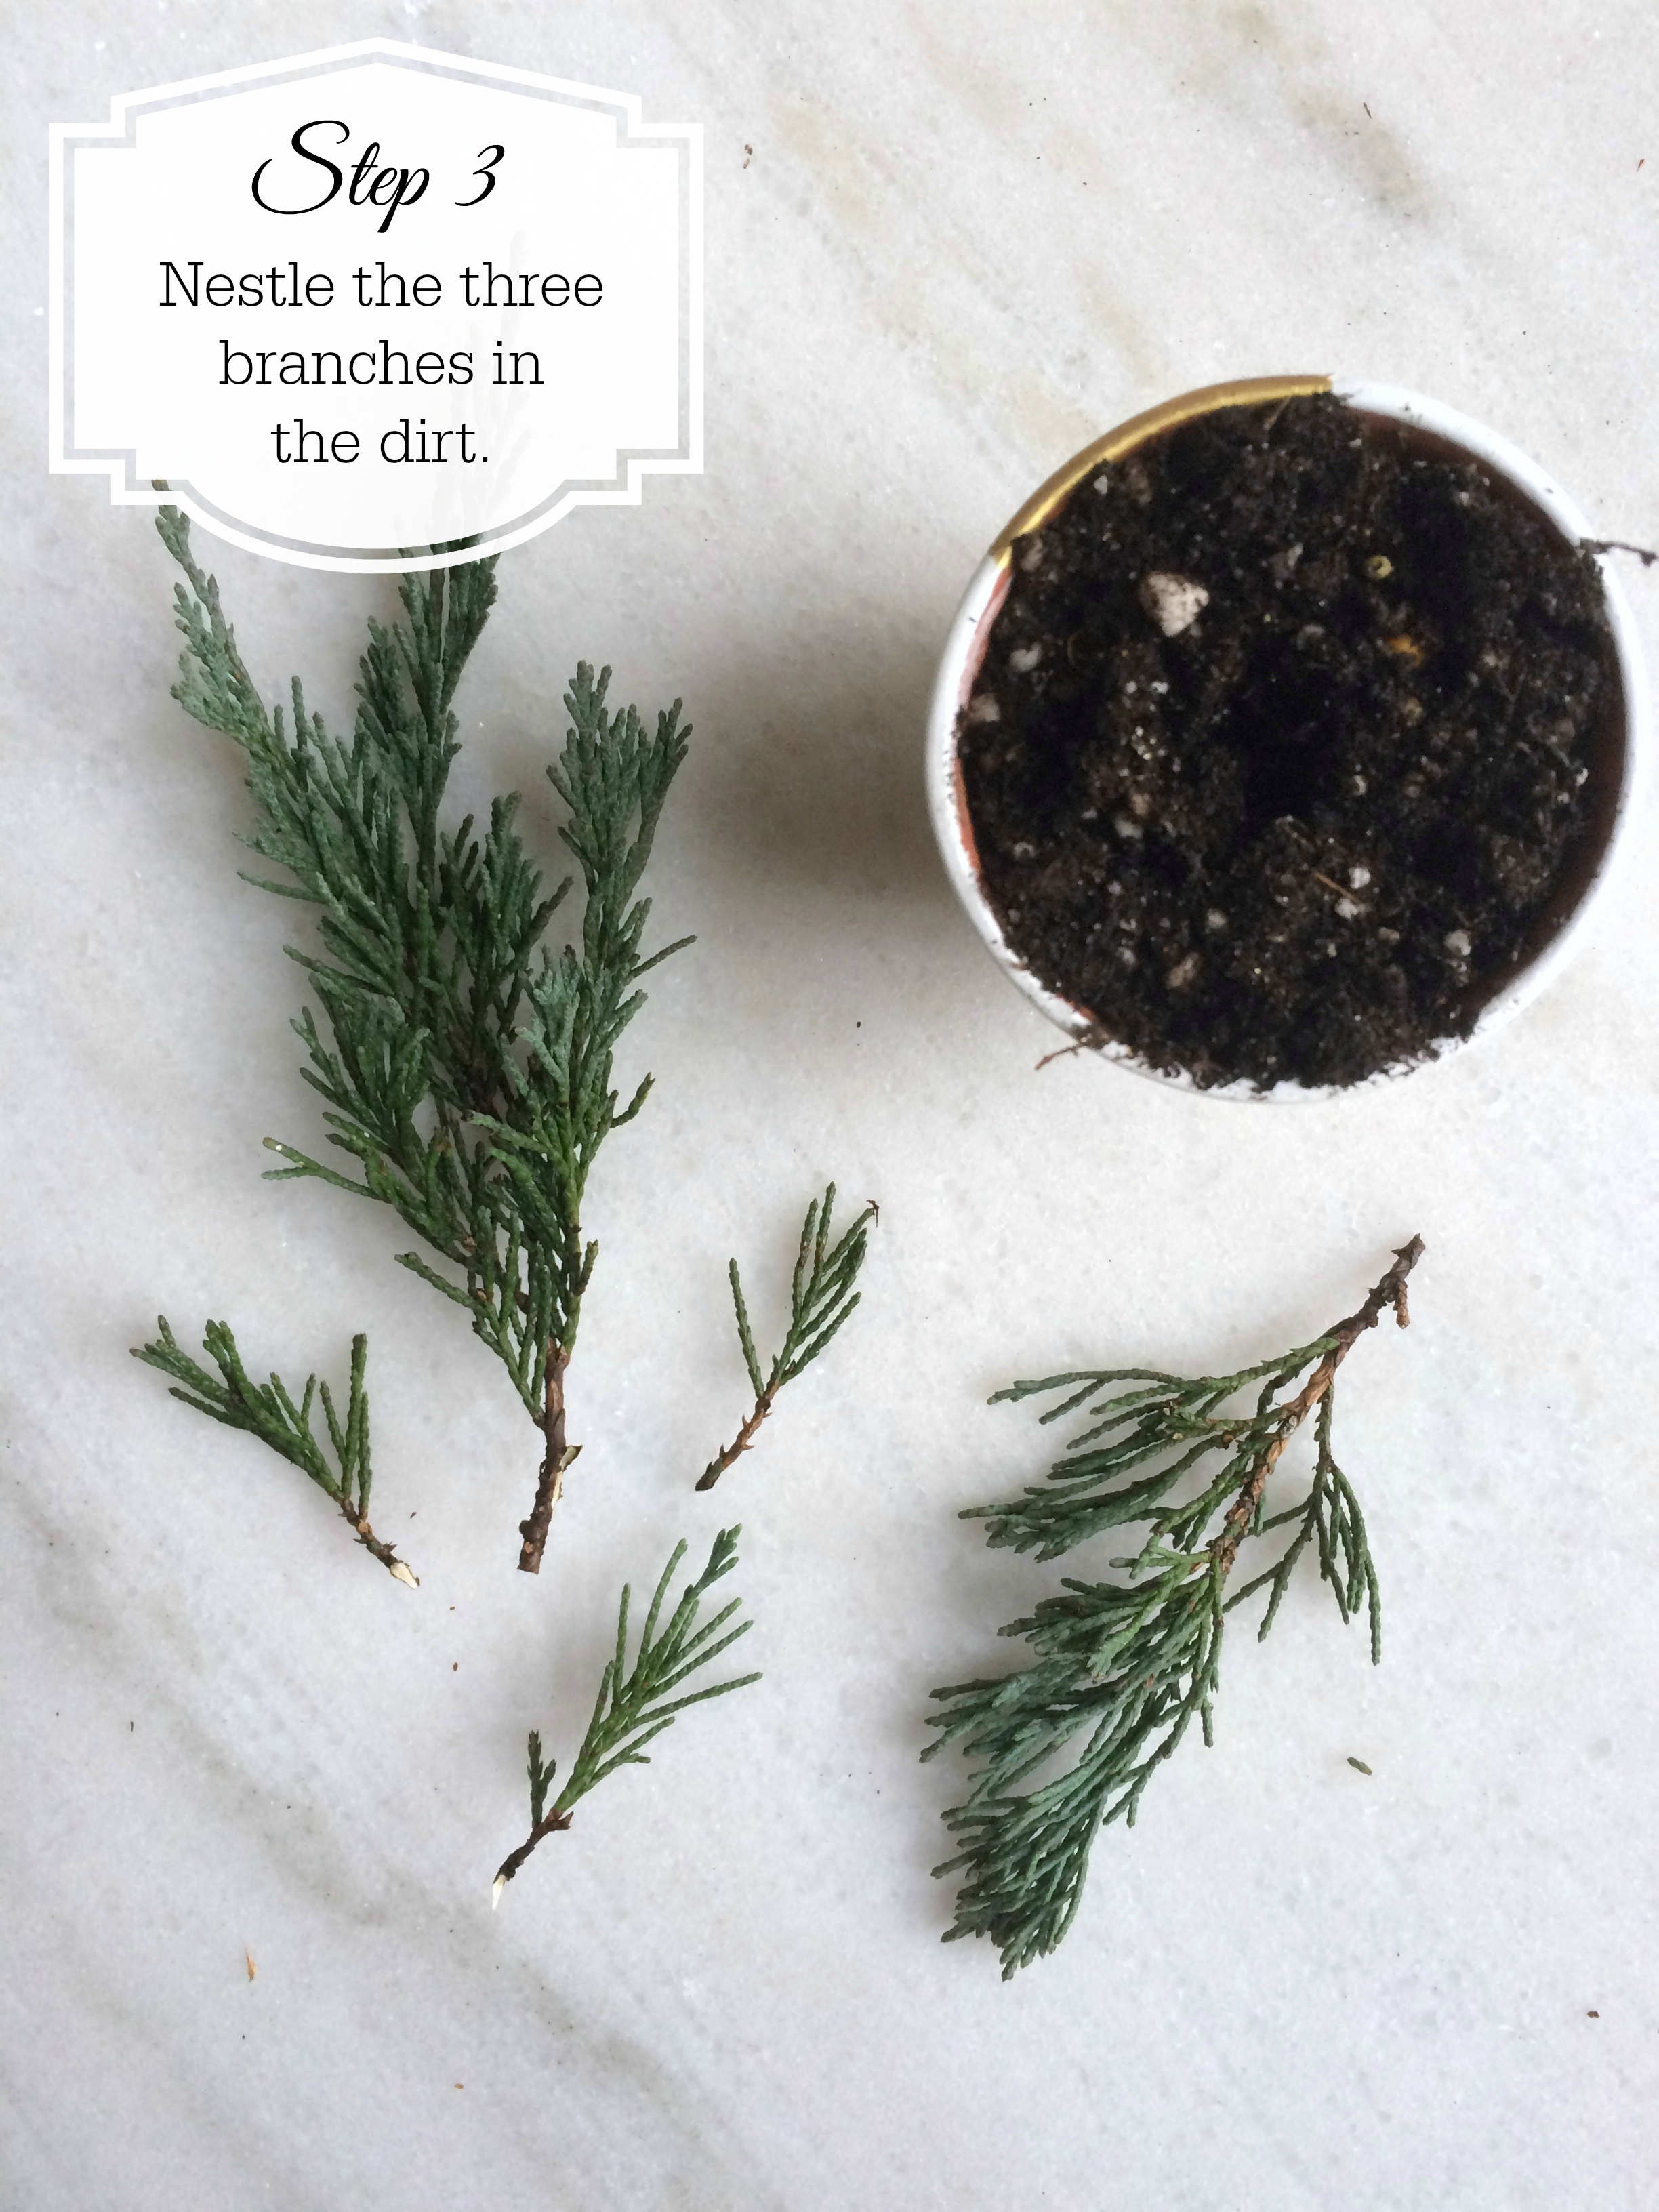
3. Take the three branches and nestle them in the dirt in the center of the pot.
https://jsevents.com/wp-content/uploads/2021/08/logo-pink-1030x925.png00Jessica Swagmanhttps://jsevents.com/wp-content/uploads/2021/08/logo-pink-1030x925.pngJessica Swagman2015-12-18 13:54:552015-12-18 13:54:55DIY Christmas Tree Favor
“What I wanted more than anything was one silver bell from Santa’s sleigh.” Chris Van Allsburg, The Polar Express
Growing up, every Christmas, my parents would read us The Polar Express. The book was gifted to my brother in 1986 from my parents, who even had Chris Van Allsburg write him a little message. Over the years, some of the pages have wrinkled and the dust jacket has acquired a few small tears, but all of these things indicate that this book has been well loved.
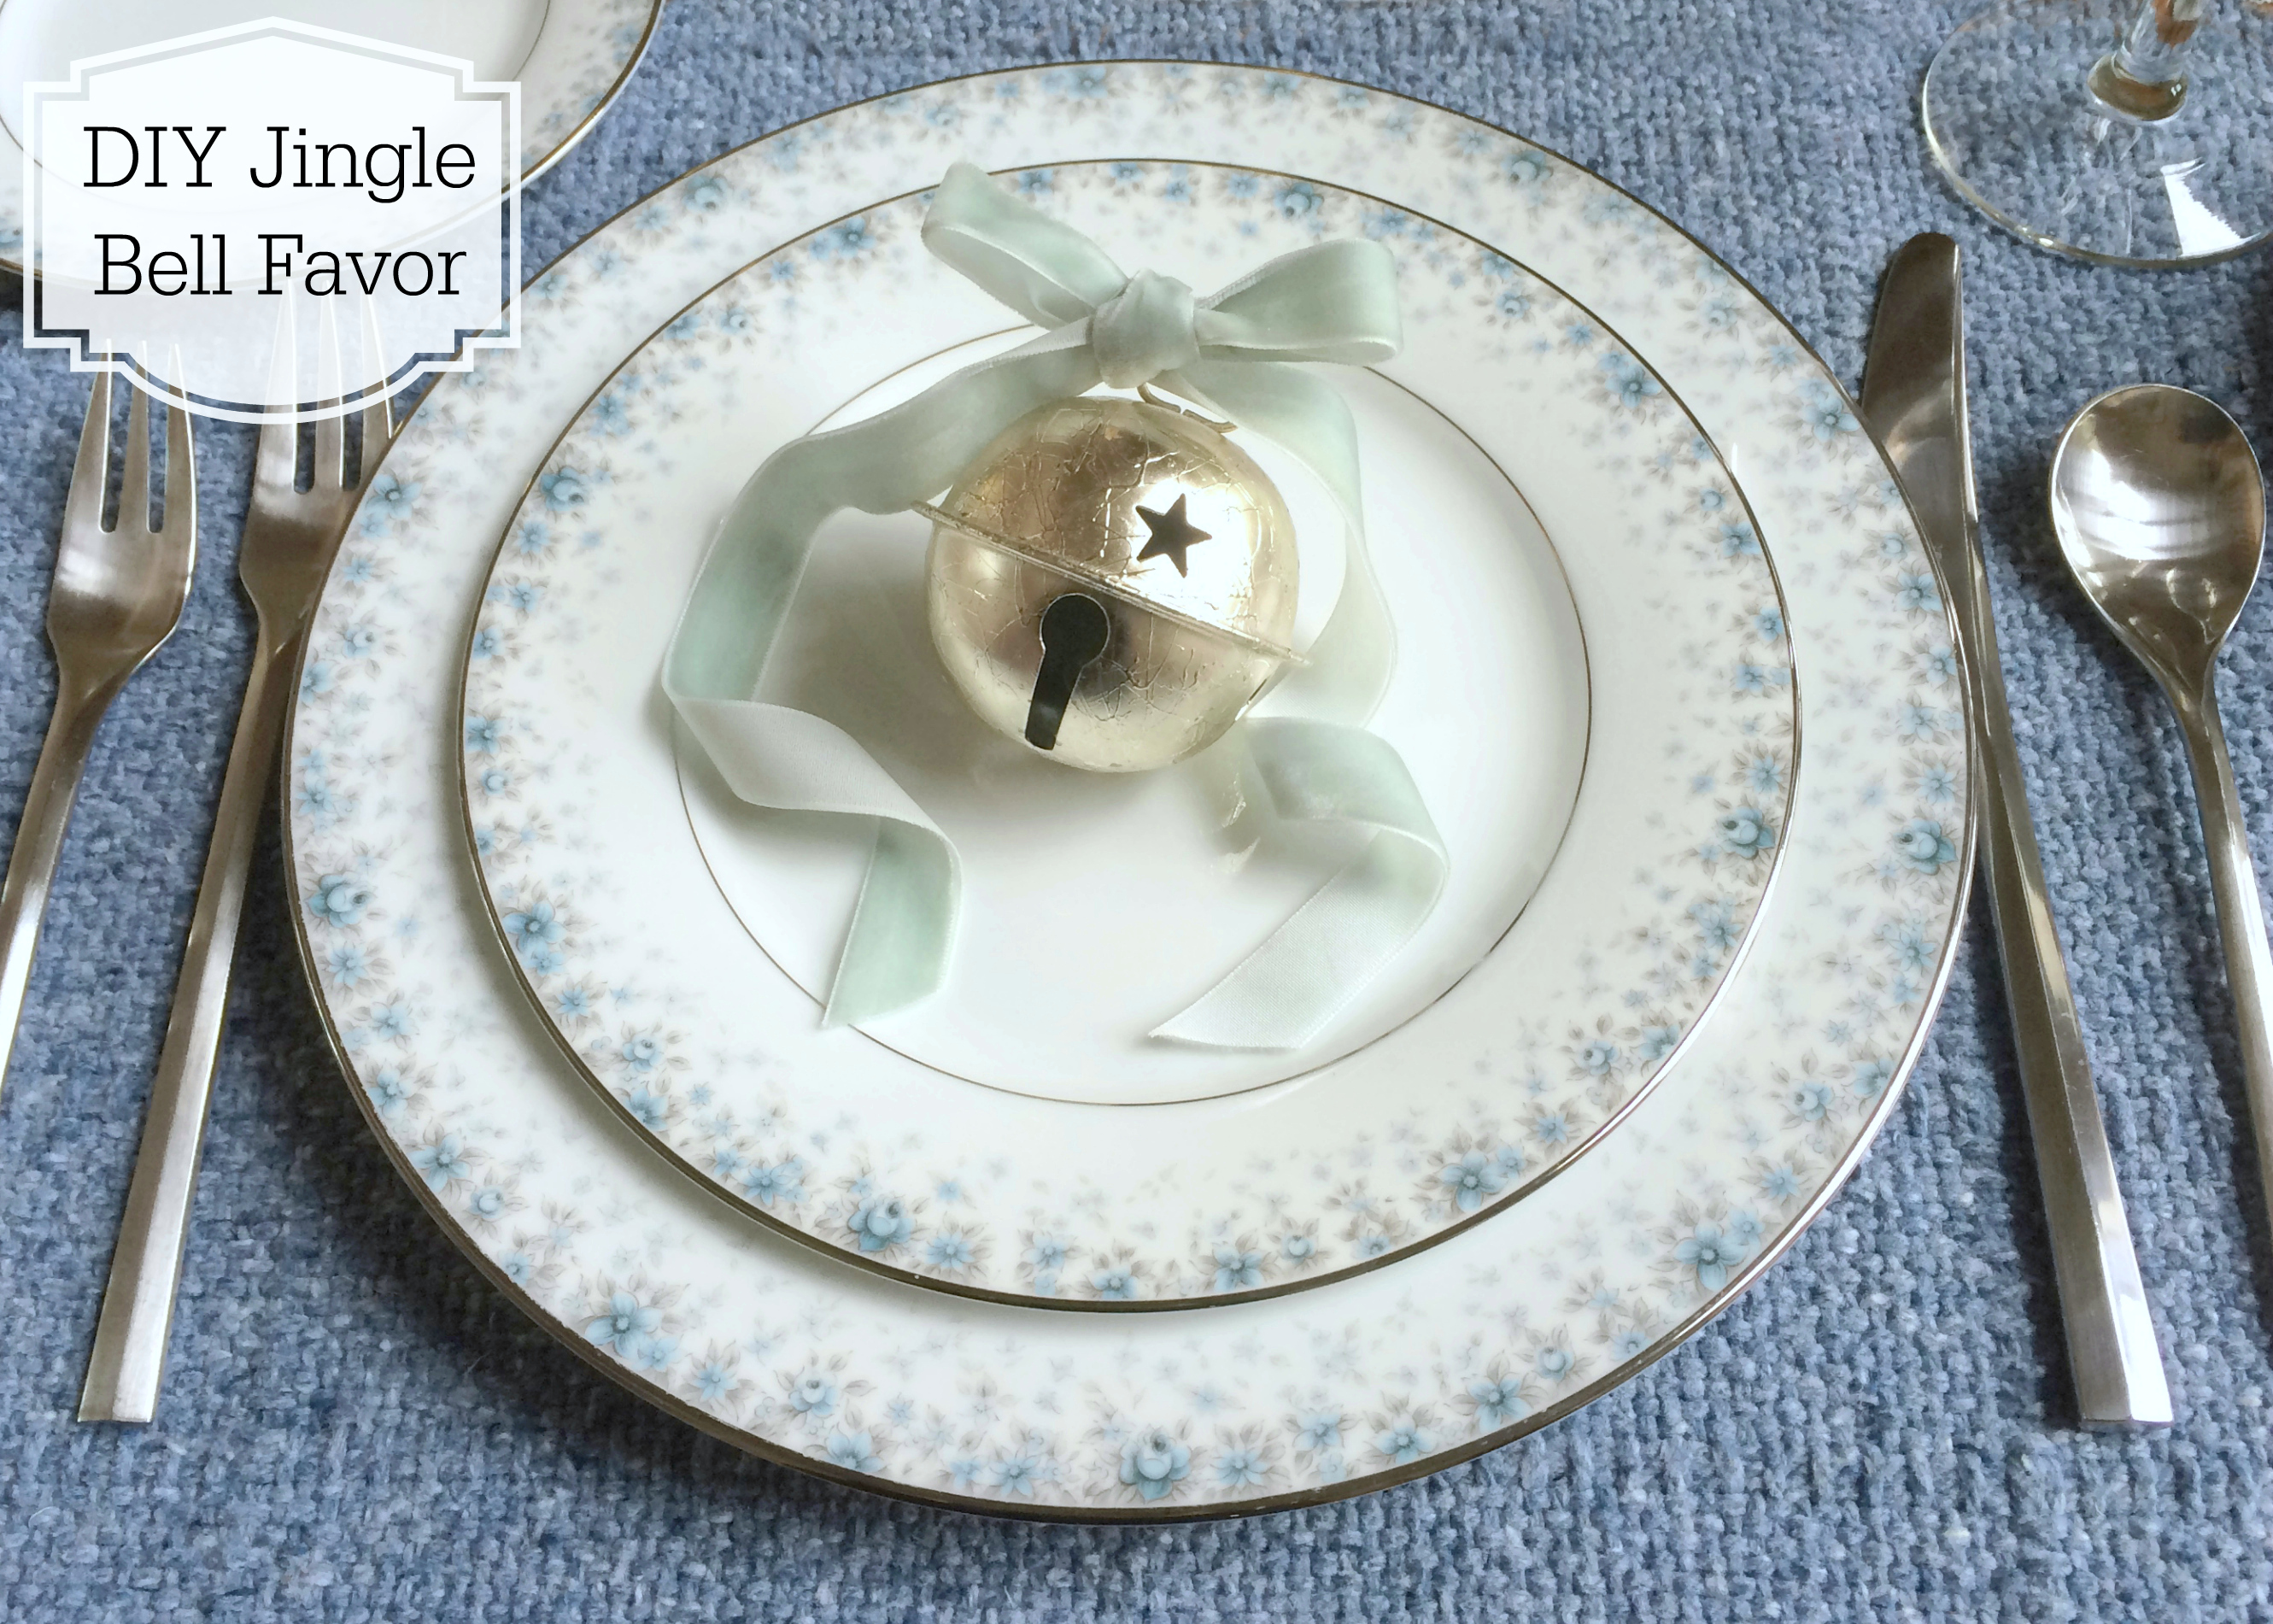
A wonderful children’s book and the simple gift of a bell is the inspiration for this DIY.
I know that the holidays can be very busy for all of us, rushing around, shopping, attending party after party, and perhaps even hosting a party or two. For those of you that are hosting a holiday party, there is so much involved and sometimes you just don’t have time for the little things. Apart from having me help you, the one piece of advise I can give is to slow down, relax, and just enjoy this time of the year. Also, to do lists are a must and keep things simple!
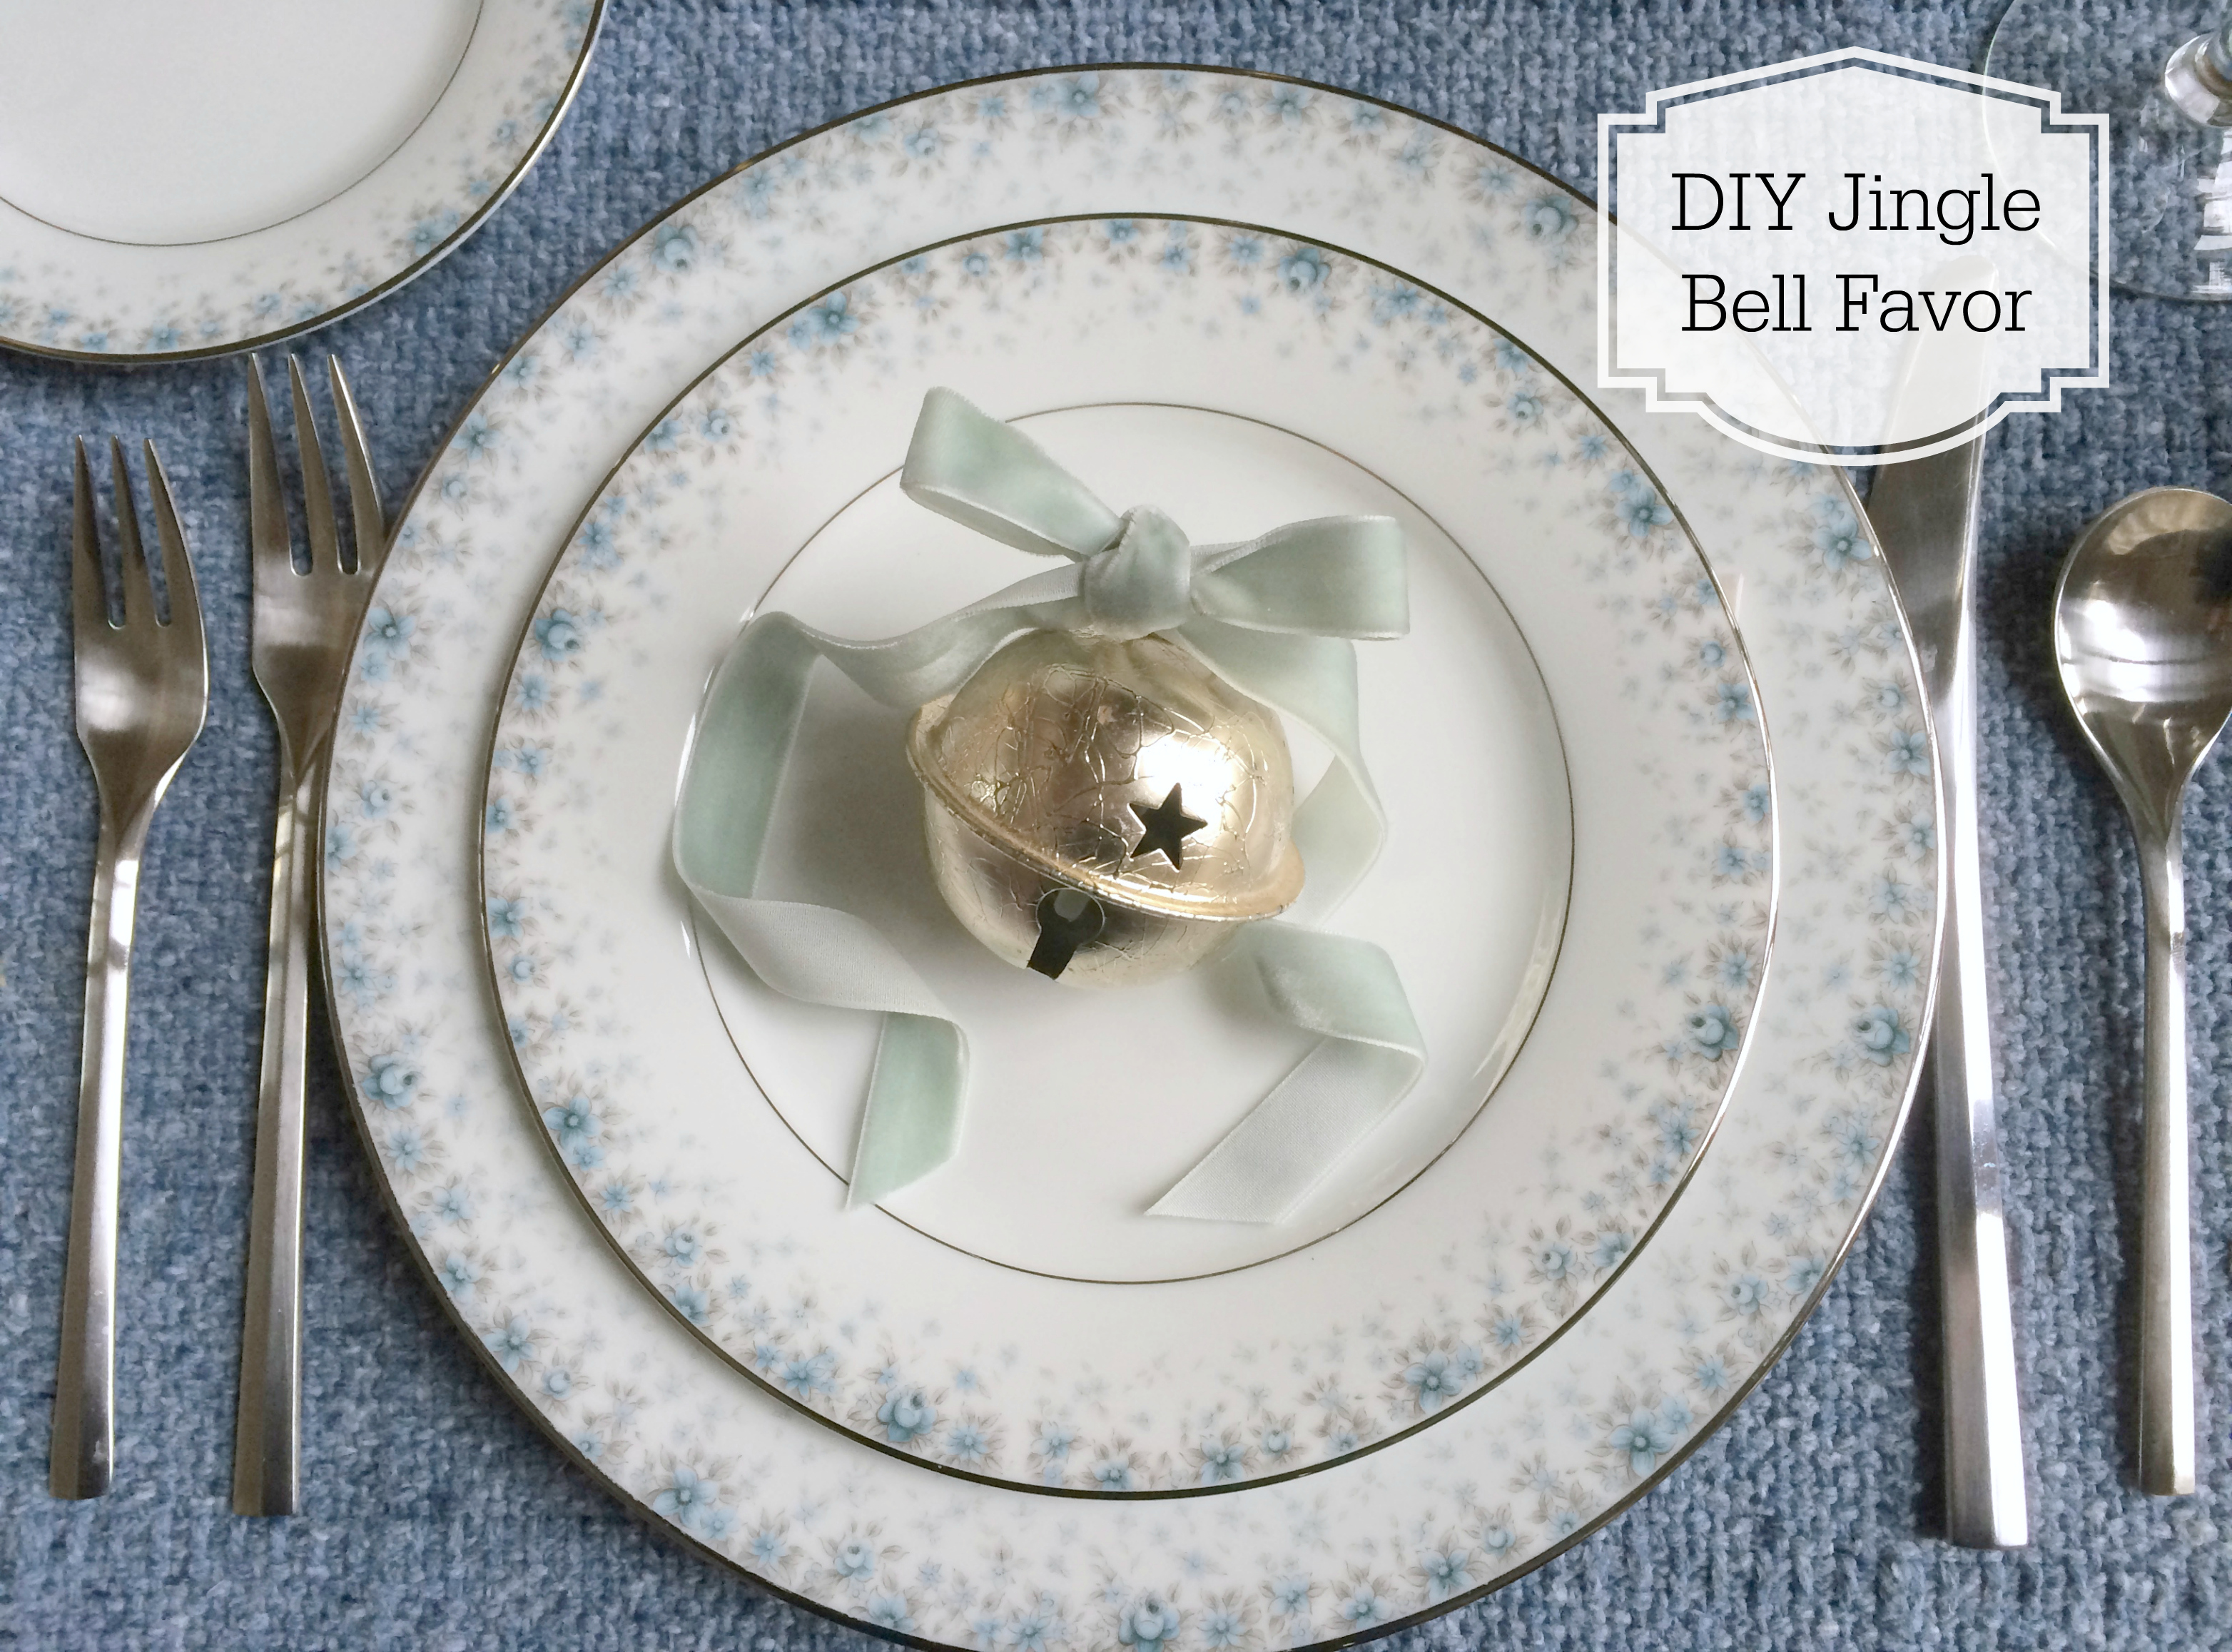
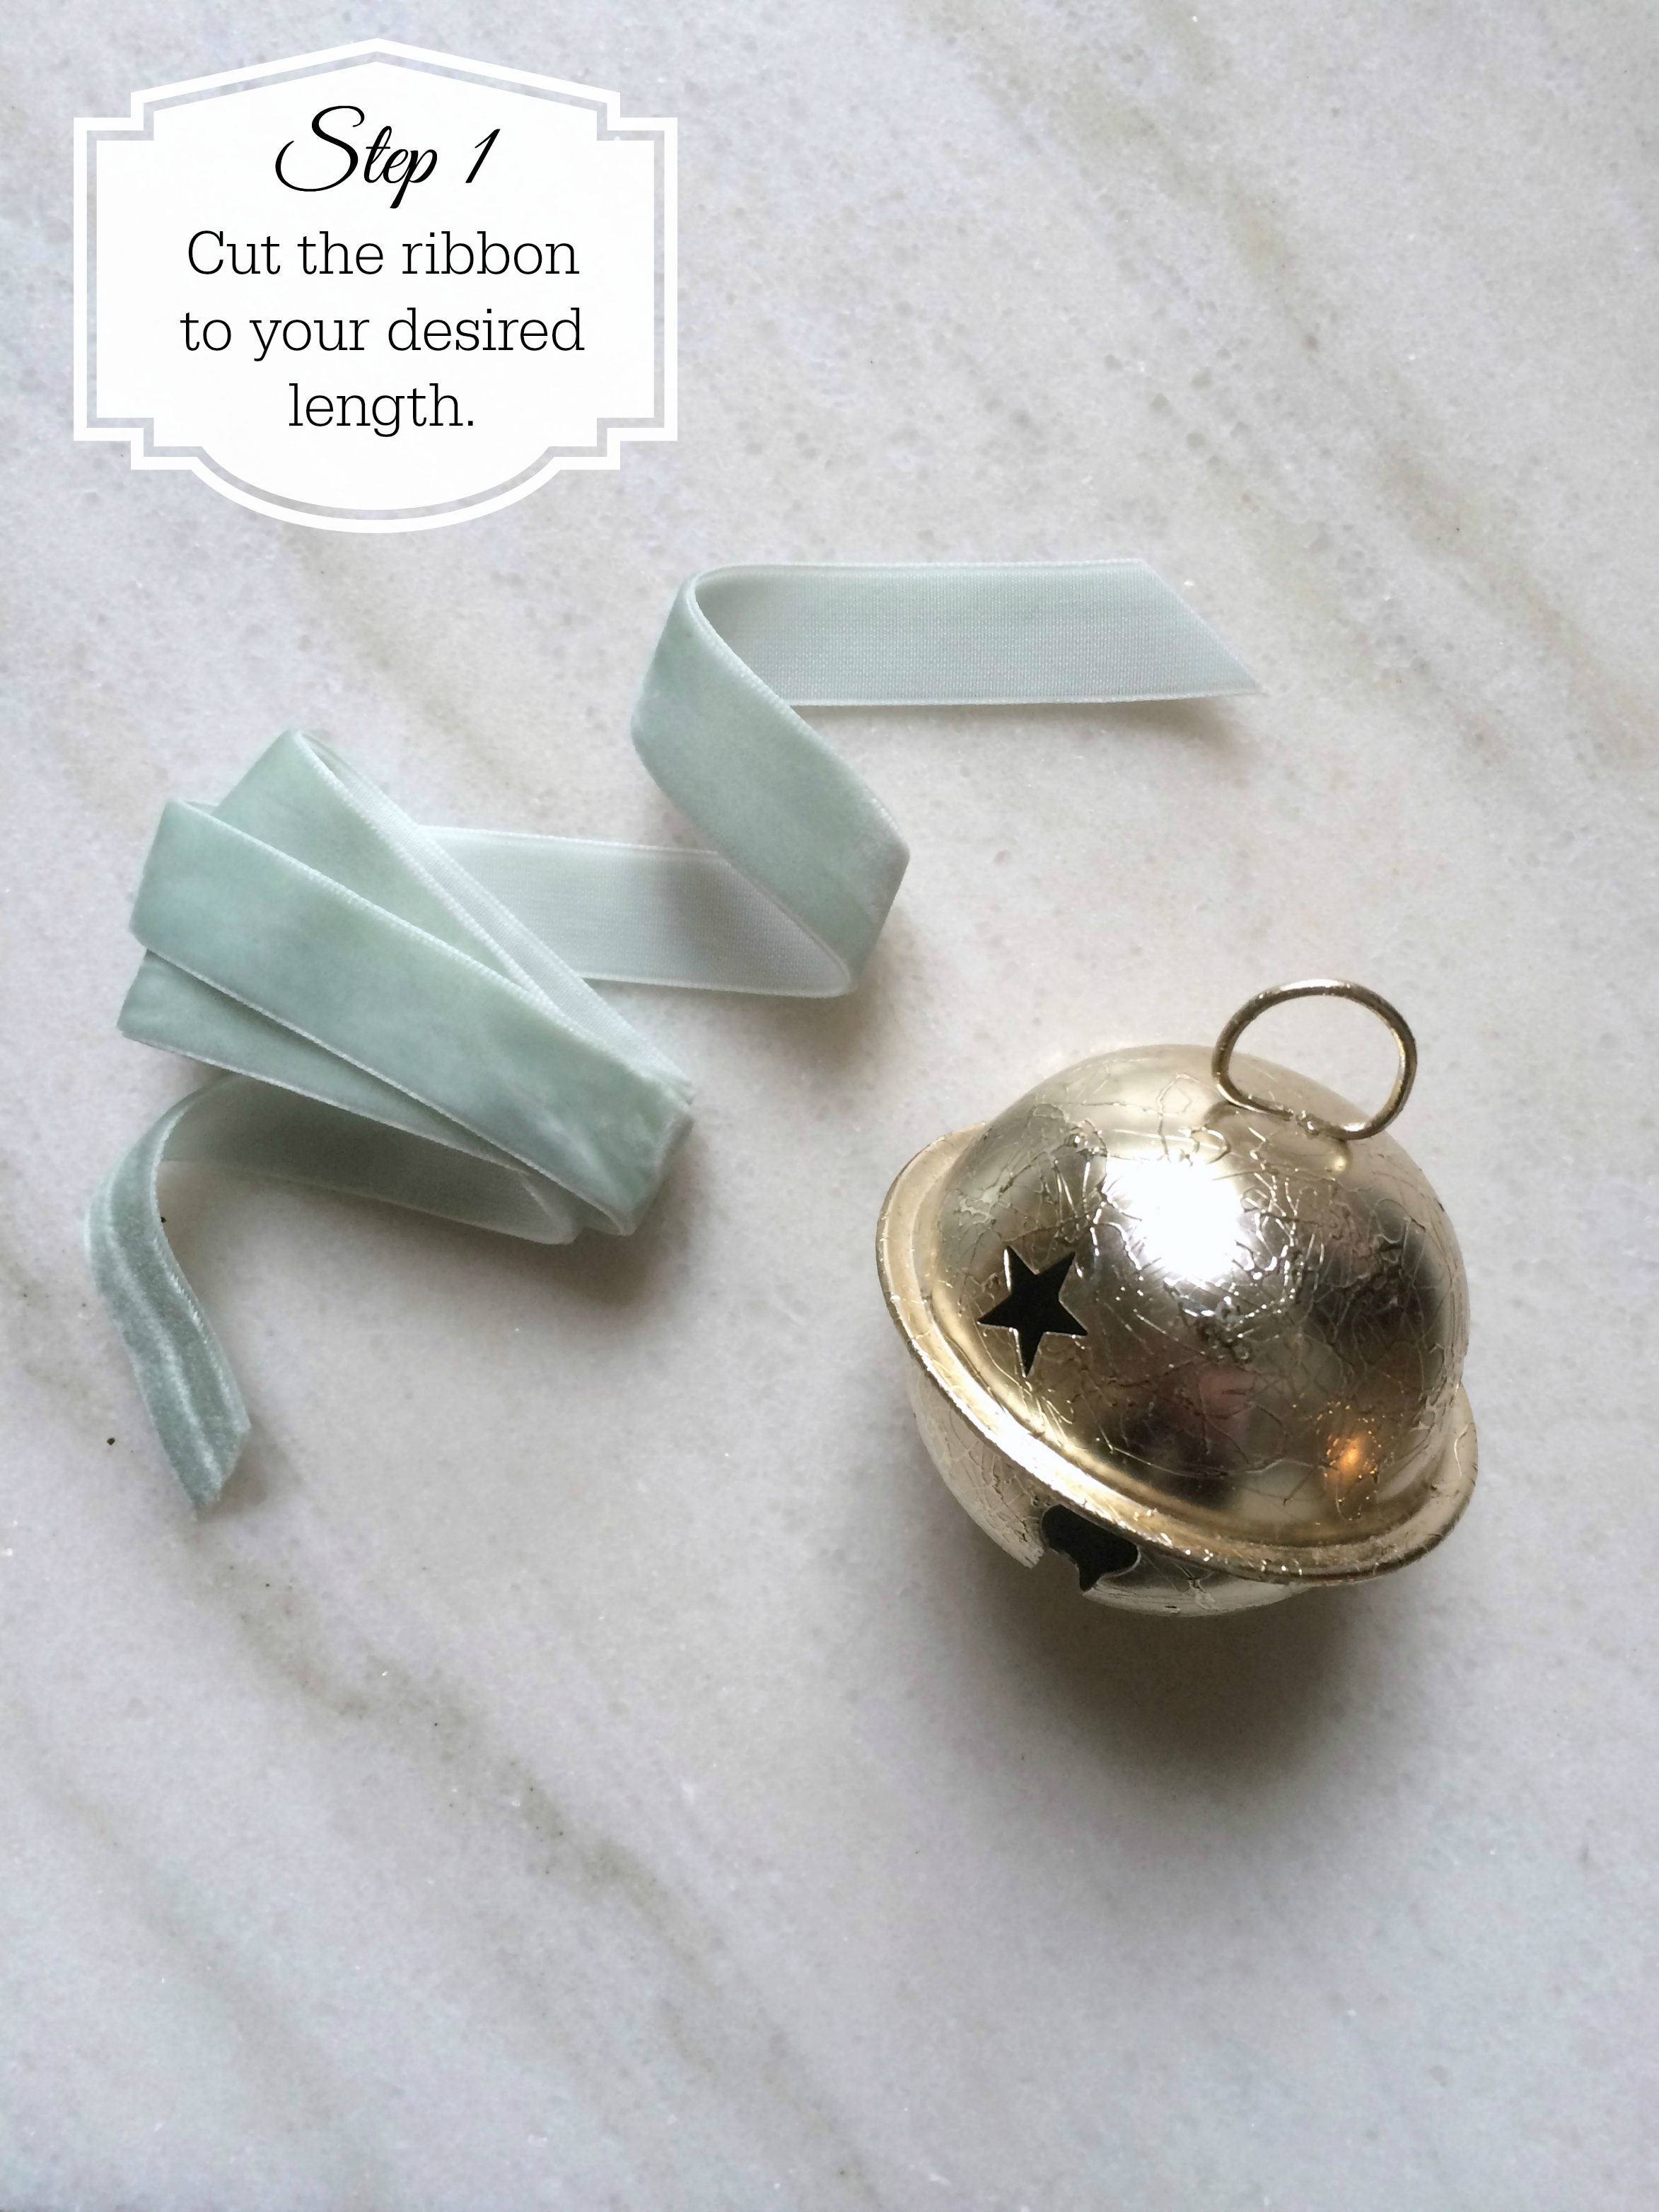
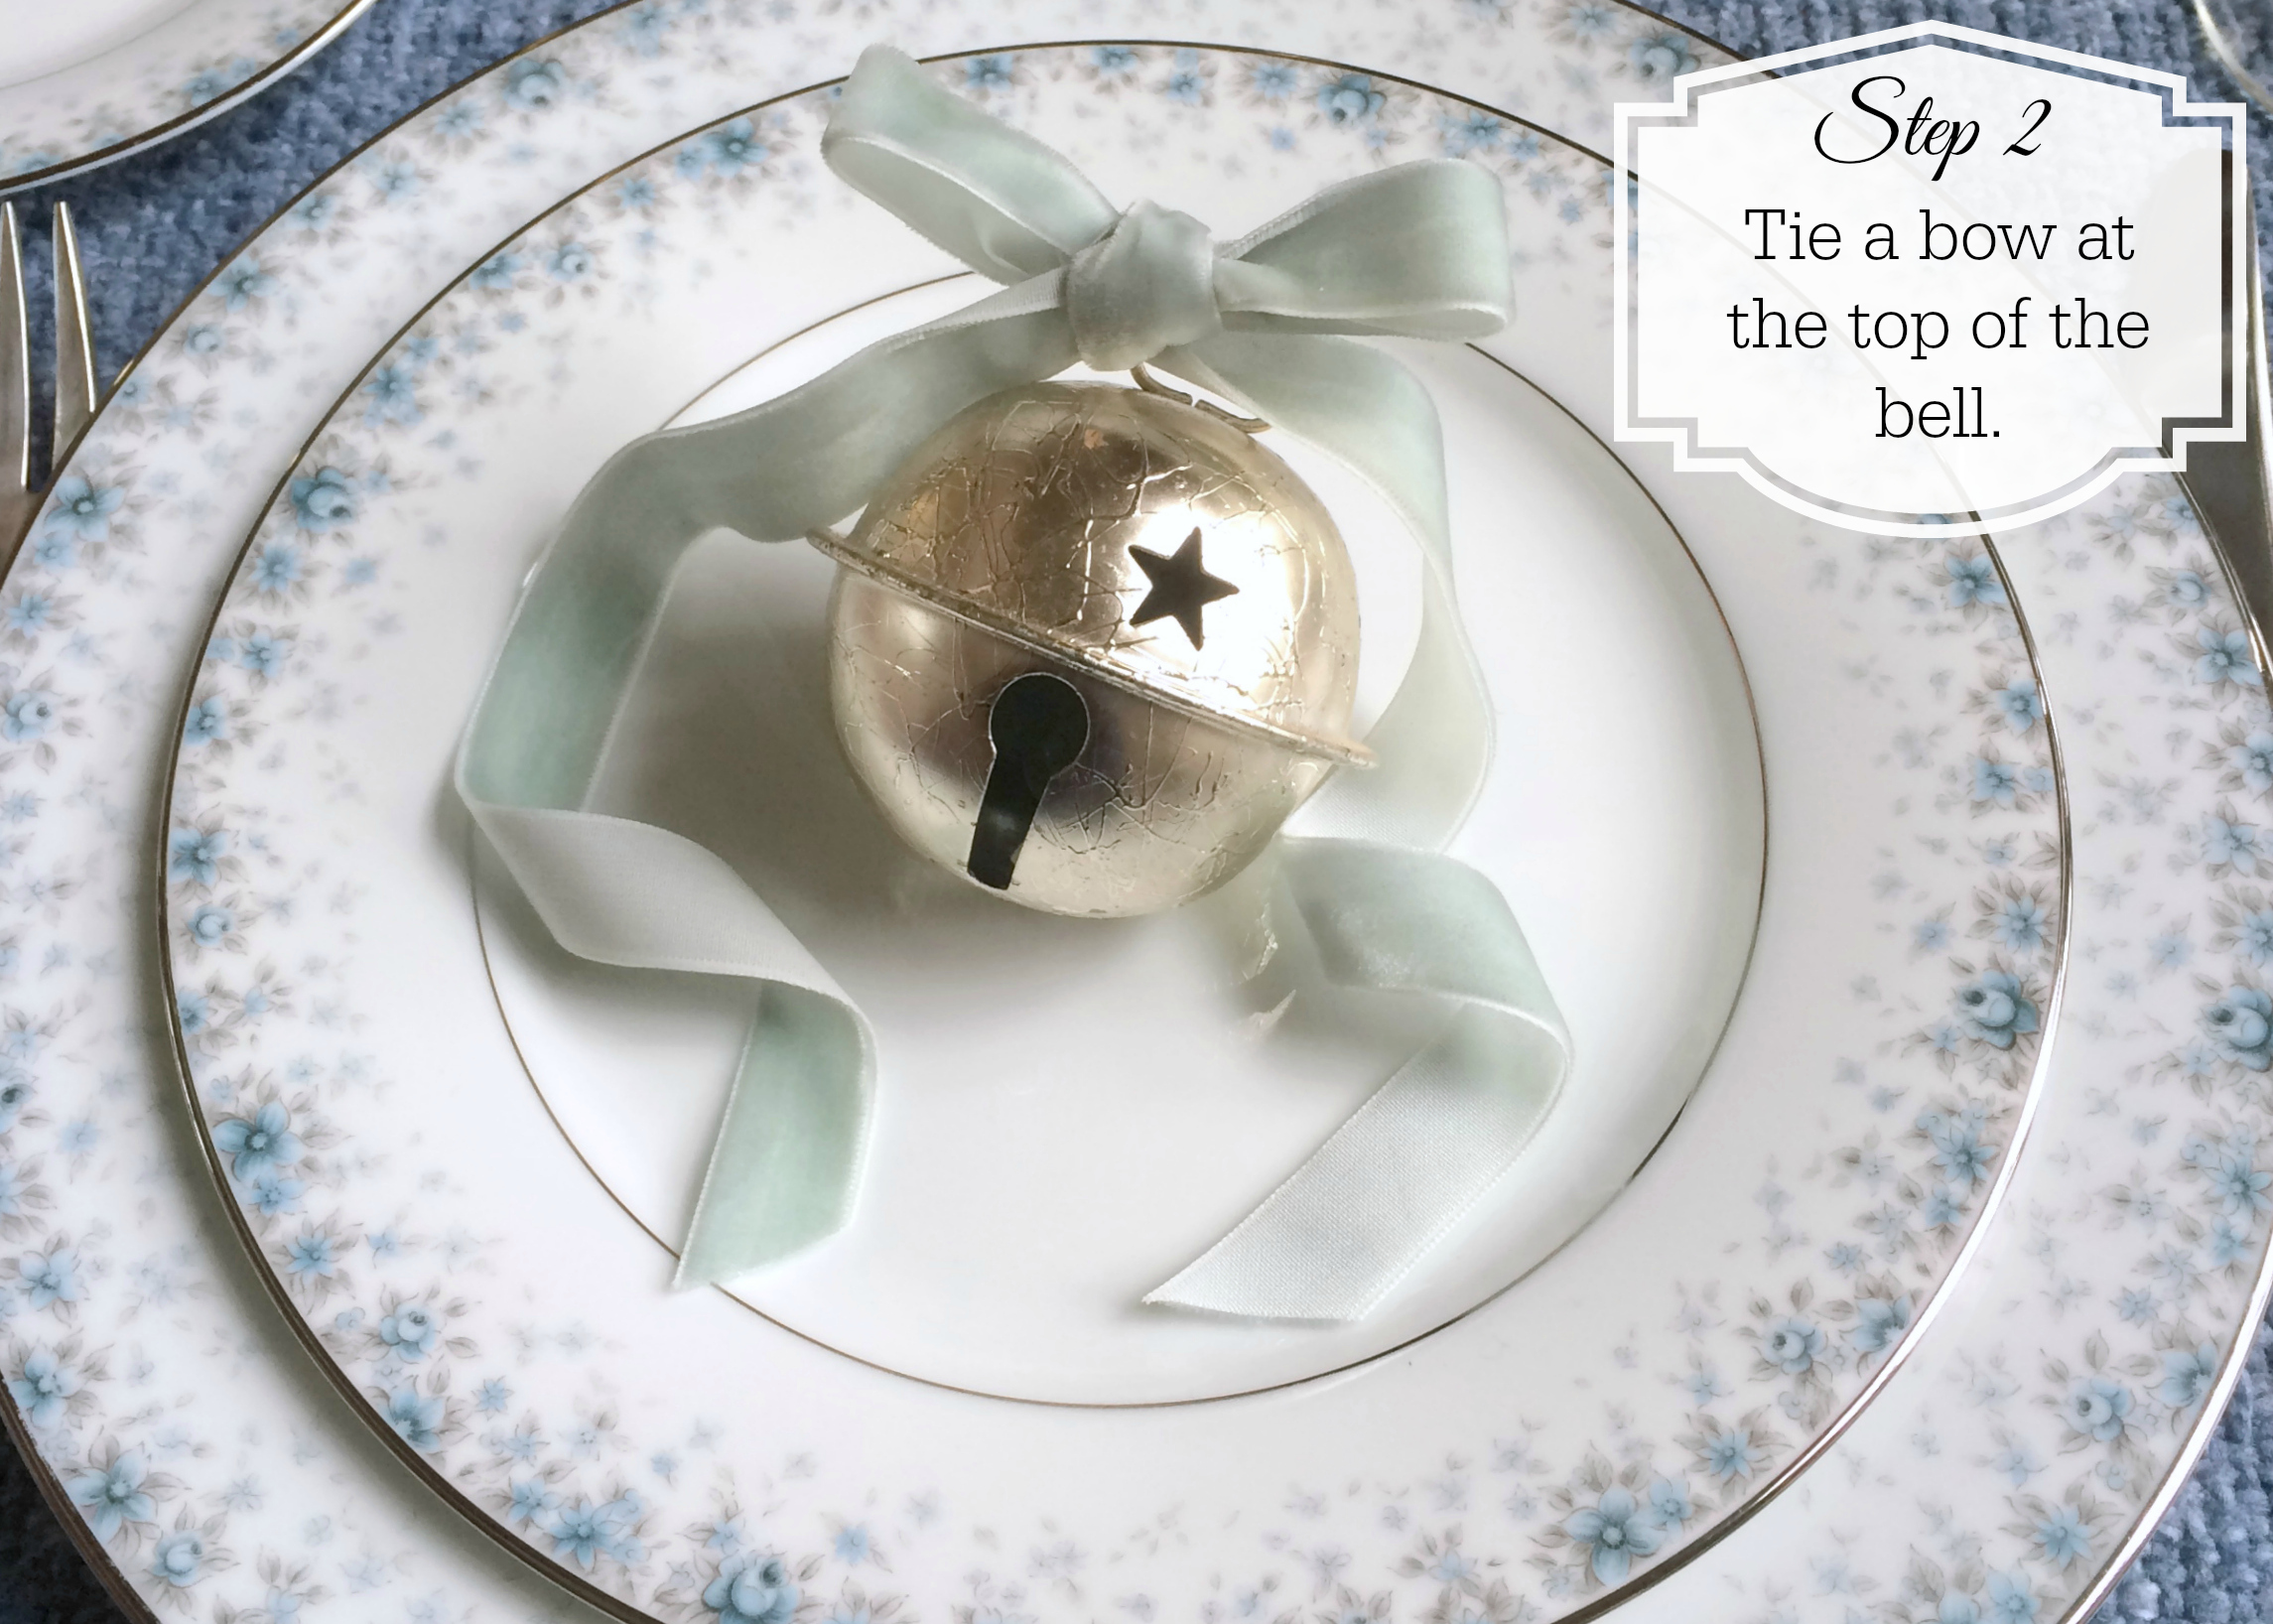
If you find yourself hosting a holiday dinner party, I have DIY favor that is super easy and can later be hung on the Christmas tree. If you want, you can even write the guest’s name on the bell and use it as a place card.
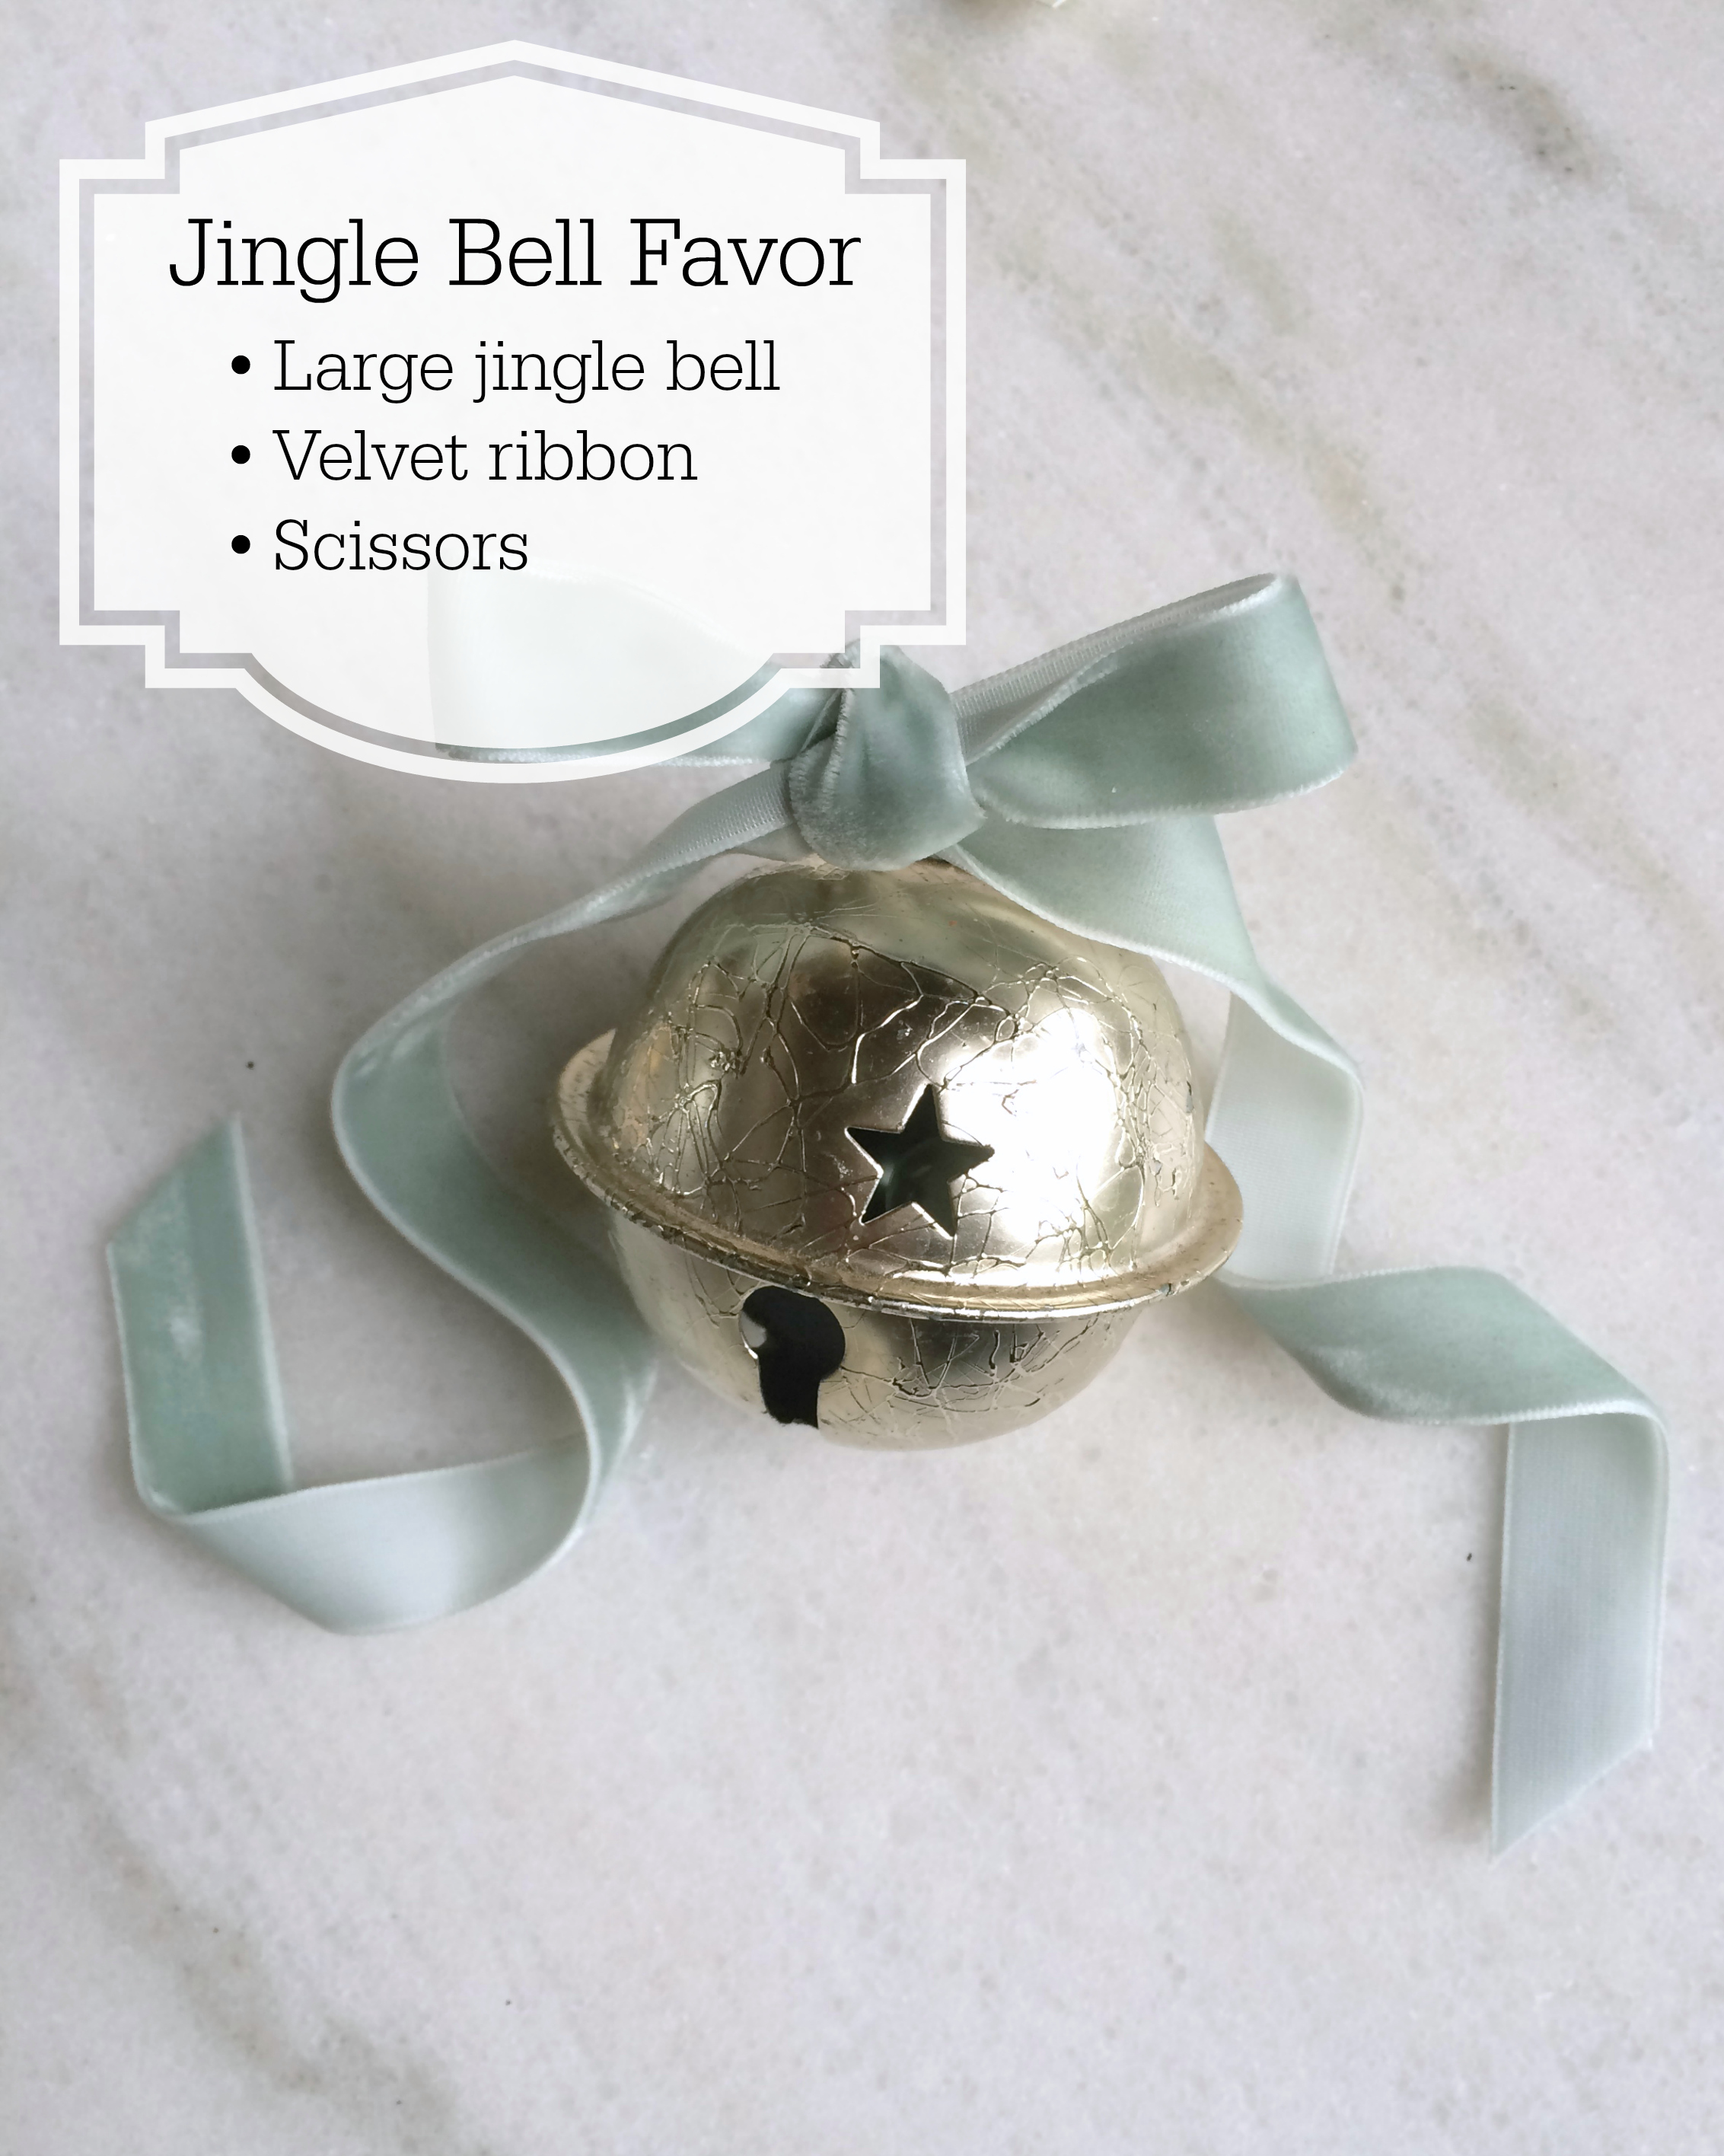
What you’ll need:
• Large jingle bell
• Velvet ribbon (⅝” wide)
• Scissors