A New Year
/0 Comments/in Living /by Jessica SwagmanIn 3 short days, 2014 will come to a close. In looking back at the past 12 months, I find myself struggling to come up with the right words to describe such a big year.
While there is always a lot to juggle in life, I made things a little more precarious by starting a new company. Being the overachiever that I am, I felt that I could sufficiently handle everything on my plate. I learned very quickly that this was not entirely efficient for my body and brain.
In light of this, I decided to take on extra help. In the past, I have always had an intern to help me. But, with the new pressures in life, I added two more people to my little team. Learning how to manage these new set of hands was a learning experience for all of us. However, I am so thankful to these wonderful friends for sticking by my side and working so hard at each wedding. They were real troopers considering there were weekends where they were up for +40 hours straight clipping blooms, ironing linens and having my perfectionistic presence hover over them.
This year the weddings were a lot different than in the past years. This year I was able to design a lot of the elements and was given more freedom in the overall aesthetics. It always means the world to me when a bride hands over the design aspect of her wedding to me and lets me have fun. I was able to have my hand in the designing of invitations, choosing specific blooms, and honing my calligraphy skills. To those that do calligraphy, you are amazing. Seriously.
In October I was invited to join the other West Michigan Event Planners for an evening at Boatwerks in Holland. Tom from Boatwerks generously hosted this get together and talked about the big plans they have for weddings. It was a lovely time and I am so glad that I was able to meet these great women who I am constantly inspired by. In an industry that is so often seen as competitive and full of comparisons, I felt that these women were more about being a community where we can look to each other for help.
Next year there are some pretty amazing weddings lined up and I am so excited for each and every one of them. They will expand my skills and push my creativity to new levels, and I’ll have to stretch my imagination more, but I look forward to the adventures.
Thank you to everyone for making this year truly fantastic.
See you in 2015.
Glitter NYE Hats
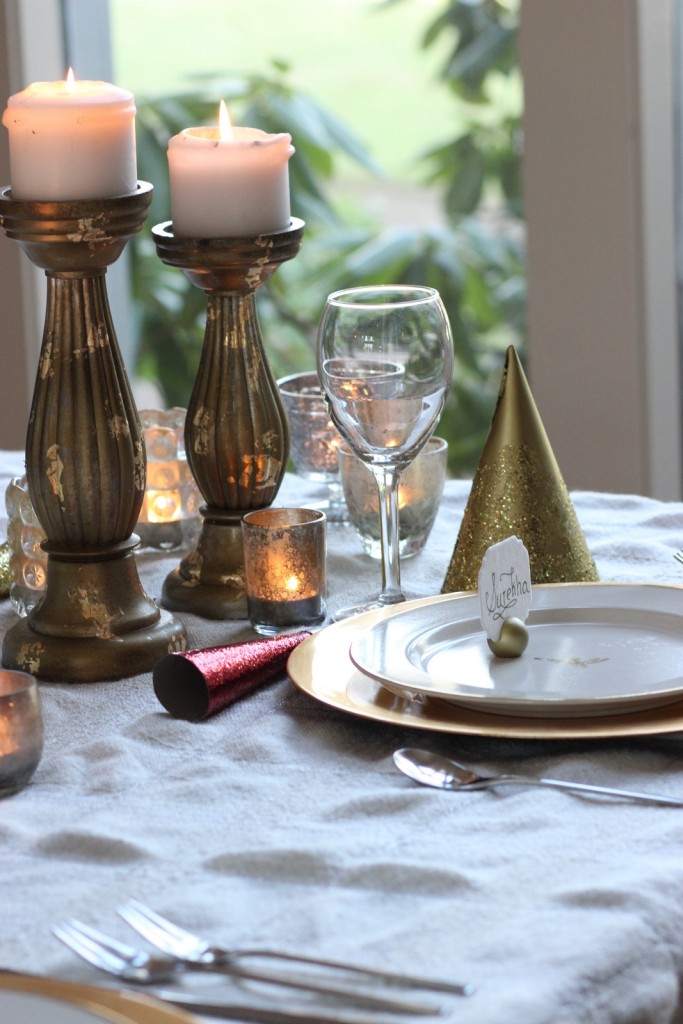
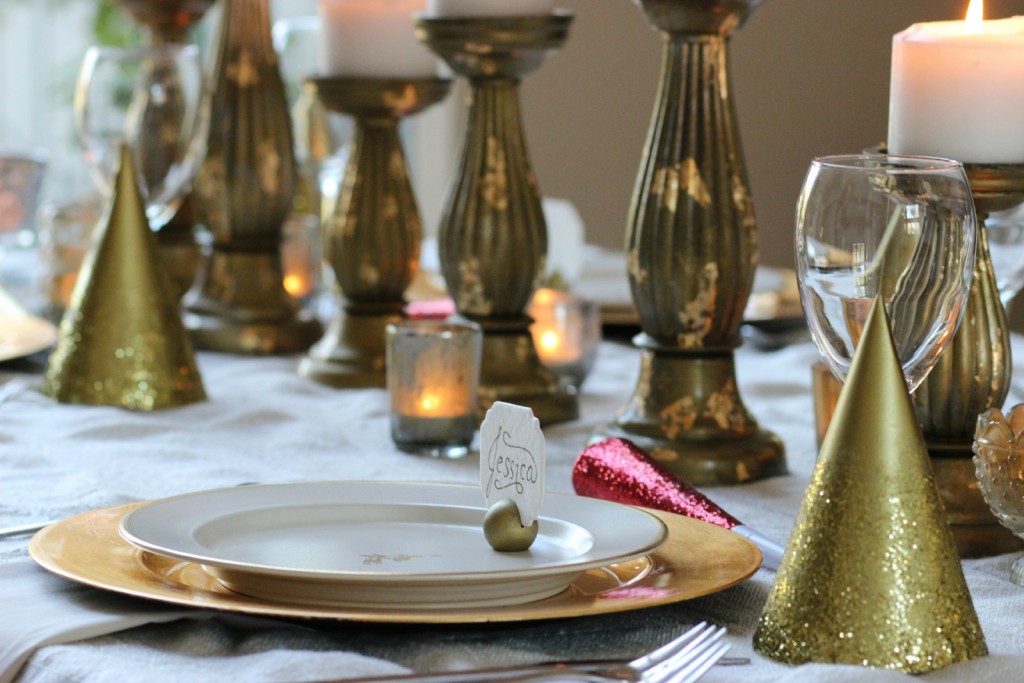
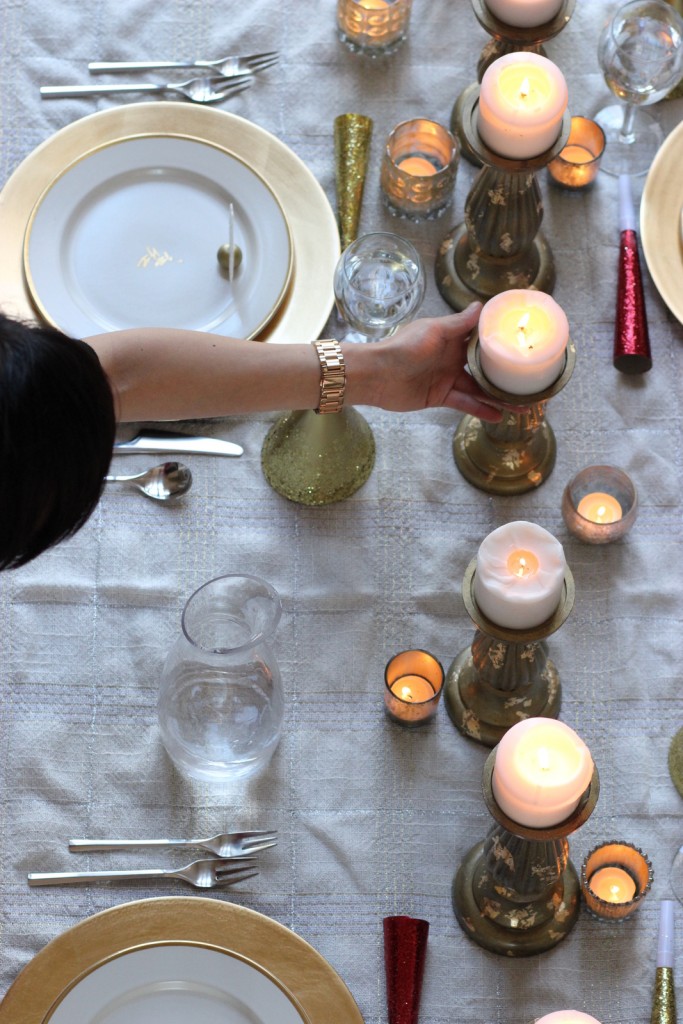
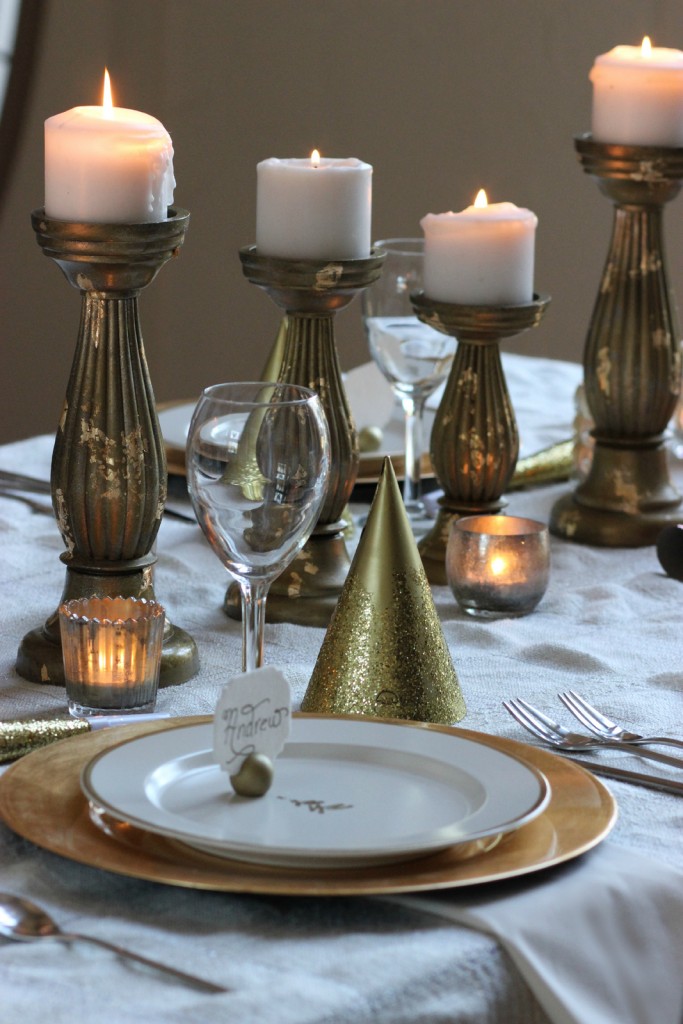
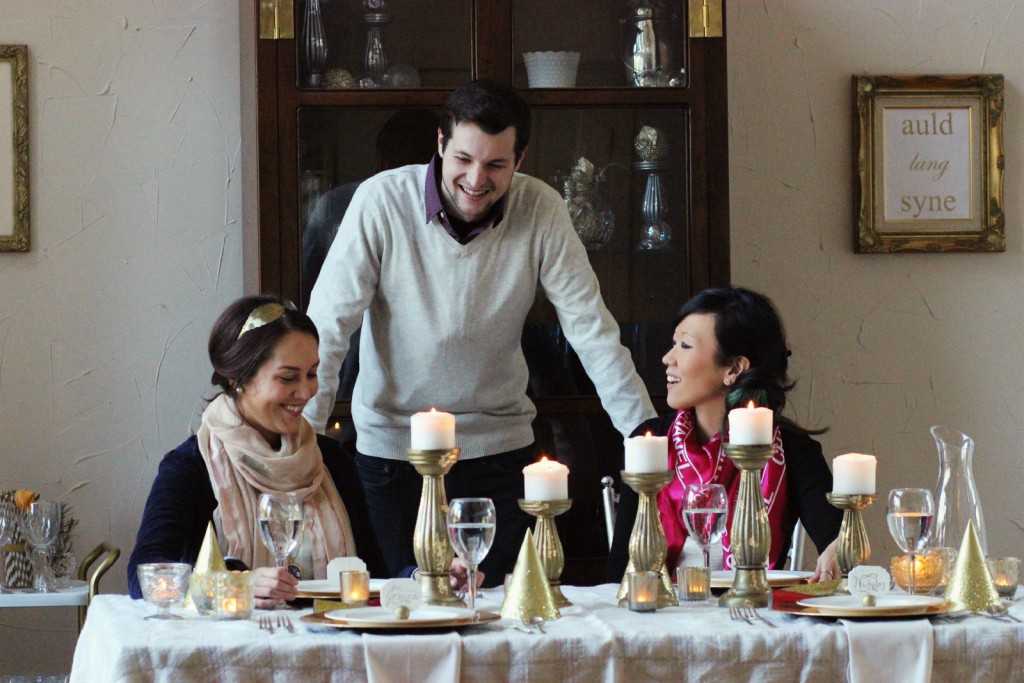
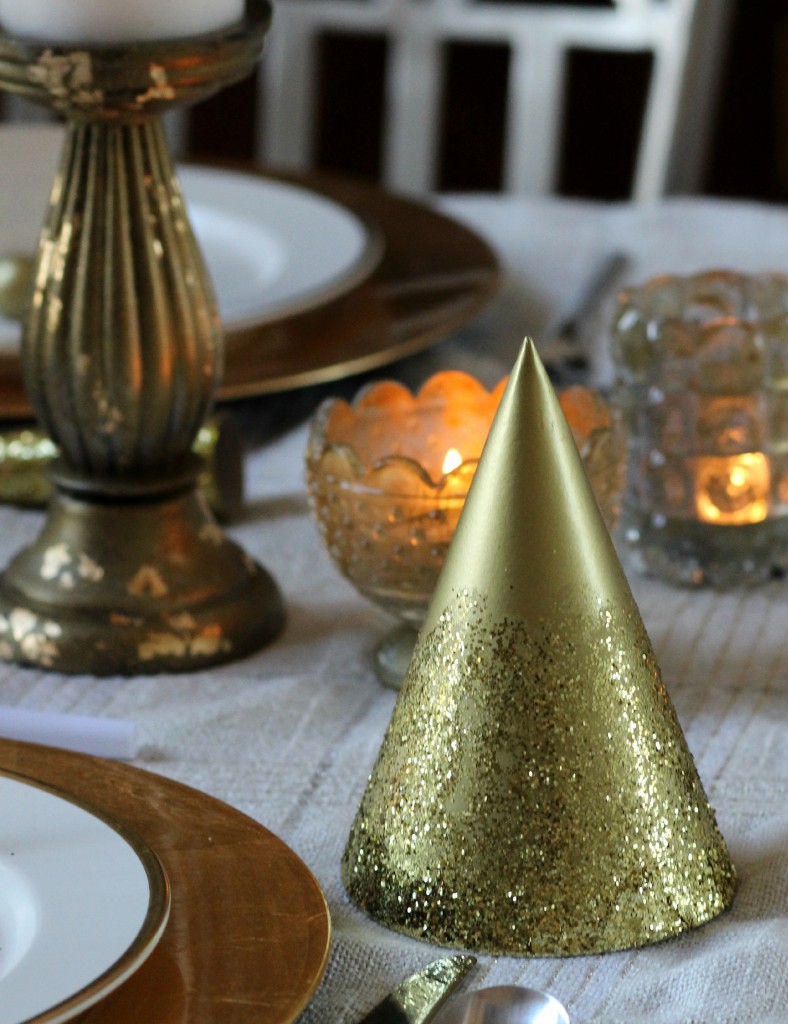
/0 Comments/in Decor, Events /by Jessica SwagmanPlanning a New Years Eve party, literally back to back with Christmas, seems like a daunting task. Cleaning the house, buying the food, prepping the food, and styling the whole event is enough to make even the most organized person weary. However, before you write off the whole idea of hosting a NYE party, remember, it only needs to be as complicated as you make it. Of course, for me, it is extremely complicated. But, this December I found myself with a few extra minutes to plan a small NYE party, complete with gold glittered hats.
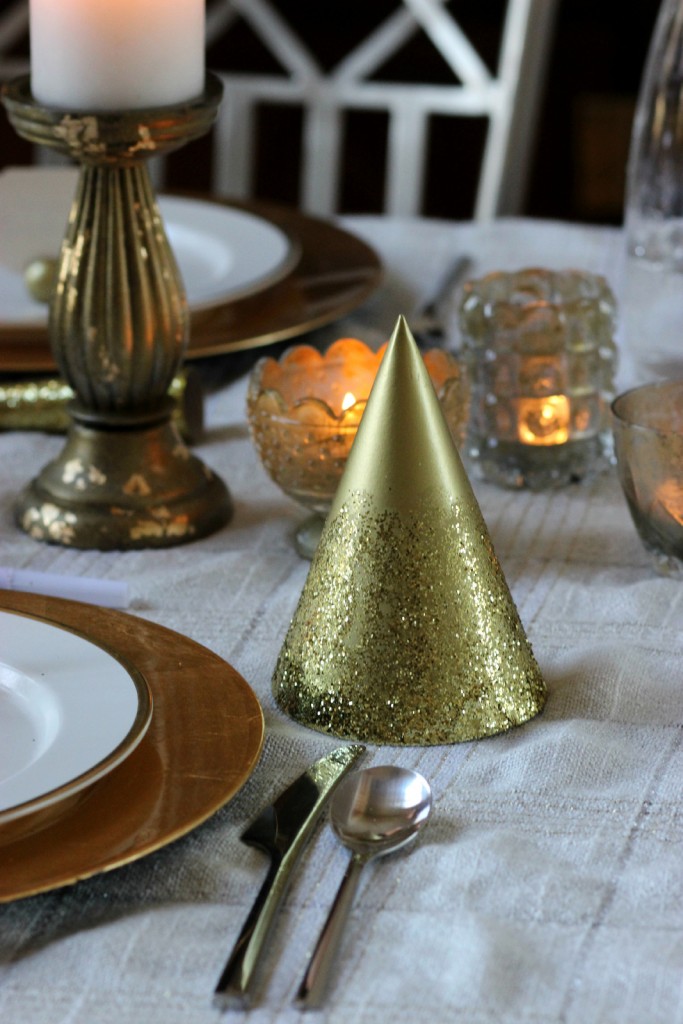
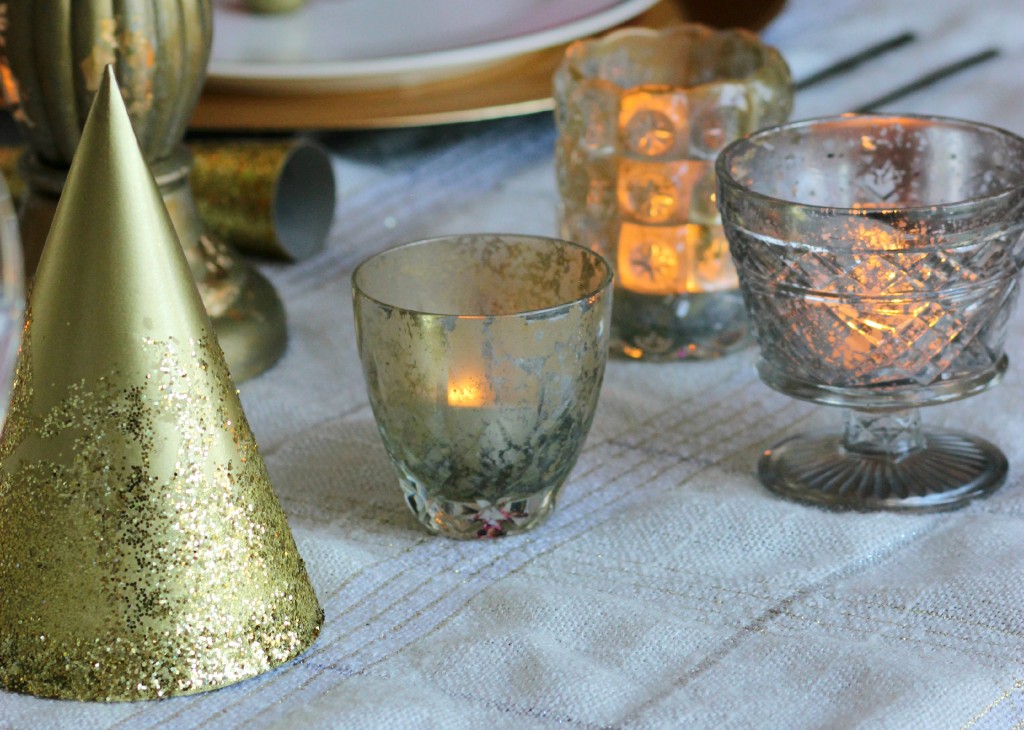
Yes, I know you can buy party hats, but, I had some multicolored ones lying around. Being the queen of DIY (that’s a lie; it’s more about repurposing old things instead of buying new things), I decided to spray paint them gold and cover them in gold glitter. My only advice when spray painting cheap party hats? Let them dry completely in-between coats, otherwise you will have drip marks, which will show under the glitter. When it comes to putting glitter on the hats, after you let the glitter and glue dry, paint over the glitter with one more coat of glue. This helps with the trail of glitter that you are bound to create whenever the hats get touched, placed or even breathed upon.
Steps:
1. Gather up some party hats (try the dollar store or your local craft store) and spray paint (an array of colors are available at your local hardware store or craft store).
2. Cover the ground with lots of newspaper. If you are able to, always spray paint outside on in an extremely well ventilated area. Spray paint the hats in thin coats, letting them fully dry in-between coats.
3. Paint clear craft glue (ie: Elmer’s) on the area of the hat you want covered in glitter. I covered about 3/4 of the hat in glue, with a more glue at the bottom and getting progressively less towards the top.
4. Sprinkle glitter on the hat (over a paper plate). Once you get all the glitter you want on the hat, let the hat dry.
5. Once the hat is dry, cover the glittered areas in one more coat of glue and let it fully dry. Voila. Glittered hats.
Now, you are all thinking that this was more of a pain than what it was worth. And, I’ll be honest with you, you may be right. Would plain gold hats, or even the multicolored hats have been sufficient? Probably… But not for me. So, if you find yourself with extra time and want to spray paint paper and get covered in glitter, this is a project for you. Cheers!
Christmas Cheer
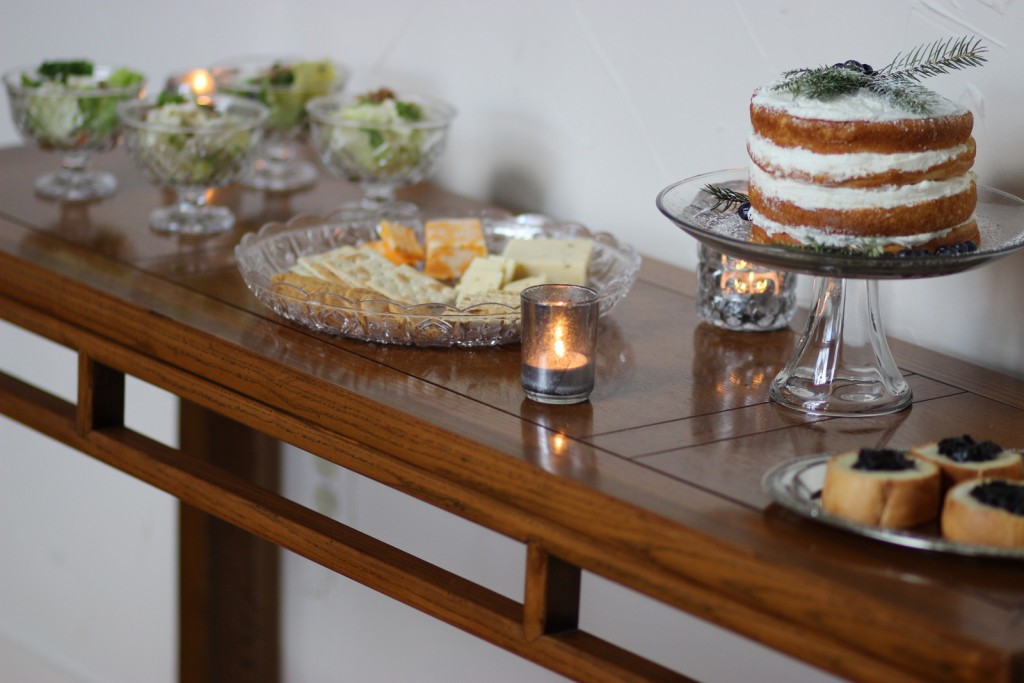
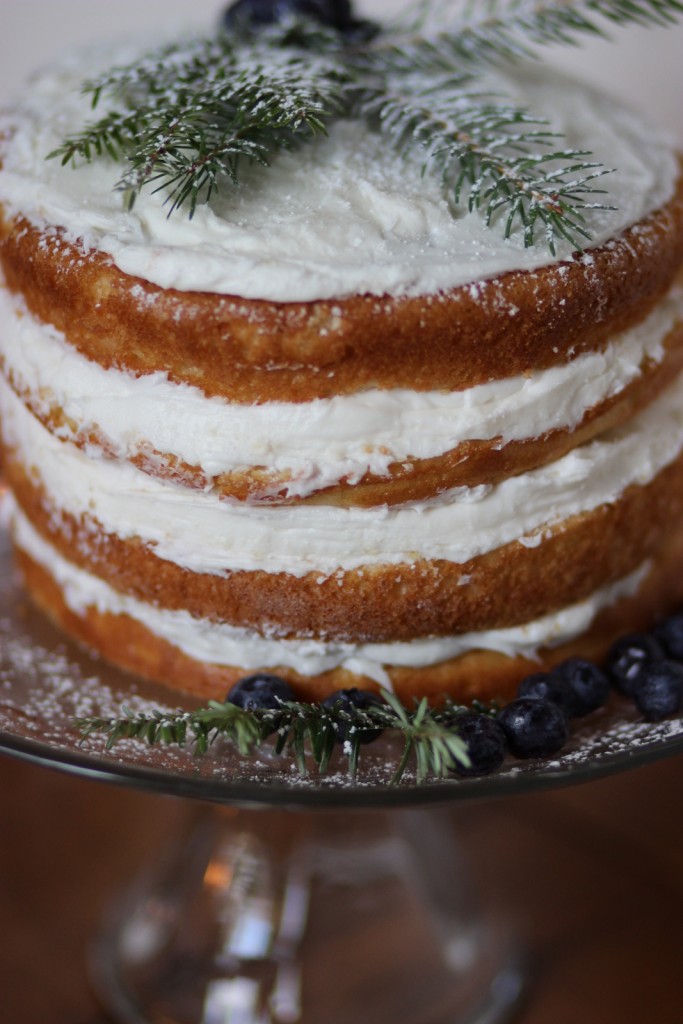
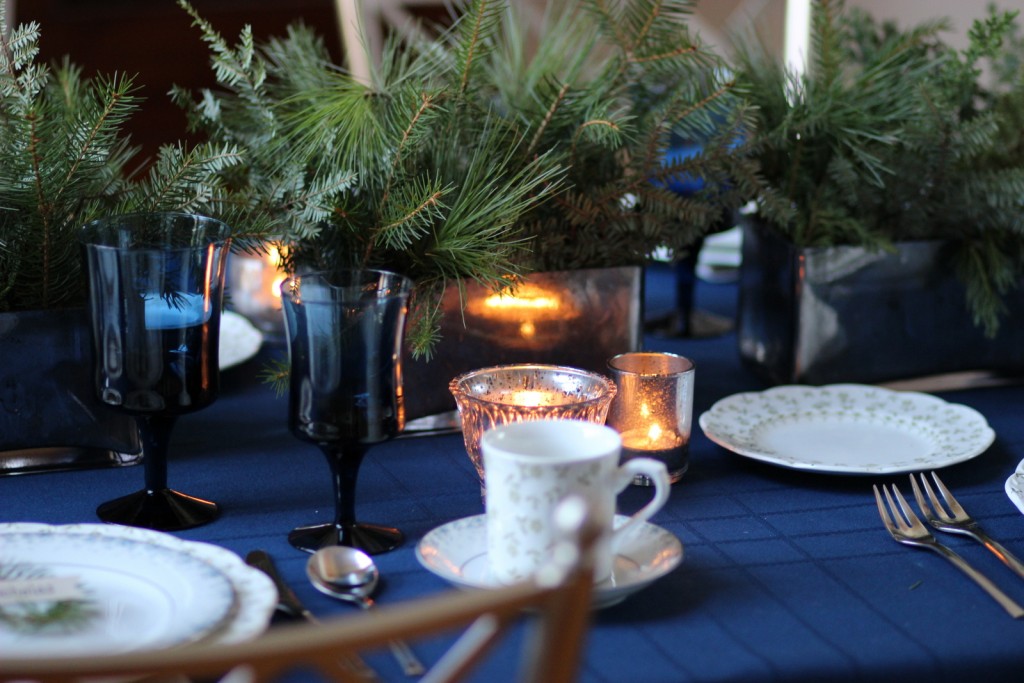
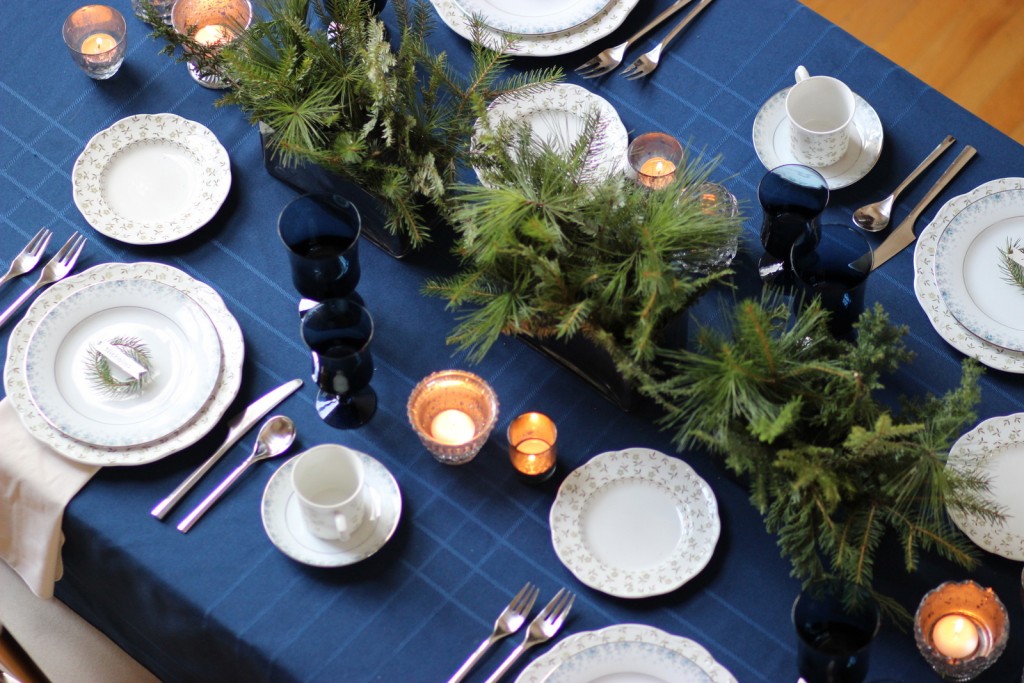
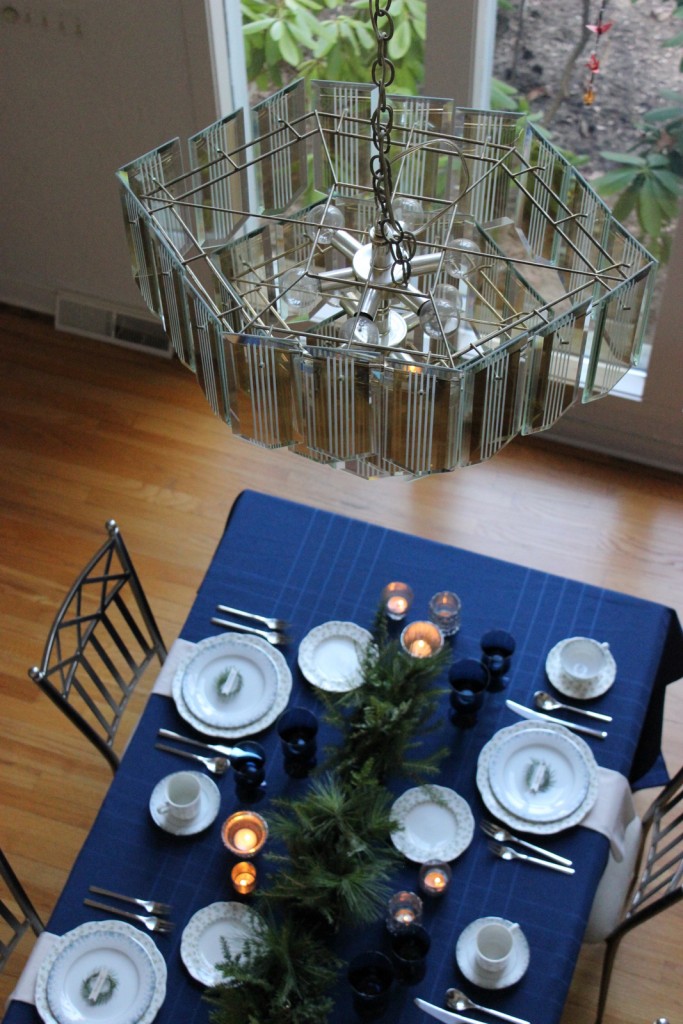
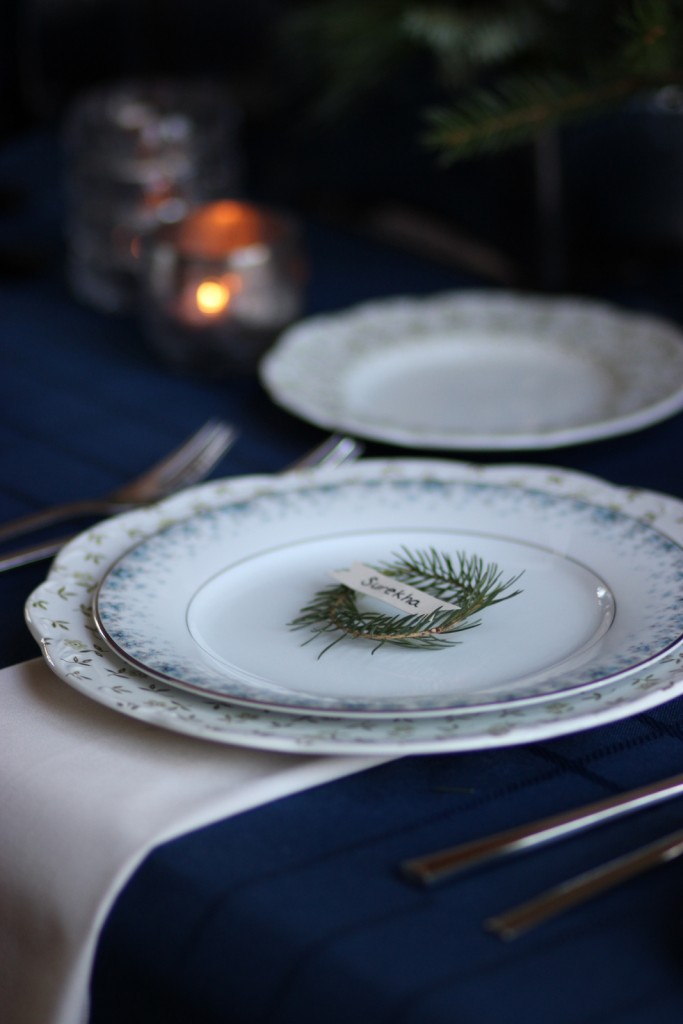
/1 Comment/in Decoration, Events, Living /by Jessica SwagmanIf you have read my other blog post, you’ll know that this year, for the first time in many years, I have had a less crazy busy December. While my schedule was still full of meetings and events, walkthroughs and photo shoots, I was able to find a little time to have a few dear friends over for a small Christmas party.
May you all have a wonderful Christmas full of family and friends.
Refurbished Bar Cart
/0 Comments/in Decoration, DIY, Home, Living /by Jessica Swagman“She’s got a martini in her hand and pearls around her neck.”
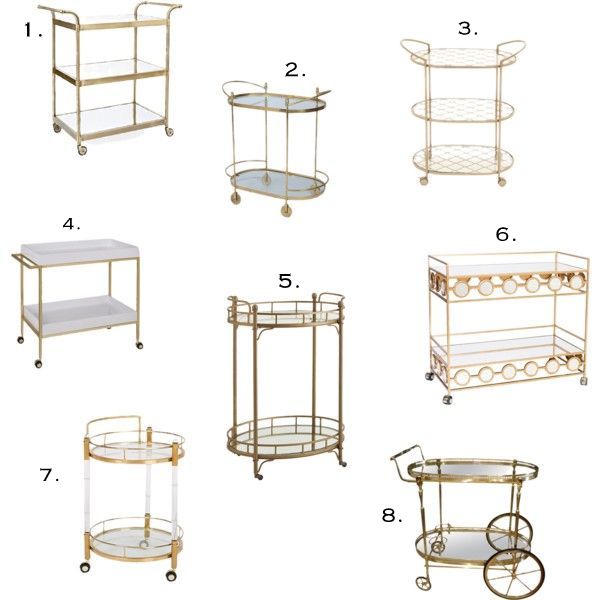
This summer I was on the hunt for a bar cart. And, not just any bar cart, but a gold one. Yes, I know, 1 year later and my love for gold has not wavered. While there were some glorious ones out there, I was not willing to spend hundreds of dollars for one. Although, if I did, I would have chosen ones like these below:
1. Lolita Bar Cart from One Kings Lane, $499 2. Daphne Bar Cart from One Kings Lane, $499 3. Fiona Serving Cart from Joss & Main, $155 4. Refined Bar Cart from One Kings Lane, $429 5. Clara Bar Cart from Pier 1 Imports, $300 6. Worlds Away Bar Cart from Zinc Door, $1,173 7. Acrylic Fitzgerald Bar Cart from One Kings Lane, $675 8. Brass Bar Cart from La Barge, Price Upon Request
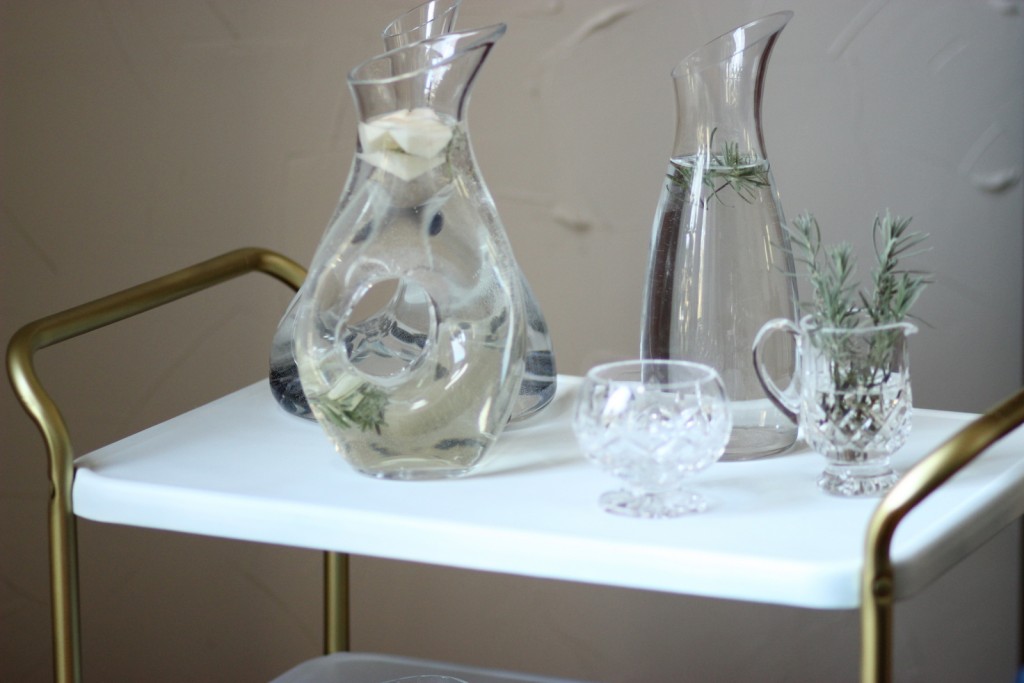
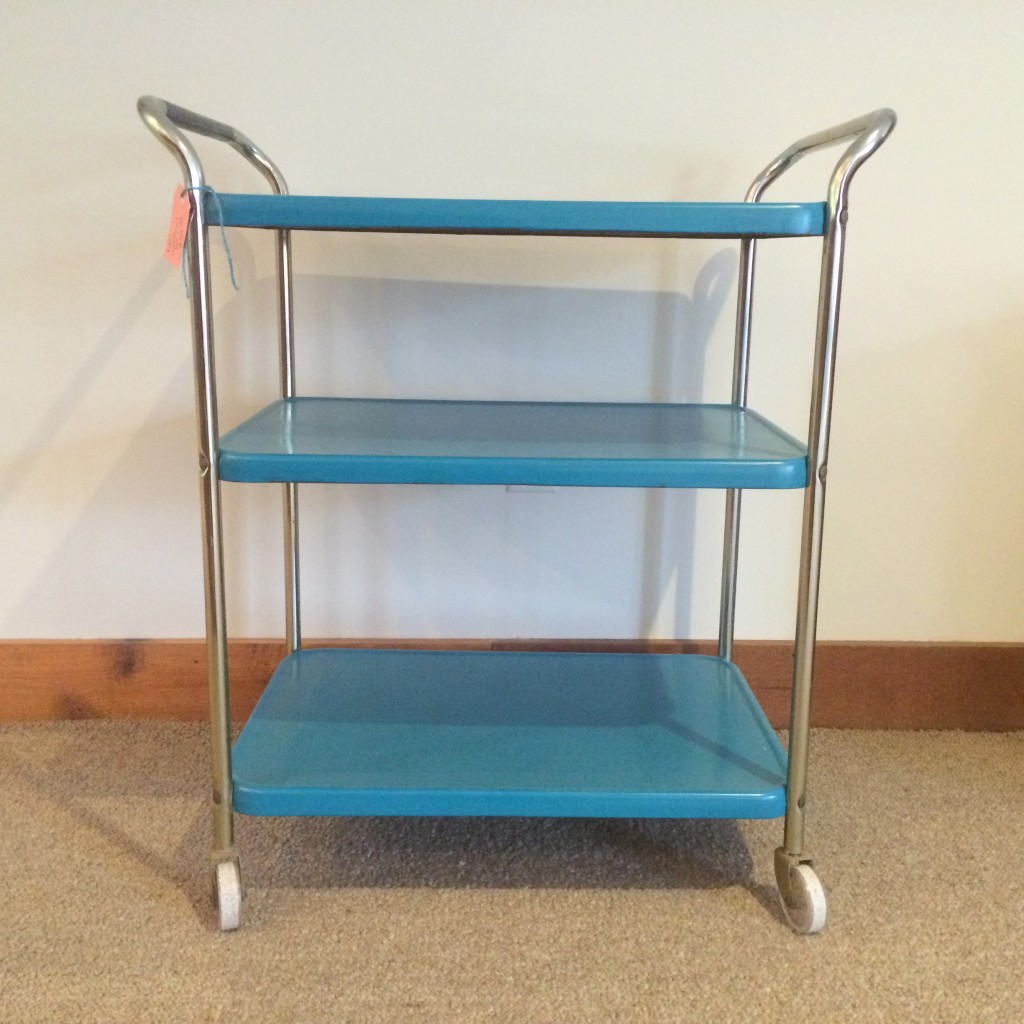
But, one afternoon, Surekha and I were out in Grandville thrifting and antiquing, and we stumbled across this beauty. I was not convinced of its beauty at all. However, Surekha convinced me that with a little sandpaper and some spray paint, this horrid bar cart could be really pretty. So, $35 later, the bar cart was rattling away in the back of my jeep as I carted it home. Finally, 4 months later after a crazy wedding season and a busy fall fashion season, I finally had time to dust off the bar cart, lug it down stairs and take a second glance at it. Gosh, it was ugly.
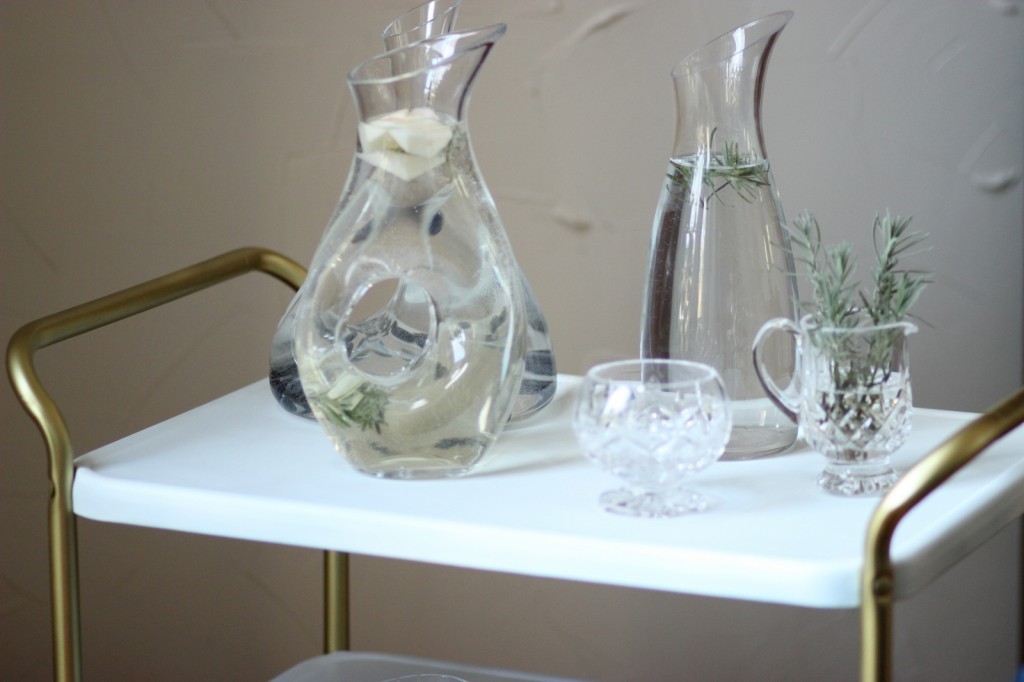
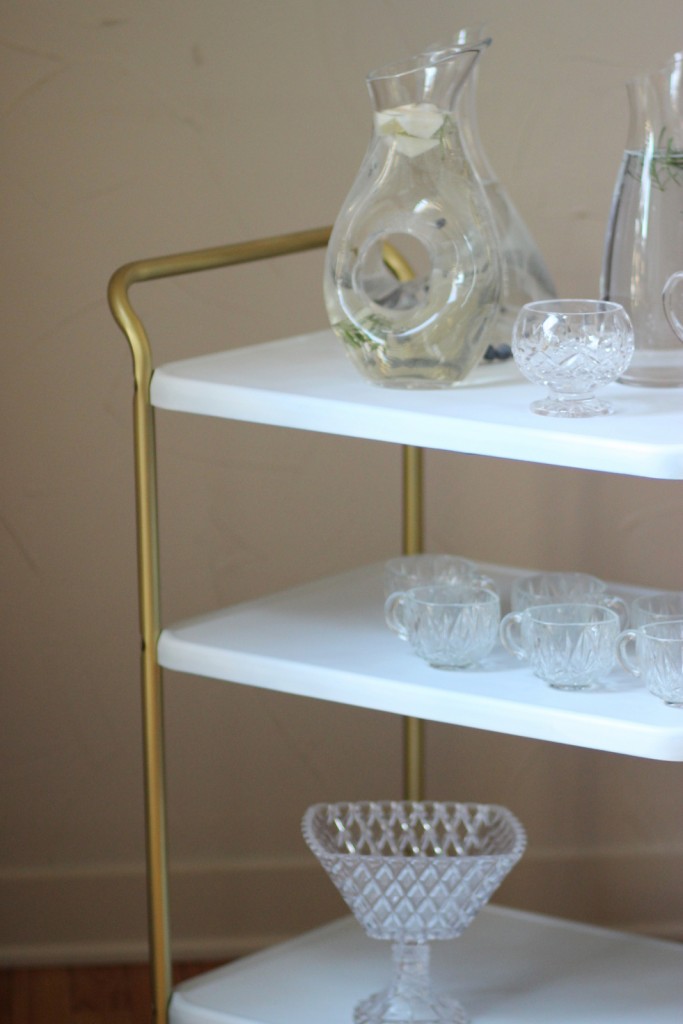
With the help of my mom, I wrestled the thing apart and sanded every piece with 350 grit sandpaper. After washing it down and letting it dry, I spray painted 2 cans of Krylon white spray paint + primer over the shelves. Then came 1 can of Krylon gold spray paint. After a lot of waiting, I wrestled the thing back together and sat back with admiration and a really bad headache (leave the spray painting to warmer months so you can do it outside). $45 dollars and 24 hours later, a bar cart!
