DIY Holiday Porch Urn

“City sidewalks, busy sidewalks. Dressed in holiday style.”

The holidays really are my favorite time of the year. On any given day, from late November through Christmas, I can be seen dancing (and loudly singing) to Christmas music, drinking copious amounts of hot chocolate, and watching every holiday movie I can get my hands on. I happily hang every ornament, decorate the dining room table to the nines, and wrap presents for hours on end. I am one of those people who wander the streets of Grand Rapids, in search for the prettiest decorations. Yes, the holidays and I are the best of friends. Being a florist means that I’m even more eager to decorate the house with garlands of evergreens, wreaths on every door, and flowers on every surface. So with that said, let’s start with a little outside decorating.

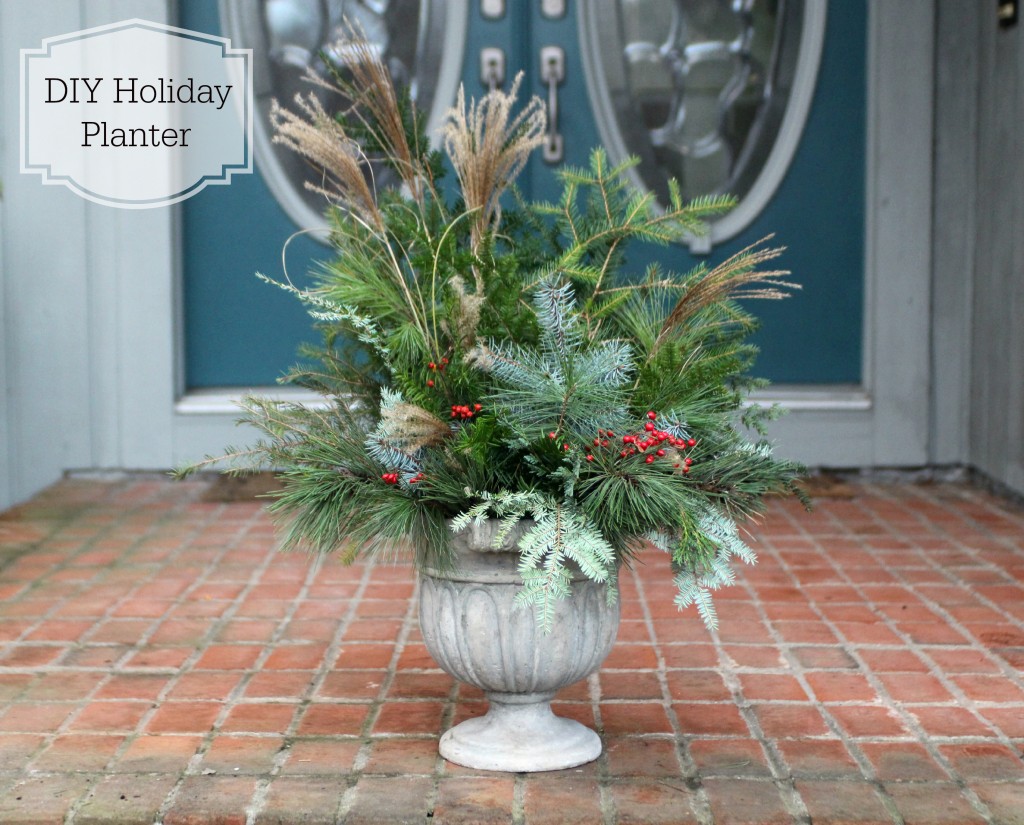
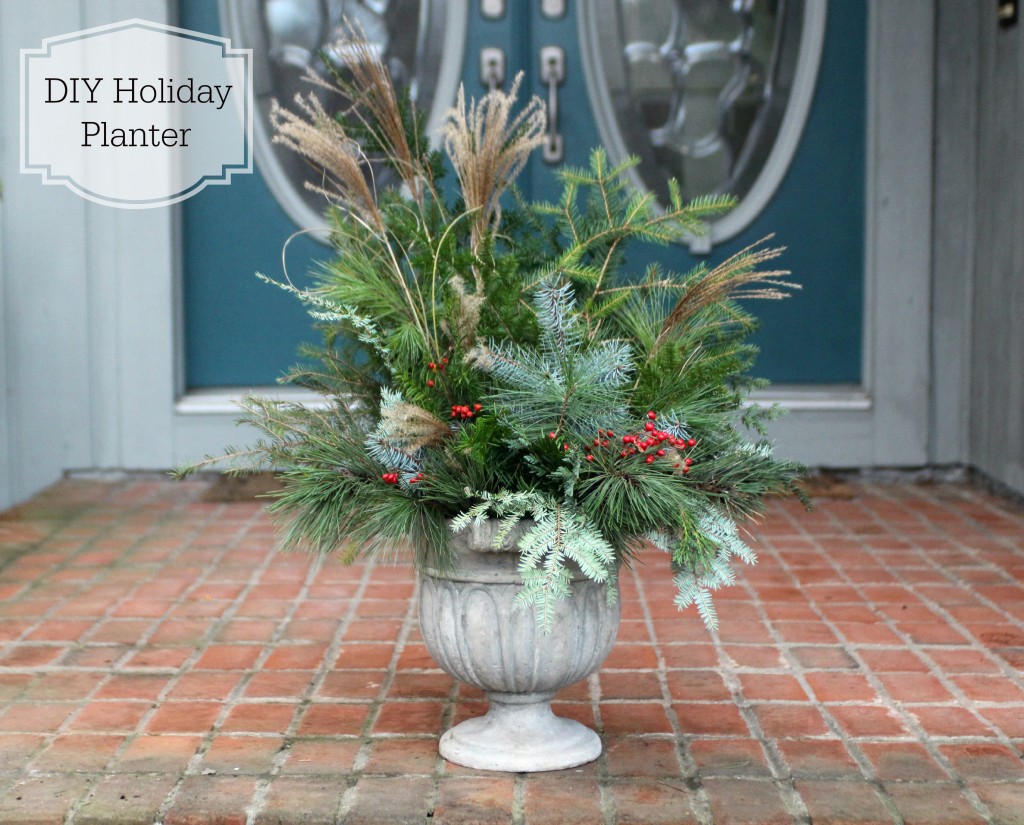
Grand Rapids Wedding Planner and Floral Designer - DIY Holiday Planter - Christmas evergreen and berry planter or urn

Grand Rapids Wedding Planner and Floral Designer - DIY Holiday Planter - Christmas evergreen and berry planter or urn - Tools

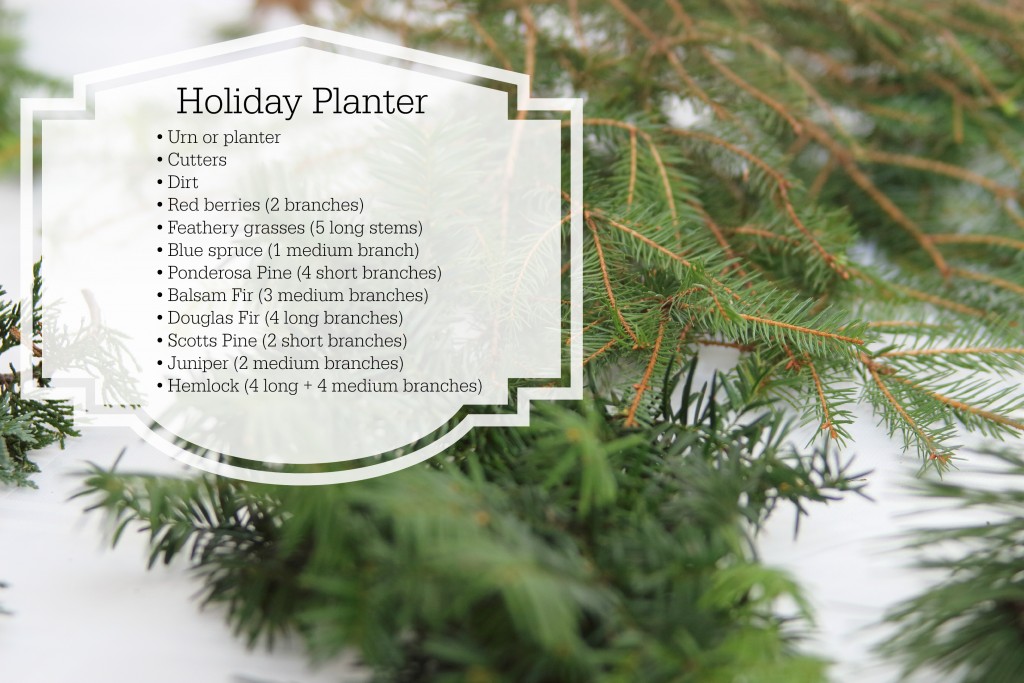
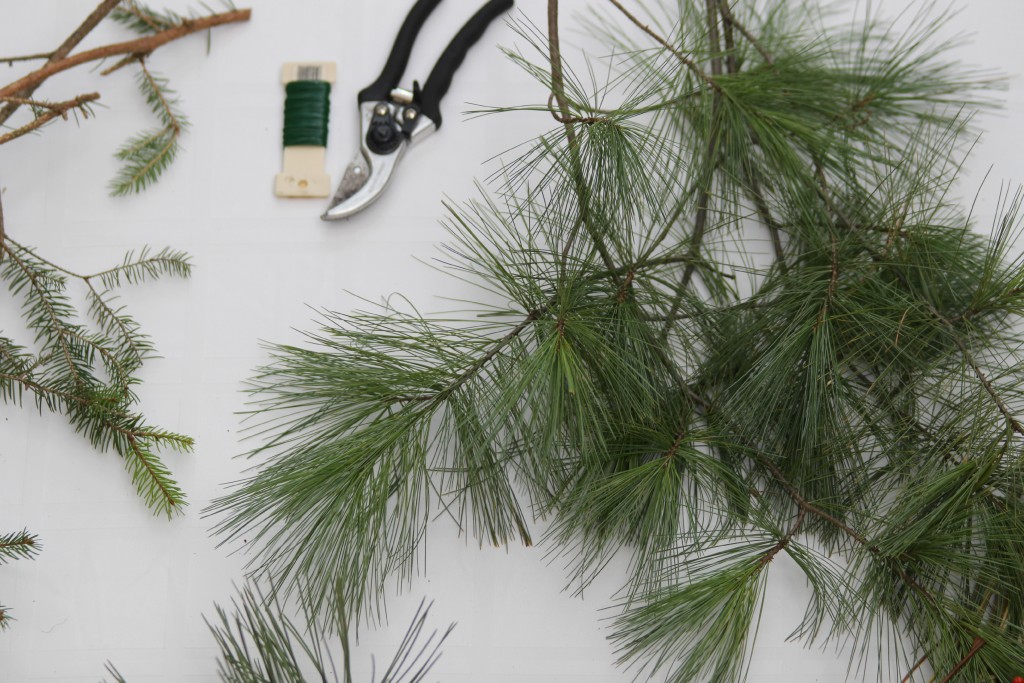
What you’ll need:
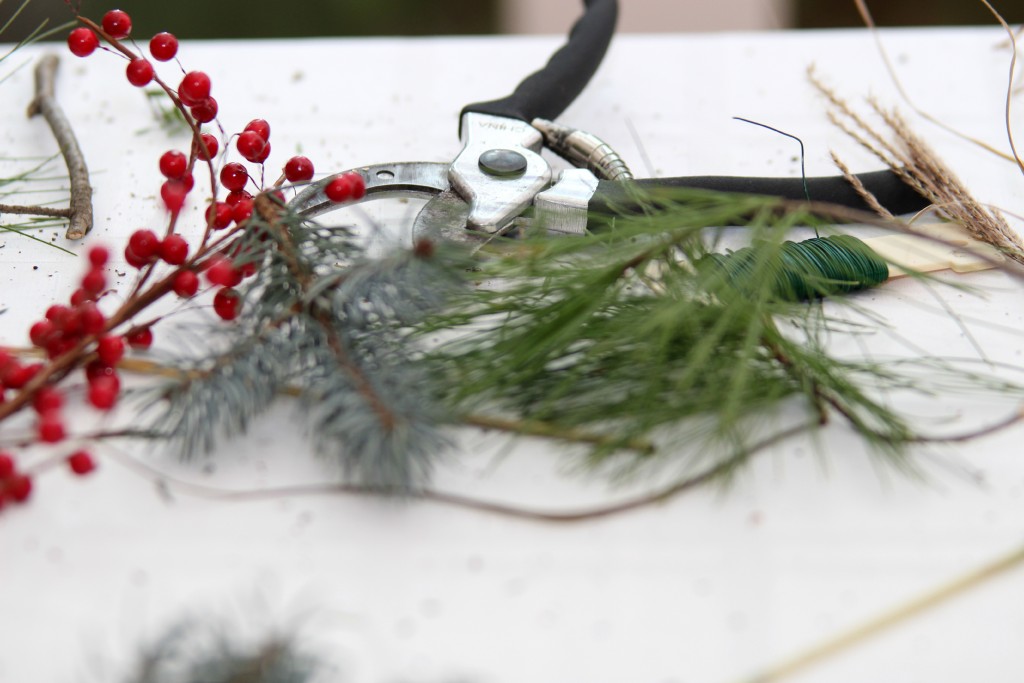
• Cutters
• Urn or planter
• Dirt
• Red berries (2 branches)
• Feathery Grasses (5 long stems)
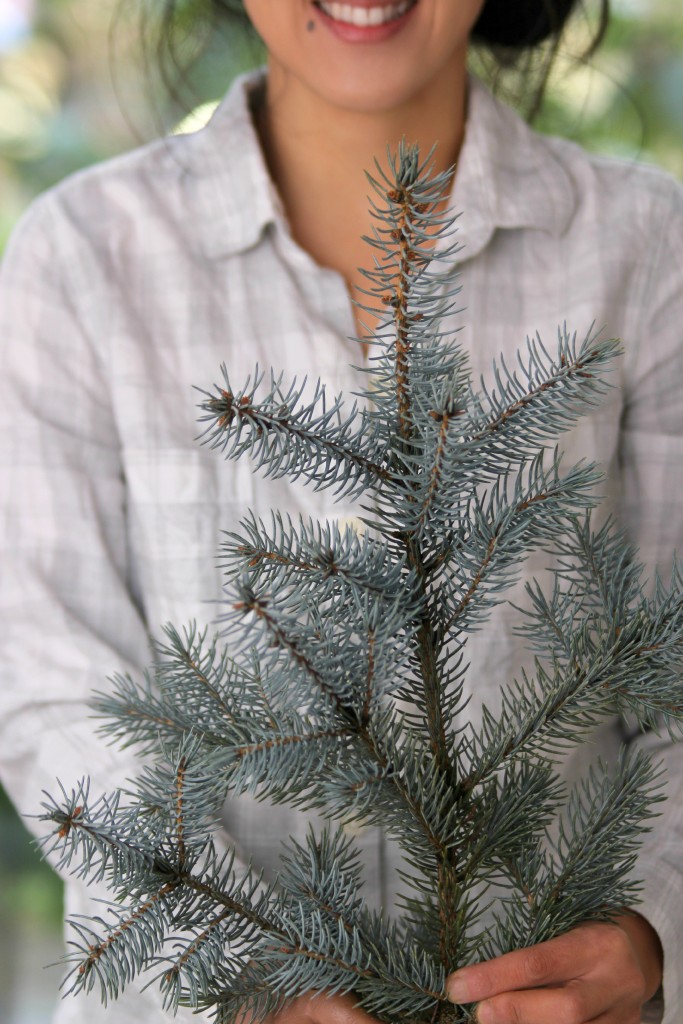
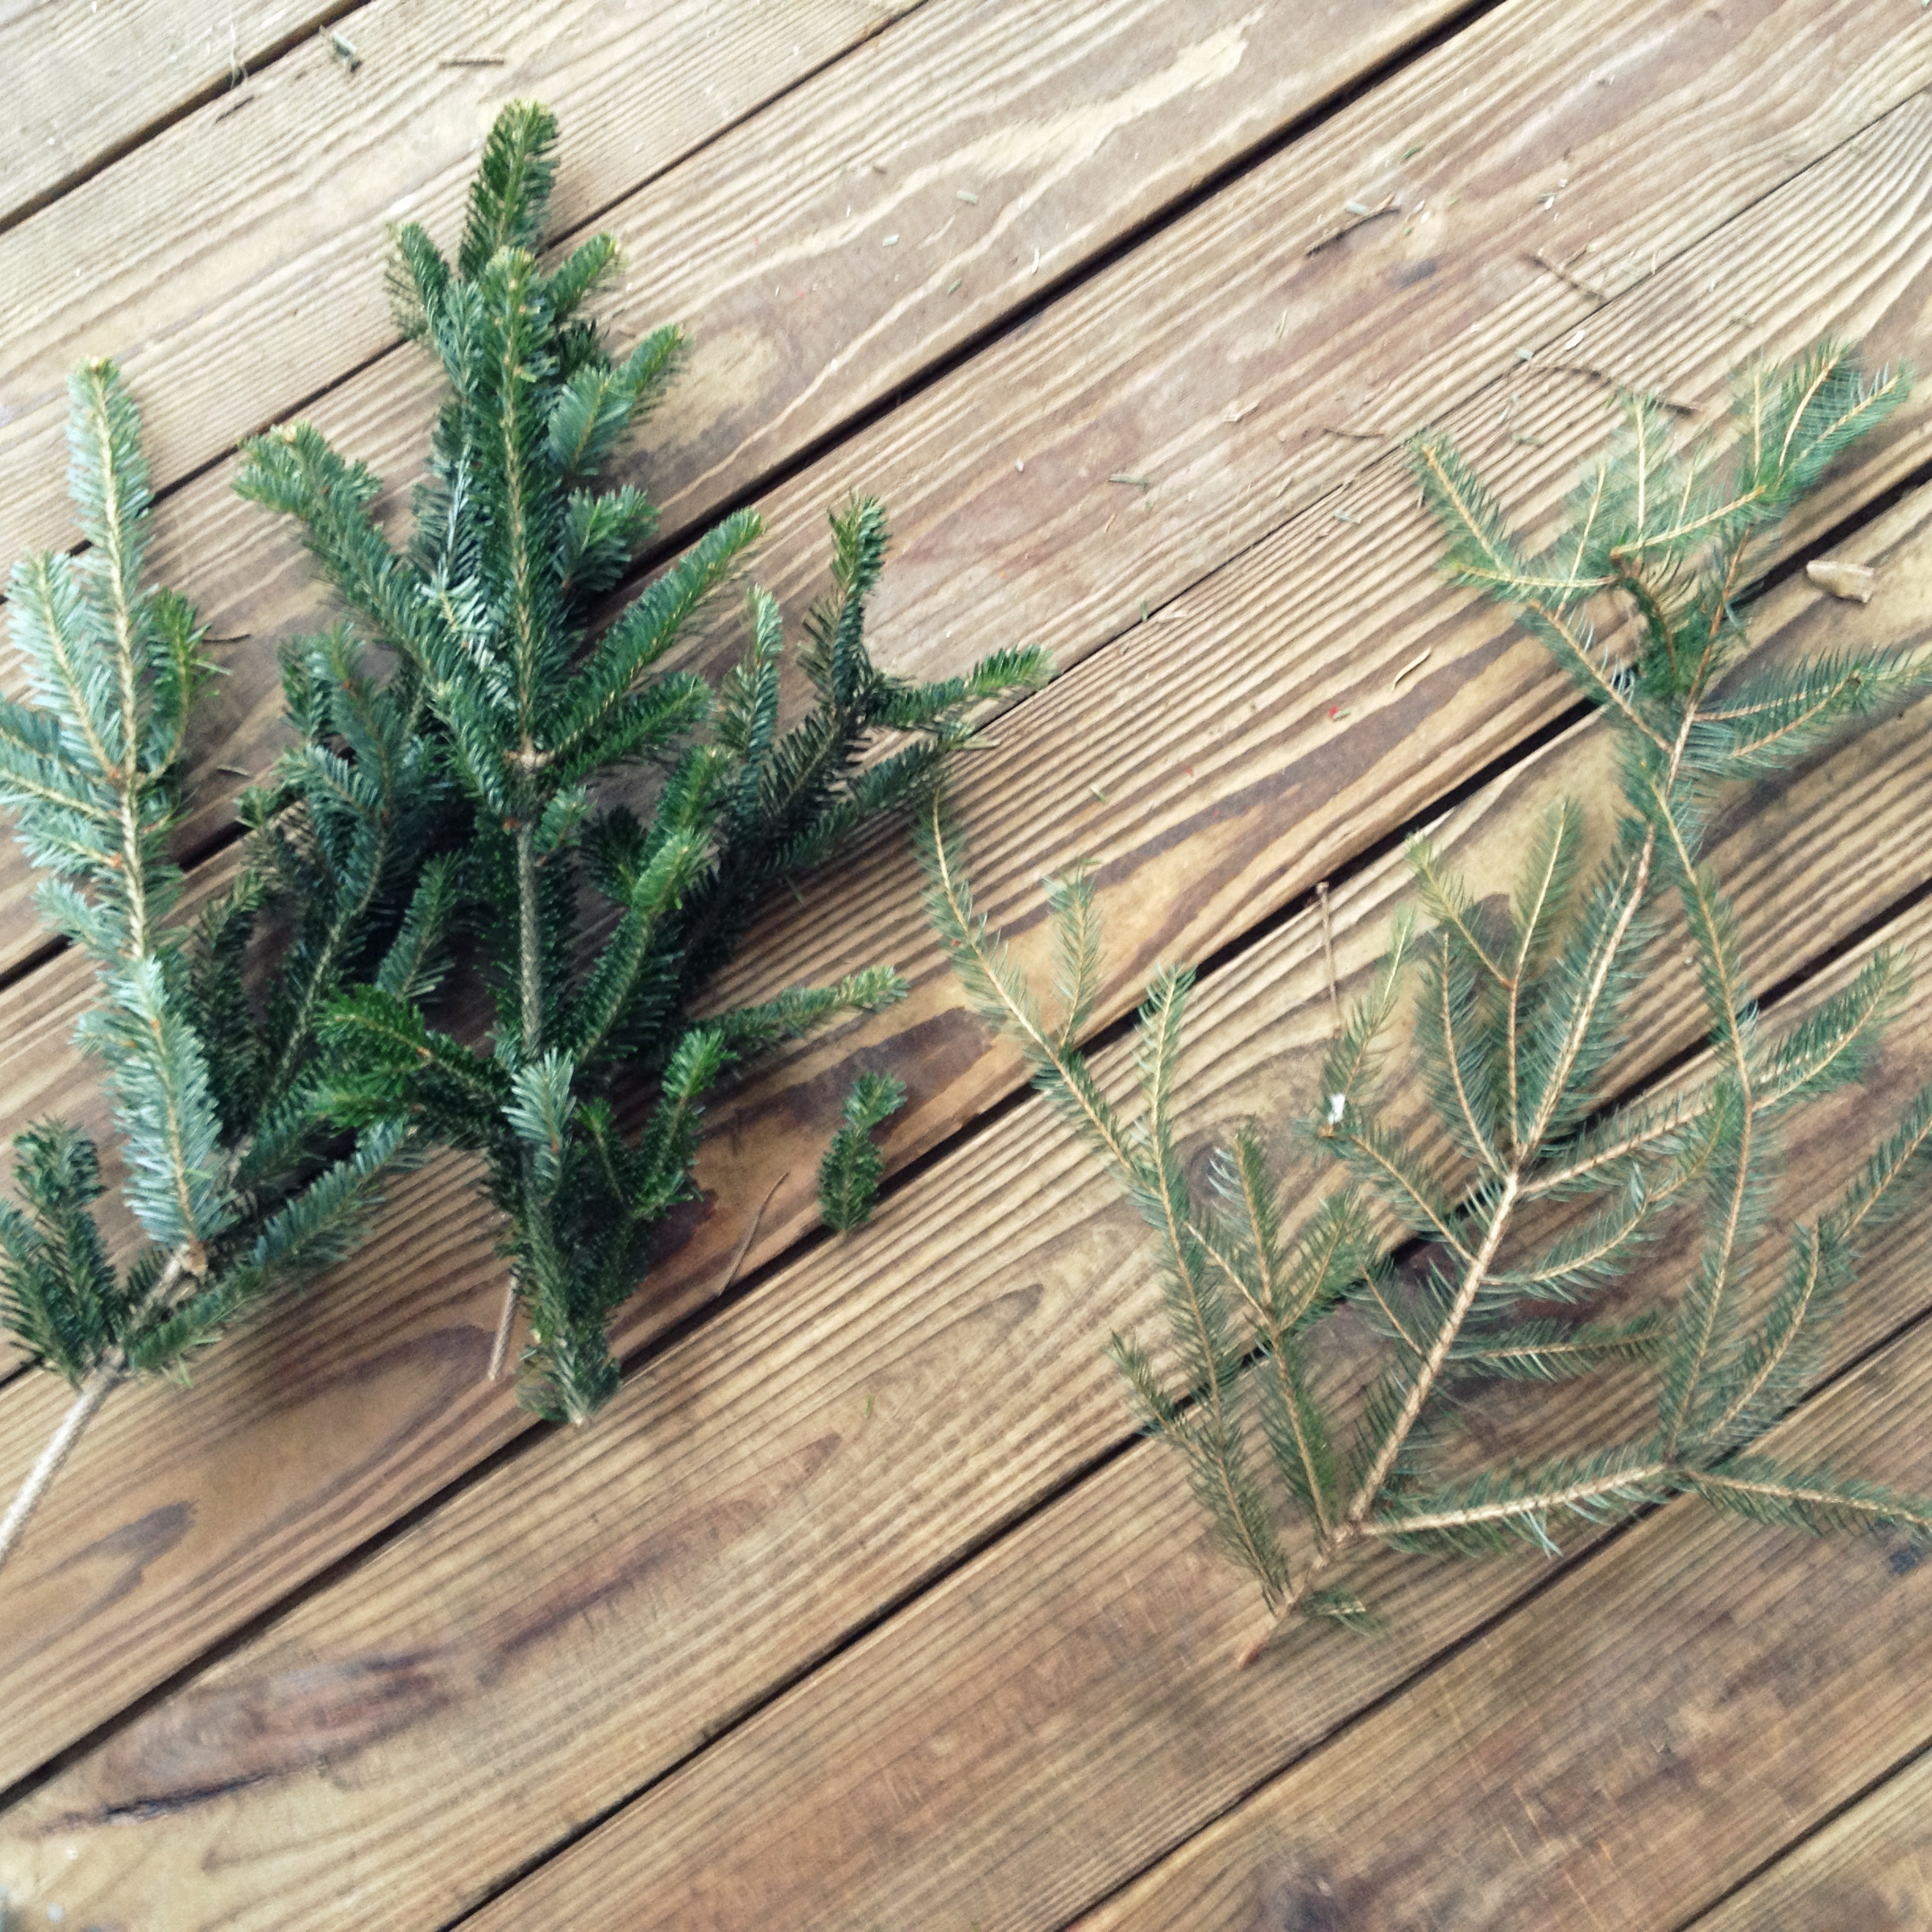
• Blue Spruce (1 medium branch)
• Ponderosa Pine (4 short branches)
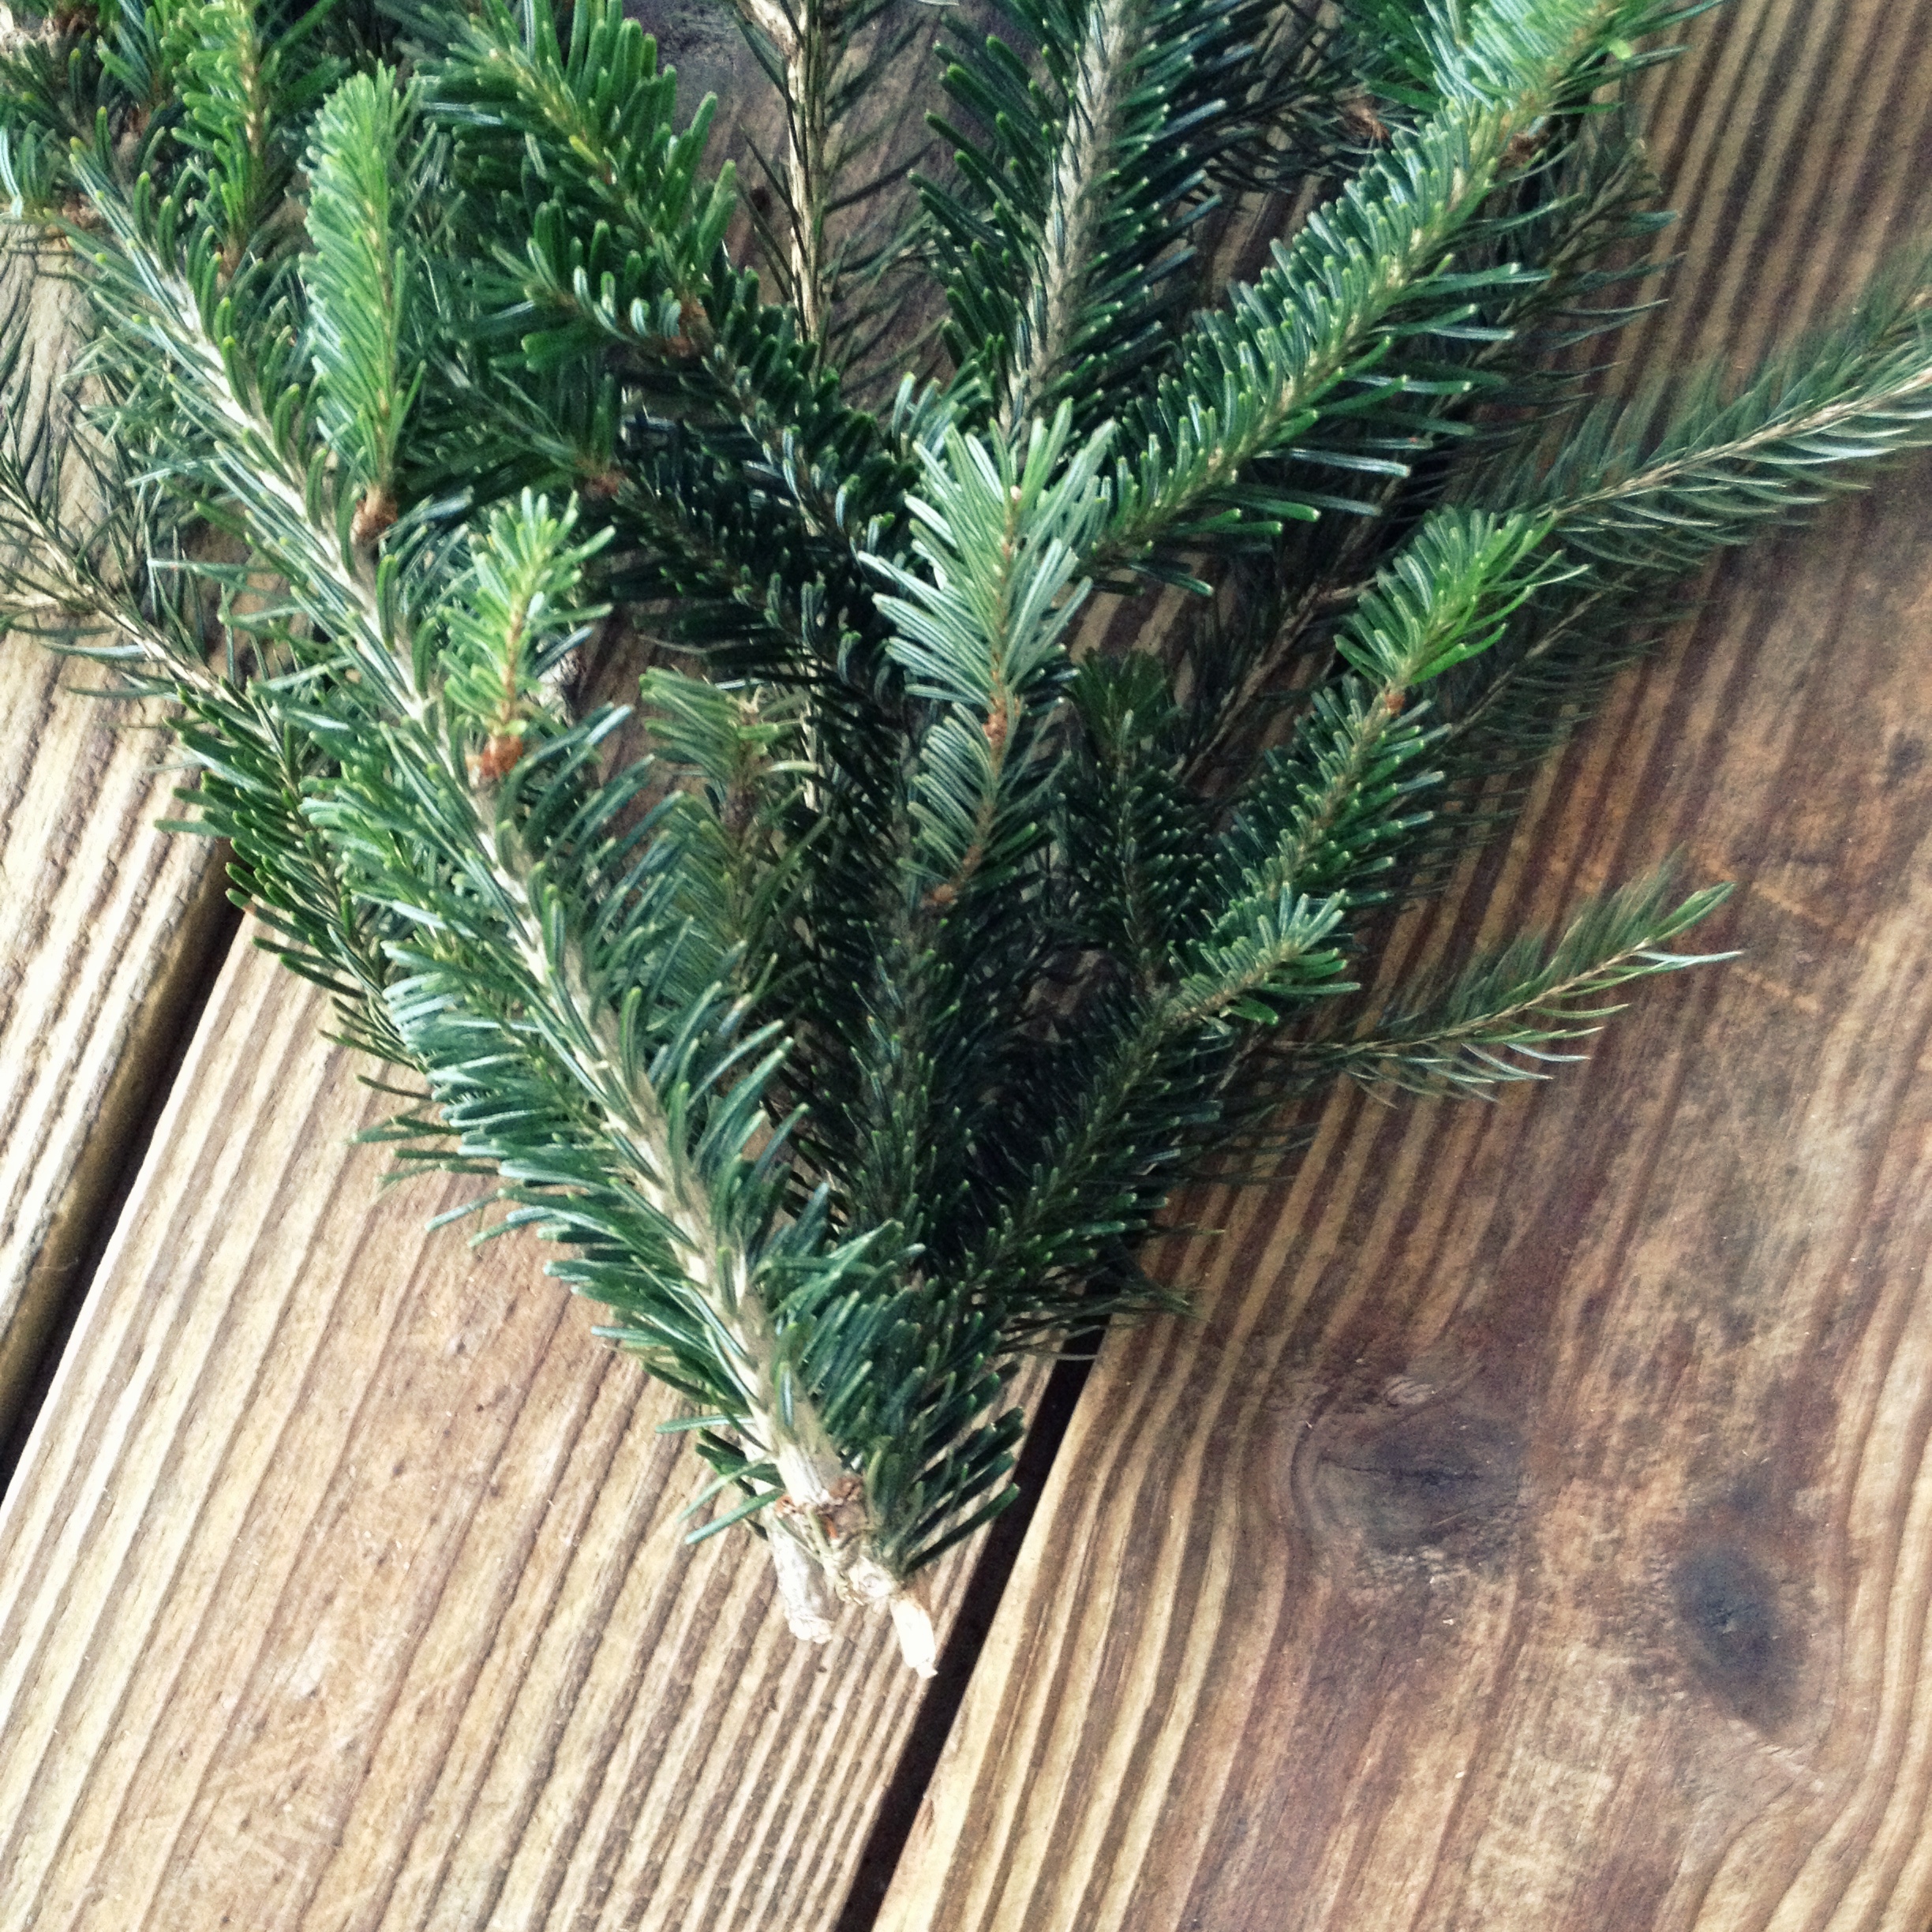
• Balsam Fir (3 medium branches)
• Douglas Fir (4 long branches)
• Scotch Pine (2 short branches)
• Juniper (2 medium branches)
• Hemlock (4 long branches, 4 medium branches)

Grand Rapids Wedding Planner and Floral Designer - DIY Holiday Planter - Christmas evergreen and berry planter or urn - Tools

A few notes:
Honestly, you can use any evergreen branches your heart desires. I like having different textures, colors, and lengths, but use what you like and what is available.

I tend to pick branches that are somewhat straight. If this was a floral arrangement, I would pick a handful of flower stems that were more whimsical, but straight evergreen branches tend to bend and go where they please. When I tried using a few branches that were whimsical, it made the whole arrangement look messy and like it had a seriously bad hair day. But that’s just my opinion.

Lastly, as you place the branches, you may find that a branch may need to be trimmed in order to not be the exact height as branches next to it. The key is to never have any branch be the exact same height as another branch.

Instructions:
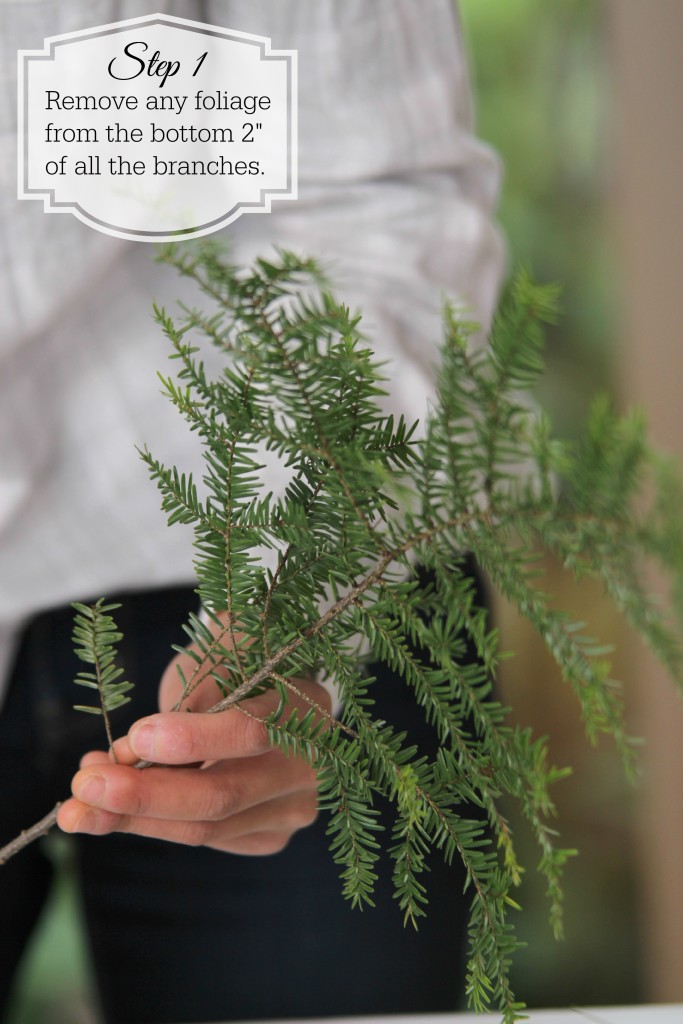
1. Remove any foliage (needles or berries) from the bottom 2 inches of all the branches. Having these few inches of clean branch makes placing them in the dirt a lot easier.

Grand Rapids Wedding Planner and Floral Designer - DIY Holiday Planter - Christmas evergreen and berry planter or urn - Step 1

Grand Rapids Wedding Planner and Floral Designer - DIY Holiday Planter - Christmas evergreen and berry planter or urn - Step 1

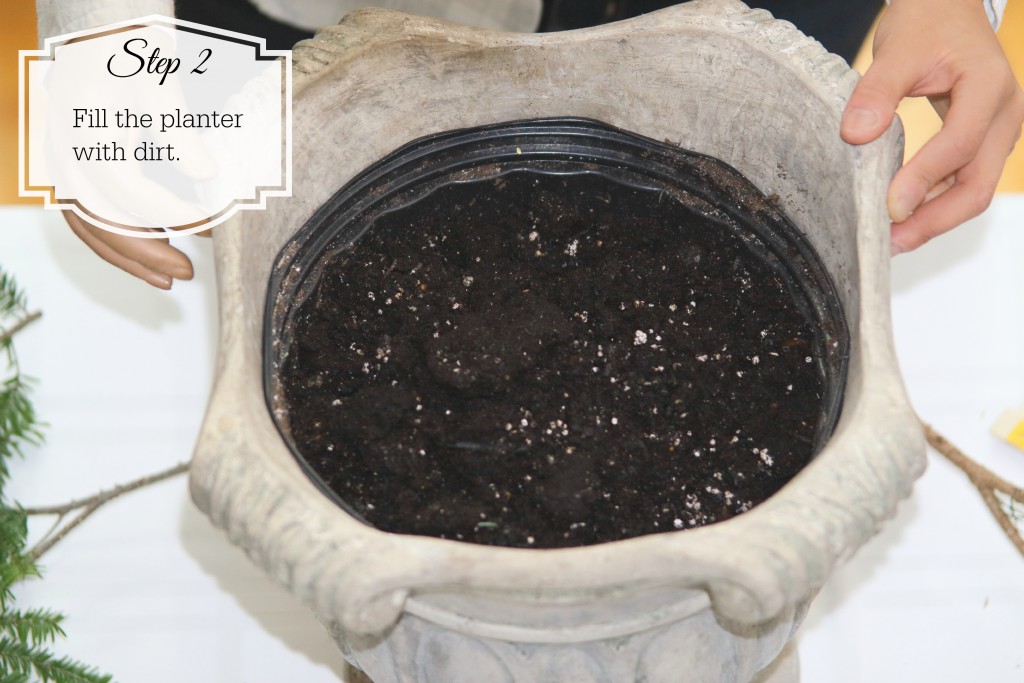
2. Fill your planter with dirt. I didn’t fill the planter all the way to the top because leaving a few inches allows the branches to lean against the planter and have some support.

You also don’t need to use a black plastic insert inside your planter. I use one when I want the cleanup to be super easy or when I need to switch out arrangements quickly.

Grand Rapids Wedding Planner and Floral Designer - DIY Holiday Planter - Christmas evergreen and berry planter or urn - Step 2

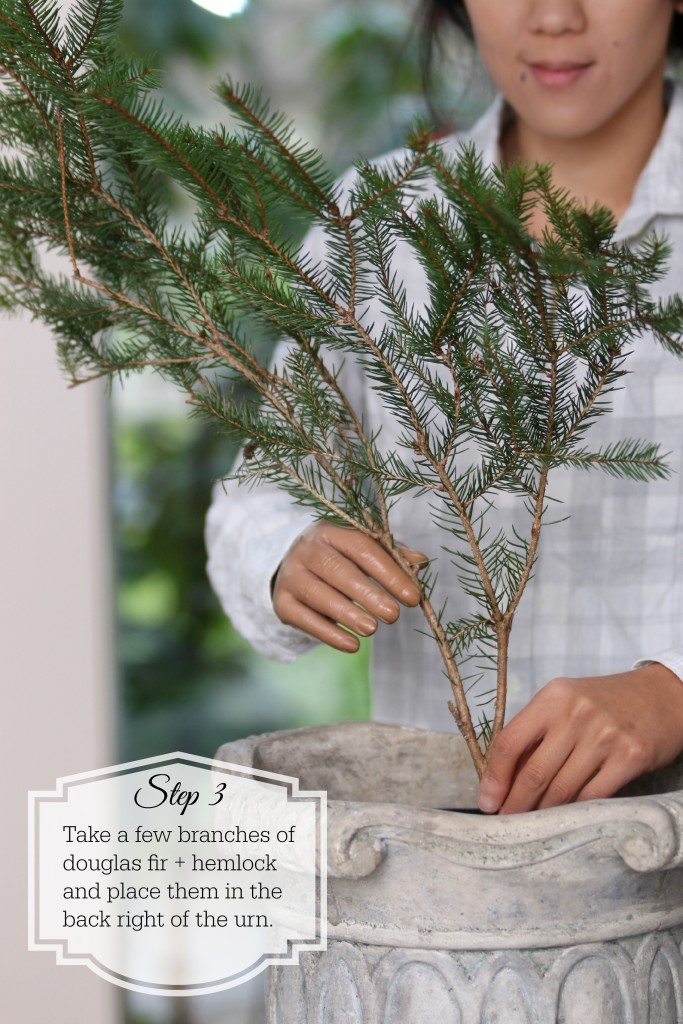
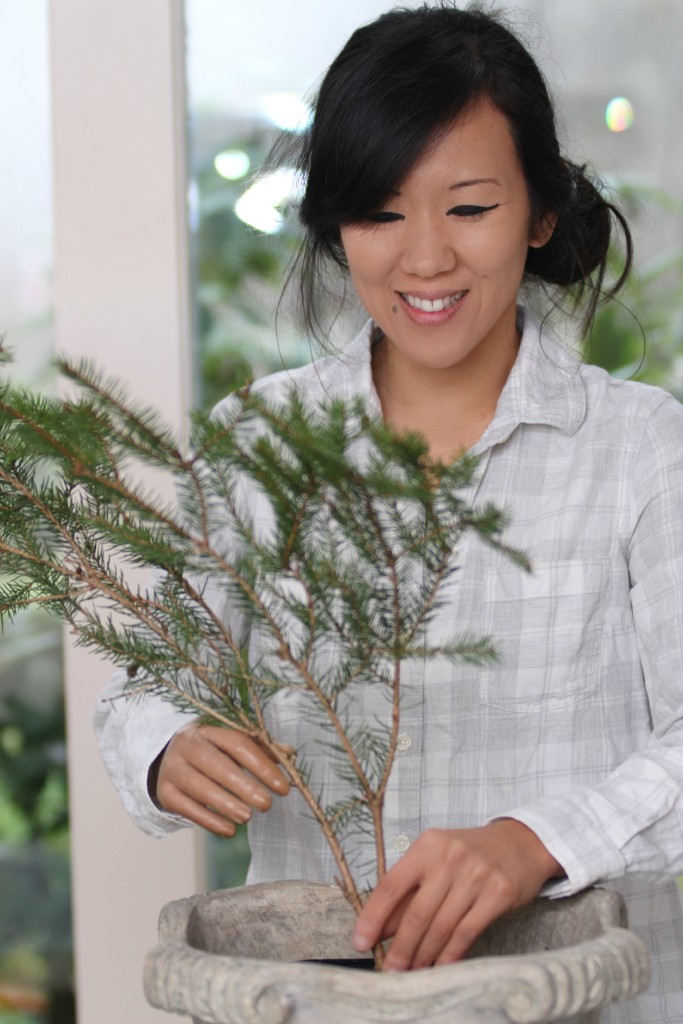
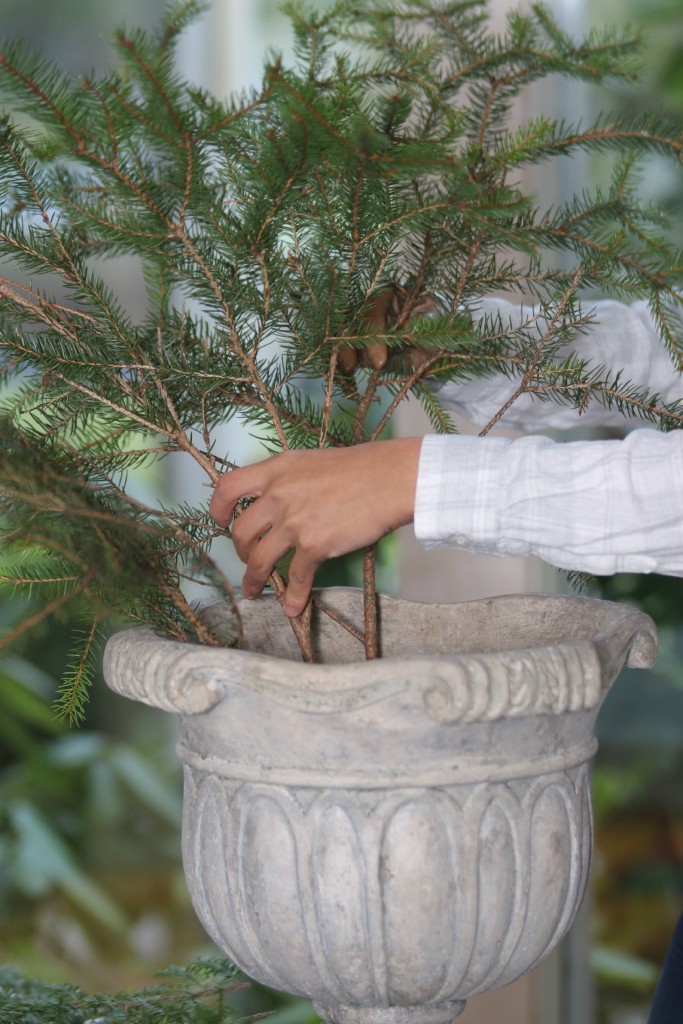
3. Take 1 – 2 of the douglas fir and place them in the dirt to the back right of your planter.

Take 1 long hemlock branch and place it with the douglas firs.

Grand Rapids Wedding Planner and Floral Designer - DIY Holiday Planter - Christmas evergreen and berry planter or urn - Step 3

Grand Rapids Wedding Planner and Floral Designer - DIY Holiday Planter - Christmas evergreen and berry planter or urn - Step 3

Grand Rapids Wedding Planner and Floral Designer - DIY Holiday Planter - Christmas evergreen and berry planter or urn - Step 3

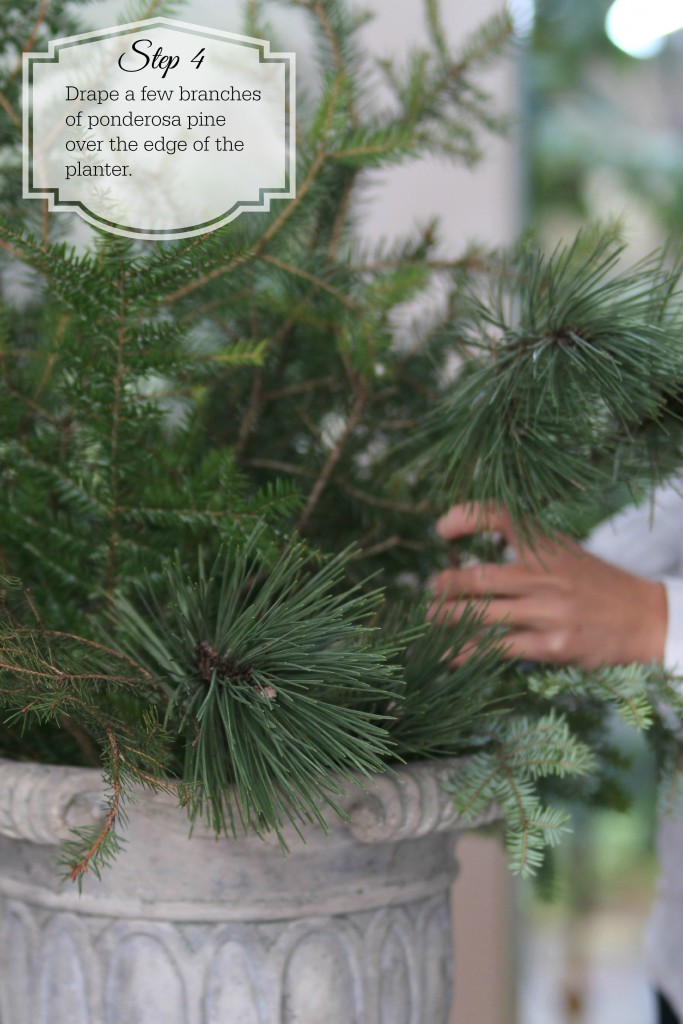
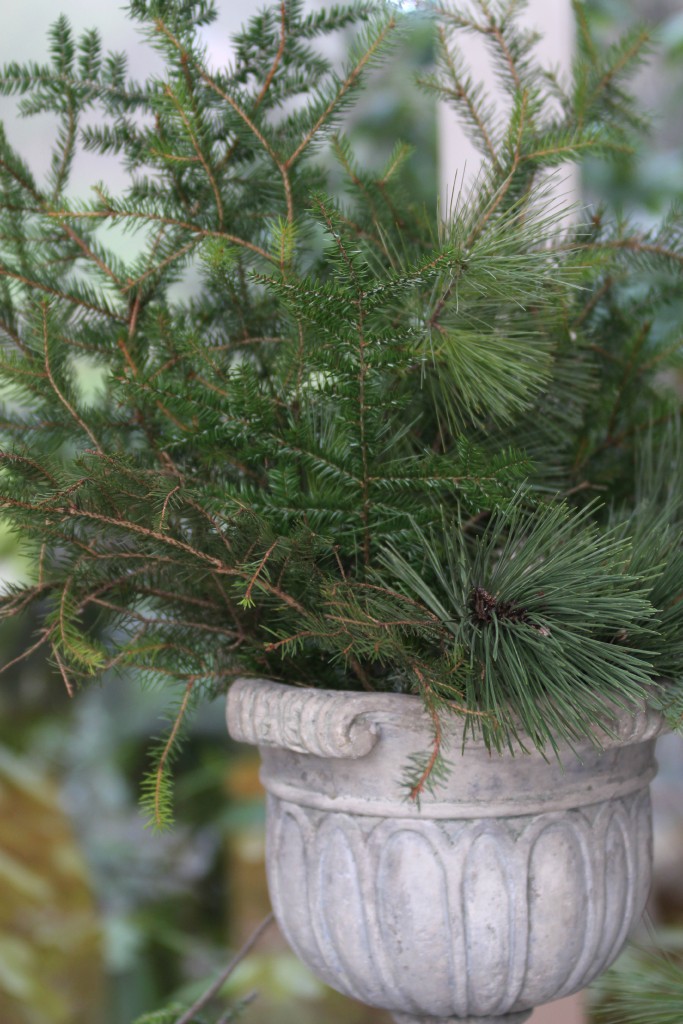
4. Take 2 branches of your ponderosa pine and place them across from the douglas fir at the front left of the planter, hanging over the edge.

These two clusters (step 3 ) will help guide you in placing the other branches.

Grand Rapids Wedding Planner and Floral Designer - DIY Holiday Planter - Christmas evergreen and berry planter or urn - Step 4

Grand Rapids Wedding Planner and Floral Designer - DIY Holiday Planter - Christmas evergreen and berry planter or urn - Step 4

Grand Rapids Wedding Planner and Floral Designer - DIY Holiday Planter - Christmas evergreen and berry planter or urn - Step 4

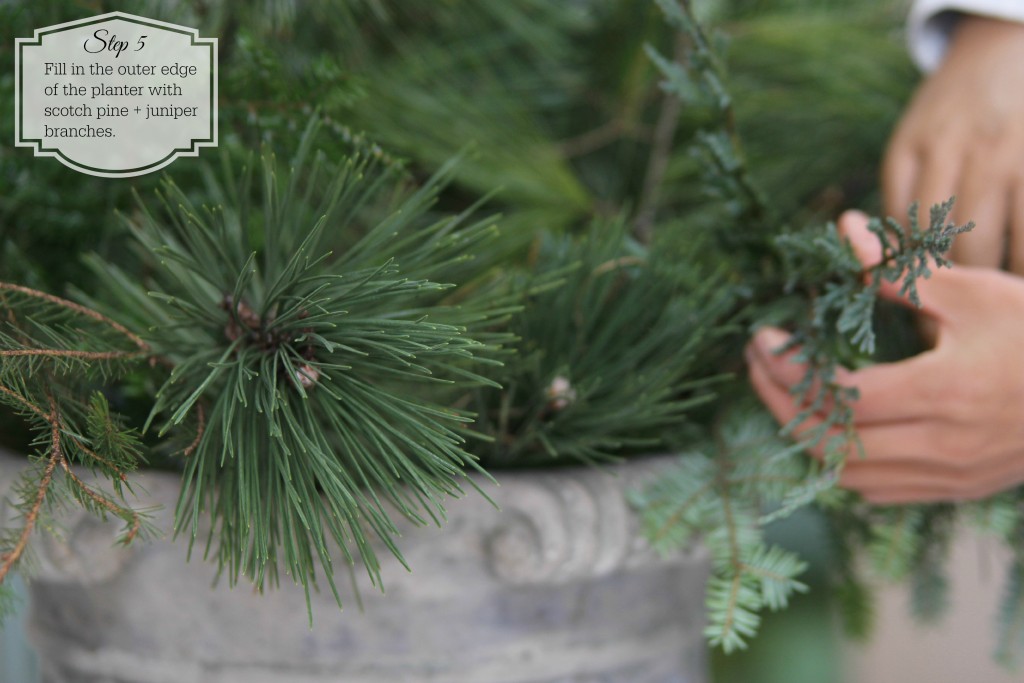
5. Take 1 – 2 branches of the scotch pine and juniper and place in the empty spaces around the outer edge of the planter, hanging over the edge.

Grand Rapids Wedding Planner and Floral Designer - DIY Holiday Planter - Christmas evergreen and berry planter or urn - Step 5

Grand Rapids Wedding Planner and Floral Designer - DIY Holiday Planter - Christmas evergreen and berry planter or urn - Step 5

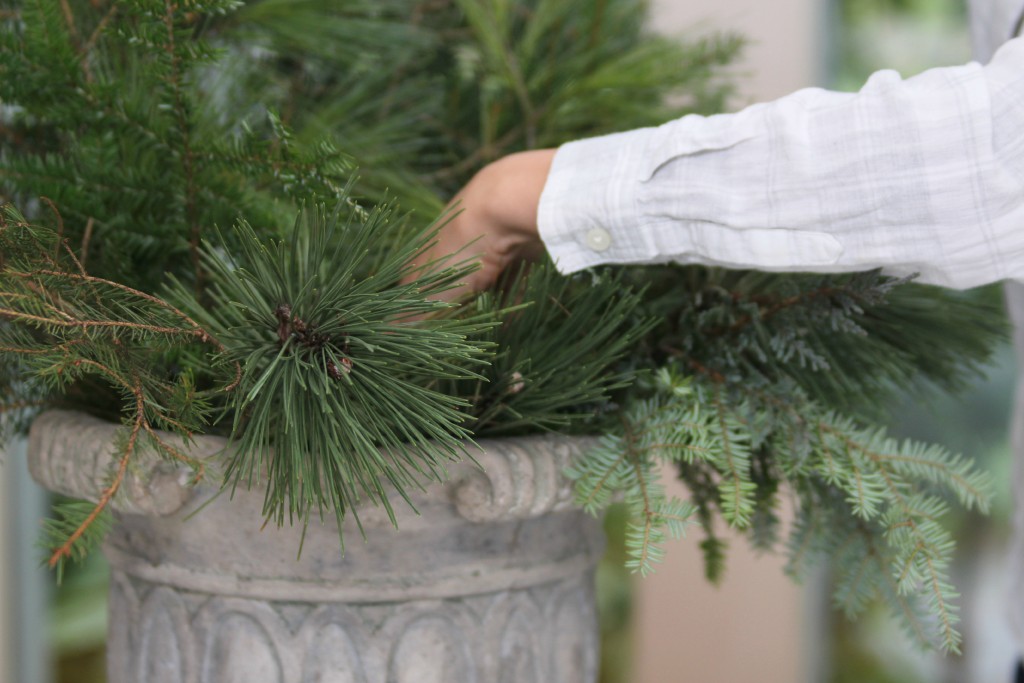
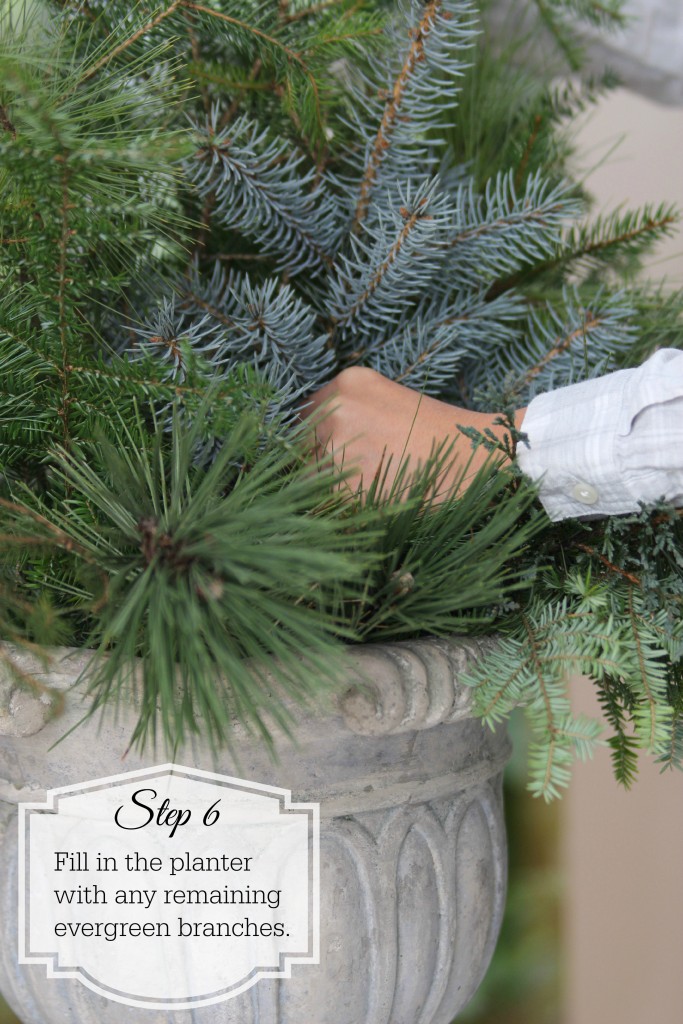
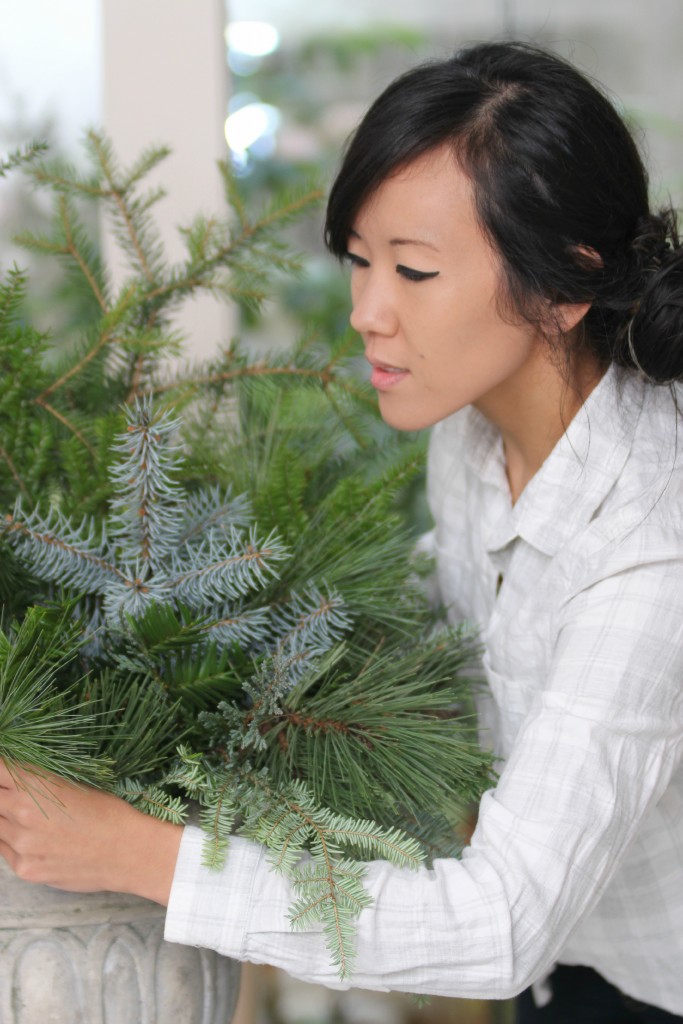
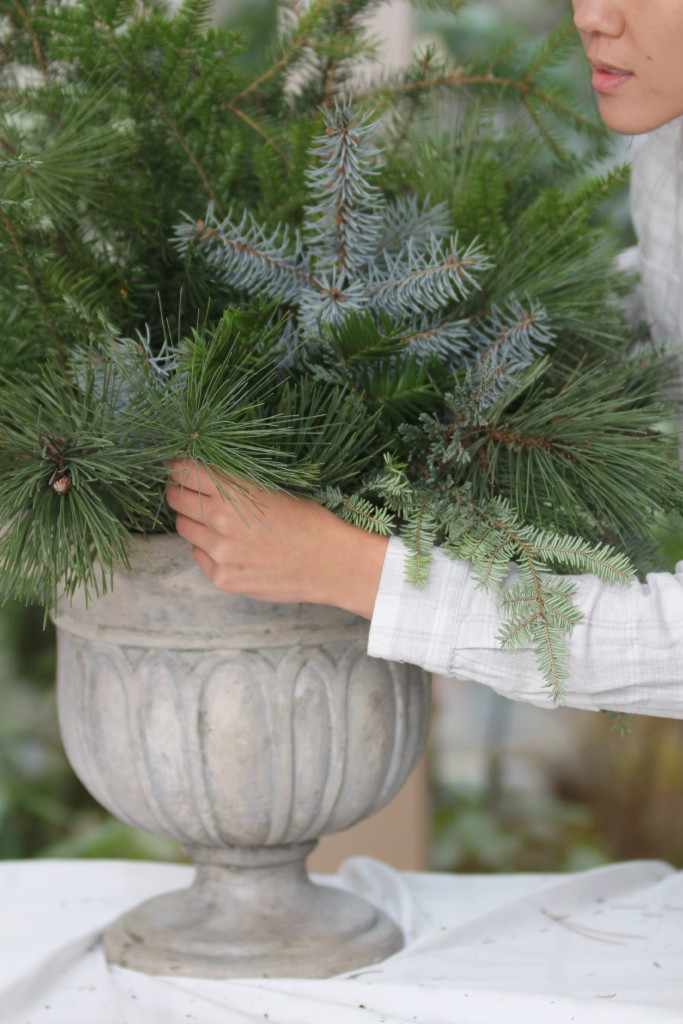
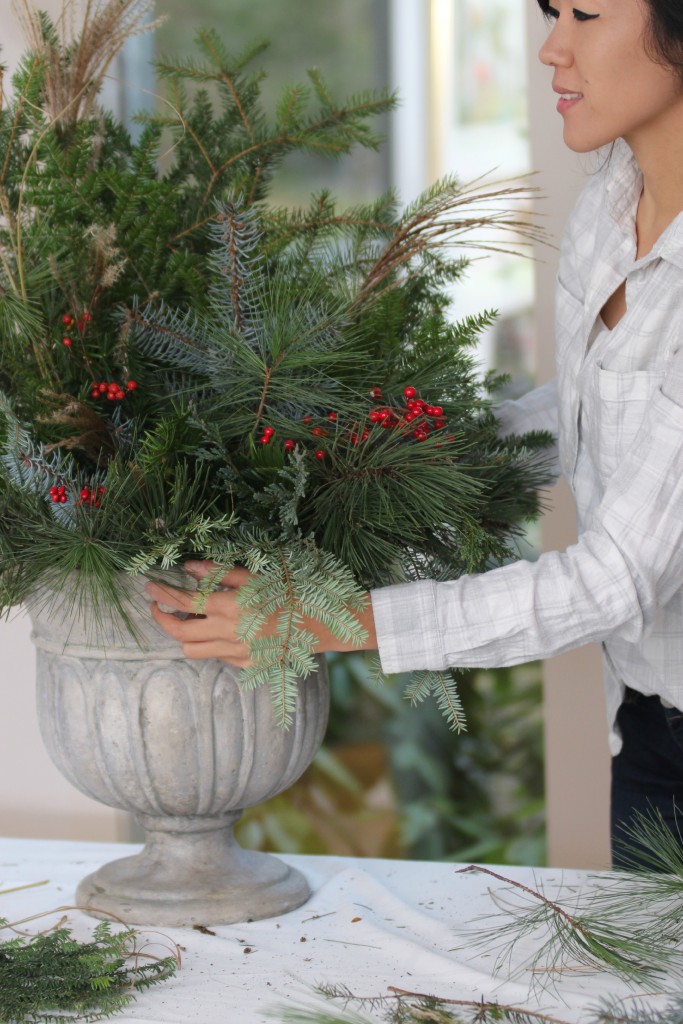
6. Fill in the planter with any remaining evergreen branches (balsam fir, blue spruce, douglas fir, hemlock, etc). Keep in mind the asymmetry and the flow of the tall branches on the right to the shorter branches on the left. Always walk around your planter and look at it from all angles. Try not to create a “flat” arrangement” but instead a “round” one.

Grand Rapids Wedding Planner and Floral Designer - DIY Holiday Planter - Christmas evergreen and berry planter or urn - Step 6

Grand Rapids Wedding Planner and Floral Designer - DIY Holiday Planter - Christmas evergreen and berry planter or urn - Step 6

Grand Rapids Wedding Planner and Floral Designer - DIY Holiday Planter - Christmas evergreen and berry planter or urn - Step 6

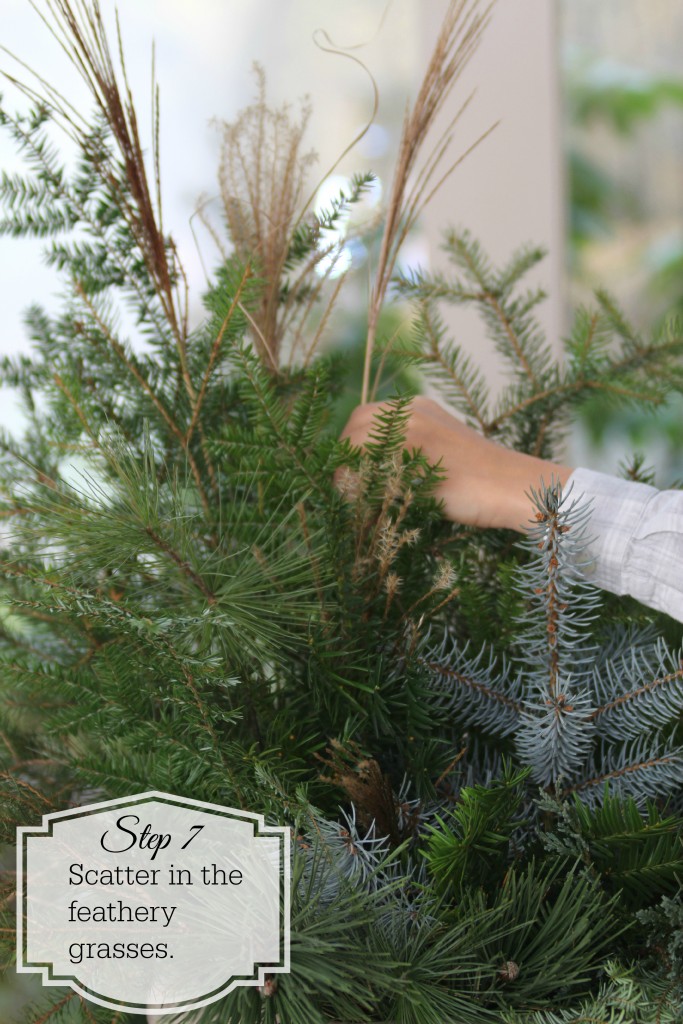
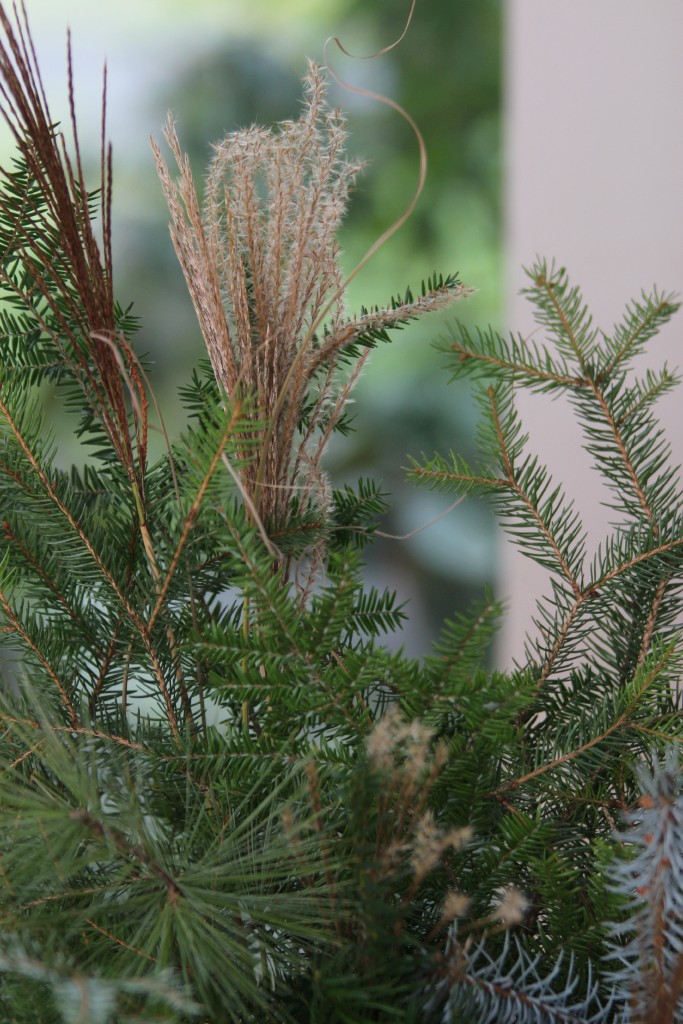
7. Once you have placed all of your evergreen branches, take a few of the longest feathery grasses and place them near your first cluster of douglas fir (step 3). Then take the remaining few grasses, cut to any desired length, and place them throughout the arrangement

Grand Rapids Wedding Planner and Floral Designer - DIY Holiday Planter - Christmas evergreen and berry planter or urn - Step 7

Grand Rapids Wedding Planner and Floral Designer - DIY Holiday Planter - Christmas evergreen and berry planter or urn - Step 6

Grand Rapids Wedding Planner and Floral Designer - DIY Holiday Planter - Christmas evergreen and berry planter or urn - Step 7

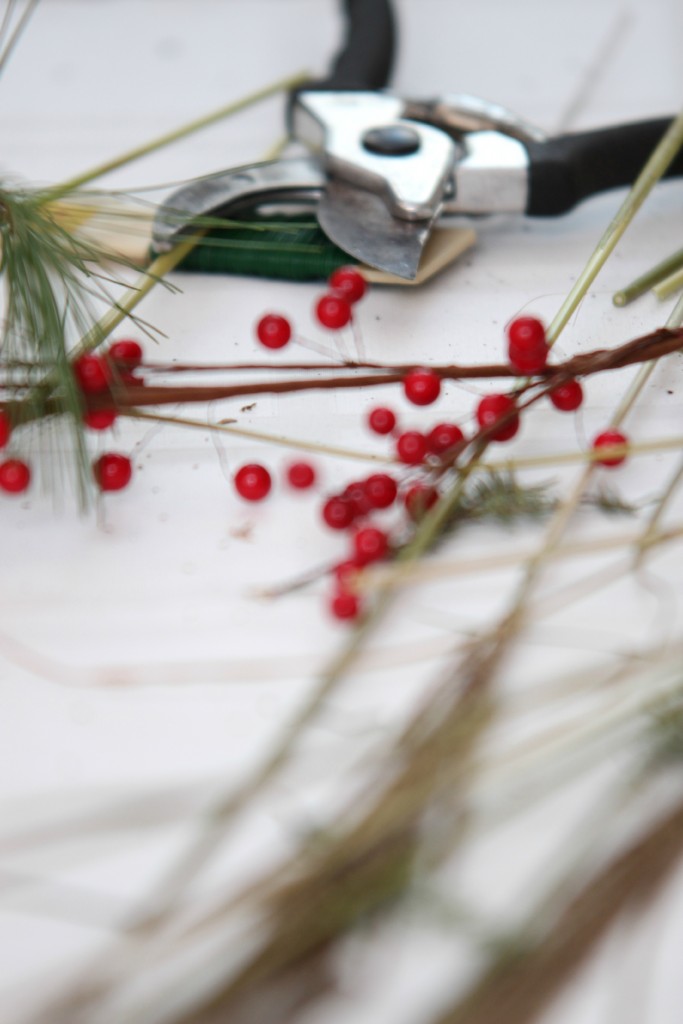
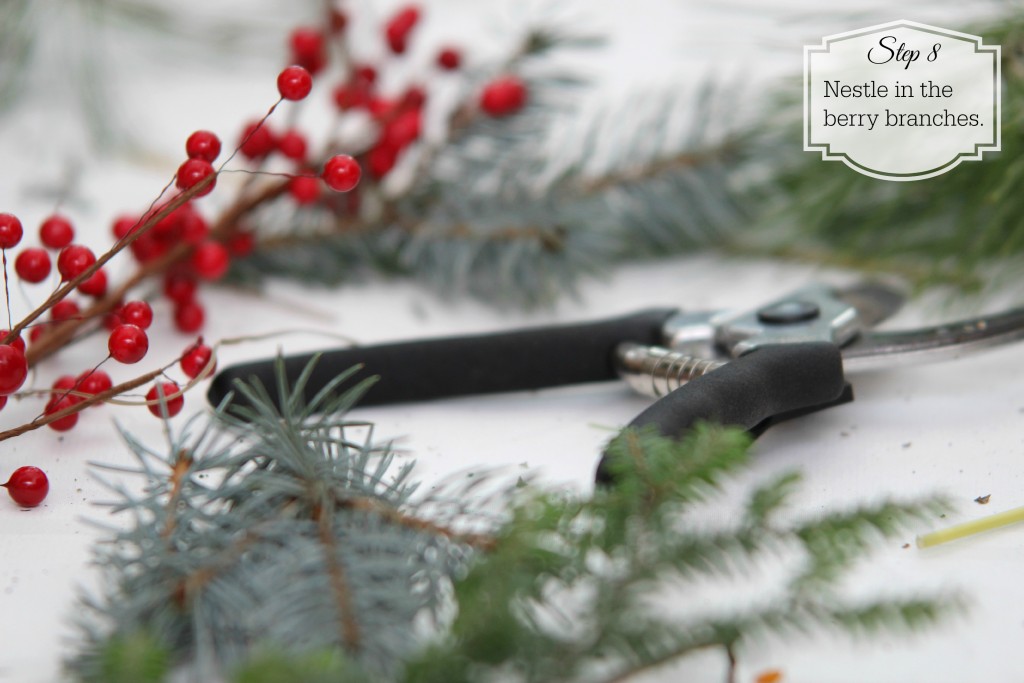
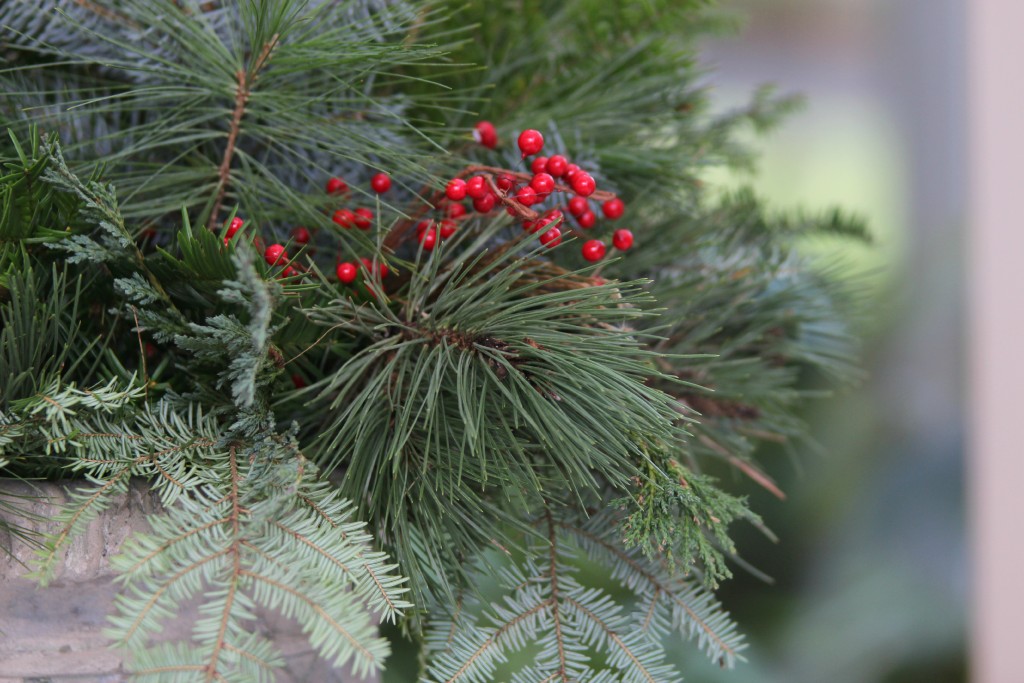
8. Take your berry branches and nestle them in amongst the evergreens.

Grand Rapids Wedding Planner and Floral Designer - DIY Holiday Planter - Christmas evergreen and berry planter or urn - Step 8

Grand Rapids Wedding Planner and Floral Designer - DIY Holiday Planter - Christmas evergreen and berry planter or urn - Step 8

Grand Rapids Wedding Planner and Floral Designer - DIY Holiday Planter - Christmas evergreen and berry planter or urn - Step 8

9. Stand back and admire your work!
Grand Rapids Wedding Planner and Floral Designer - DIY Holiday Planter - Christmas evergreen and berry planter or urn

Christmas Cheer

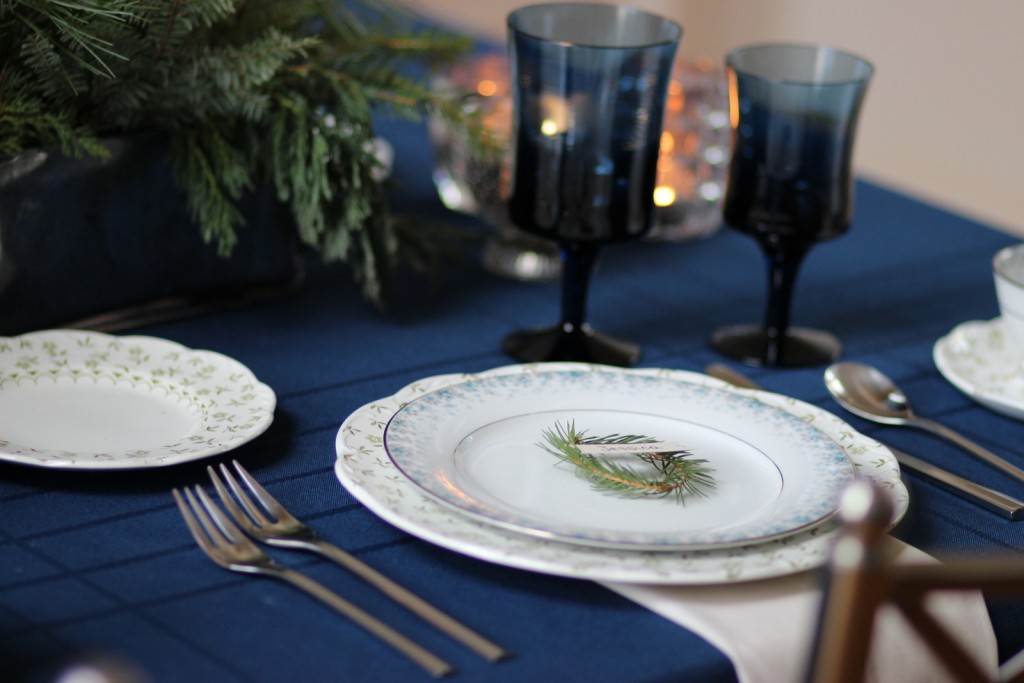
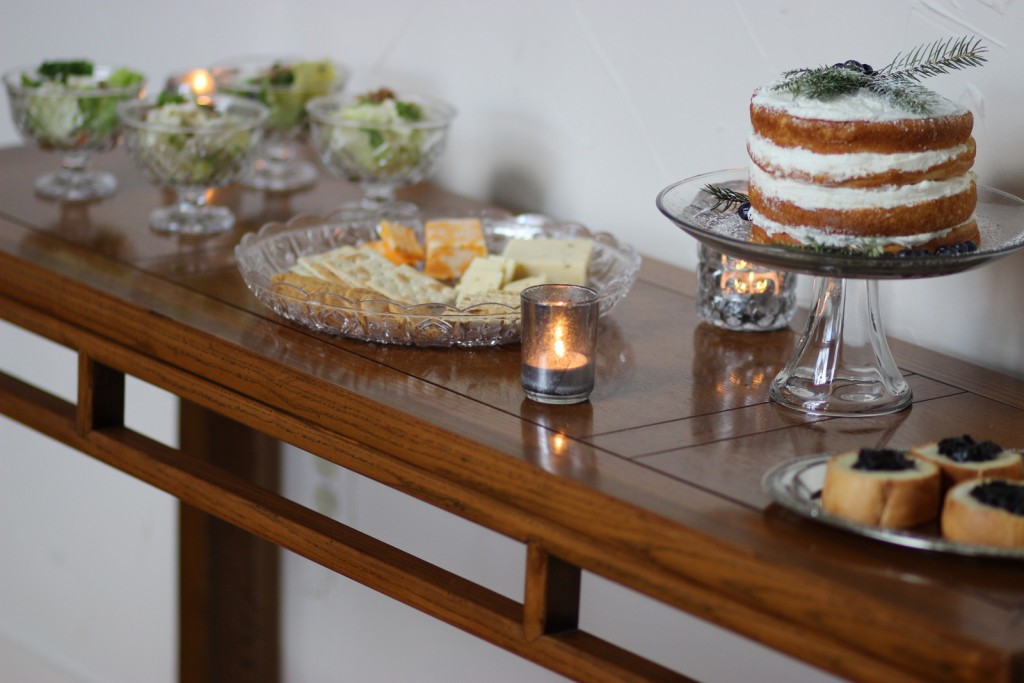
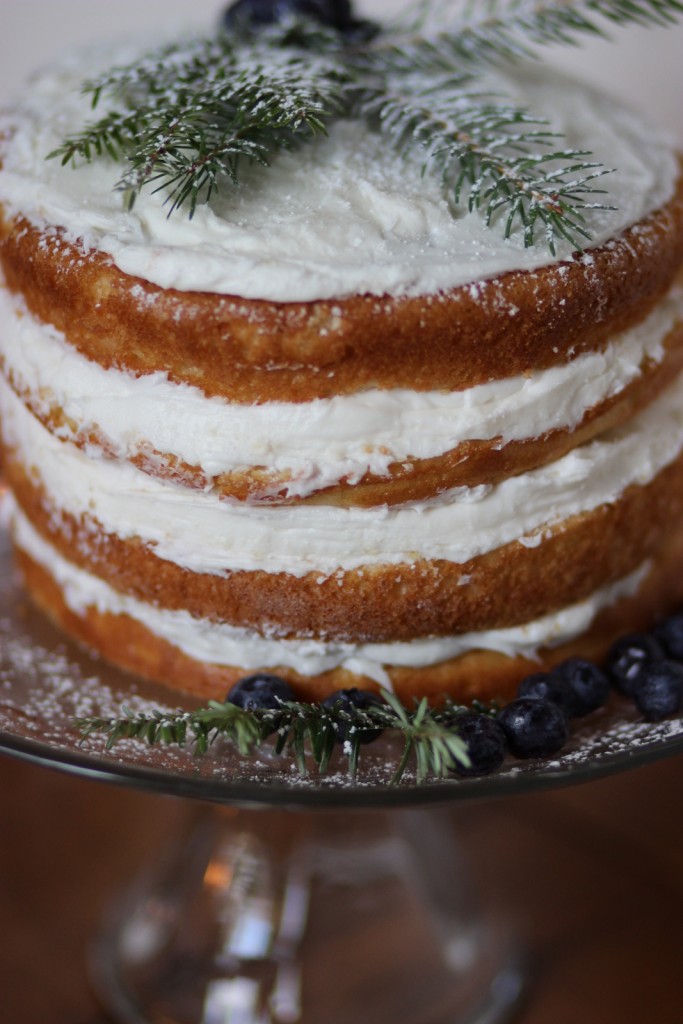
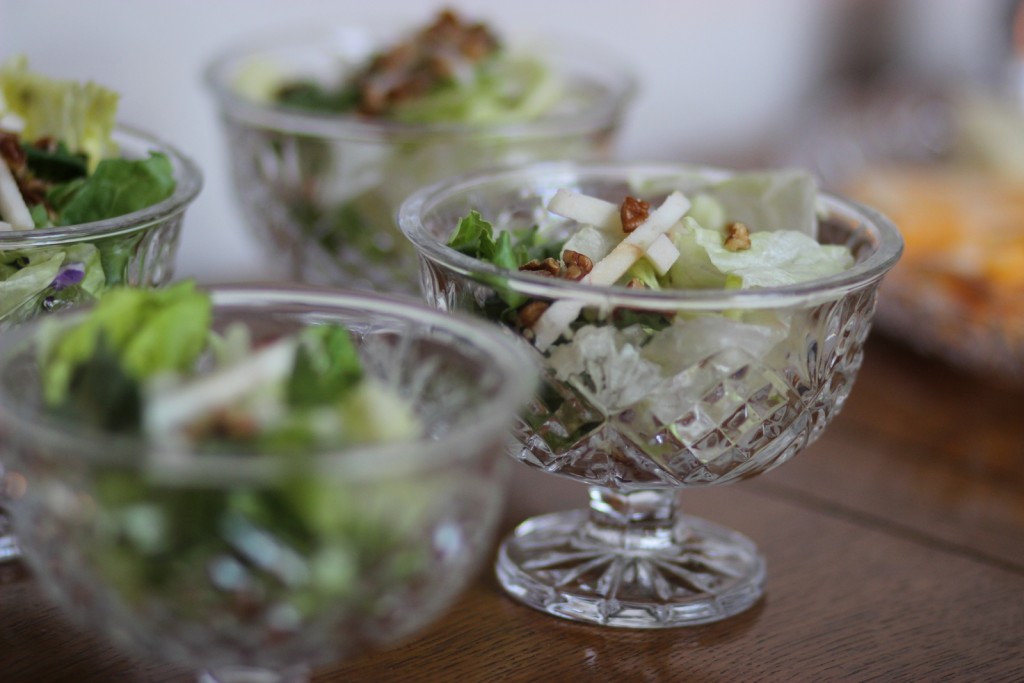
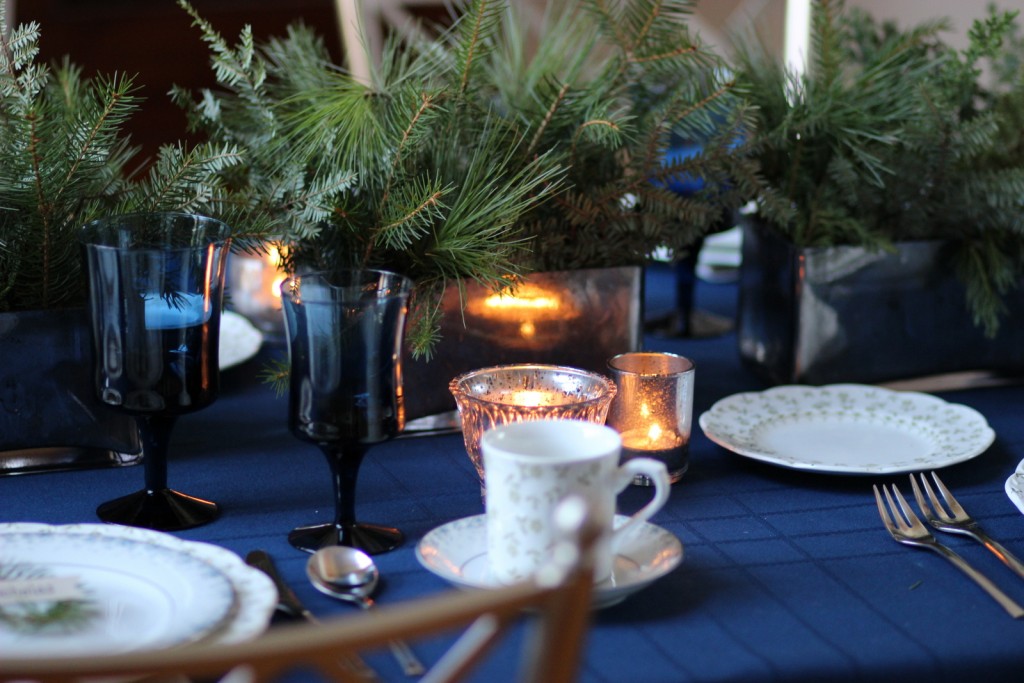
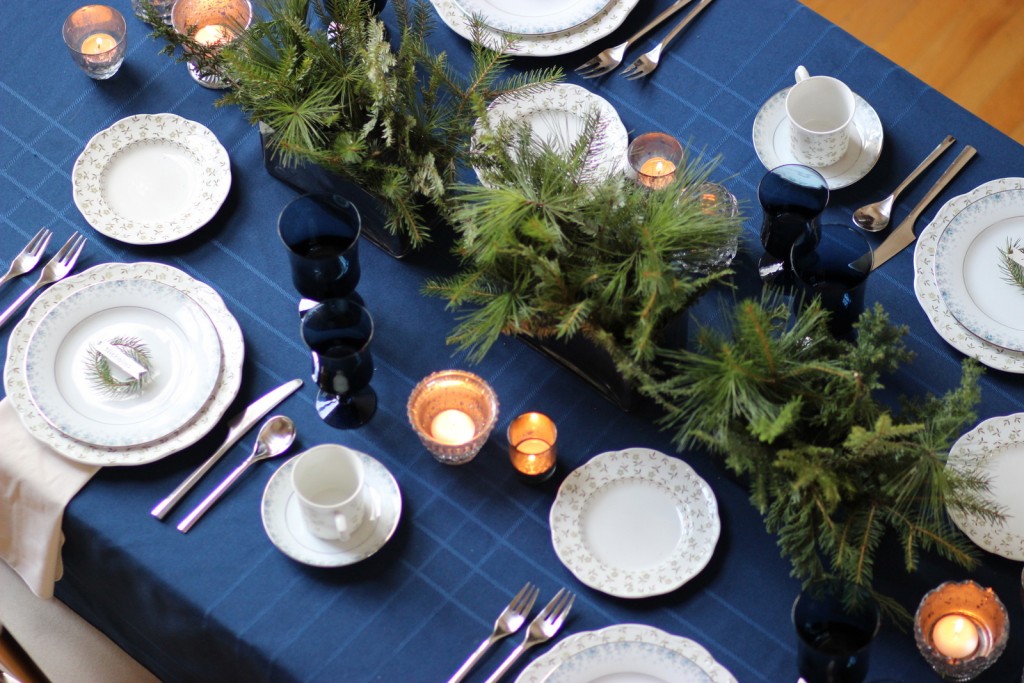
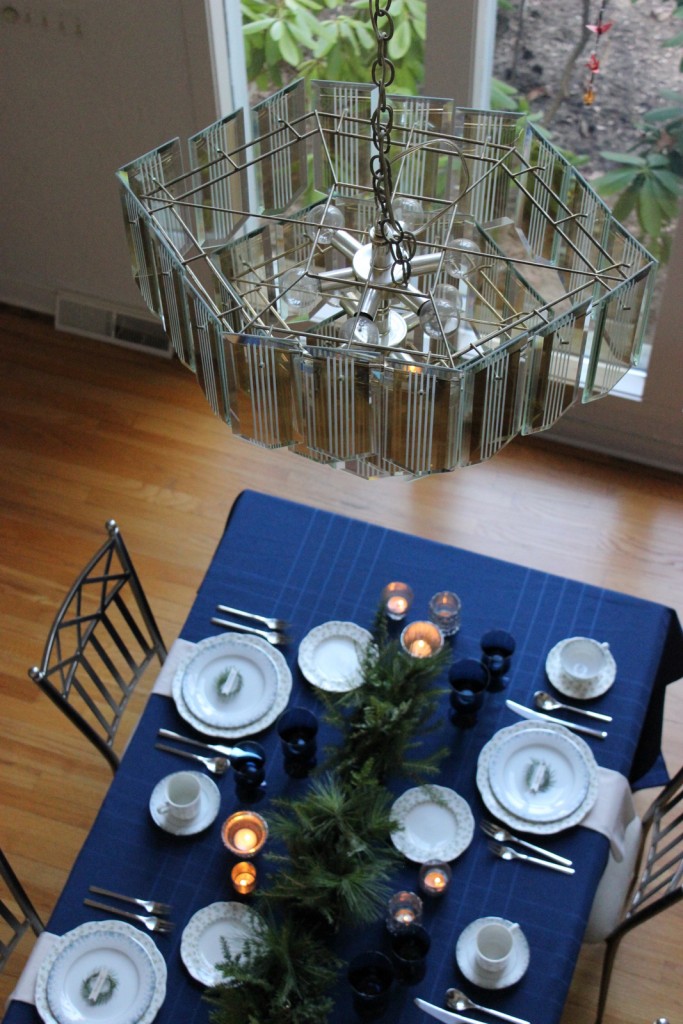
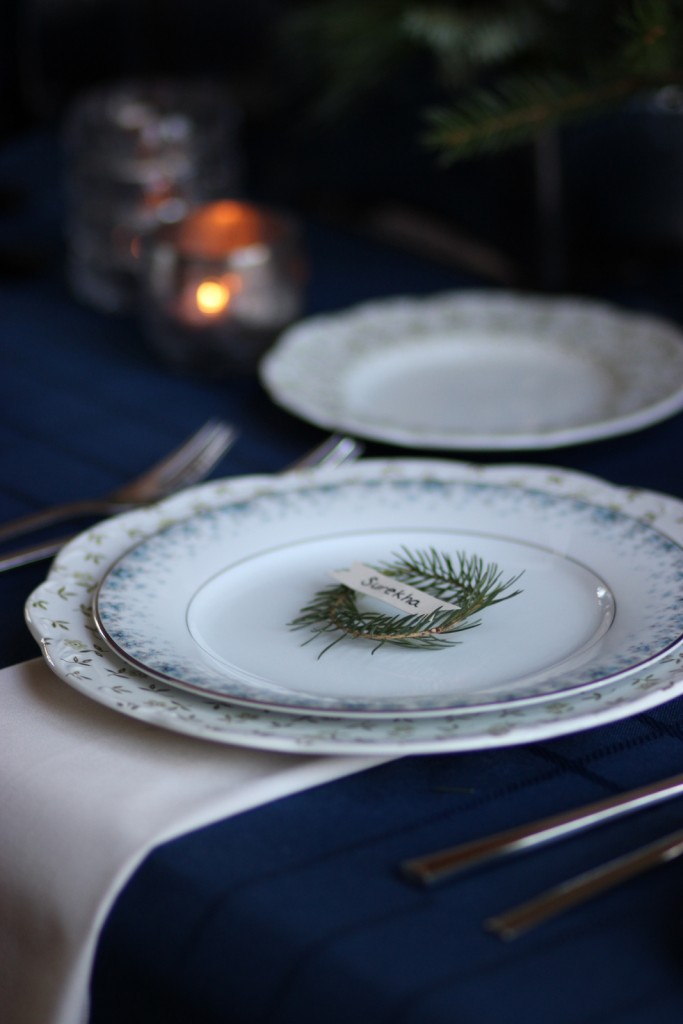
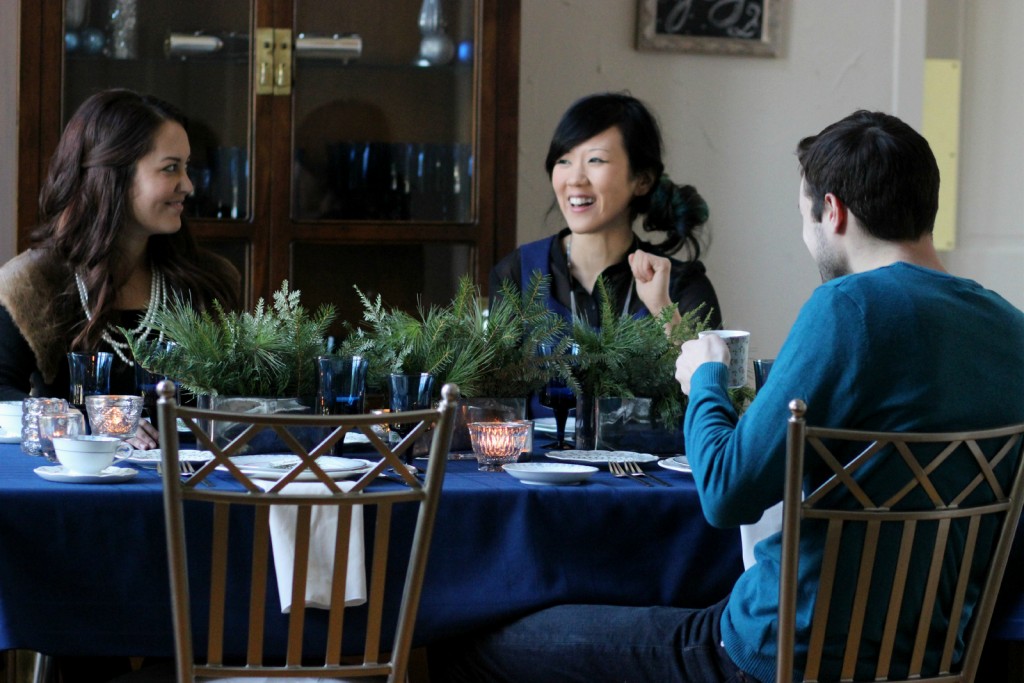
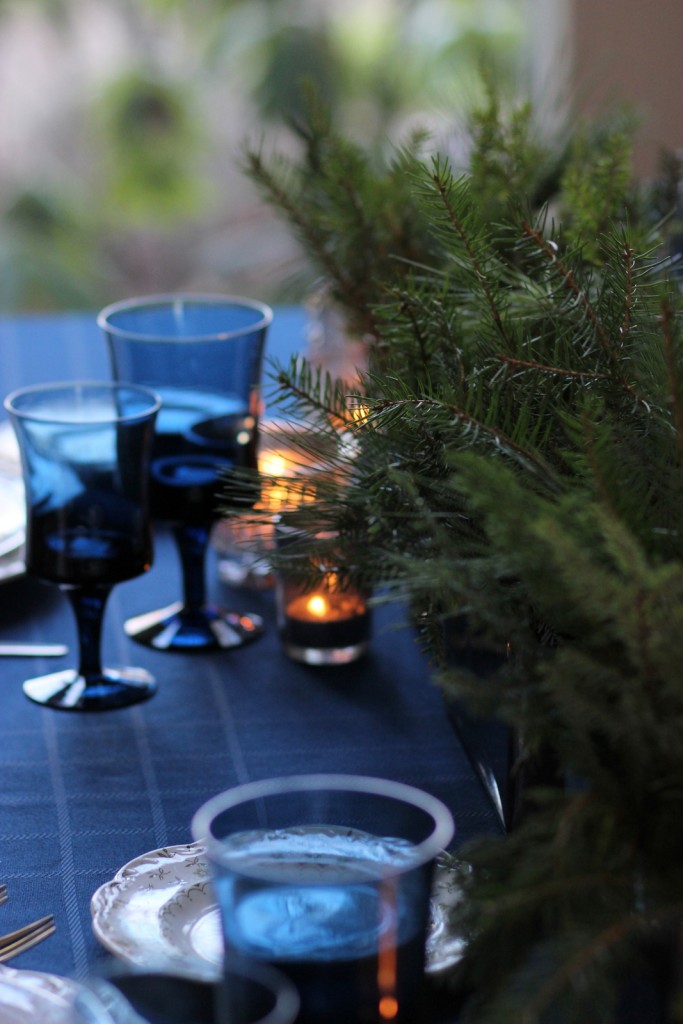
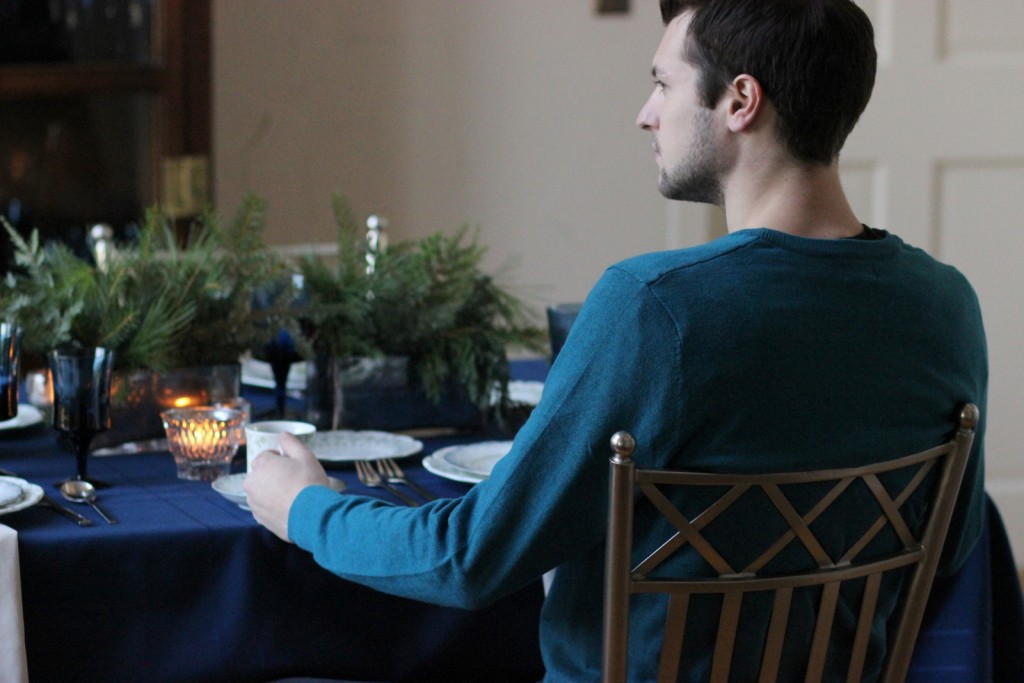
If you have read my other blog post, you’ll know that this year, for the first time in many years, I have had a less crazy busy December. While my schedule was still full of meetings and events, walkthroughs and photo shoots, I was able to find a little time to have a few dear friends over for a small Christmas party.

Grand Rapids Wedding Planner

Grand Rapids Wedding Planner

Grand Rapids Wedding Planner

Grand Rapids Wedding Planner

Grand Rapids Wedding Planner

Grand Rapids Wedding Planner

Grand Rapids Wedding Planner

Grand Rapids Wedding Planner

Grand Rapids Wedding Planner

Grand Rapids Wedding Planner

Grand Rapids Wedding Planner

Grand Rapids Wedding Planner

Grand Rapids Wedding Planner

Grand Rapids Wedding Planner

May you all have a wonderful Christmas full of family and friends.


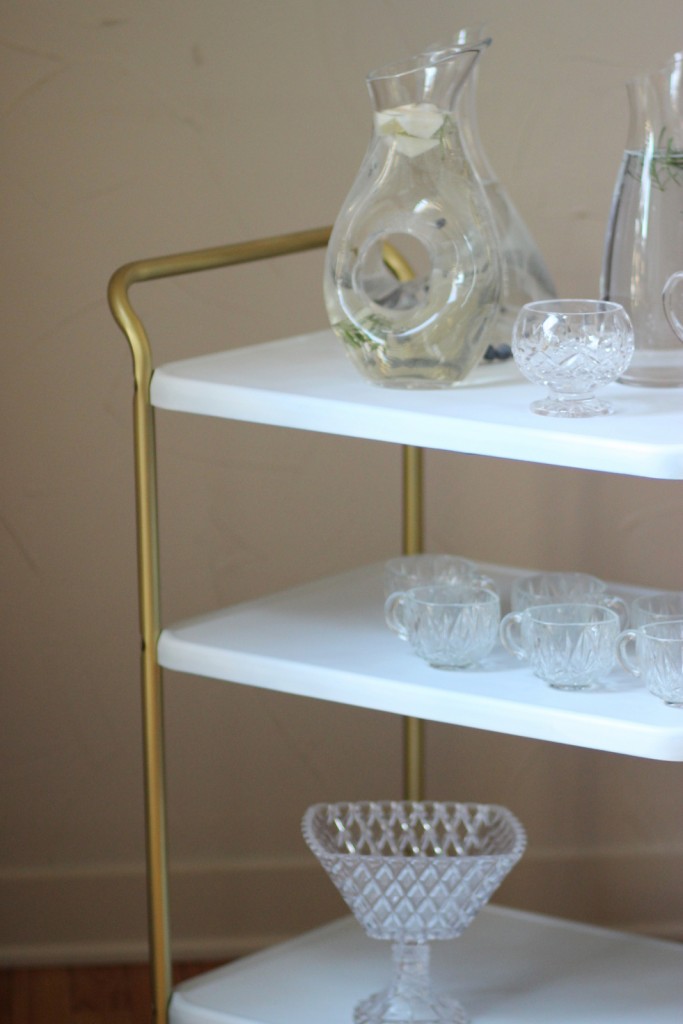
Refurbished Bar Cart

“She’s got a martini in her hand and pearls around her neck.”

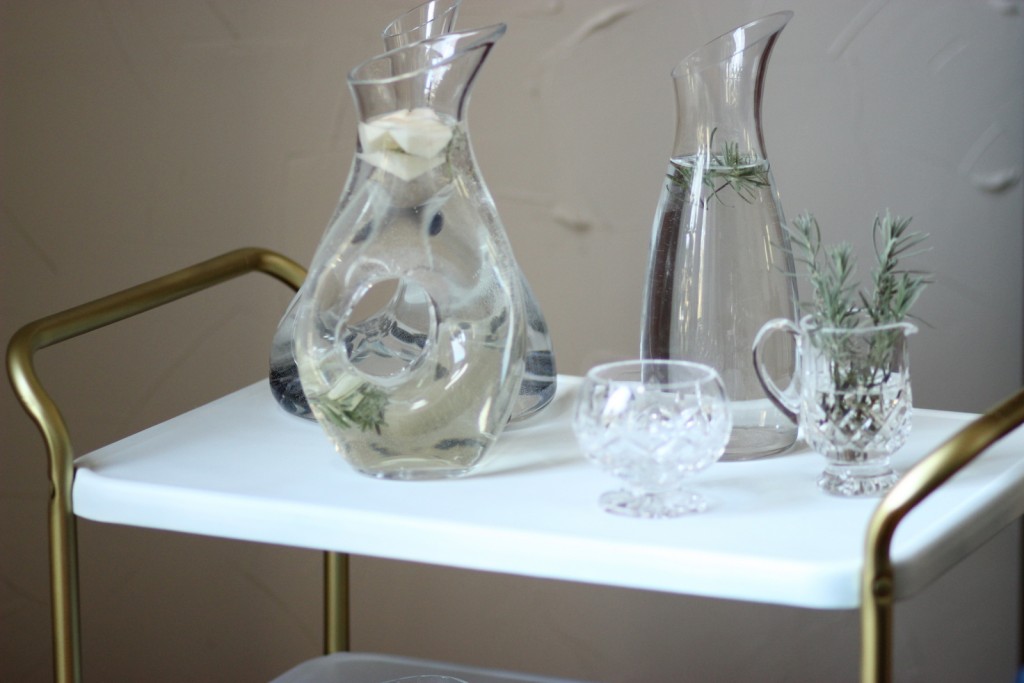
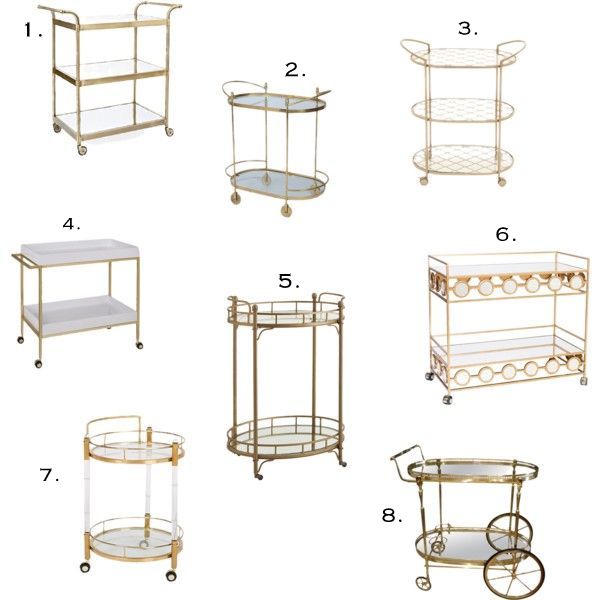
This summer I was on the hunt for a bar cart. And, not just any bar cart, but a gold one. Yes, I know, 1 year later and my love for gold has not wavered. While there were some glorious ones out there, I was not willing to spend hundreds of dollars for one. Although, if I did, I would have chosen ones like these below:

Grand Rapids Wedding Planner

1. Lolita Bar Cart from One Kings Lane, $499   2. Daphne Bar Cart from One Kings Lane, $499   3. Fiona Serving Cart from Joss & Main, $155   4. Refined Bar Cart from One Kings Lane, $429   5. Clara Bar Cart from Pier 1 Imports, $300   6. Worlds Away Bar Cart from Zinc Door, $1,173   7. Acrylic Fitzgerald Bar Cart from One Kings Lane, $675   8. Brass Bar Cart from La Barge, Price Upon Request

But, one afternoon, Surekha and I were out in Grandville thrifting and antiquing, and we stumbled across this beauty. I was not convinced of its beauty at all. However, Surekha convinced me that with a little sandpaper and some spray paint, this horrid bar cart could be really pretty. So, $35 later, the bar cart was rattling away in the back of my jeep as I carted it home. Finally, 4 months later after a crazy wedding season and a busy fall fashion season, I finally had time to dust off the bar cart, lug it down stairs and take a second glance at it. Gosh, it was ugly.

Grand Rapids Wedding Planner

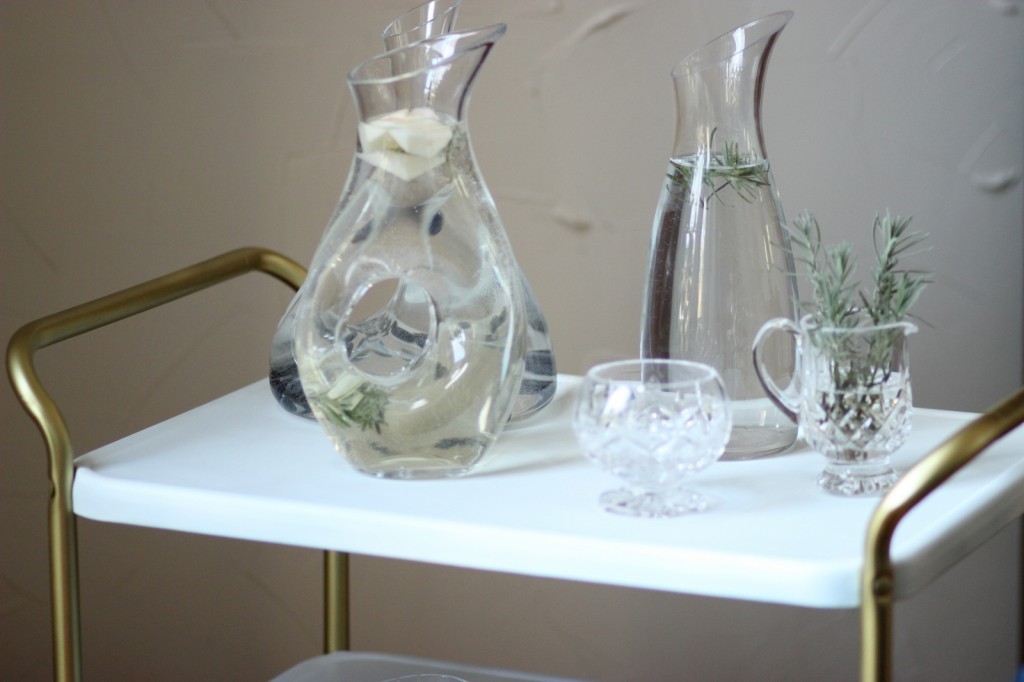
With the help of my mom, I wrestled the thing apart and sanded every piece with 350 grit sandpaper. After washing it down and letting it dry, I spray painted 2 cans of Krylon white spray paint + primer over the shelves. Then came 1 can of Krylon gold spray paint. After a lot of waiting, I wrestled the thing back together and sat back with admiration and a really bad headache (leave the spray painting to warmer months so you can do it outside). $45 dollars and 24 hours later, a bar cart!
Grand Rapids Wedding Planner

Grand Rapids Wedding Planner

Holiday Happiness

Grand Rapids Wedding Planner

I hope you all had a great Christmas. It was certainly a wintry week, but a very pretty one. The ice covered world, uh, gorgeous! Then add the dusting of powdery snow atop that glittering crystal, ah-ma-zing. I know all my photog friends were outside snapping up a storm. This Christmas I was not able to travel to Alberta to visit Jas and my family, so I snuggled in at my parents for a very, very quiet Christmas. With my siblings living in other States and Countries (and Jas living in Alberta), it means that holiday’s usually are just my parents and I. This December, my mom and I put up the Christmas tree, with a few hilarious hiccups along the way, decorated the house in enough pine boughs to make you think you were walking through a forest, and had Peter, Paul and Mary’s Christmas Album playing loud enough for even the smallest creature outside the house to hear.

Grand Rapids Wedding Planner

With December drawing to a close and Christmas Decorations being taken down, and a New Year just within reach, I am reminded that each moment is special, no matter how quiet and small, as long as I spend it with those I love.

Take A Bough

This Christmas season, my mom and I dragged in our massive Christmas tree from outside and in the process, we lost a few branches. Instead of throwing them away, I decided to take the 4 branches and multiply them into enough boughs to cover our entire house (and presents) in fresh, lovely smelling pine. Below, you will see the simple directions to make boughs that you can hang anywhere from your front door to the back of chairs, and many places in between.

Grand Rapids Wedding Planner

1. Select your branches: I chose 3 different types of evergreens for a total of 8 branches.

Grand Rapids Wedding Planner

2. Arrange your branches: I chose the biggest branch and placed the smaller branches on top of it, trimming away excess.

Grand Rapids Wedding Planner

3. Wrap your branches: I wrapped the ends of the branches where they are gathered together with florist wire and then florist tape. Wrap enough of both so that the branches are secure.

4. Tie a bow: I chose to wrap a red satin ribbon around the ends, but you can use anything you want.

Grand Rapids Wedding Planner

5. Place your bough: Depending on the size of your bough, you can hang it on your front door, on the back of chairs, on the wall, on Christmas presents.