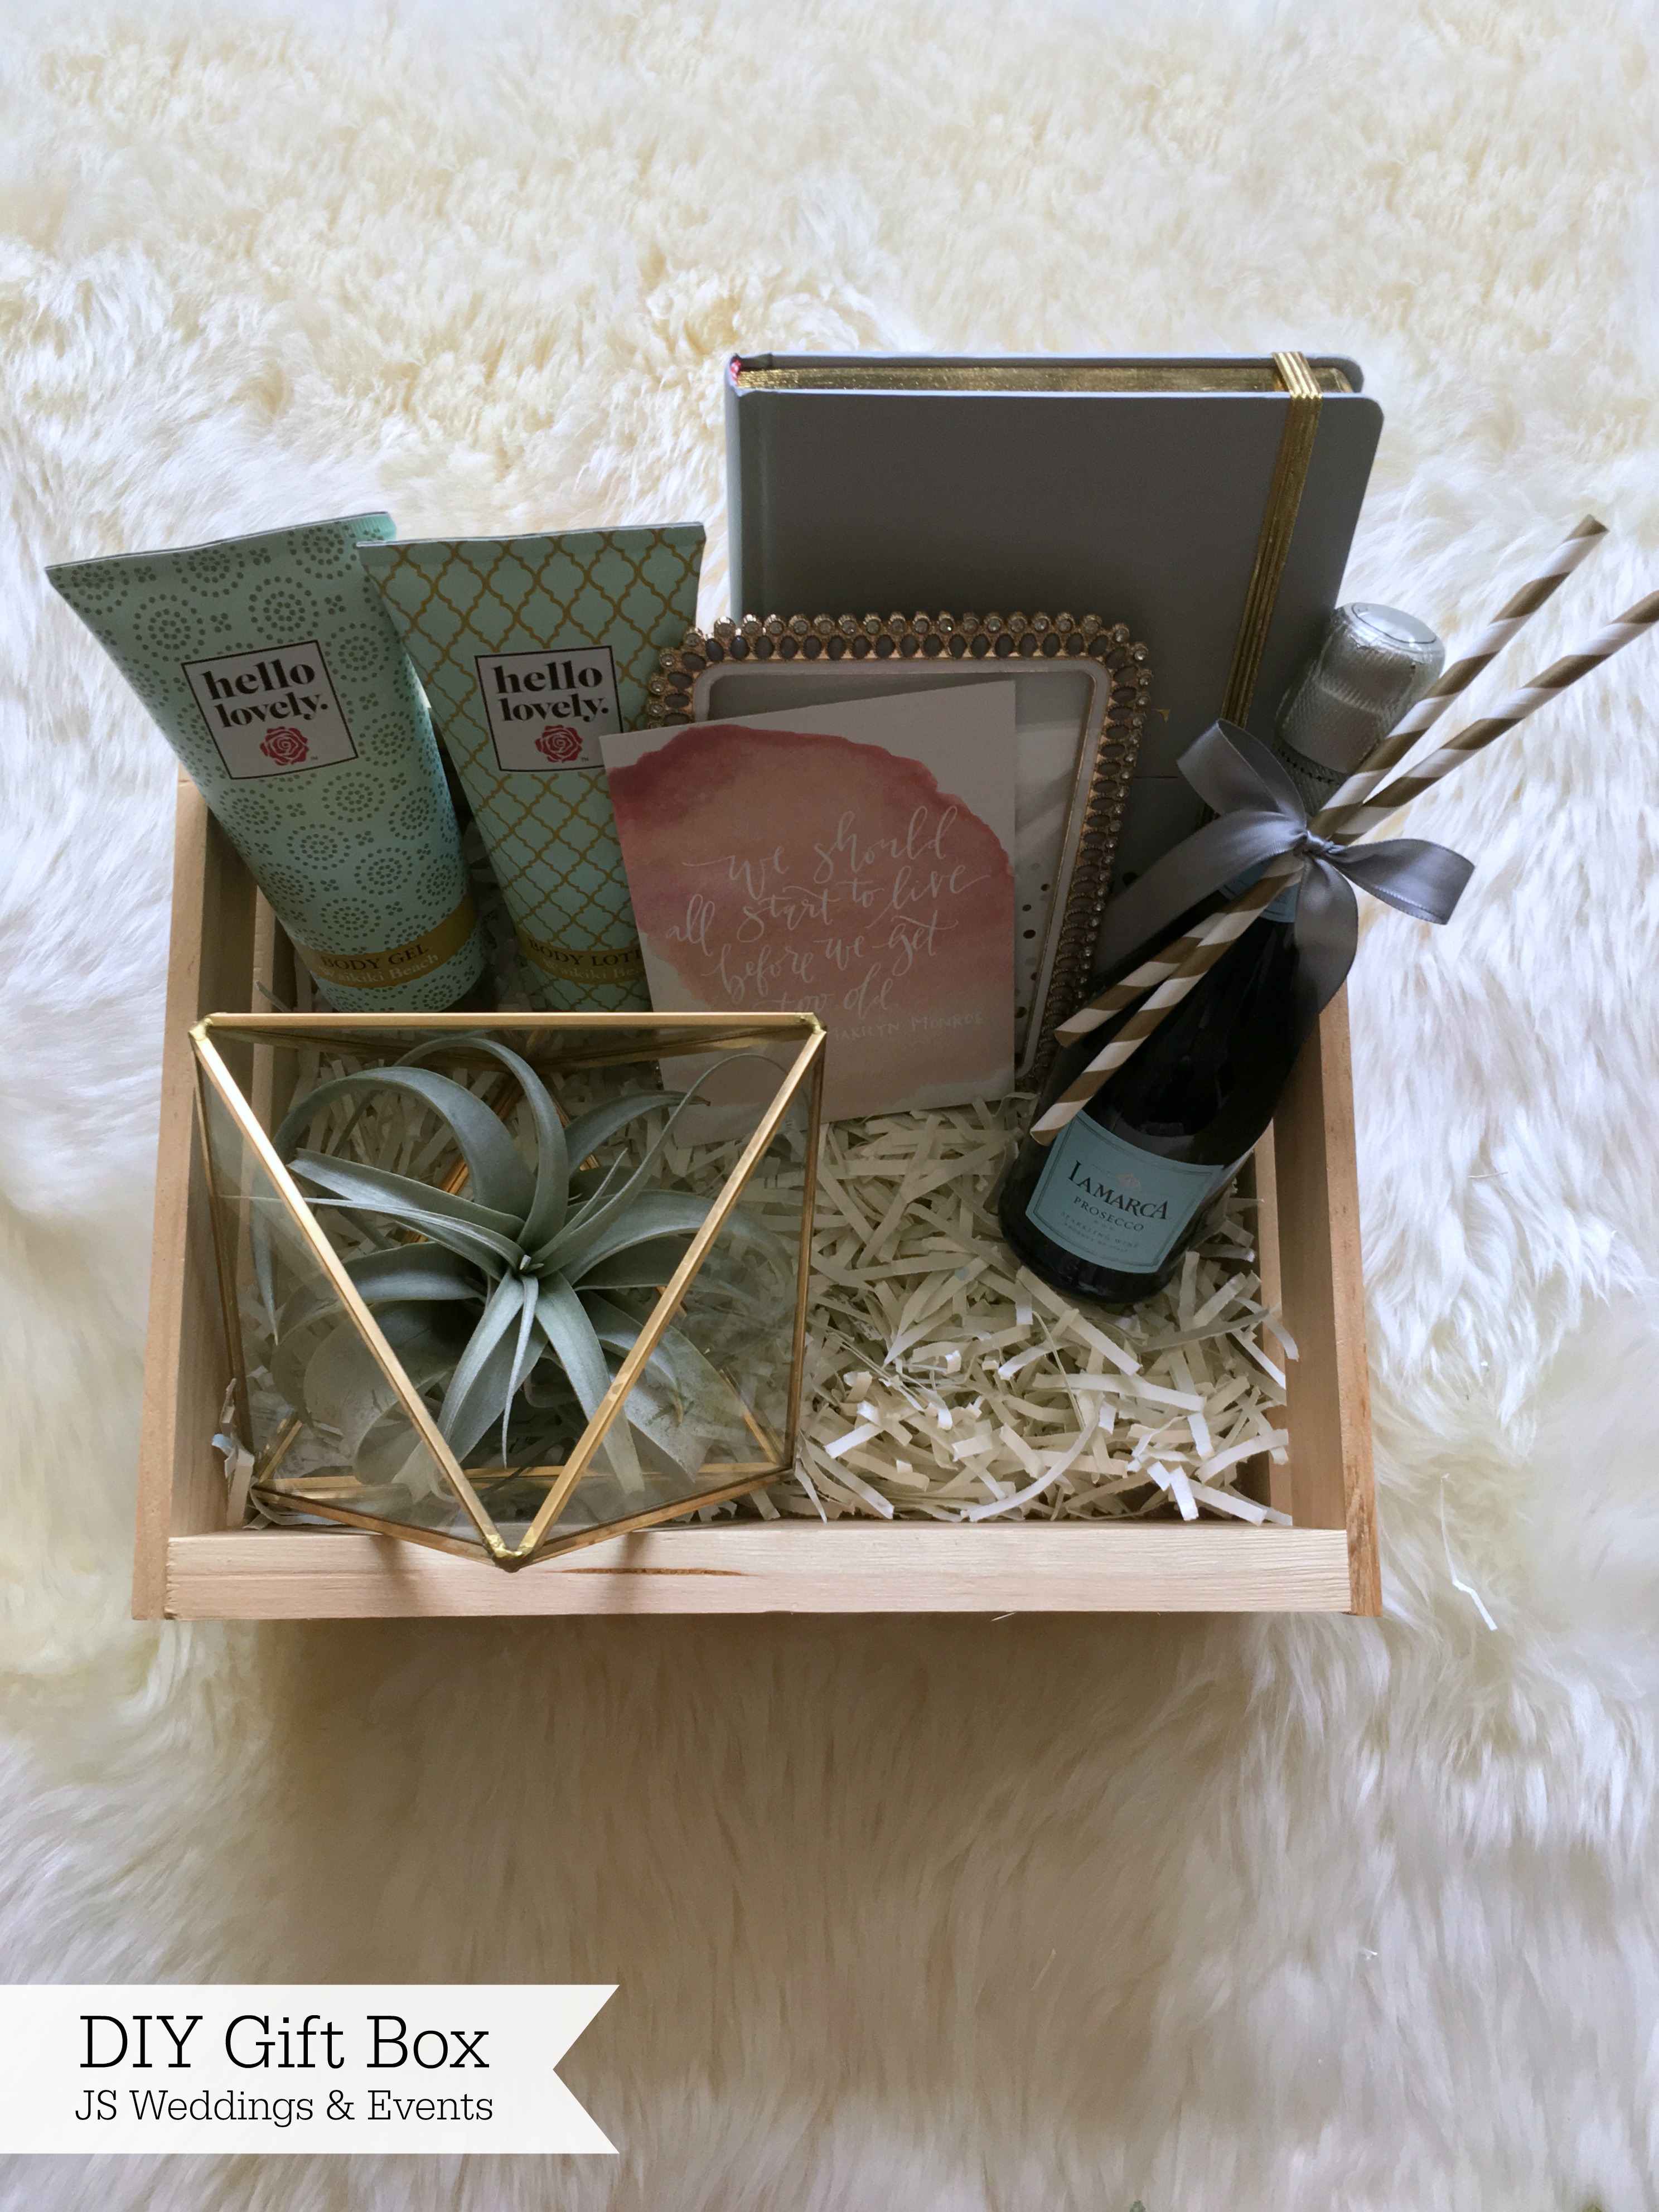
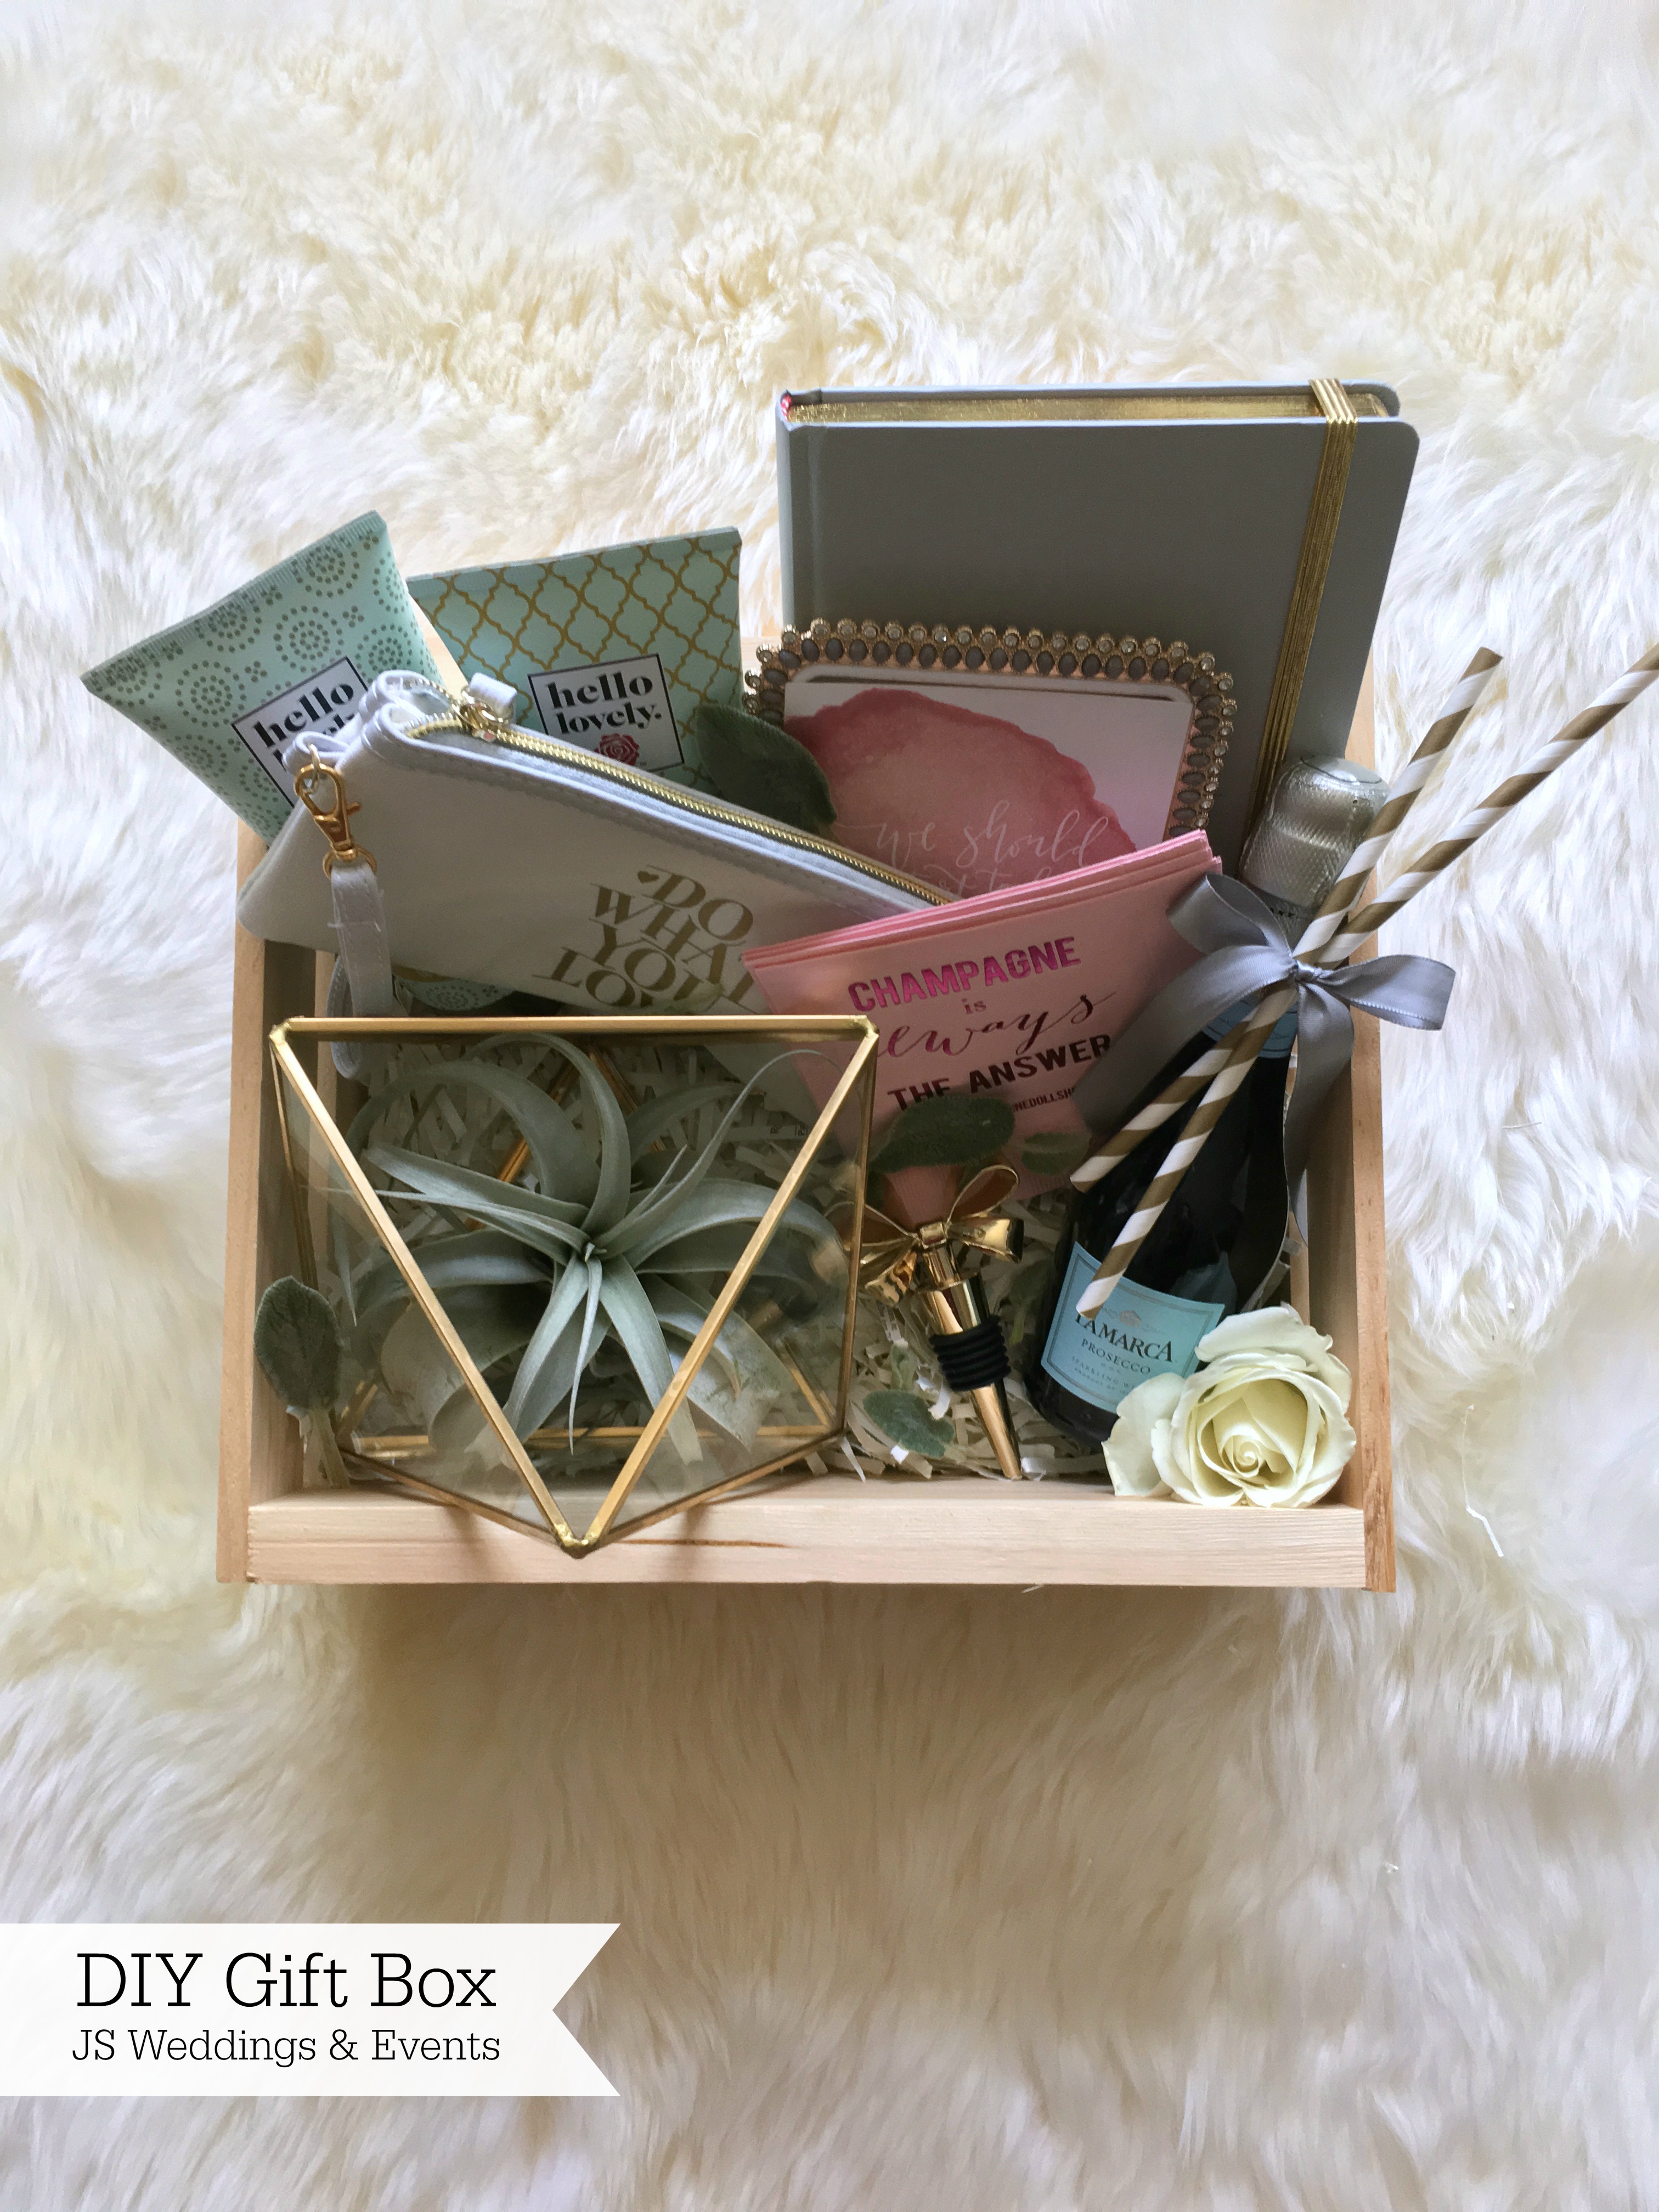
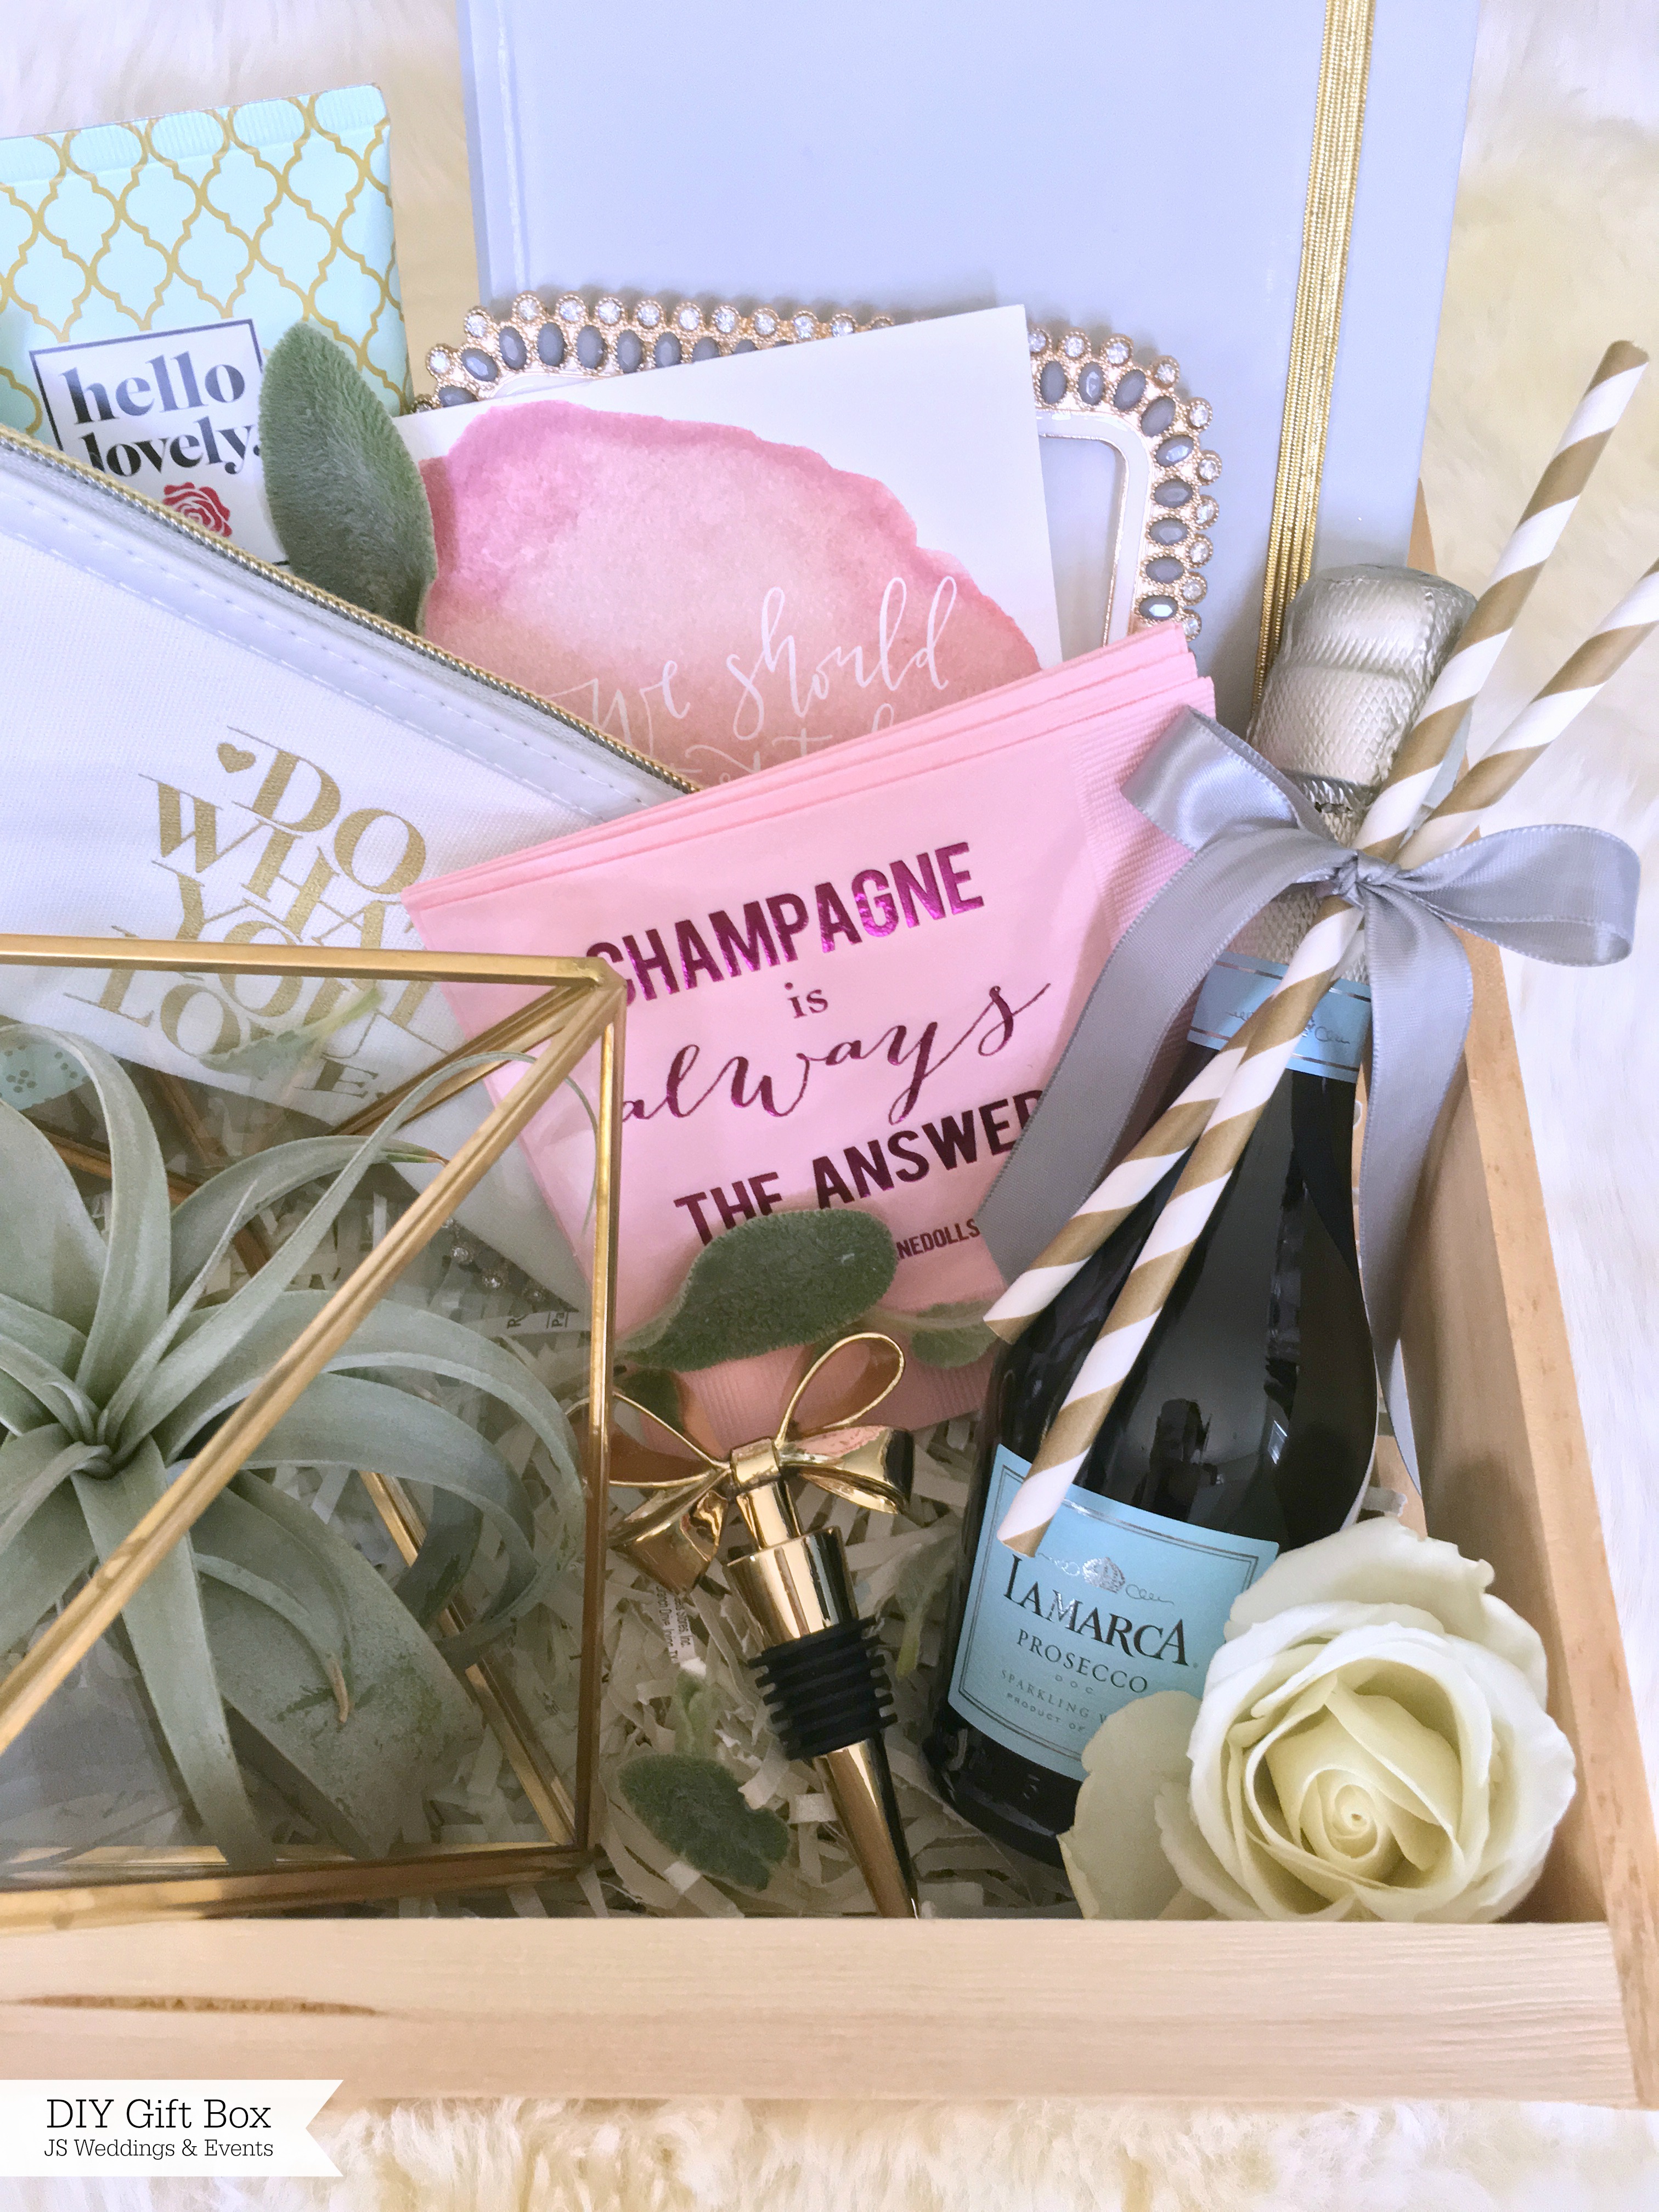
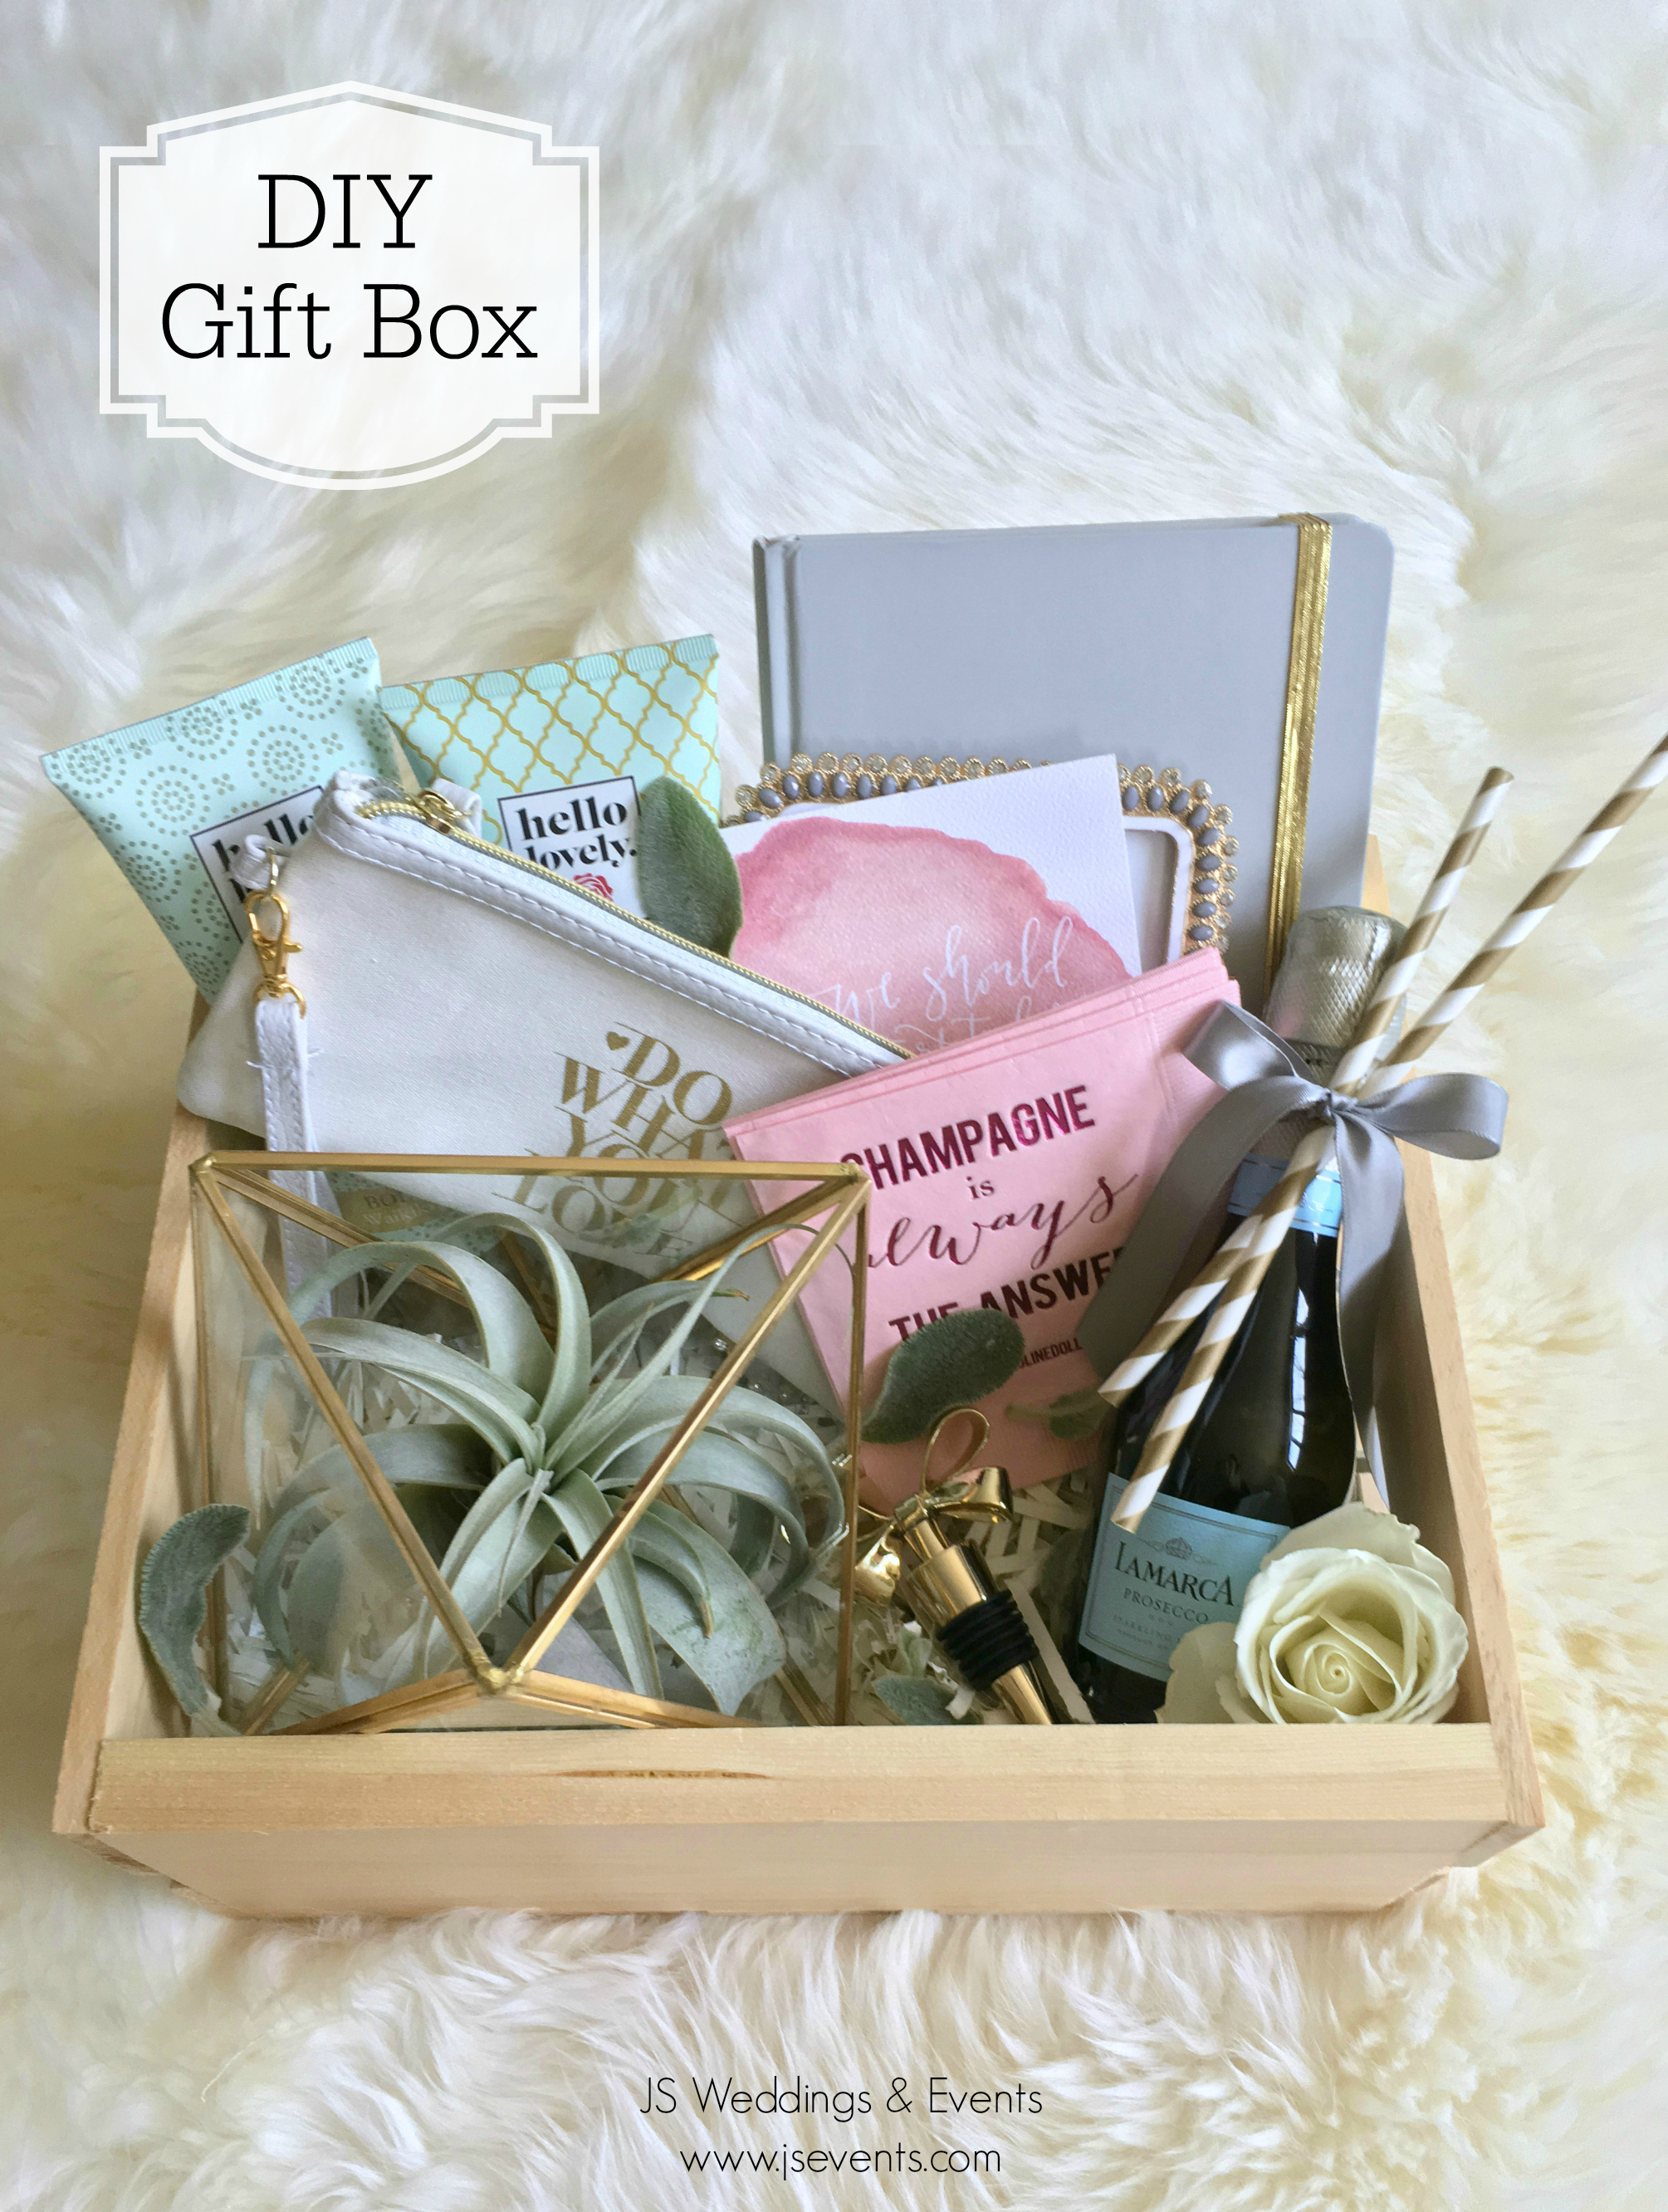
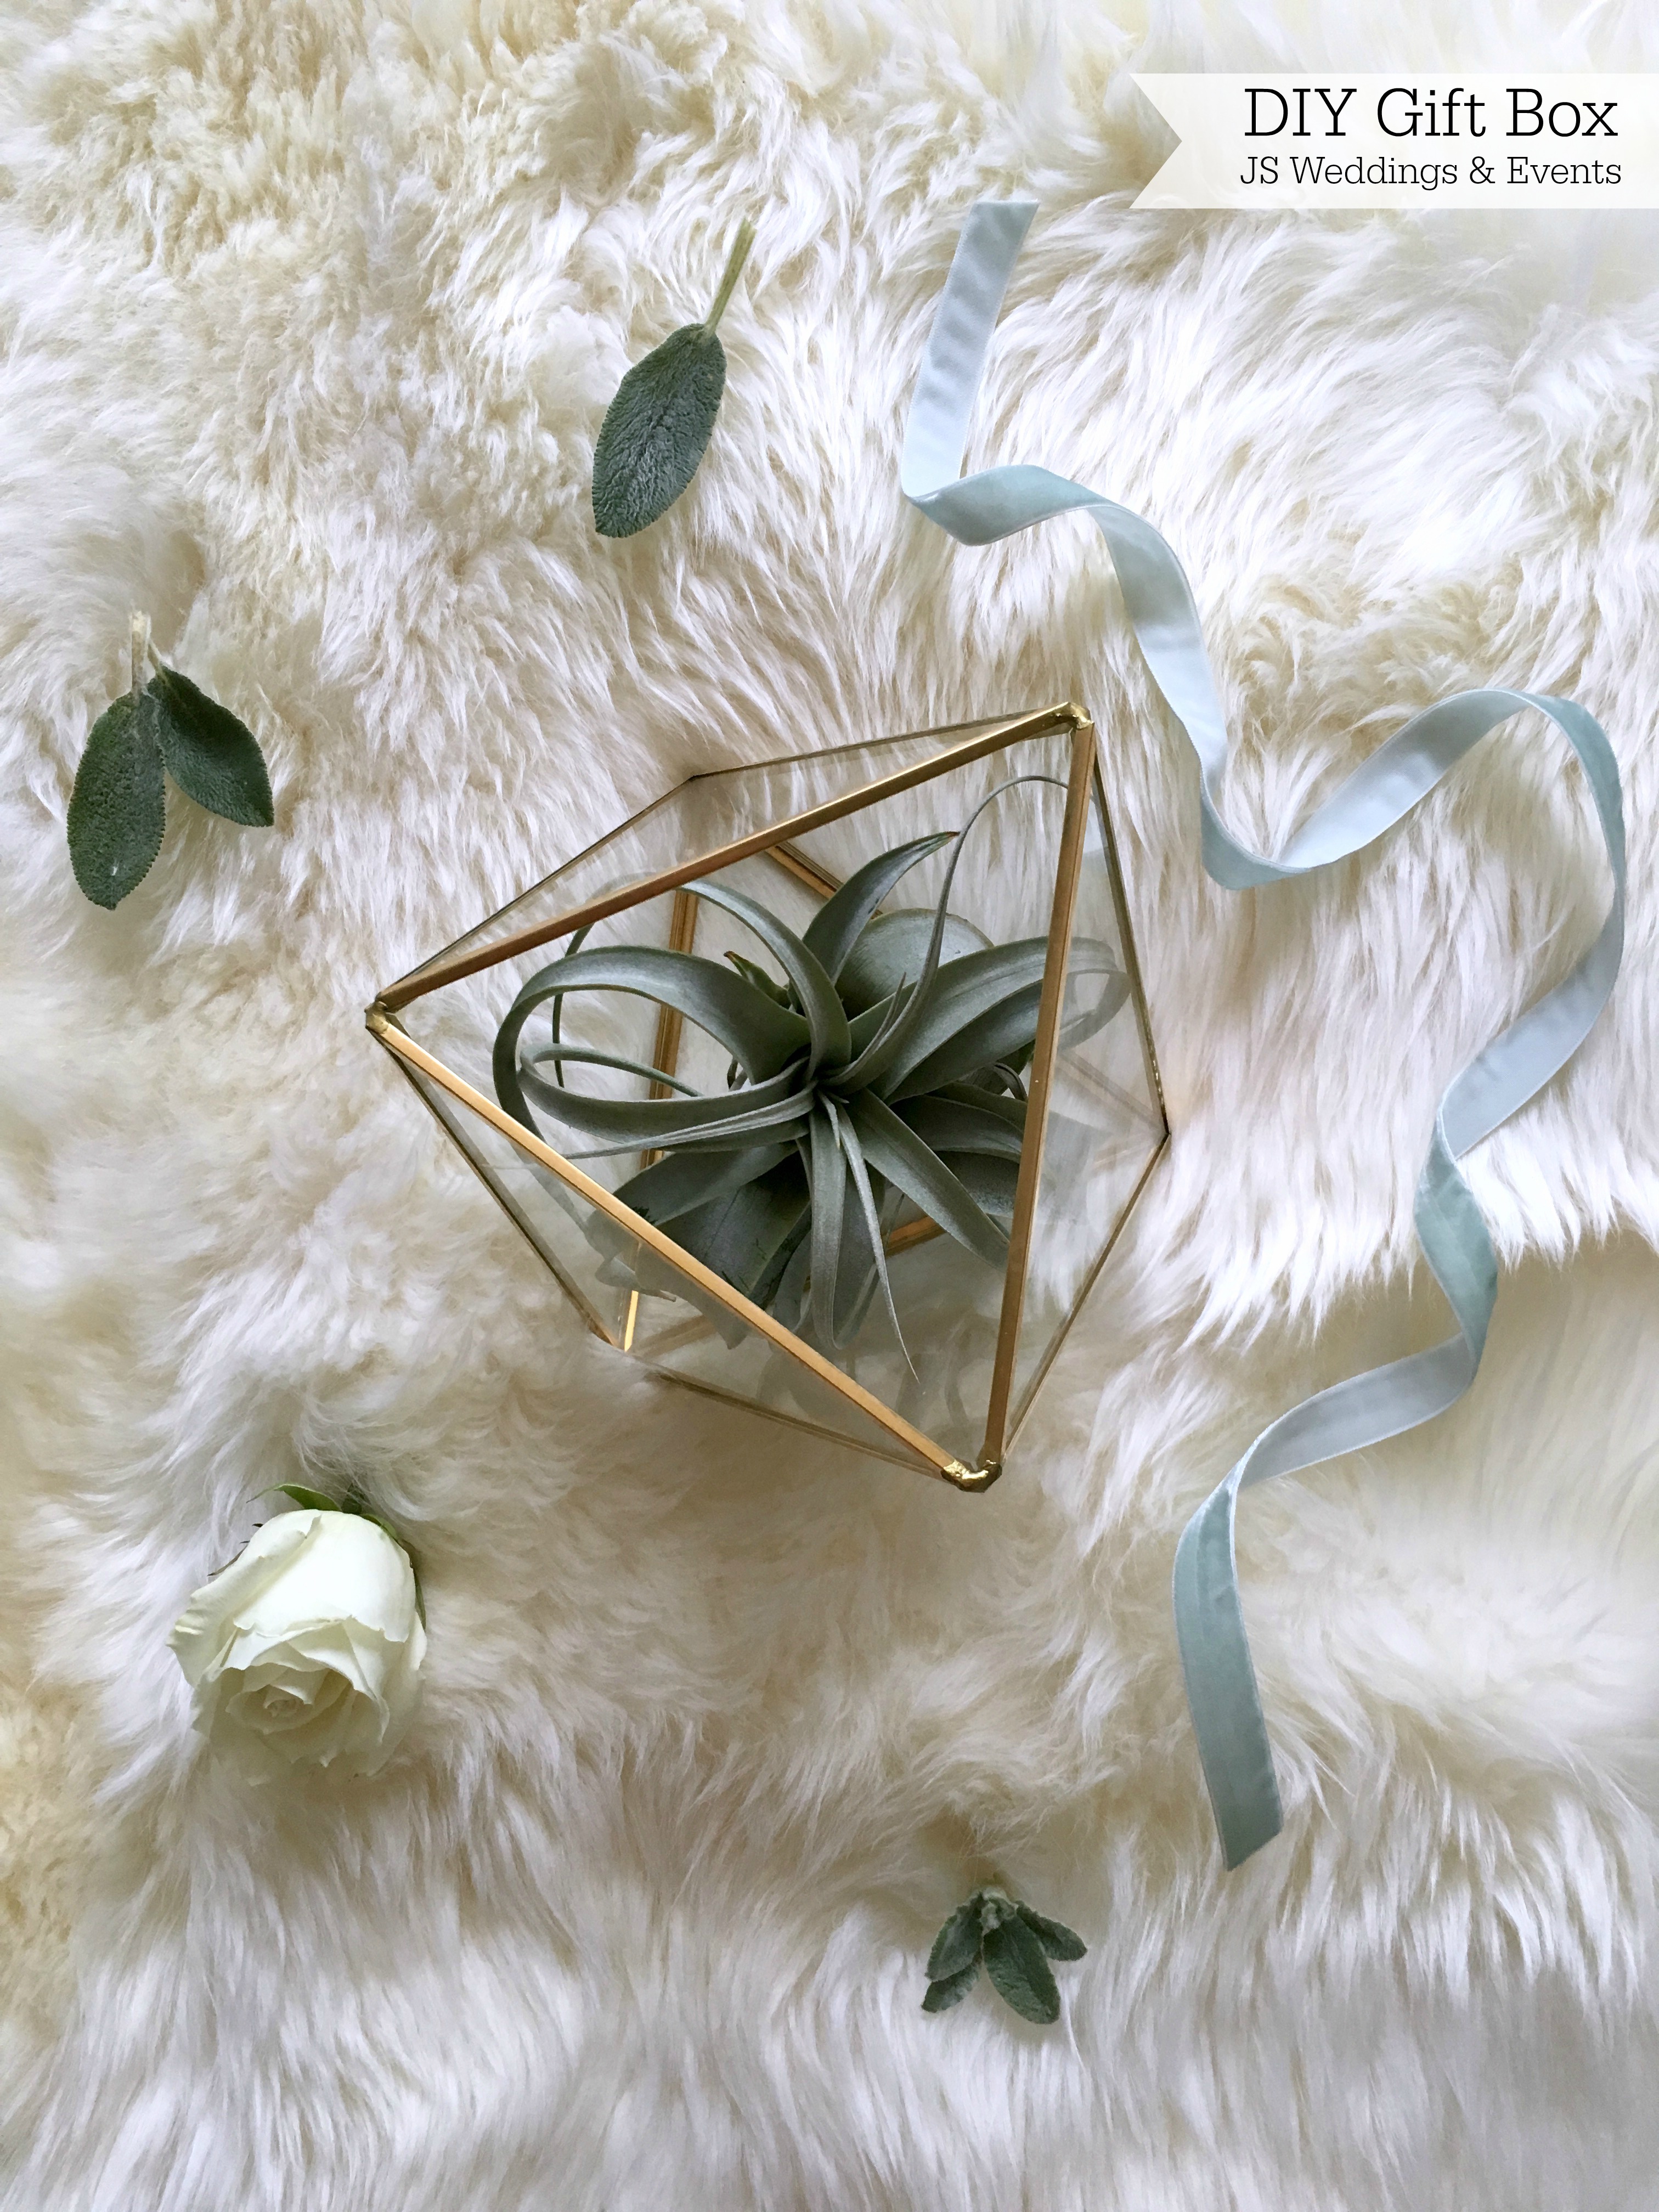
DIY Gift Box
“May no gift be too small to give, nor too simple to receive, which is wrapped in thoughtfulness, and tied with love.” L. O. Baird
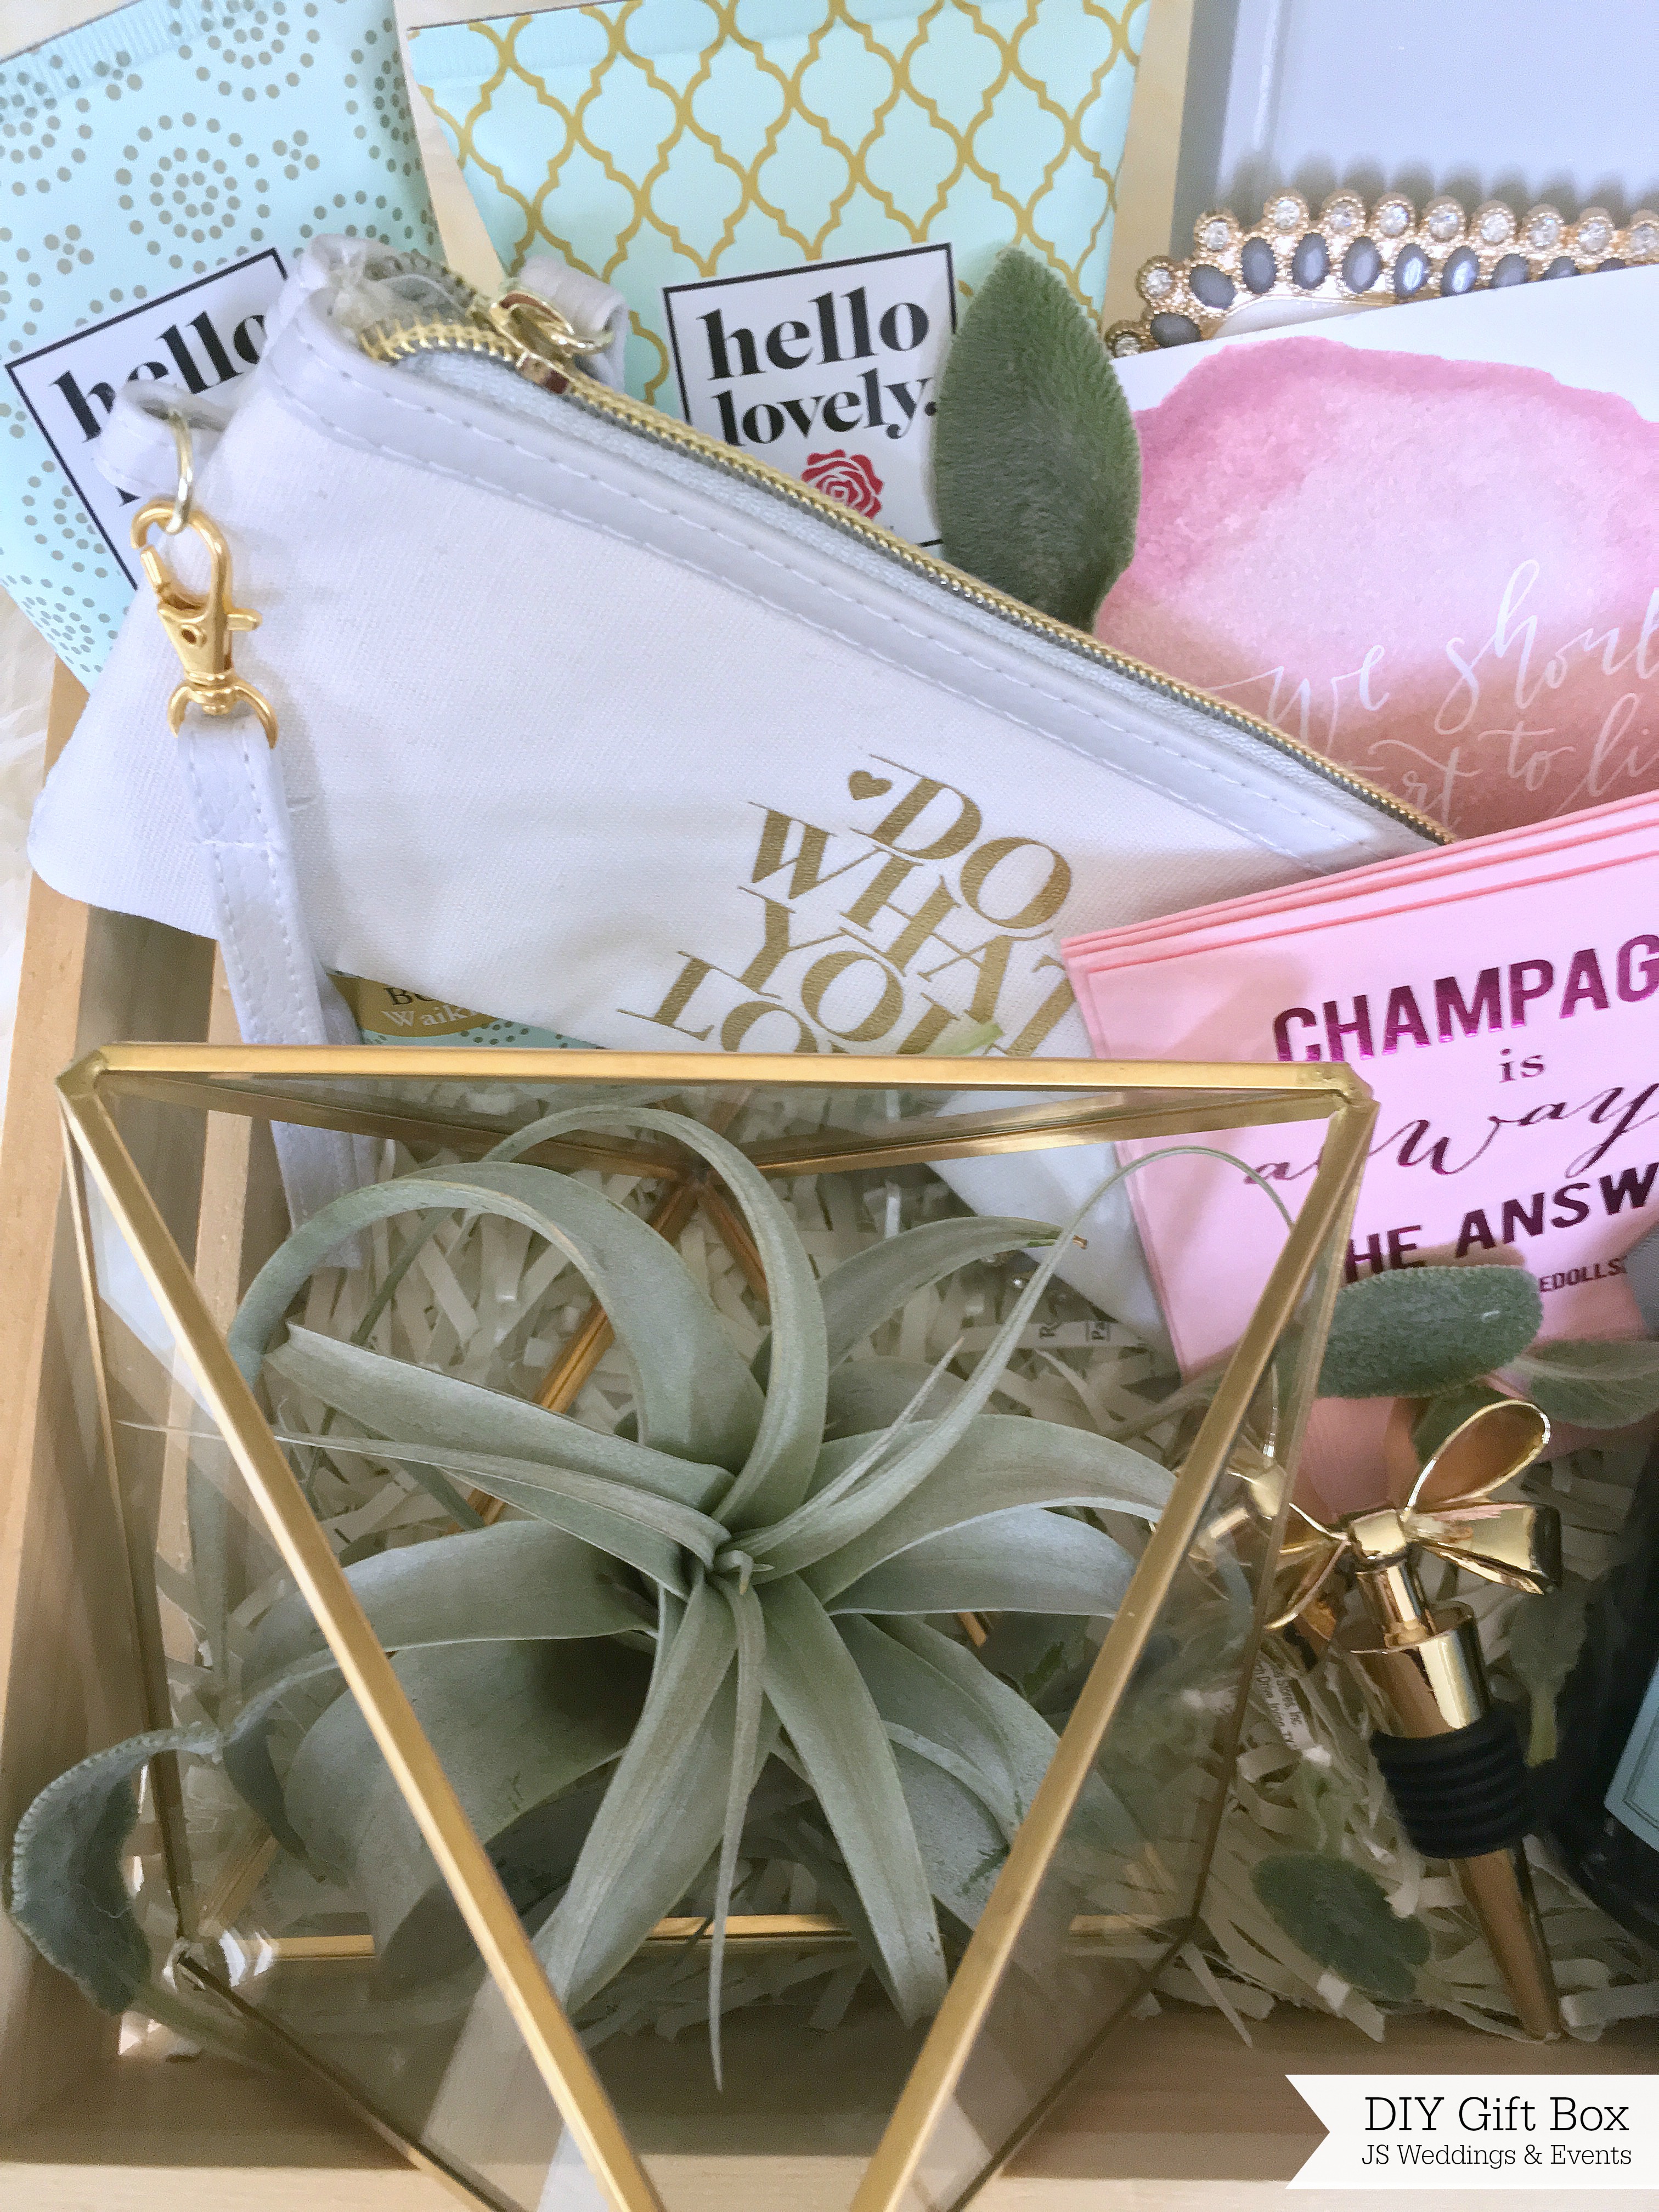
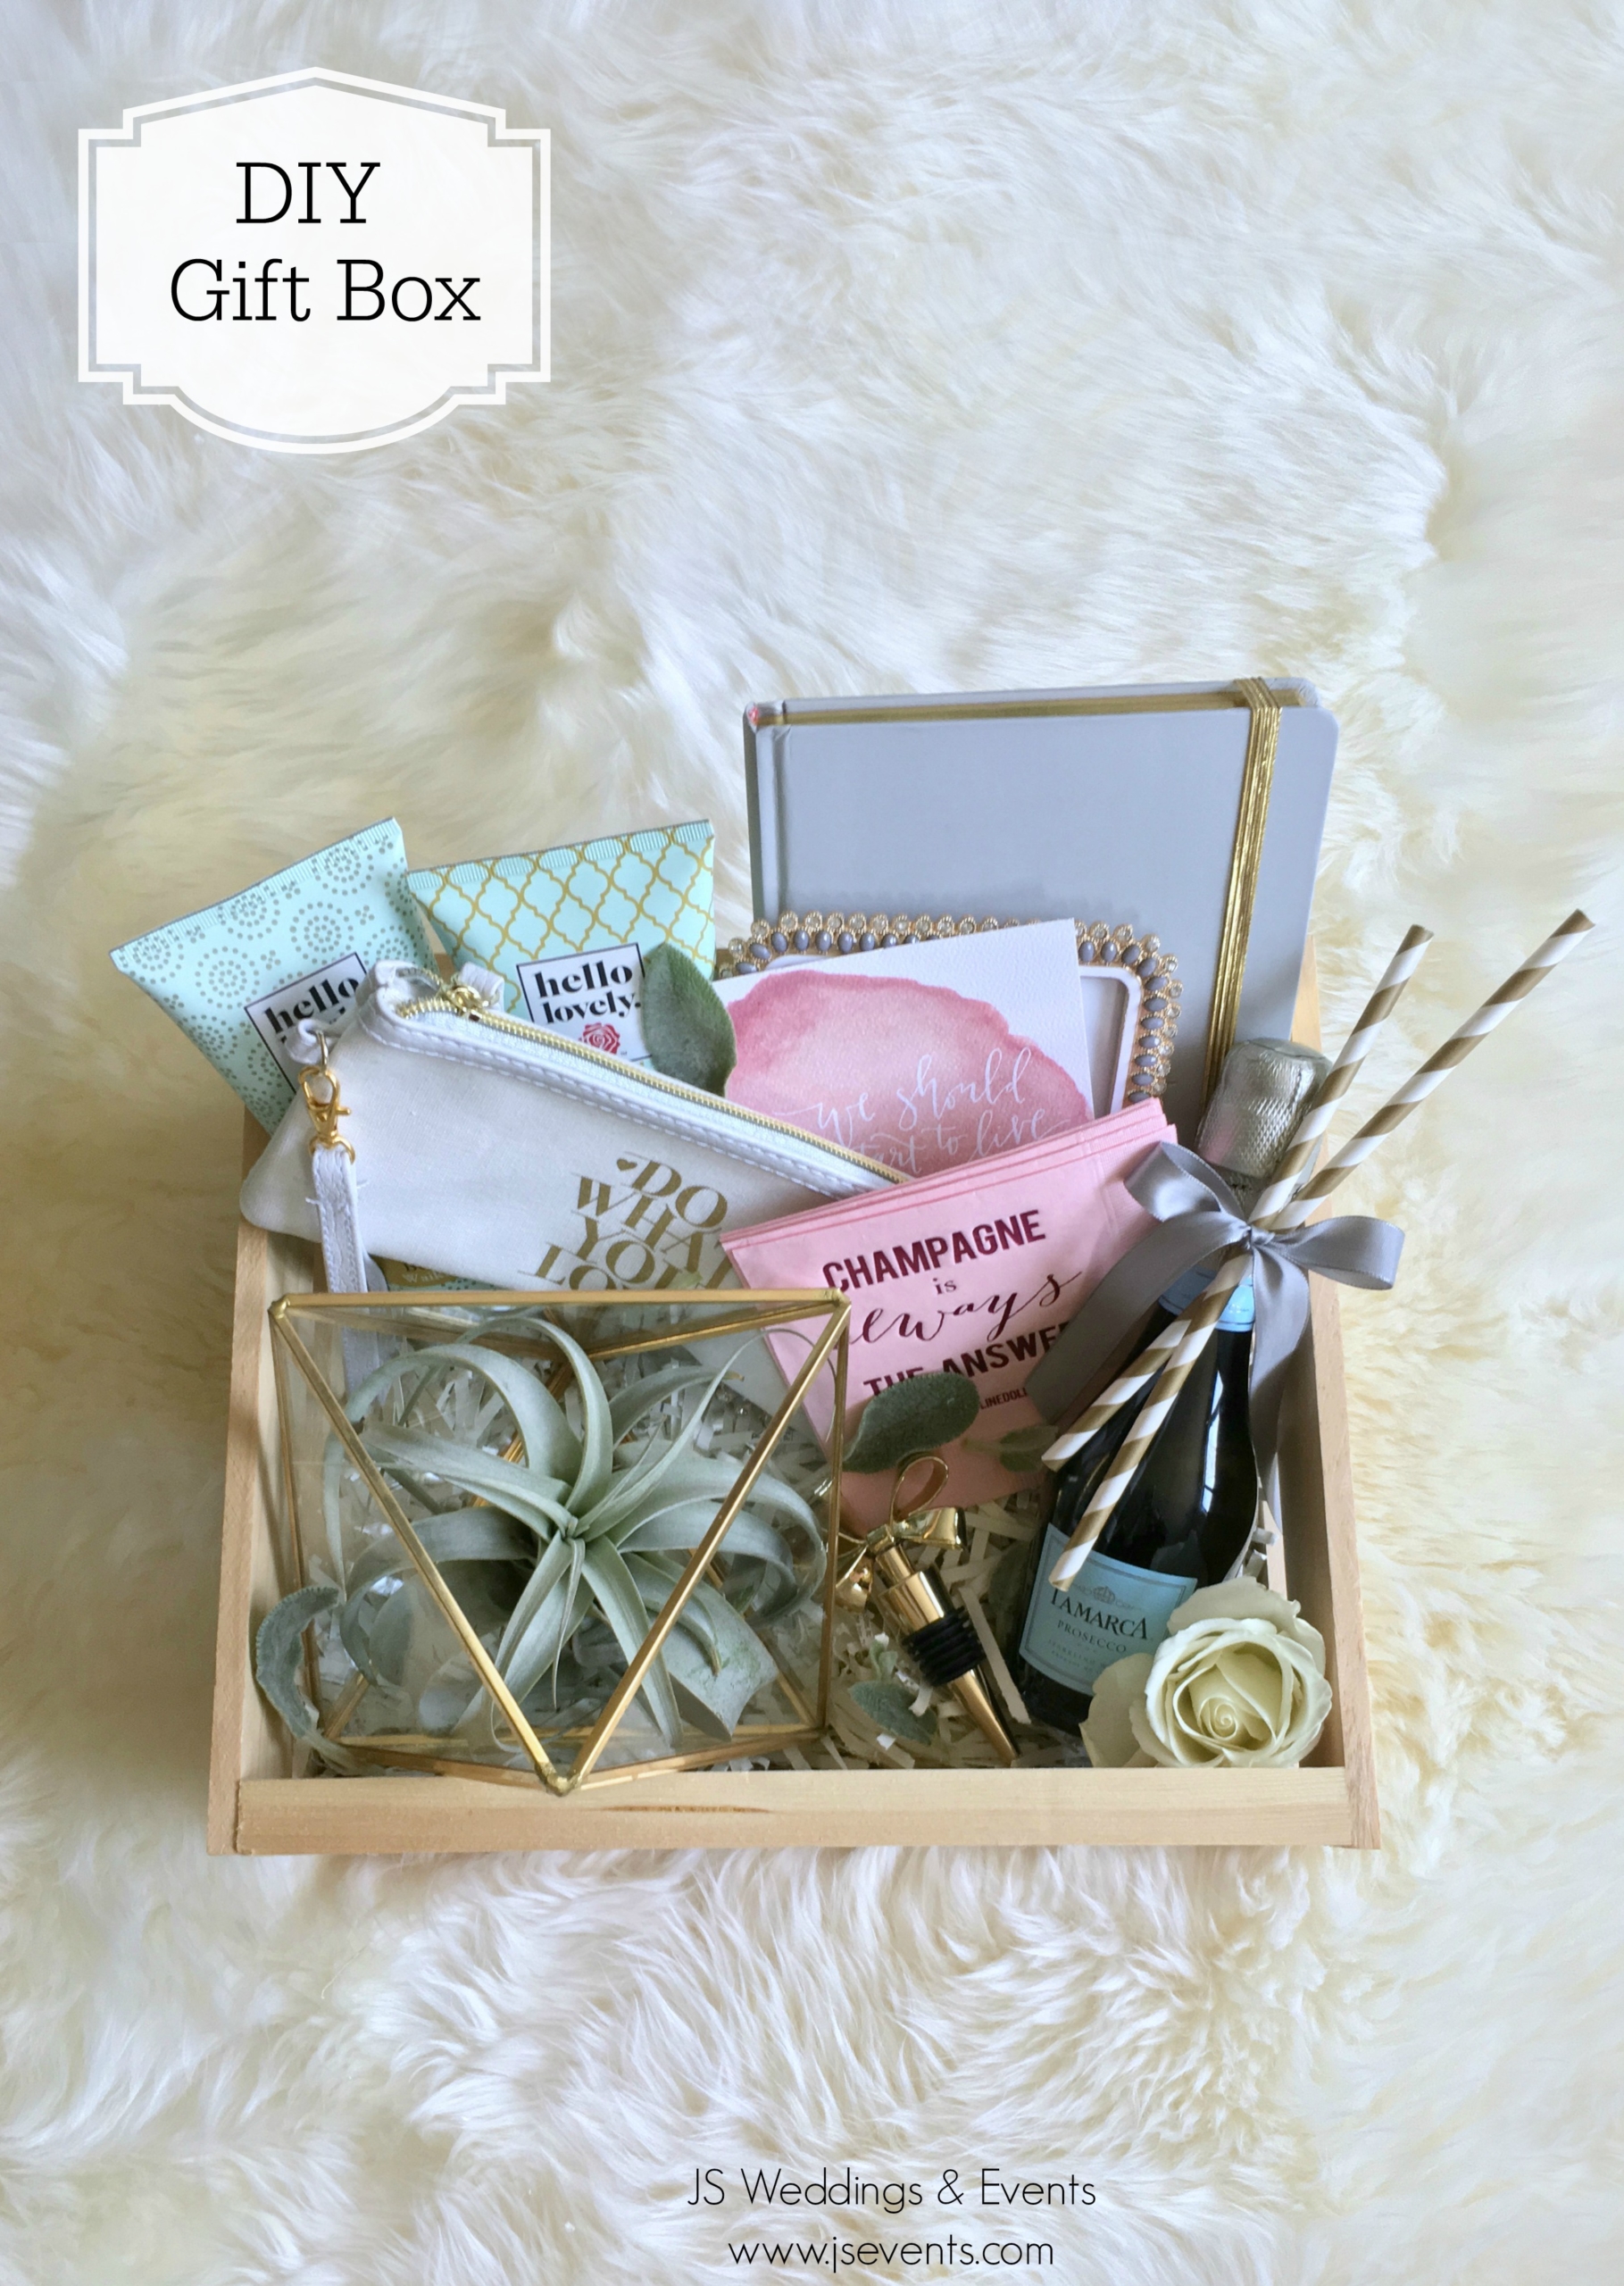
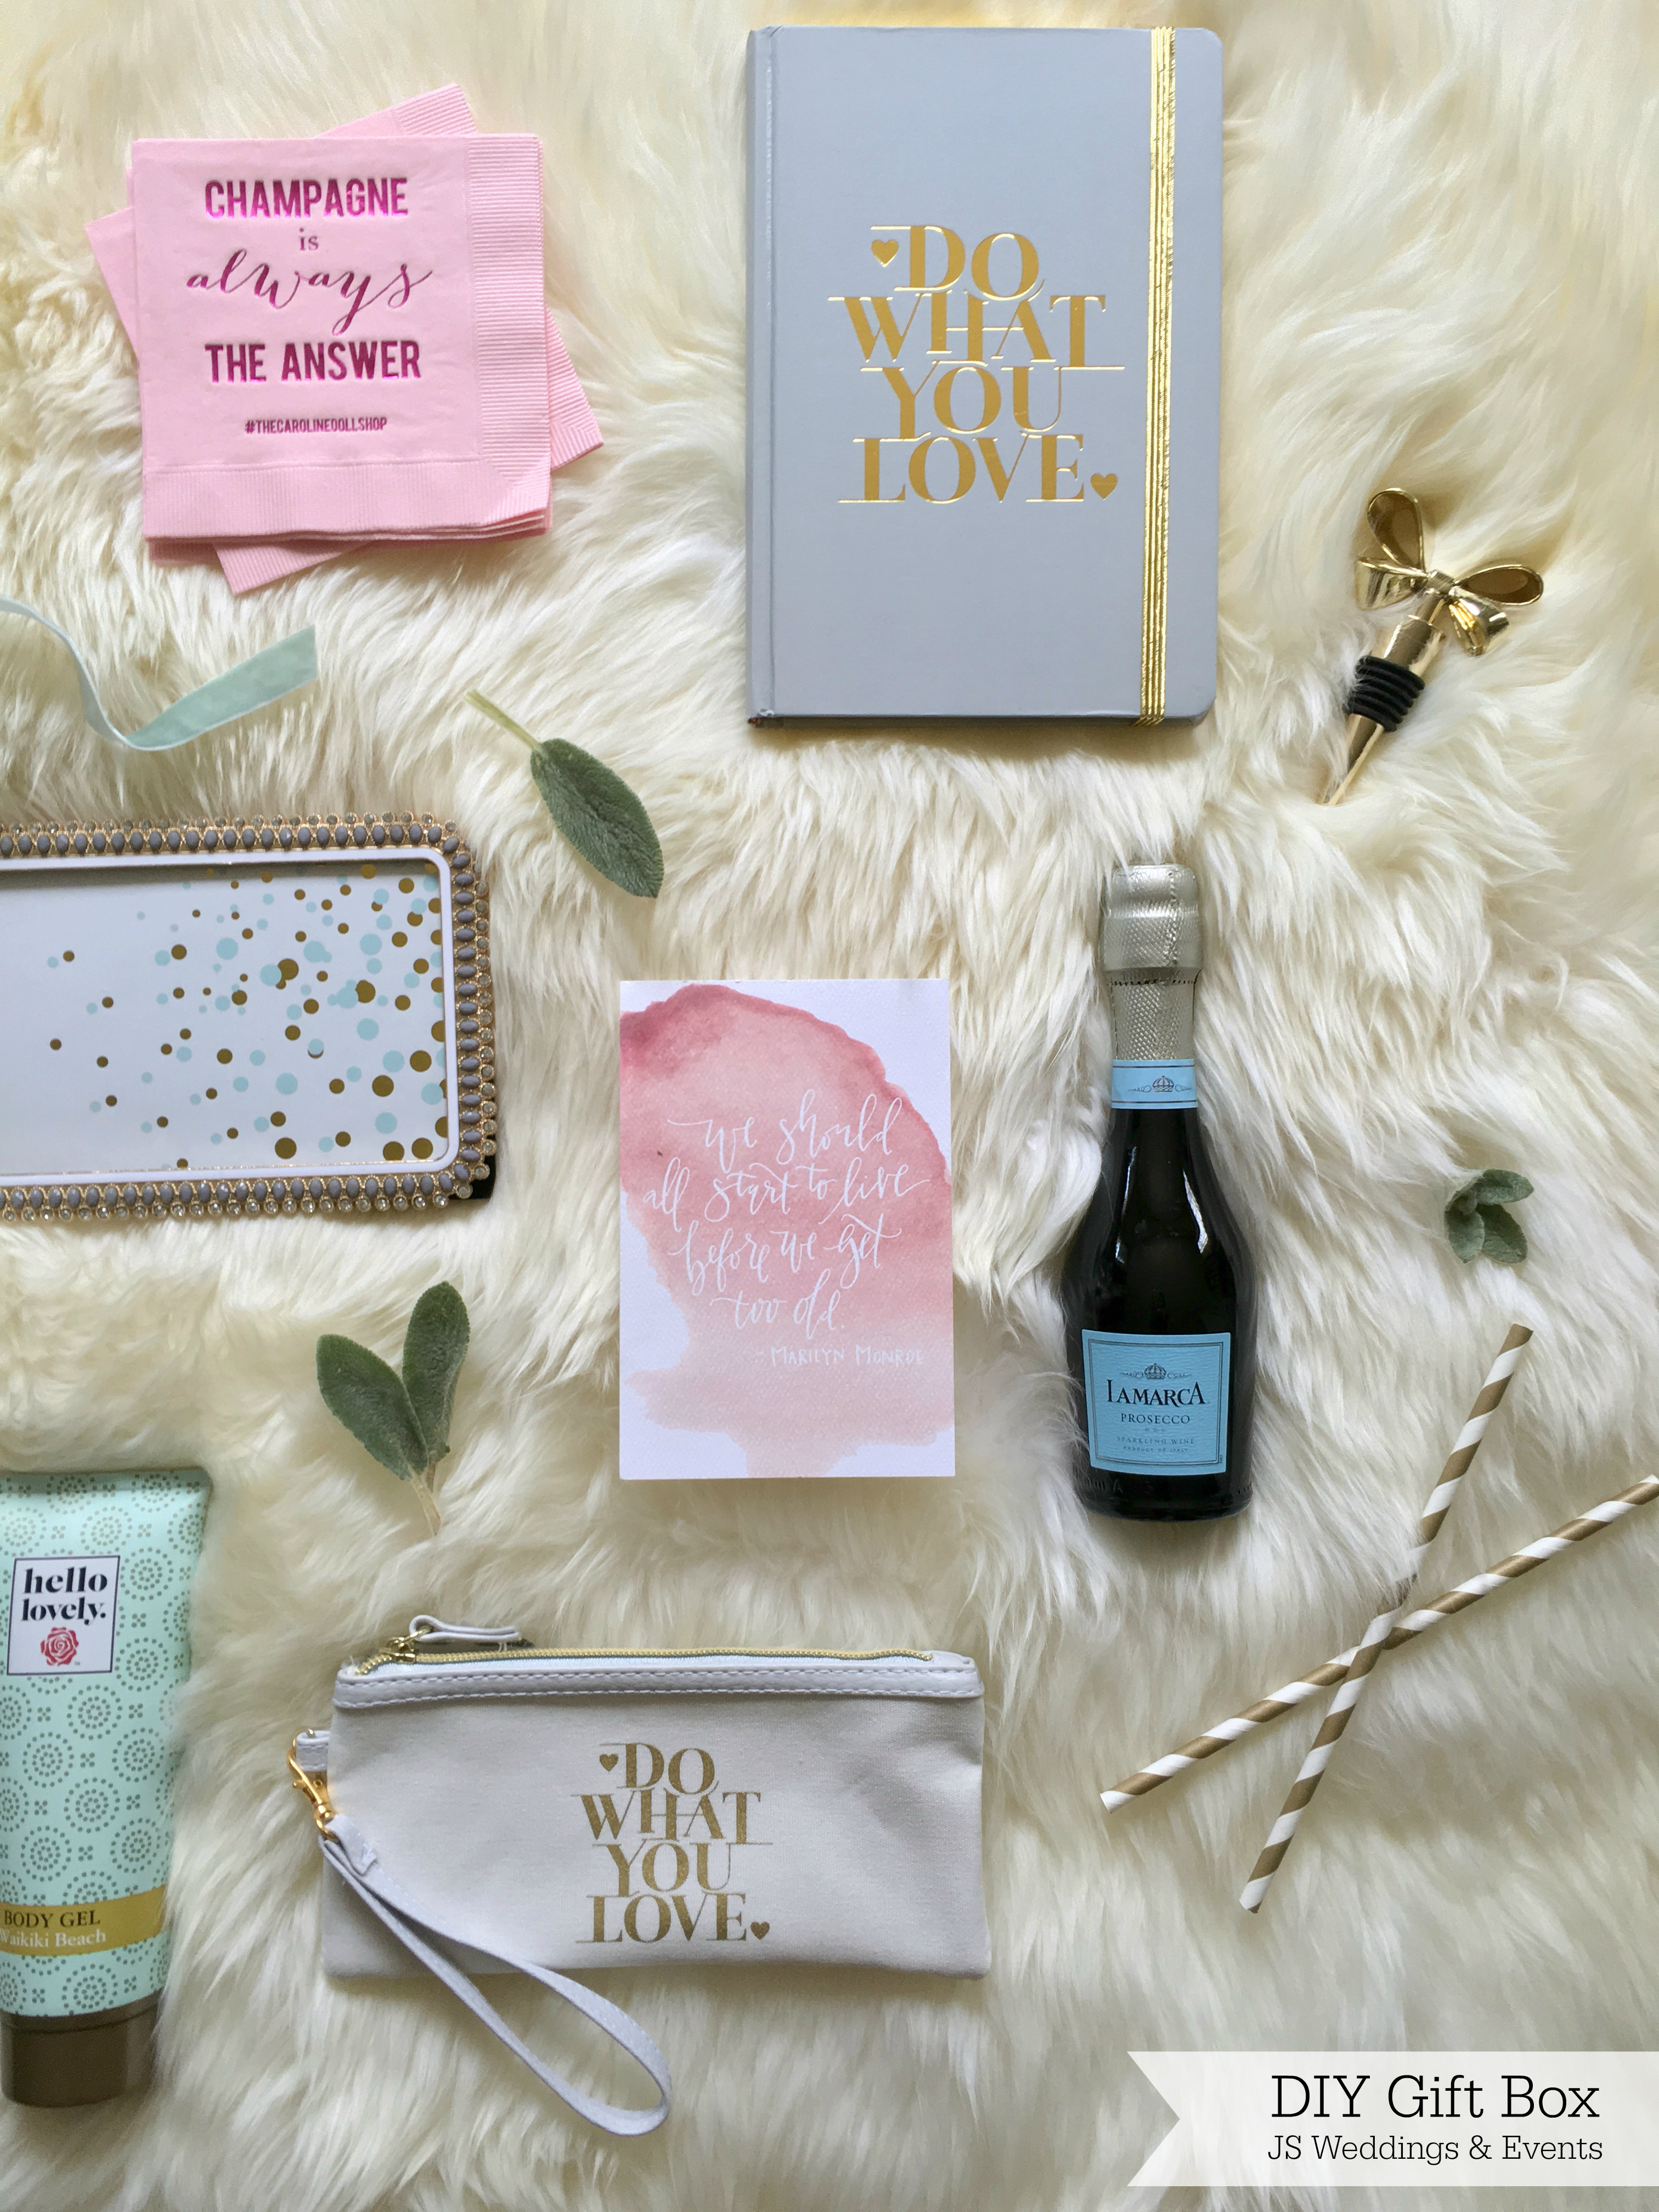
Over the past year, gift boxes have become more and more luxurious and stylish. Gone are the straw baskets with the generic and mass produced items and in their place are locally curated, thoughtfully designed, and entirely customizable gift boxes. For those of you needing a little inspiration on designing a gift box, I’ve designed one for you to use as a guide for your own creation.
What you’ll need:
• Gift Box
• Variety of Items
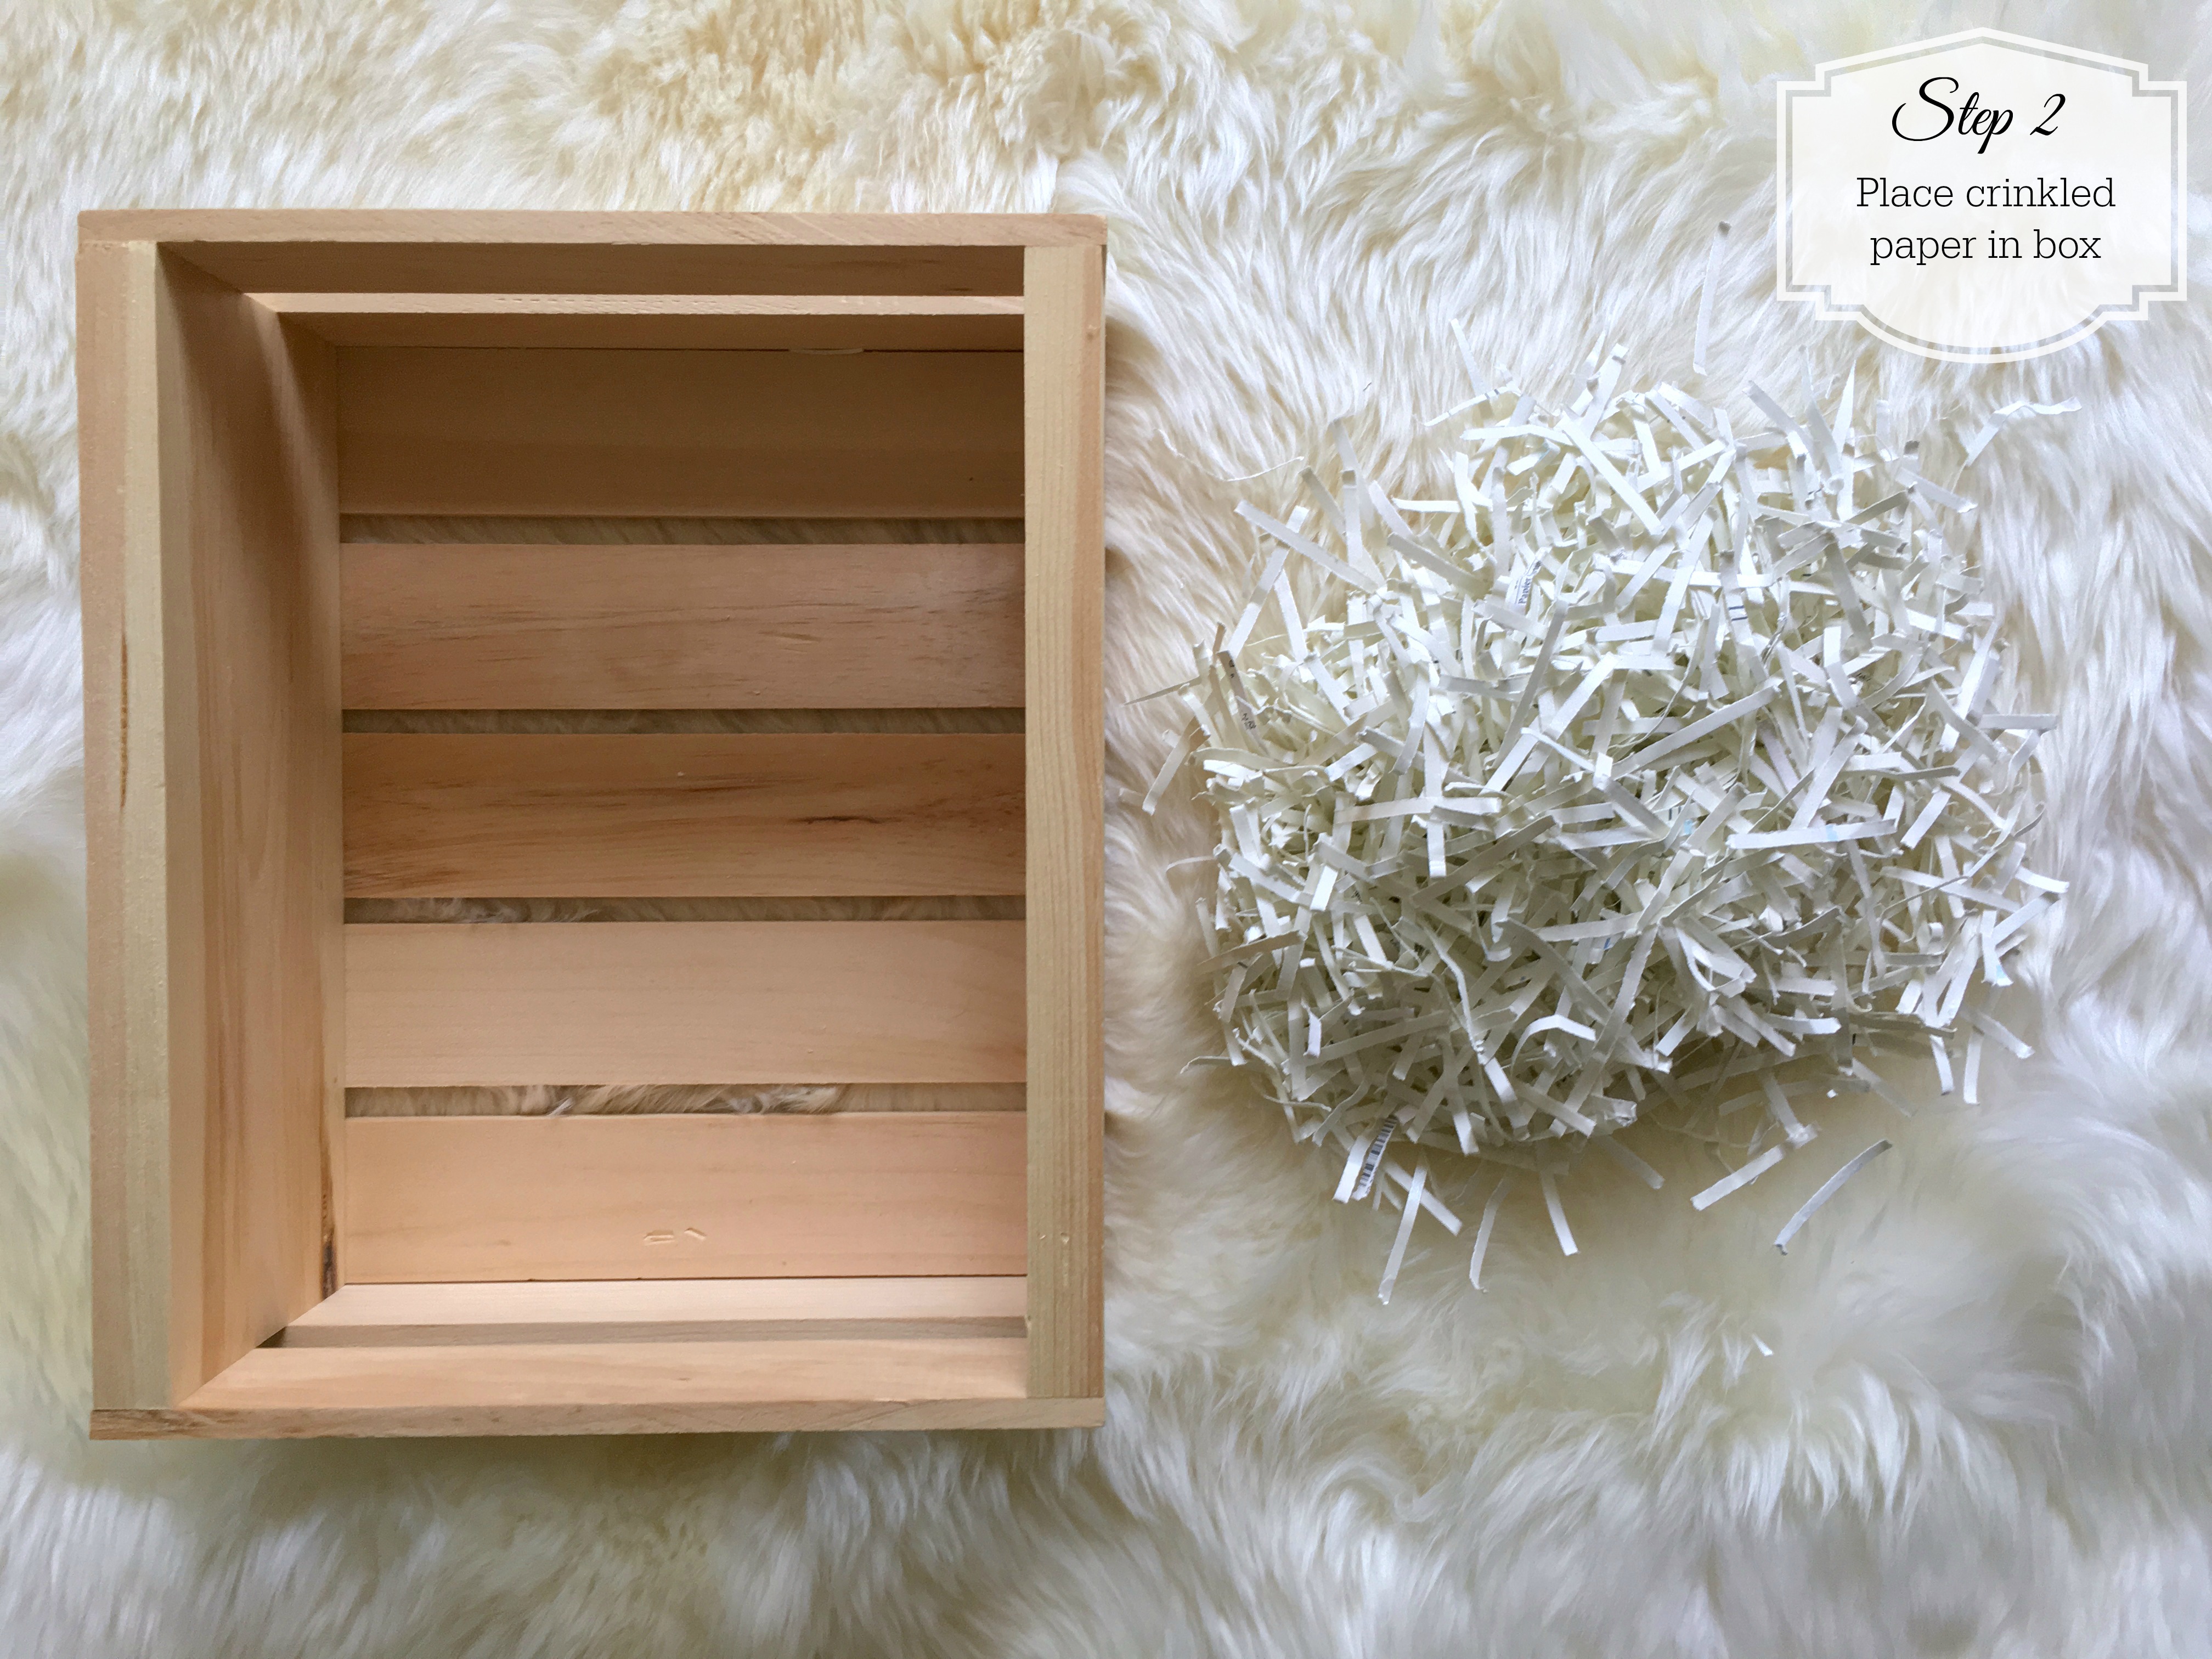
• Crinkled Paper
What I used:
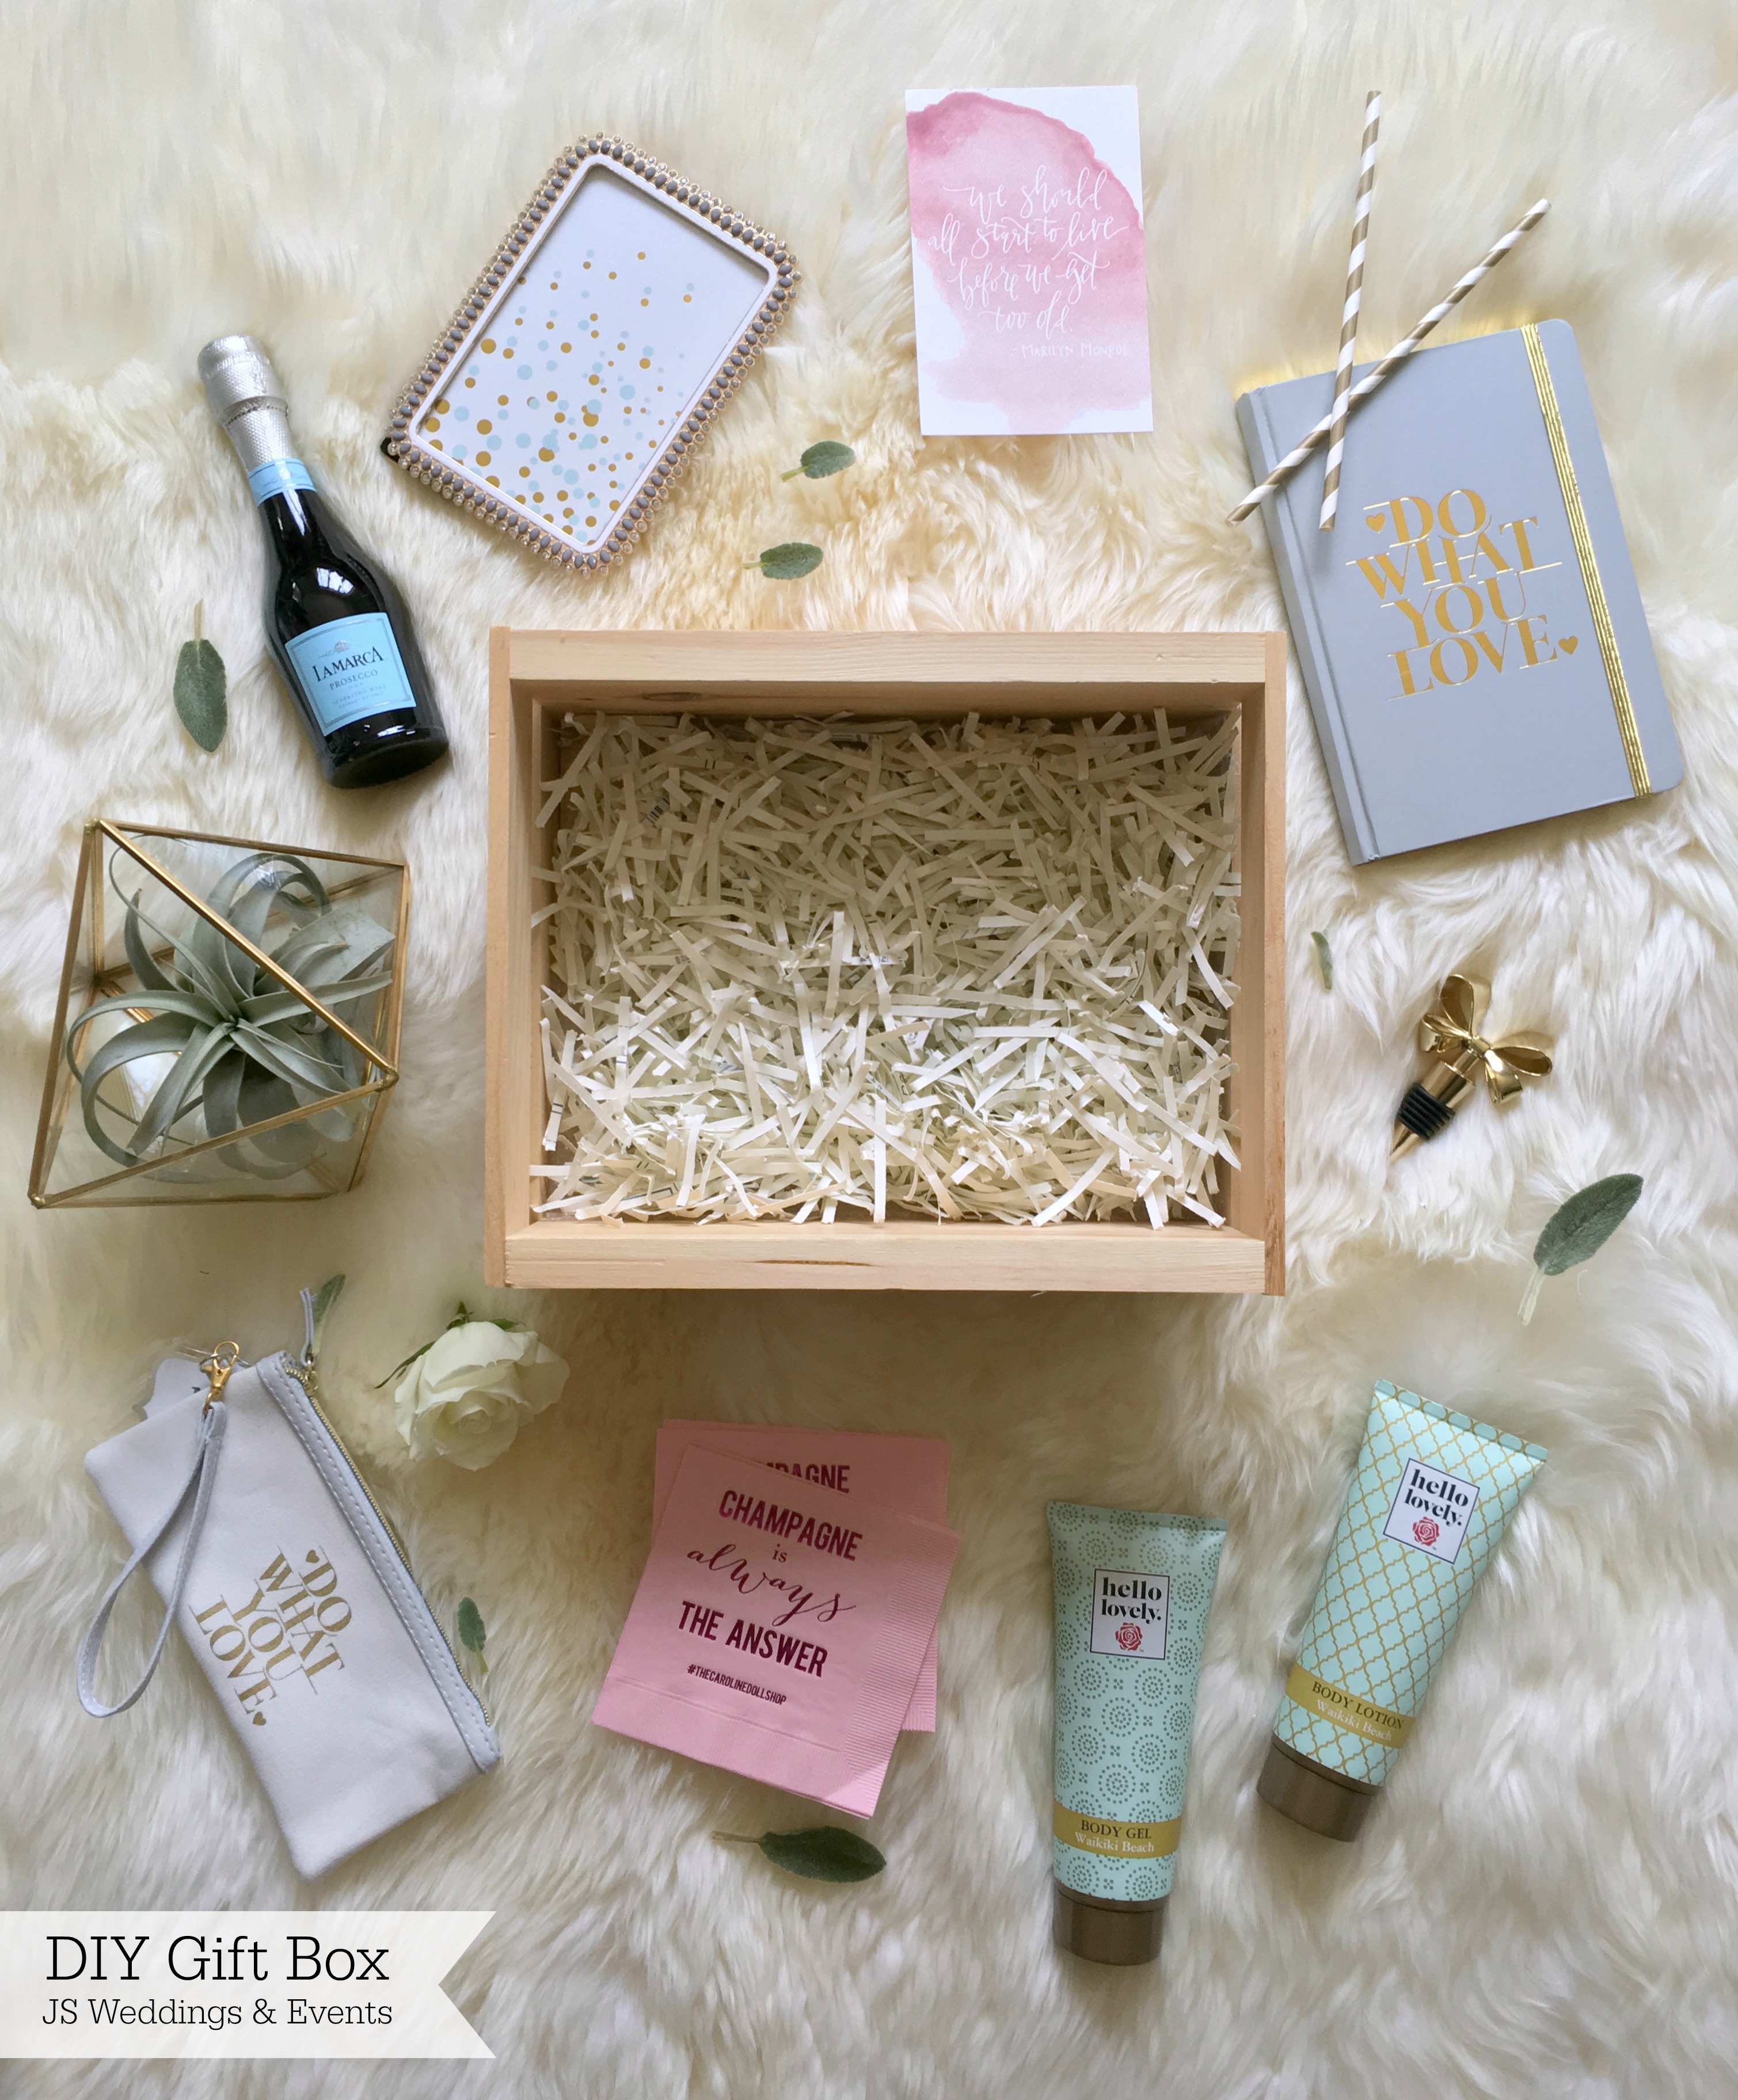
• Wooden crate
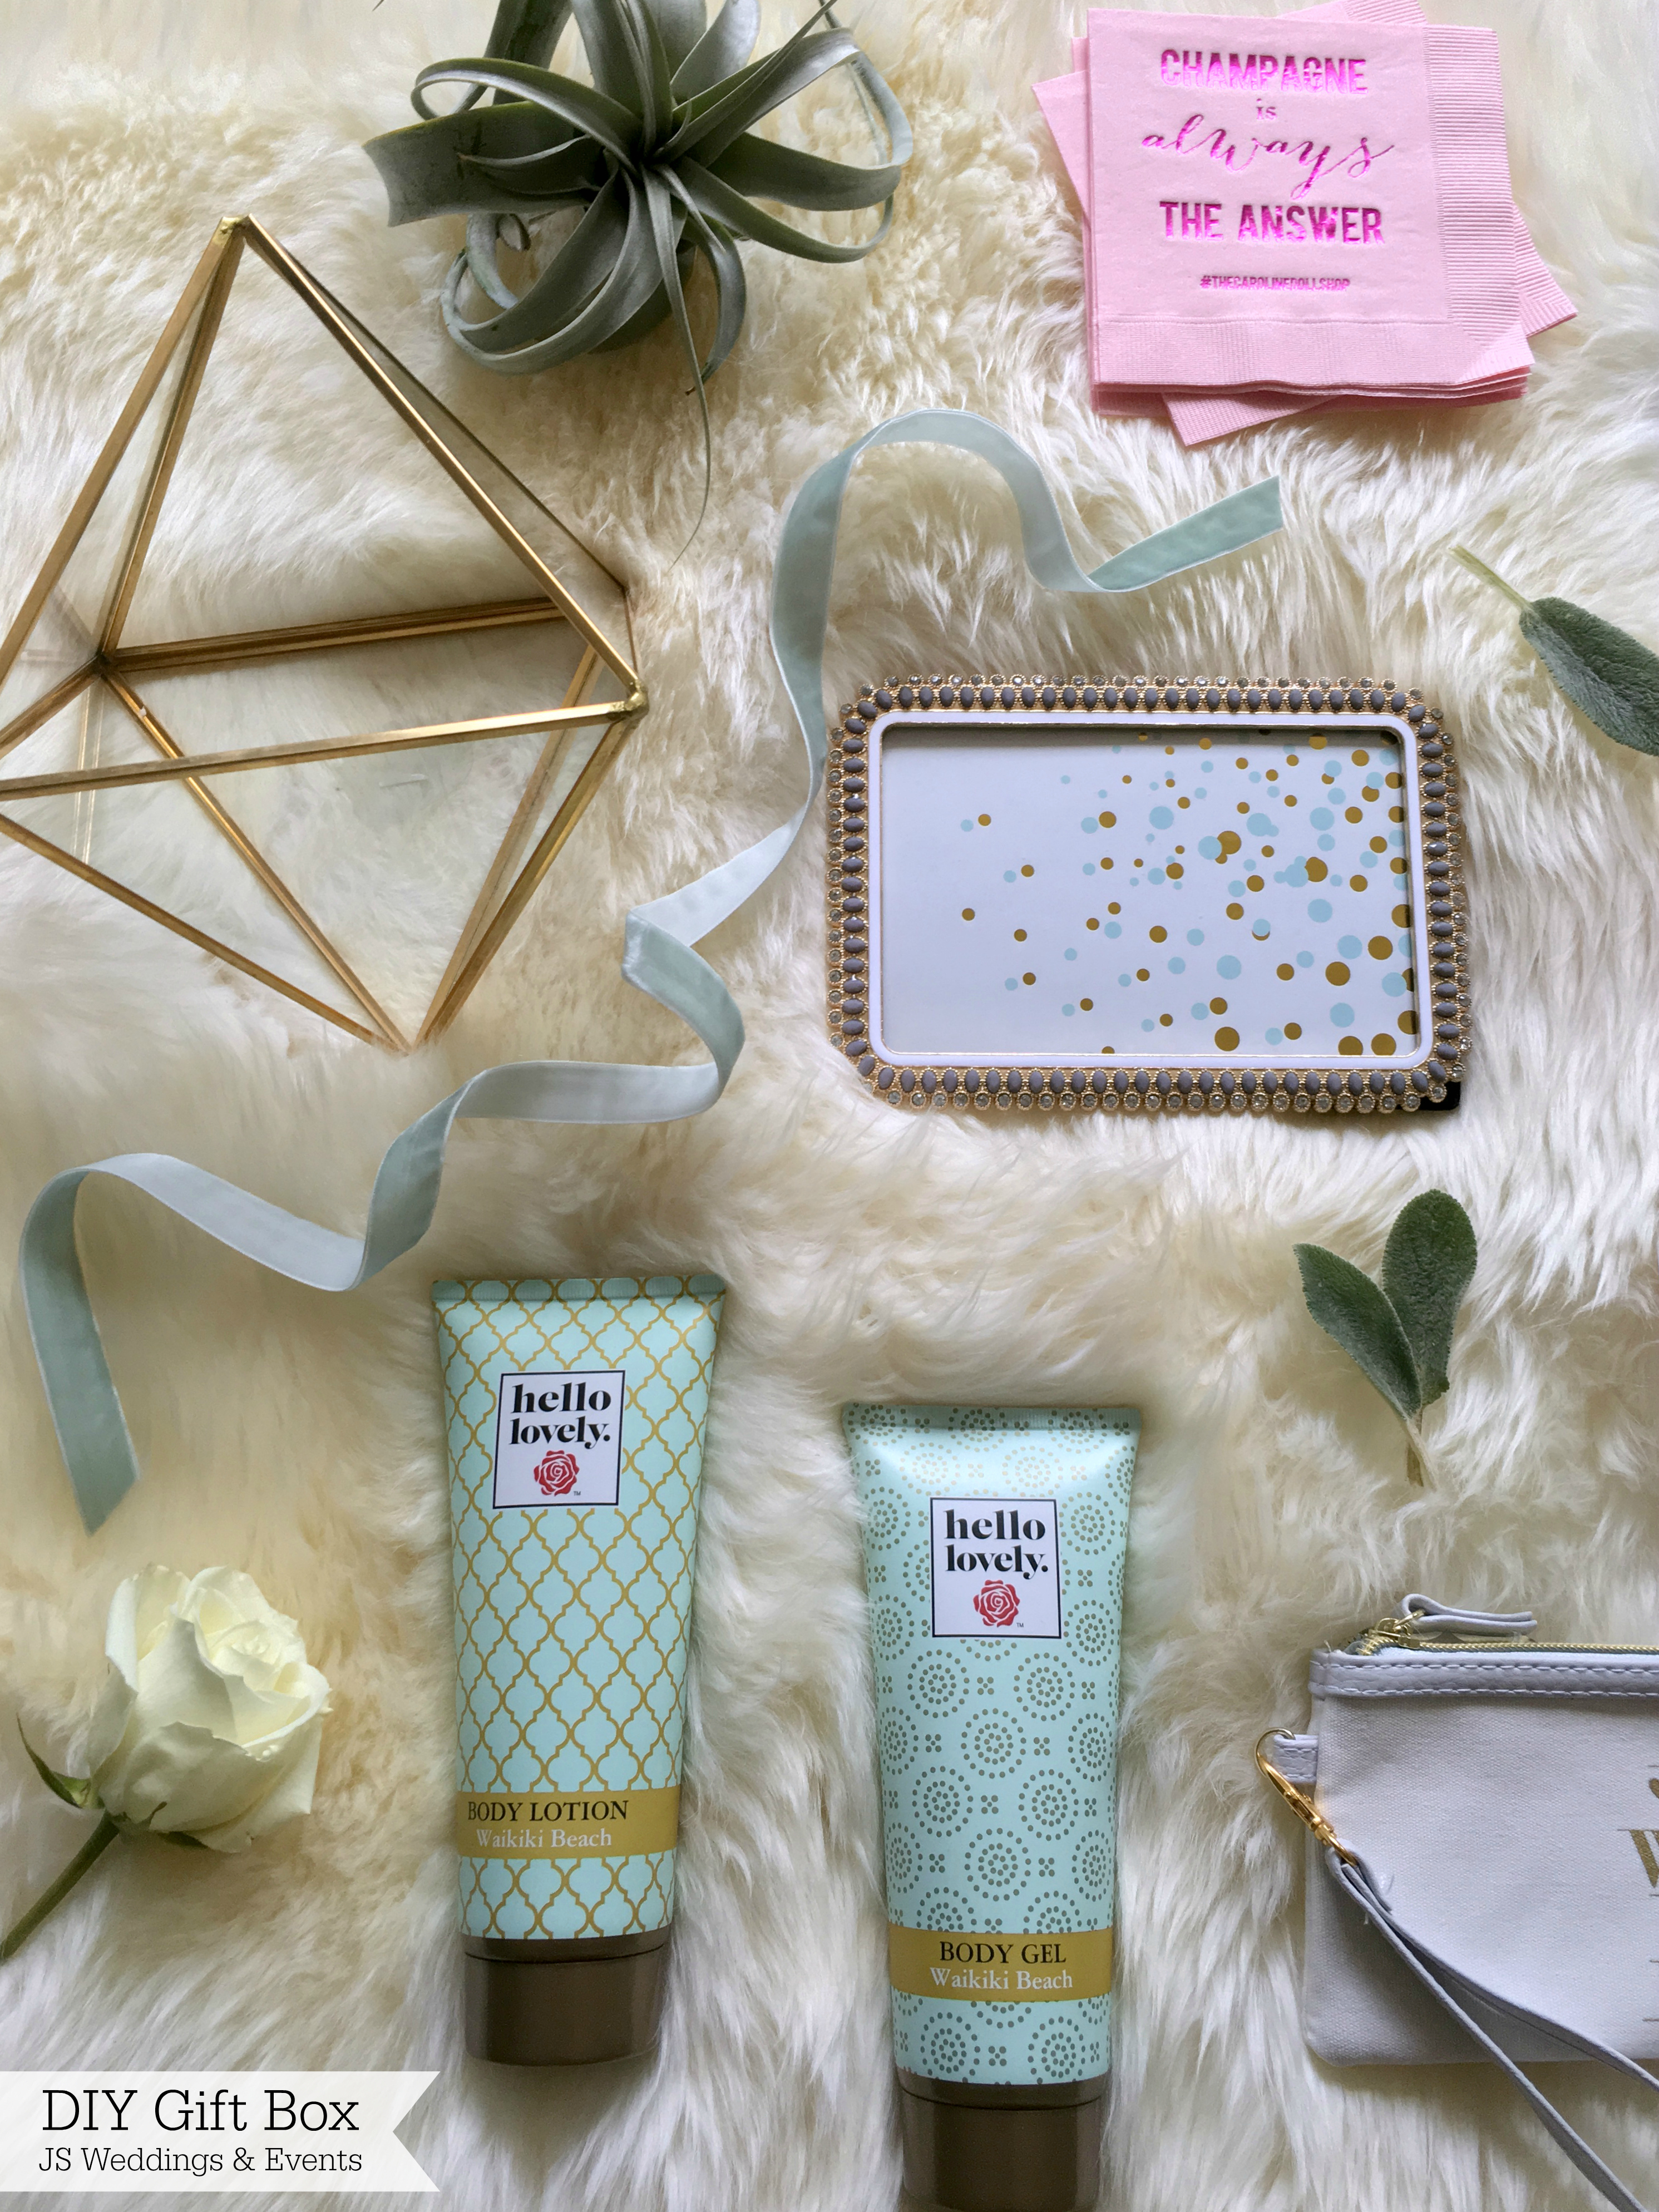
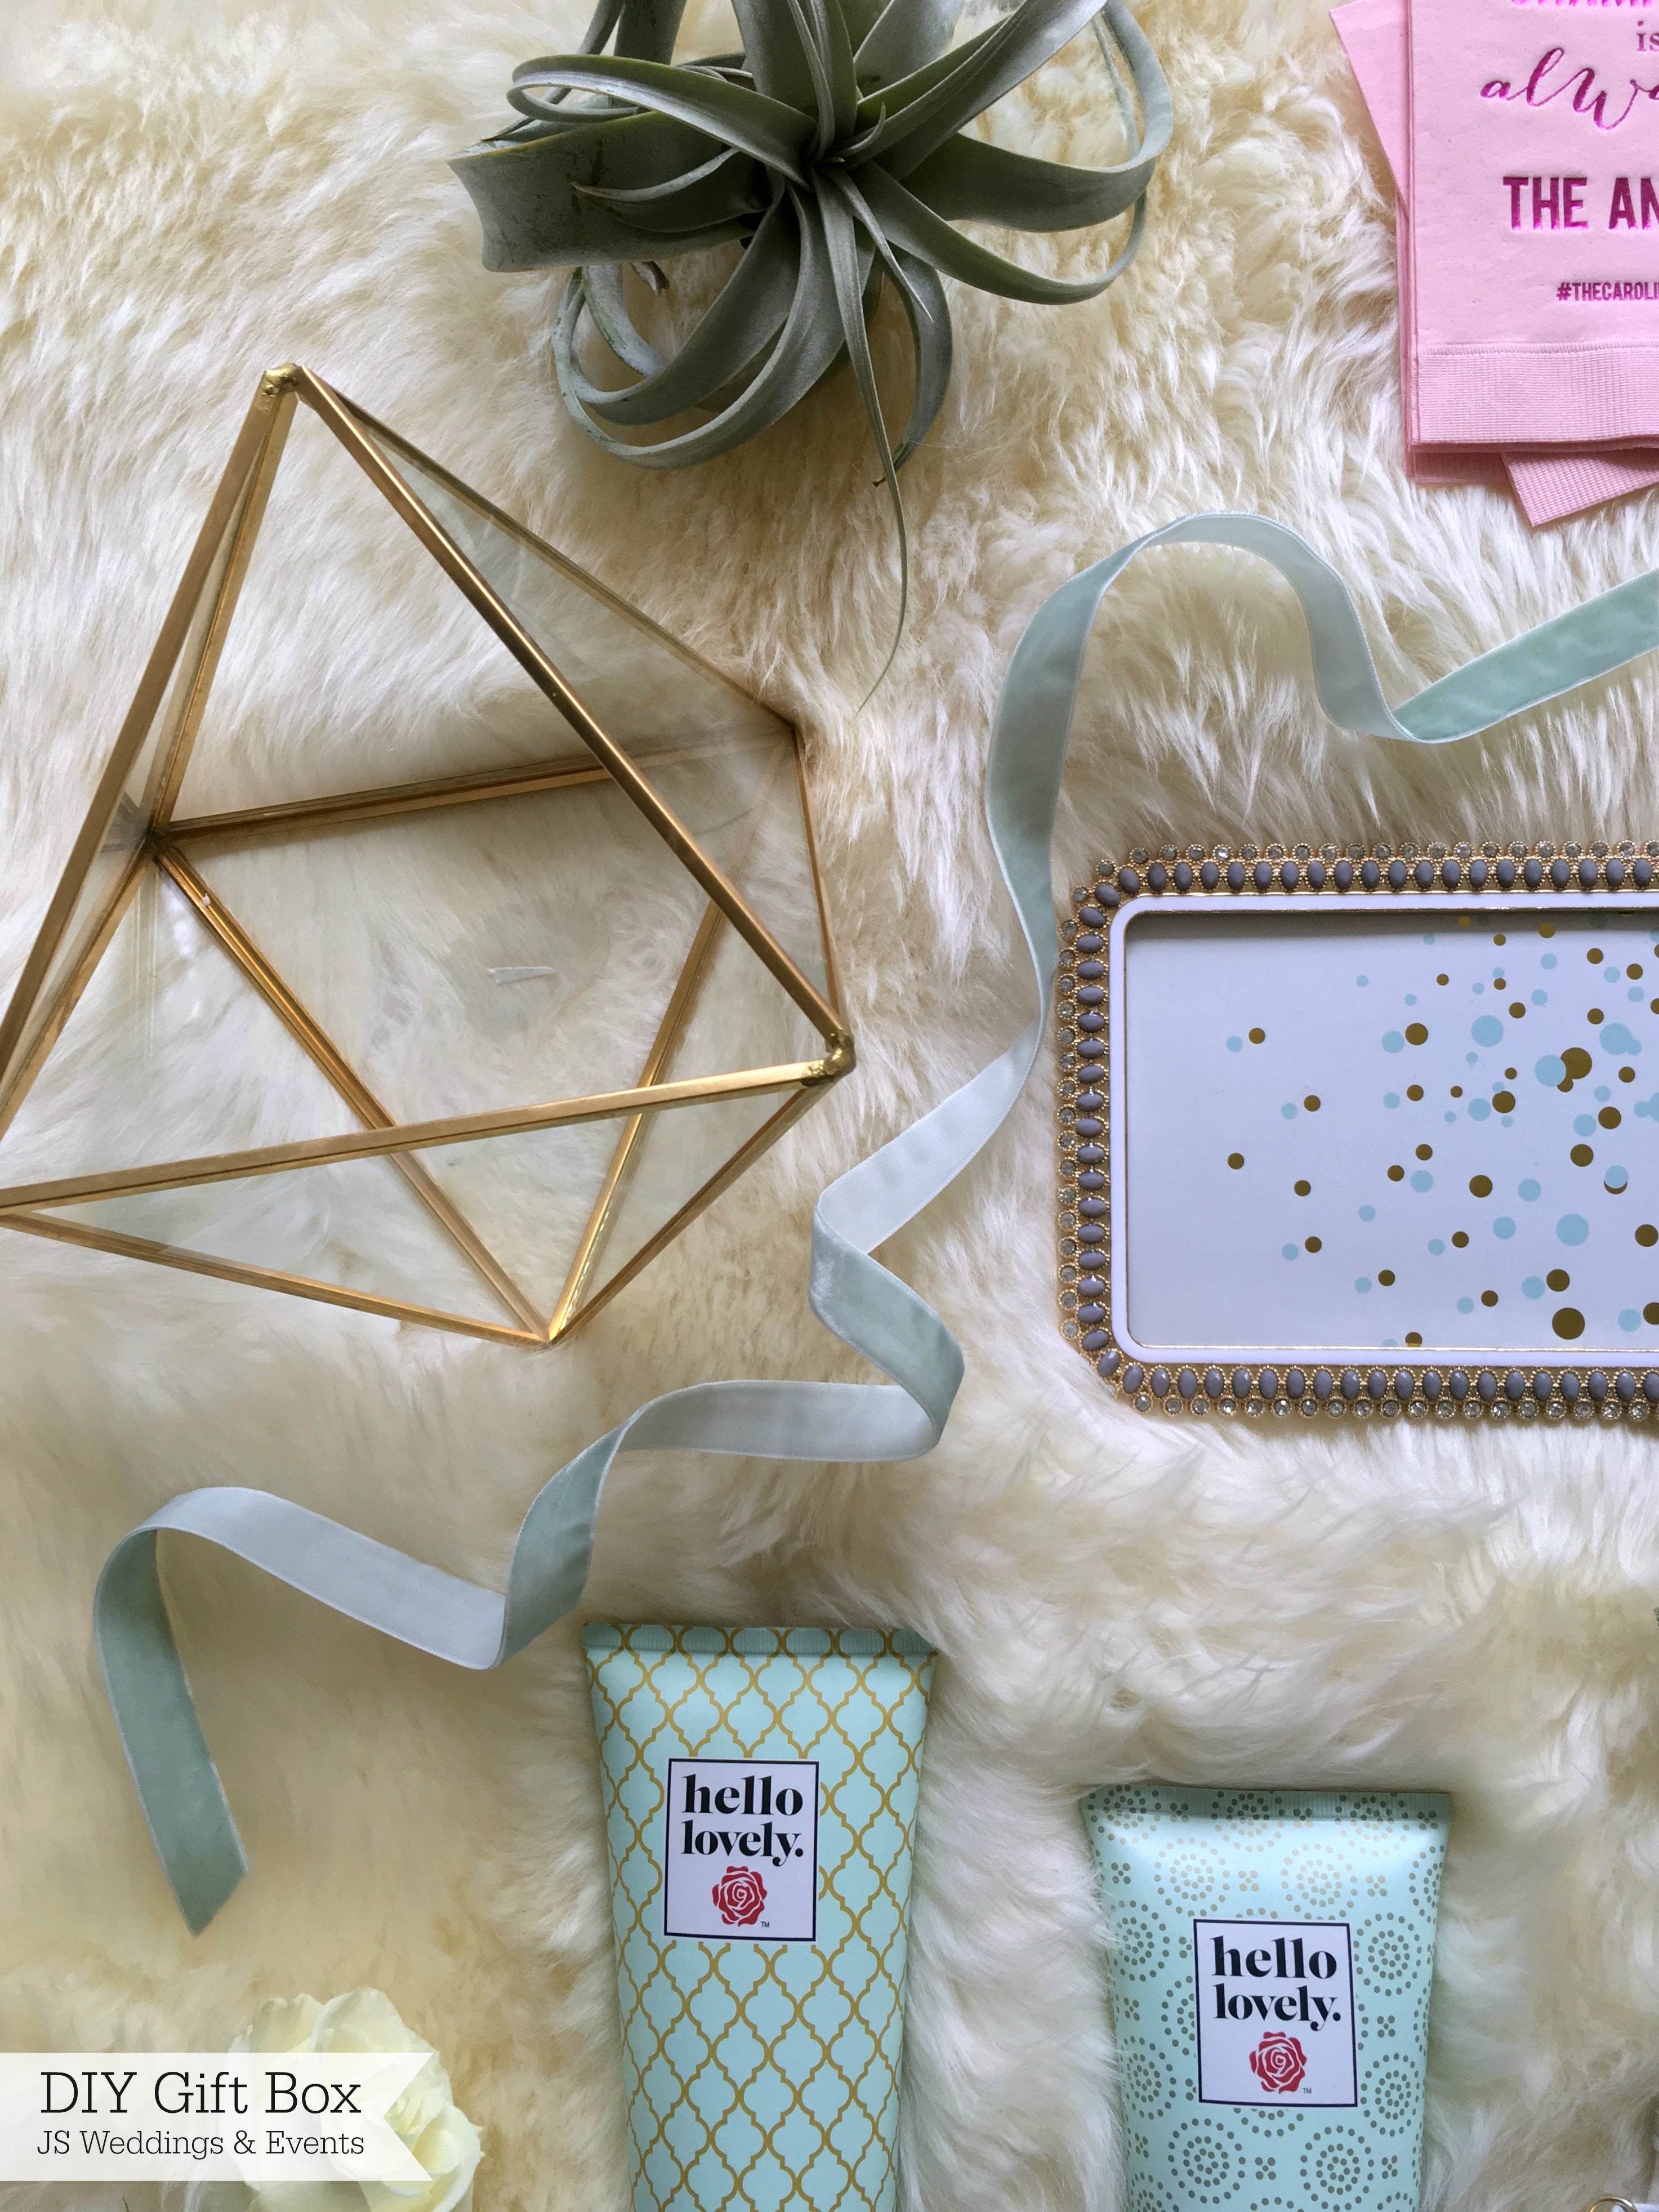
• Terrarium + Air Plant
• Picture Frame (similar here and here)
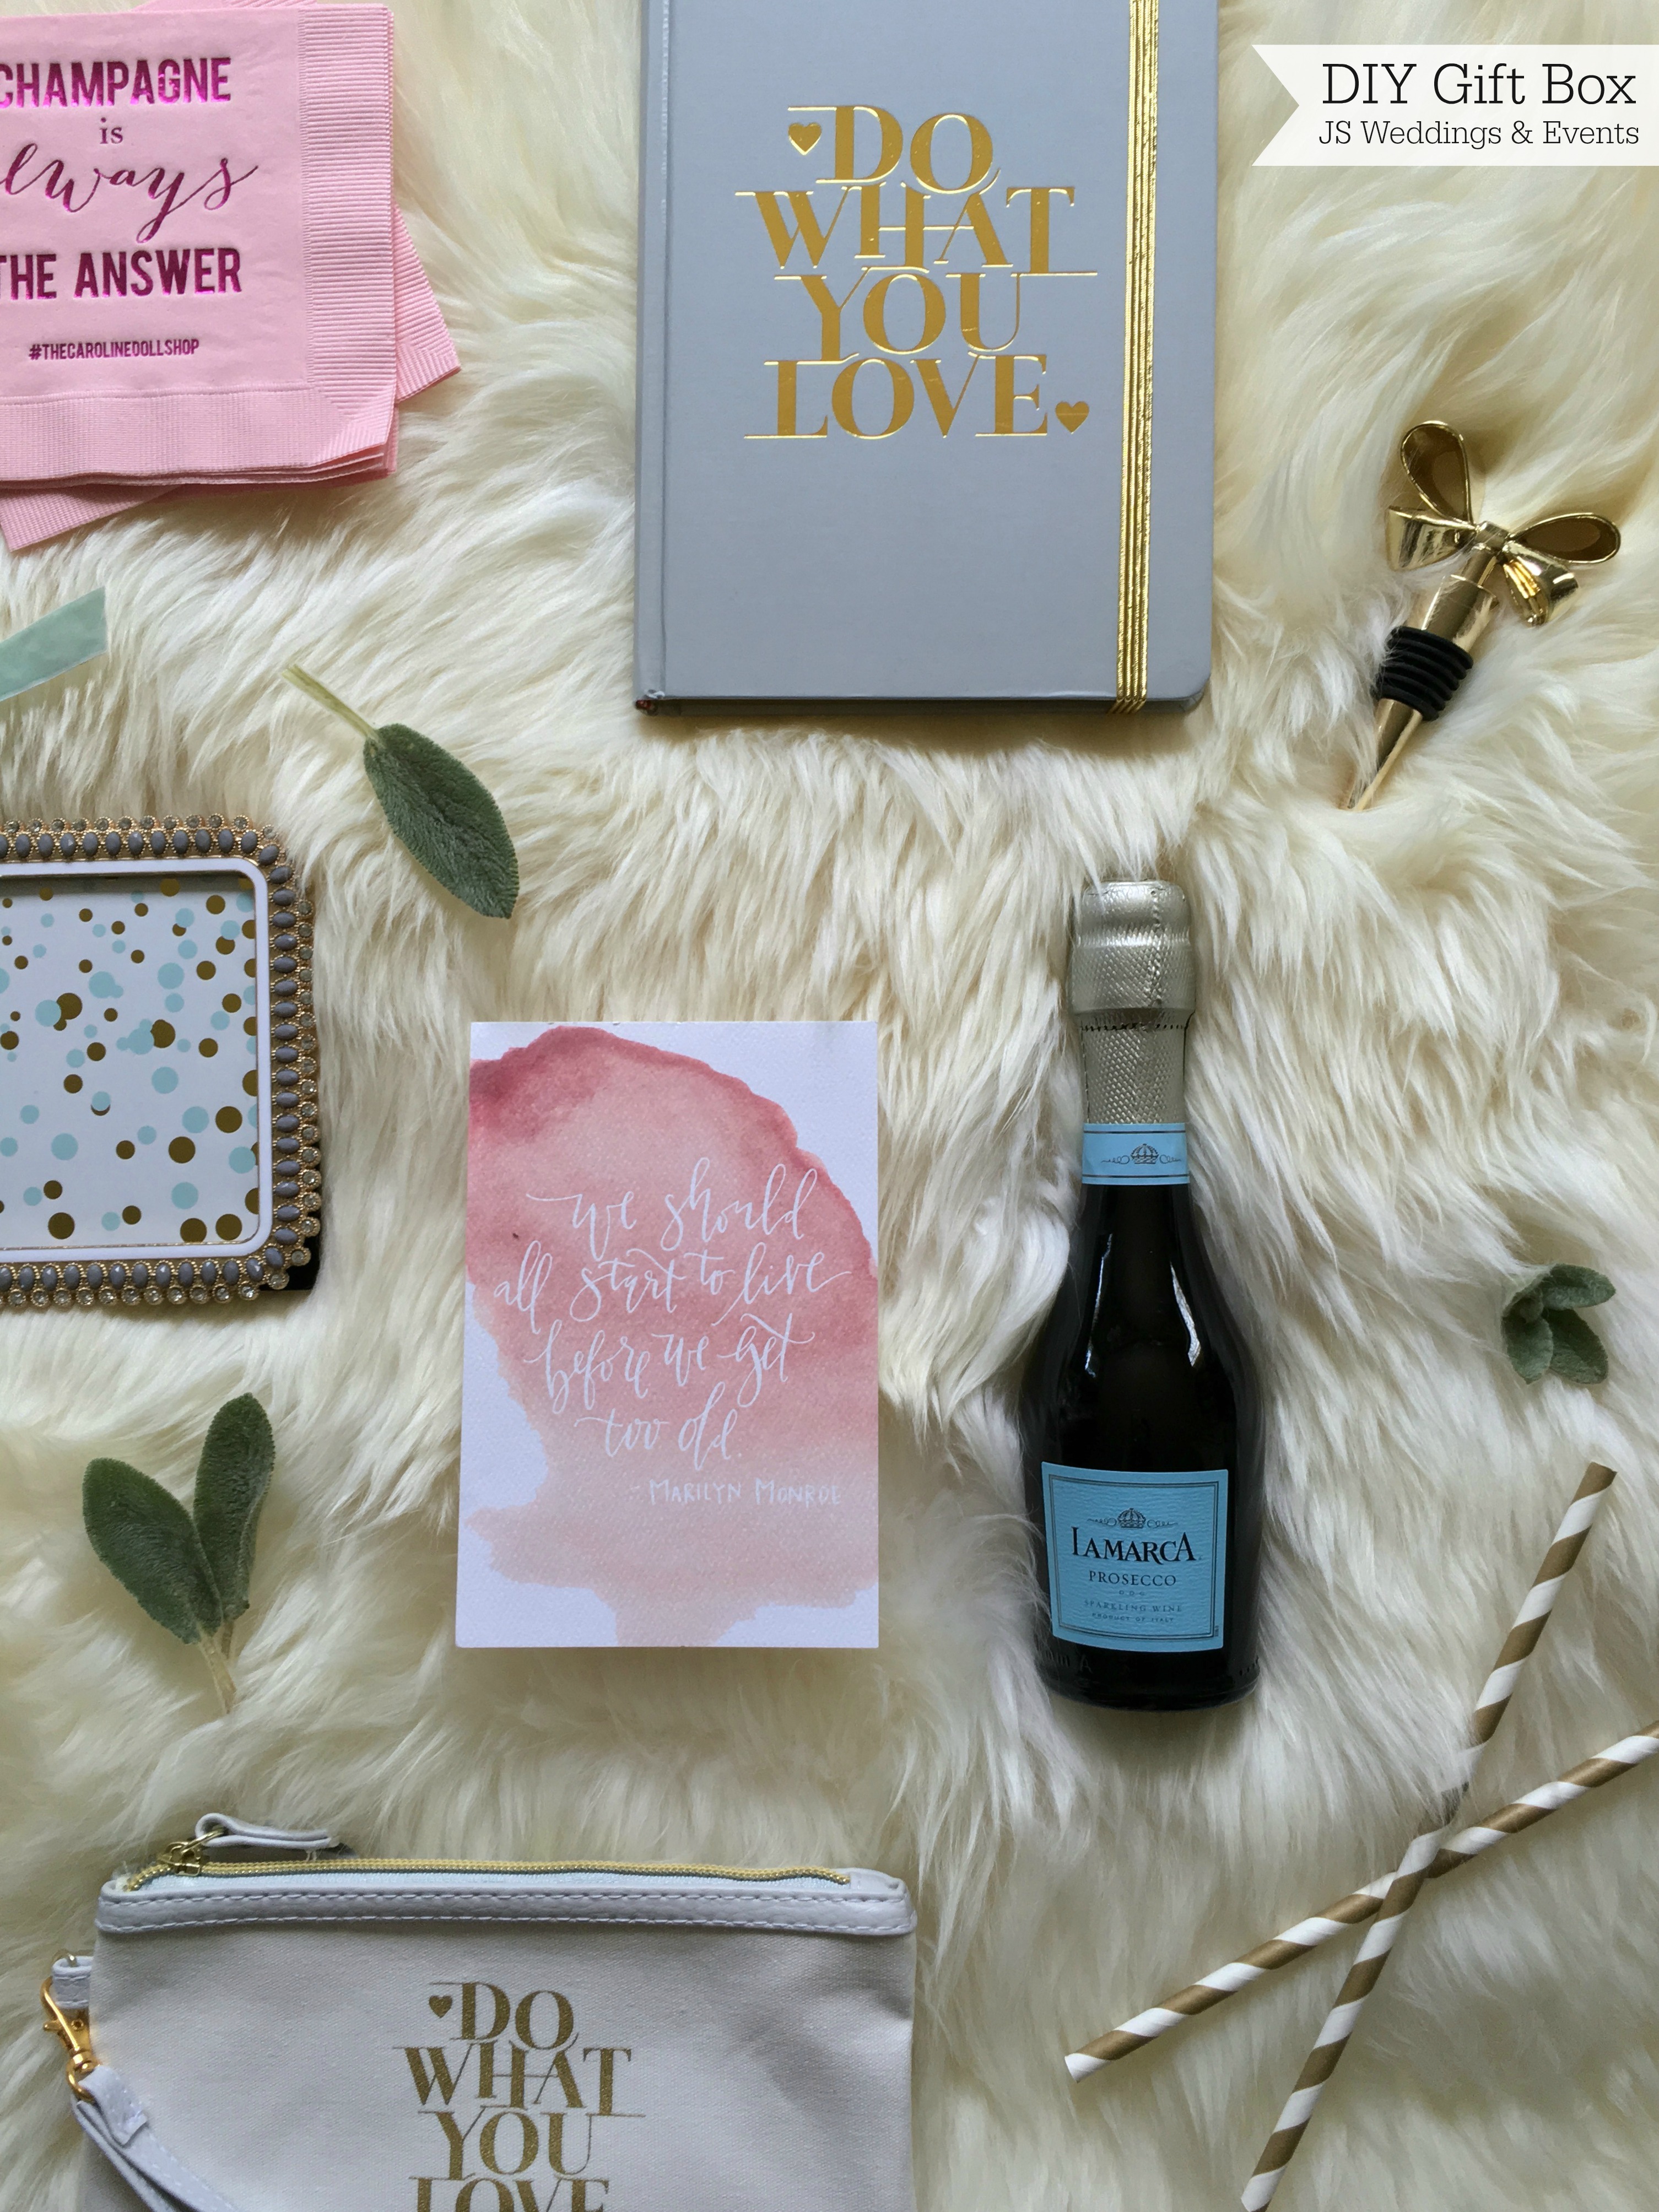
• Journal (similar here)
• Small Pouch (similar here and here)
• Lotion + Shower Gel (similar here and here)
• Watercolor Print (similar here and here)
• Napkins
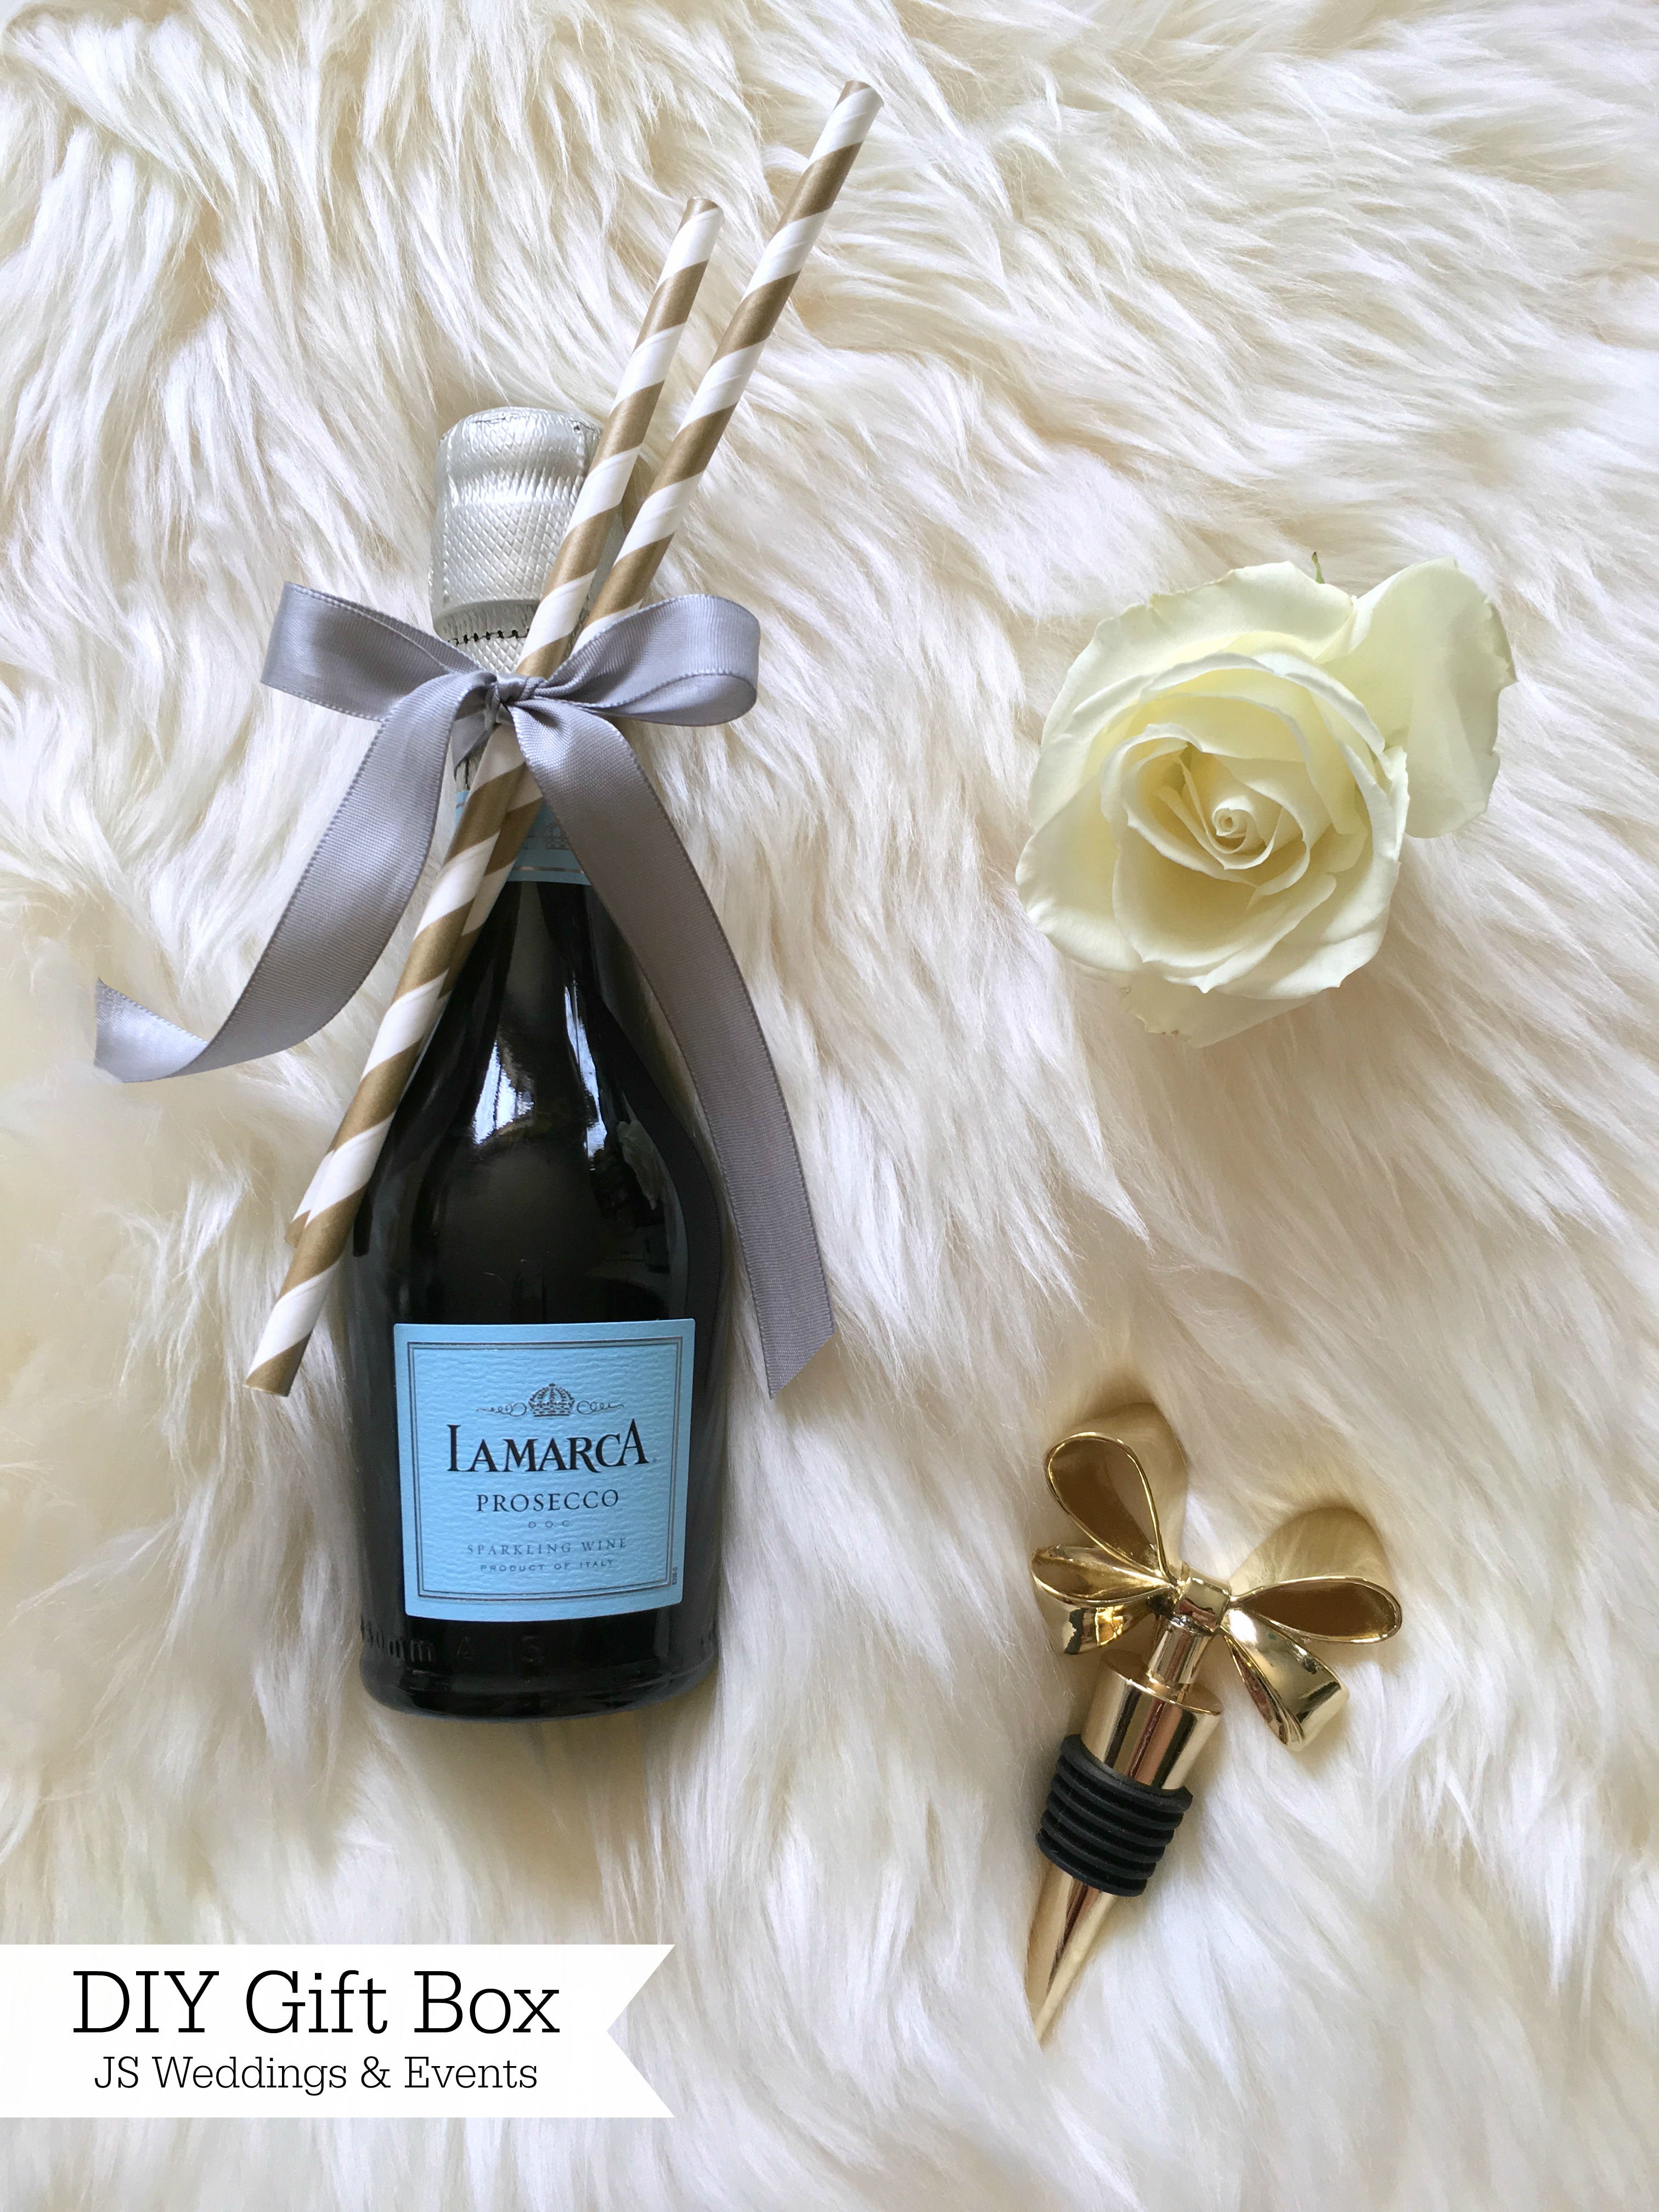
• Wine Stopper (similar here)
• Sparkling Wine
Notes:
Gift boxes are wonderful to make because you can customize each one to the individual that will be receiving it. I find it’s easiest to if you choose a theme for the box that is appropriate for the person receiving the gift. Whether that theme is a color, an occasion (ie: housewarming, wedding, new baby) or interest (ie: coffee, wine), having a theme helps you pick out items and gives your gift a nice cohesive look and feel.
Have fun and think outside the box when it comes to the “box.” Bowls, crates, and many other things can be used as your “box.”
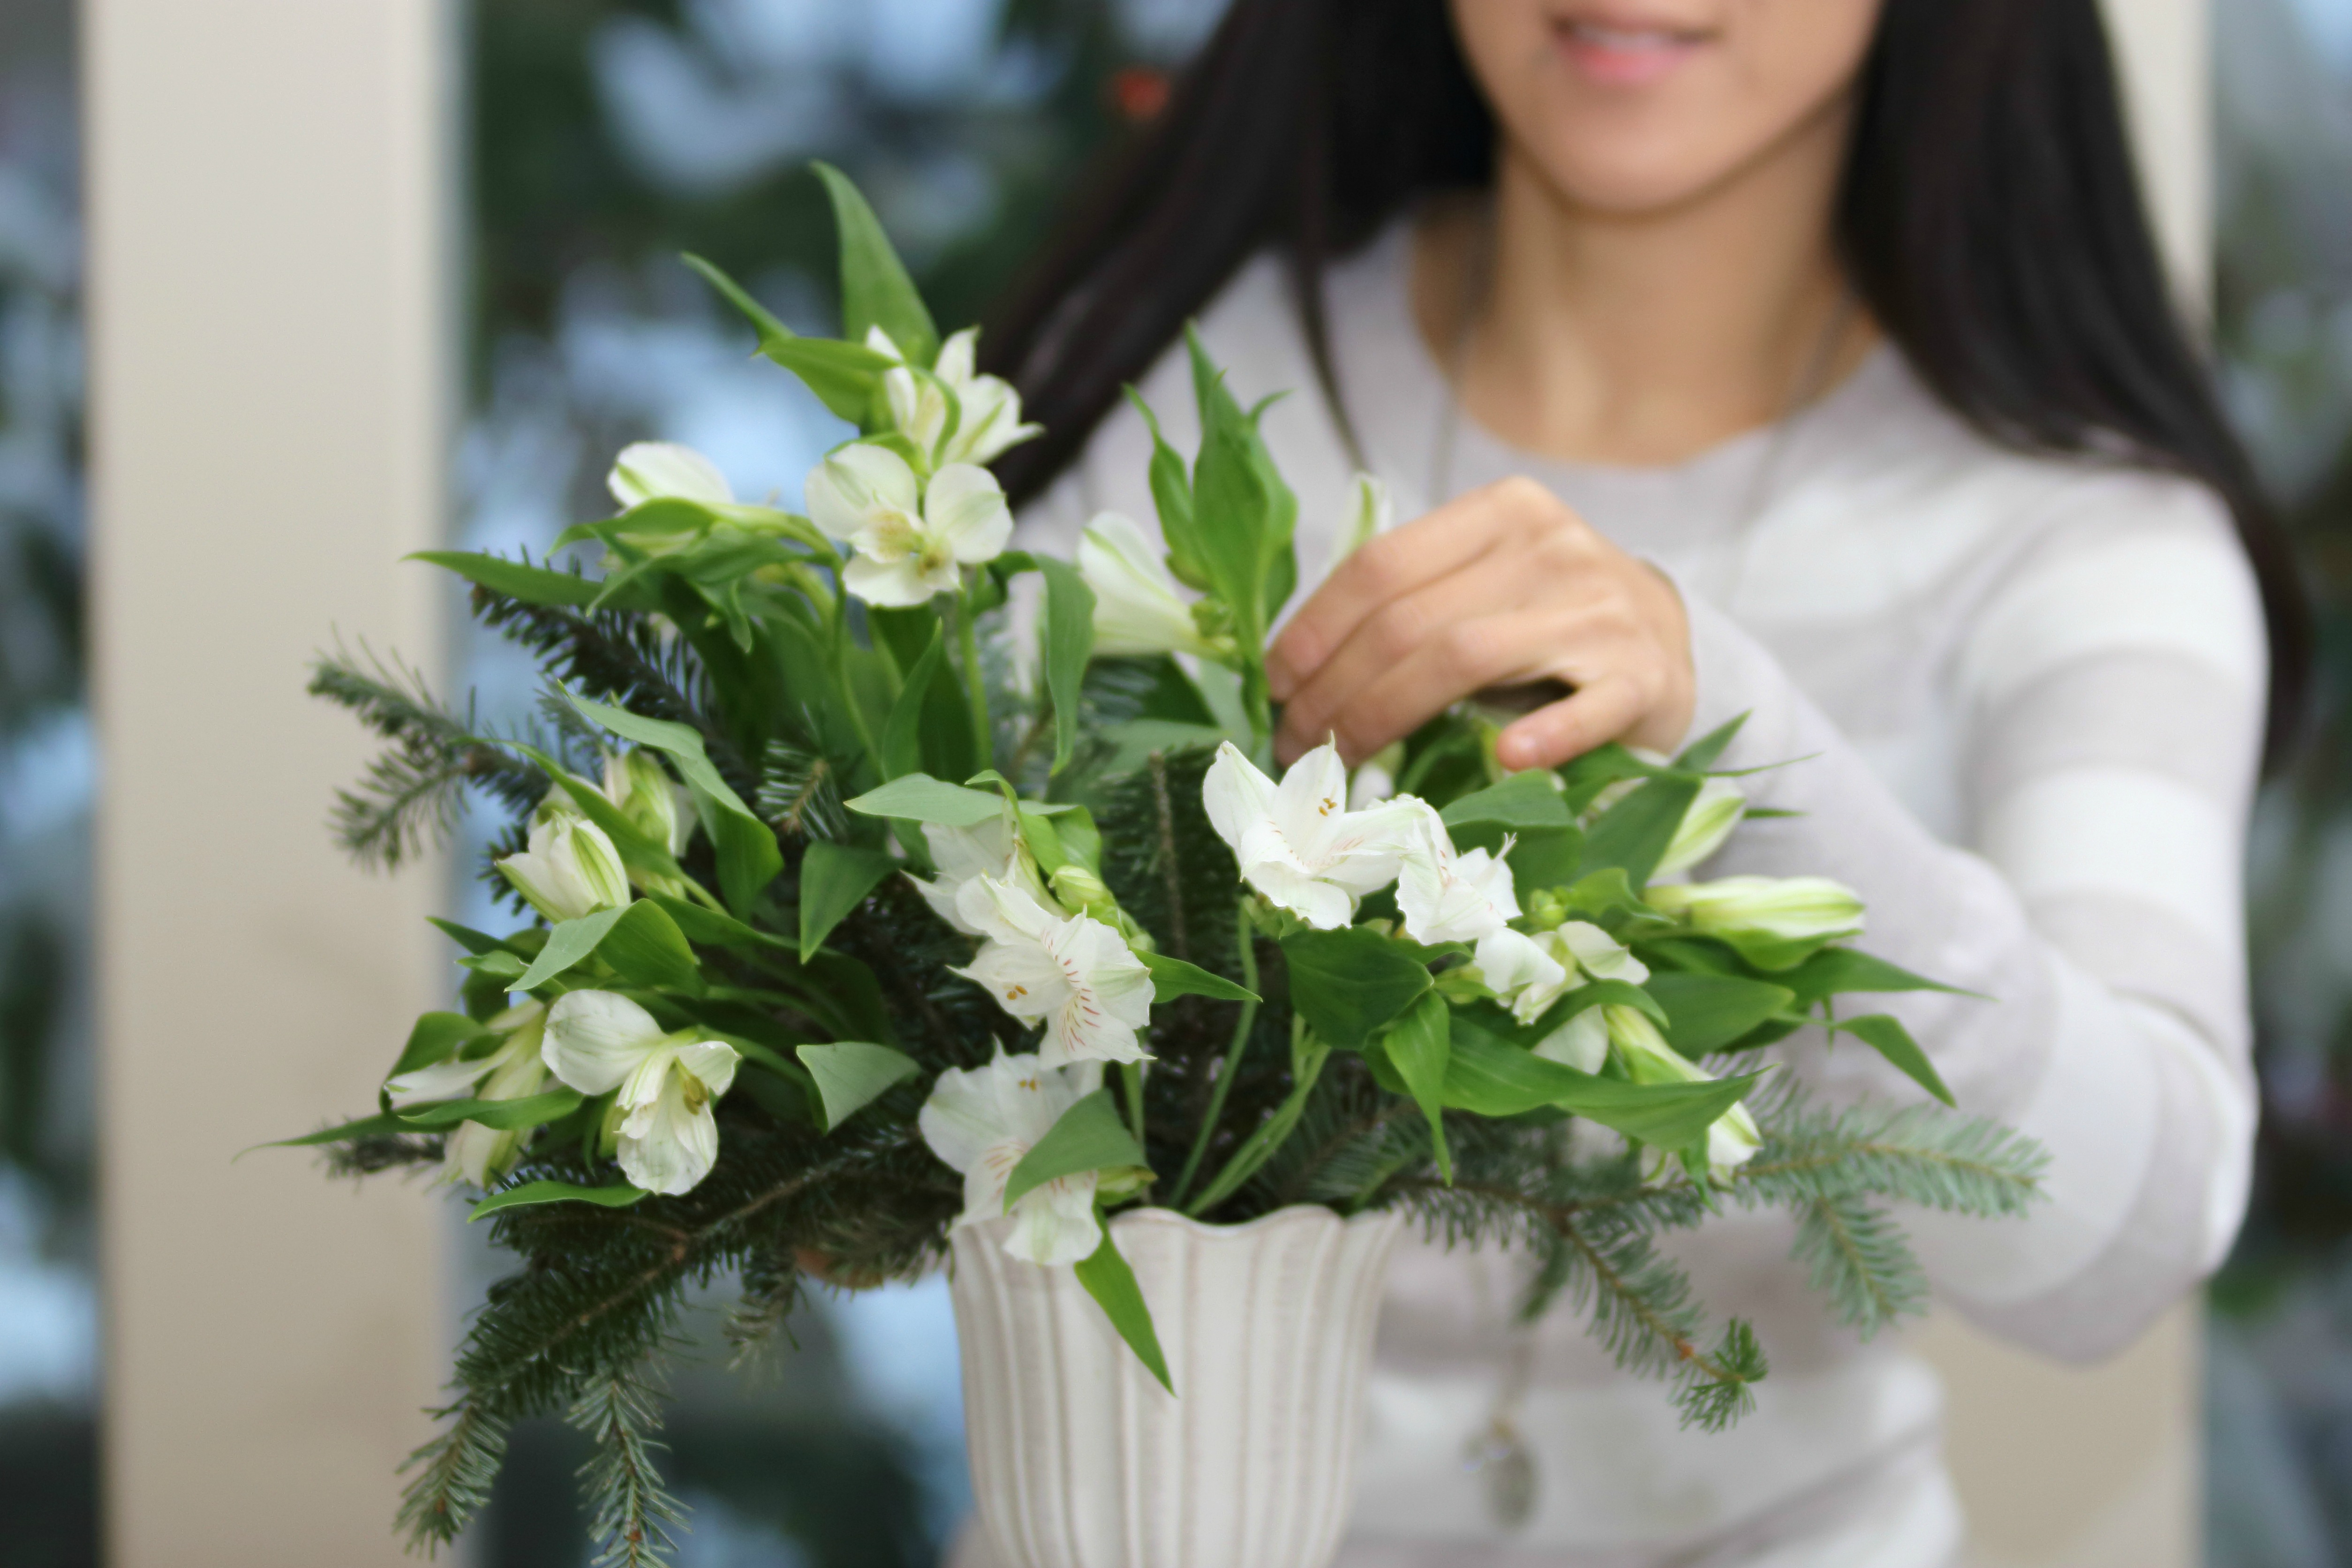
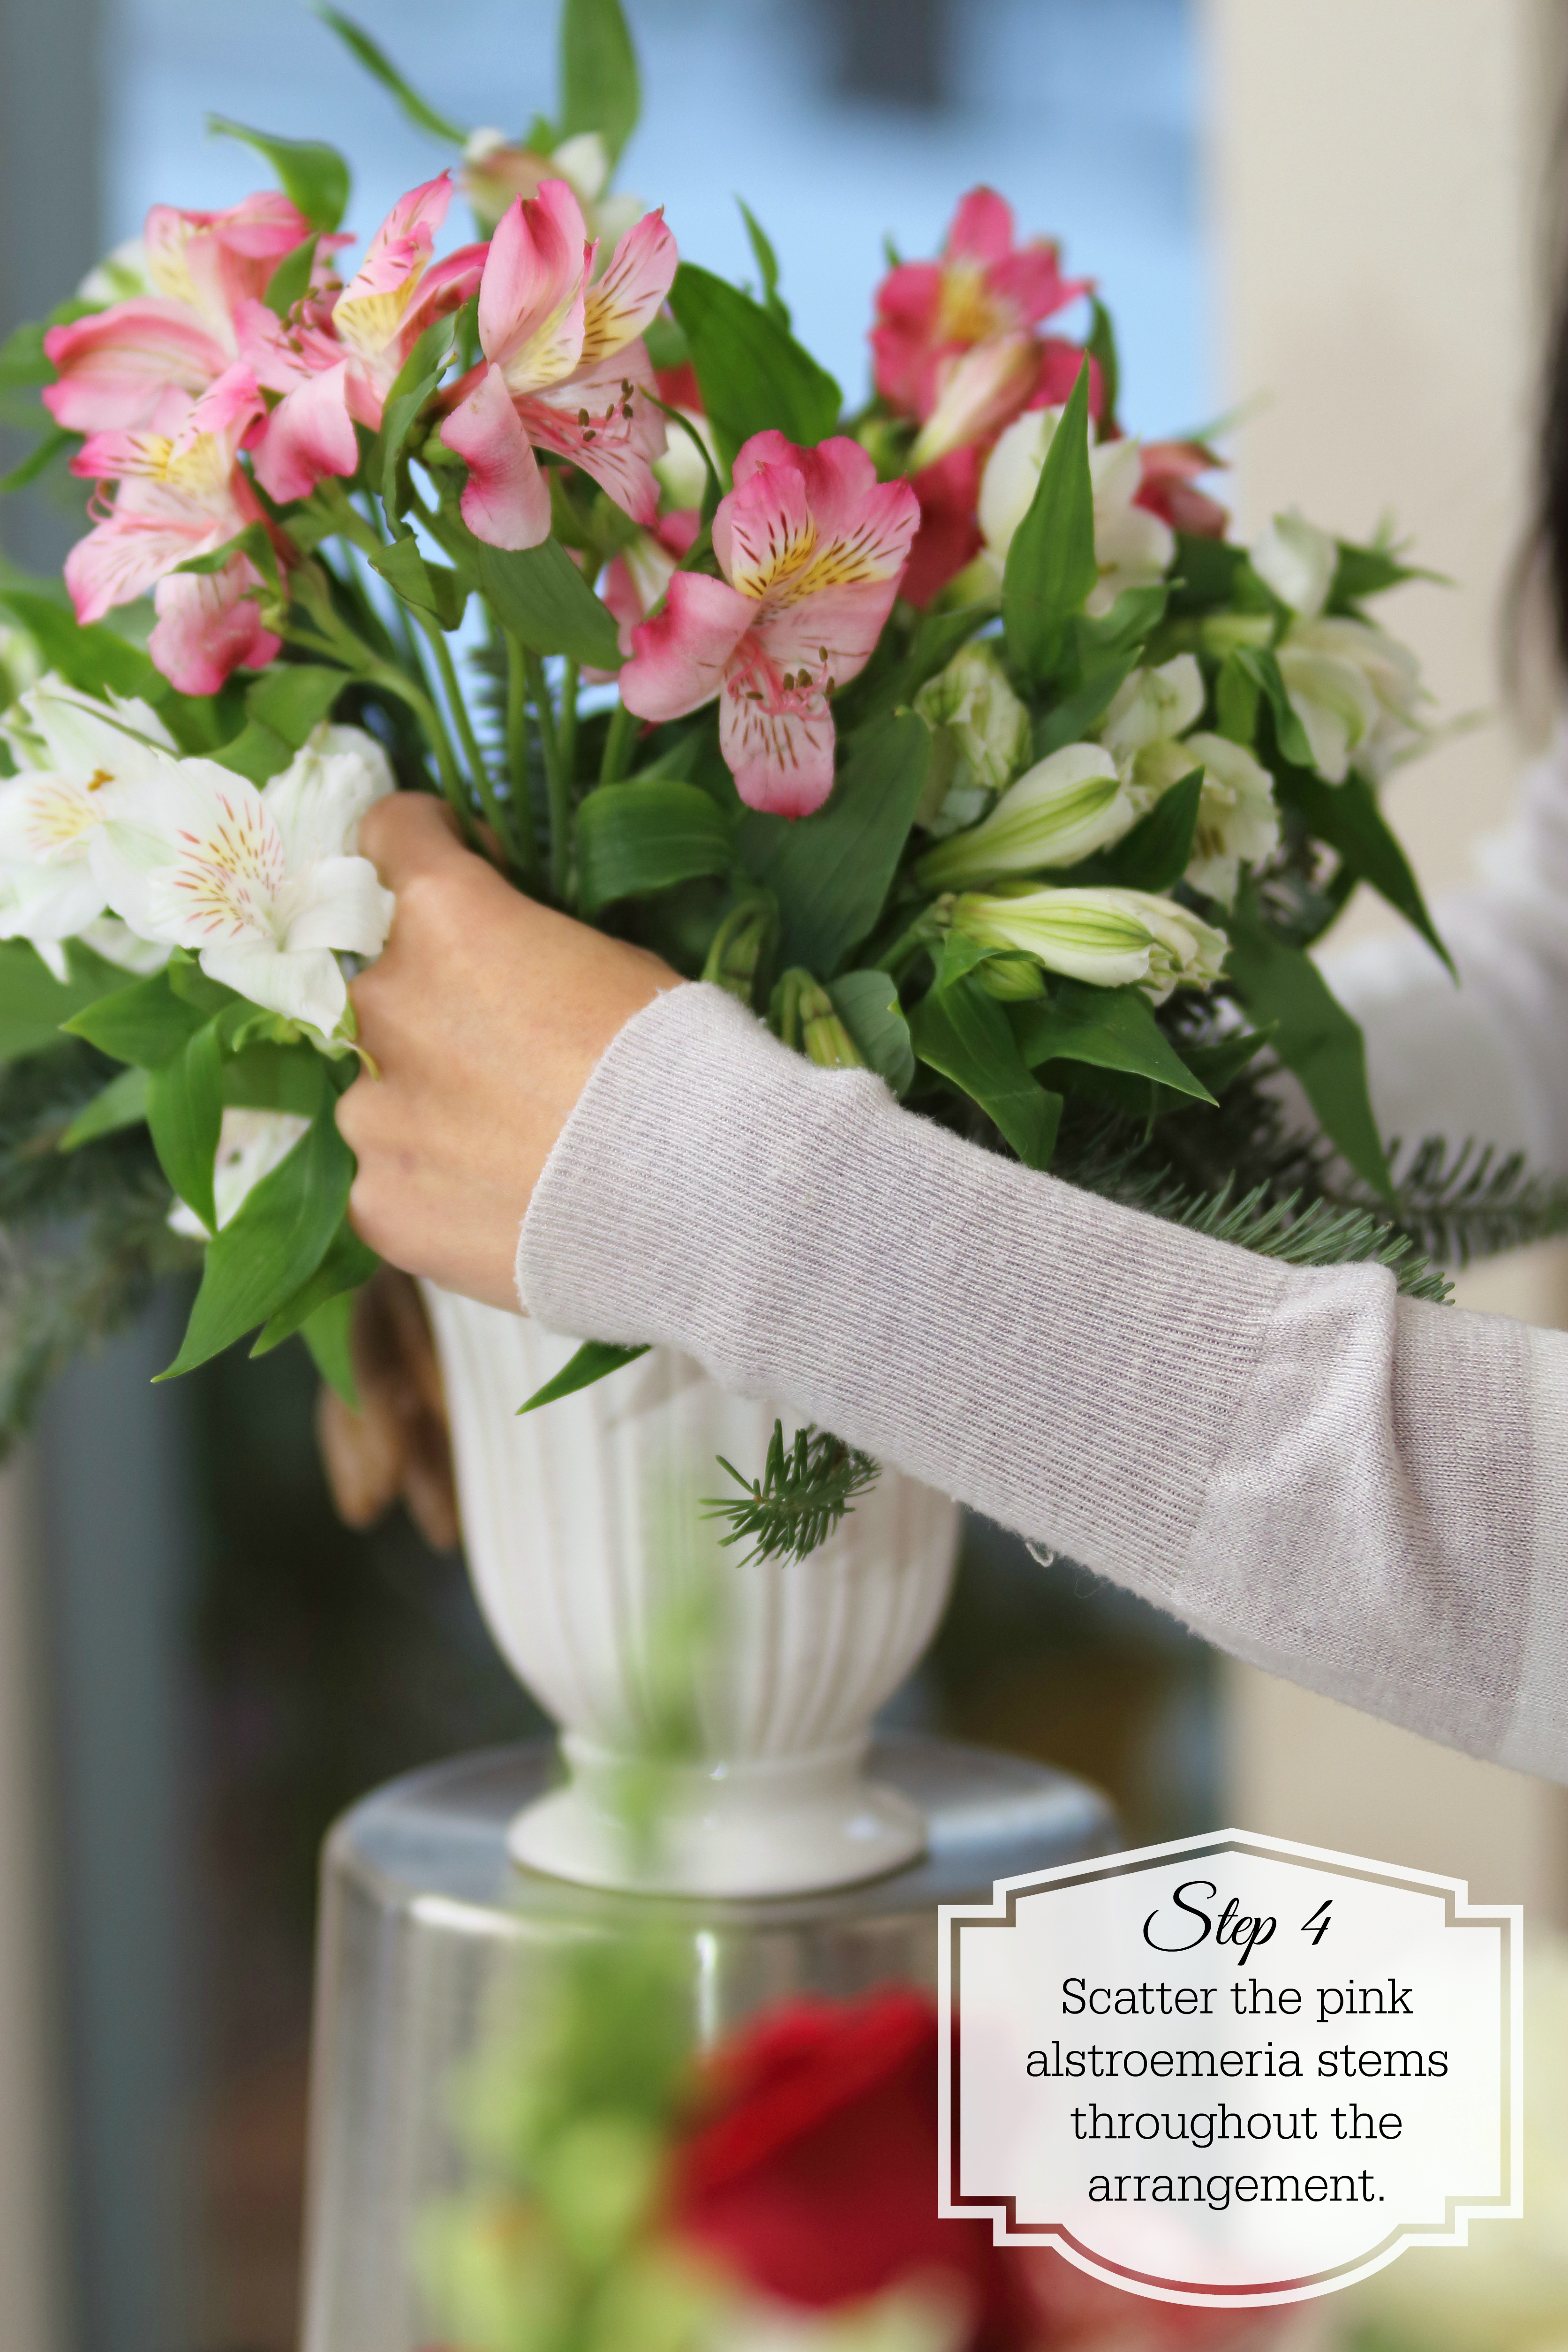
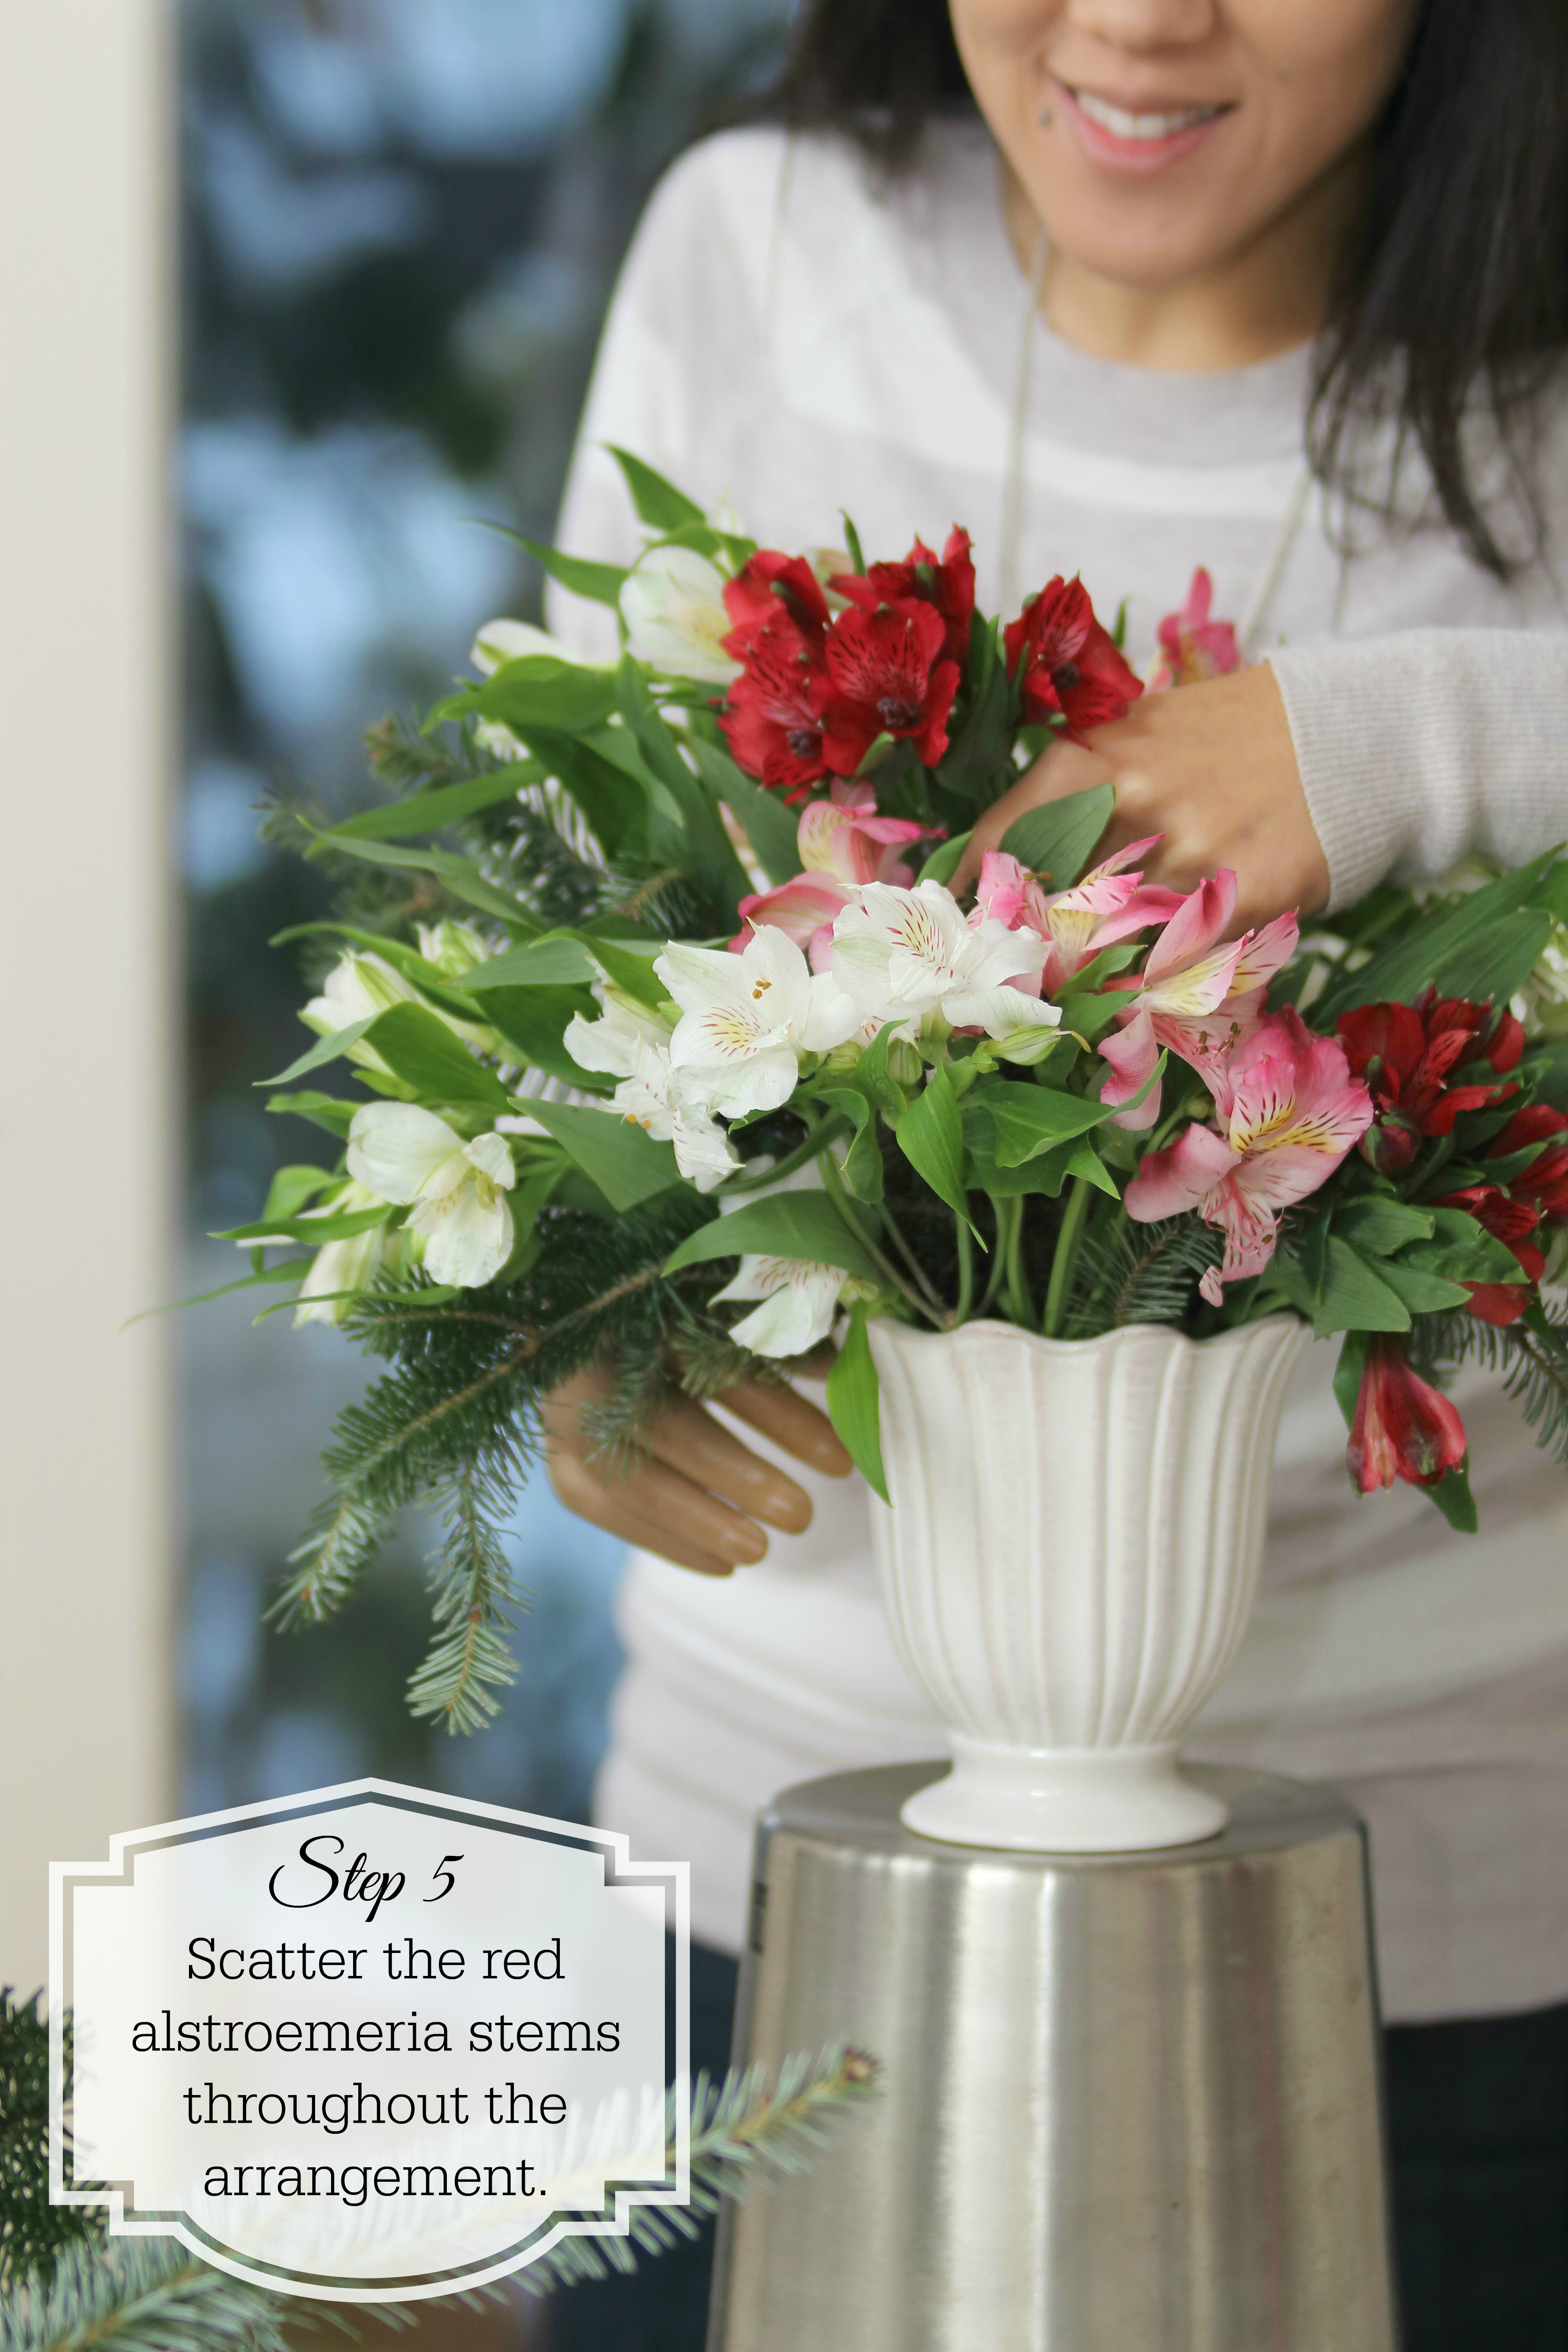
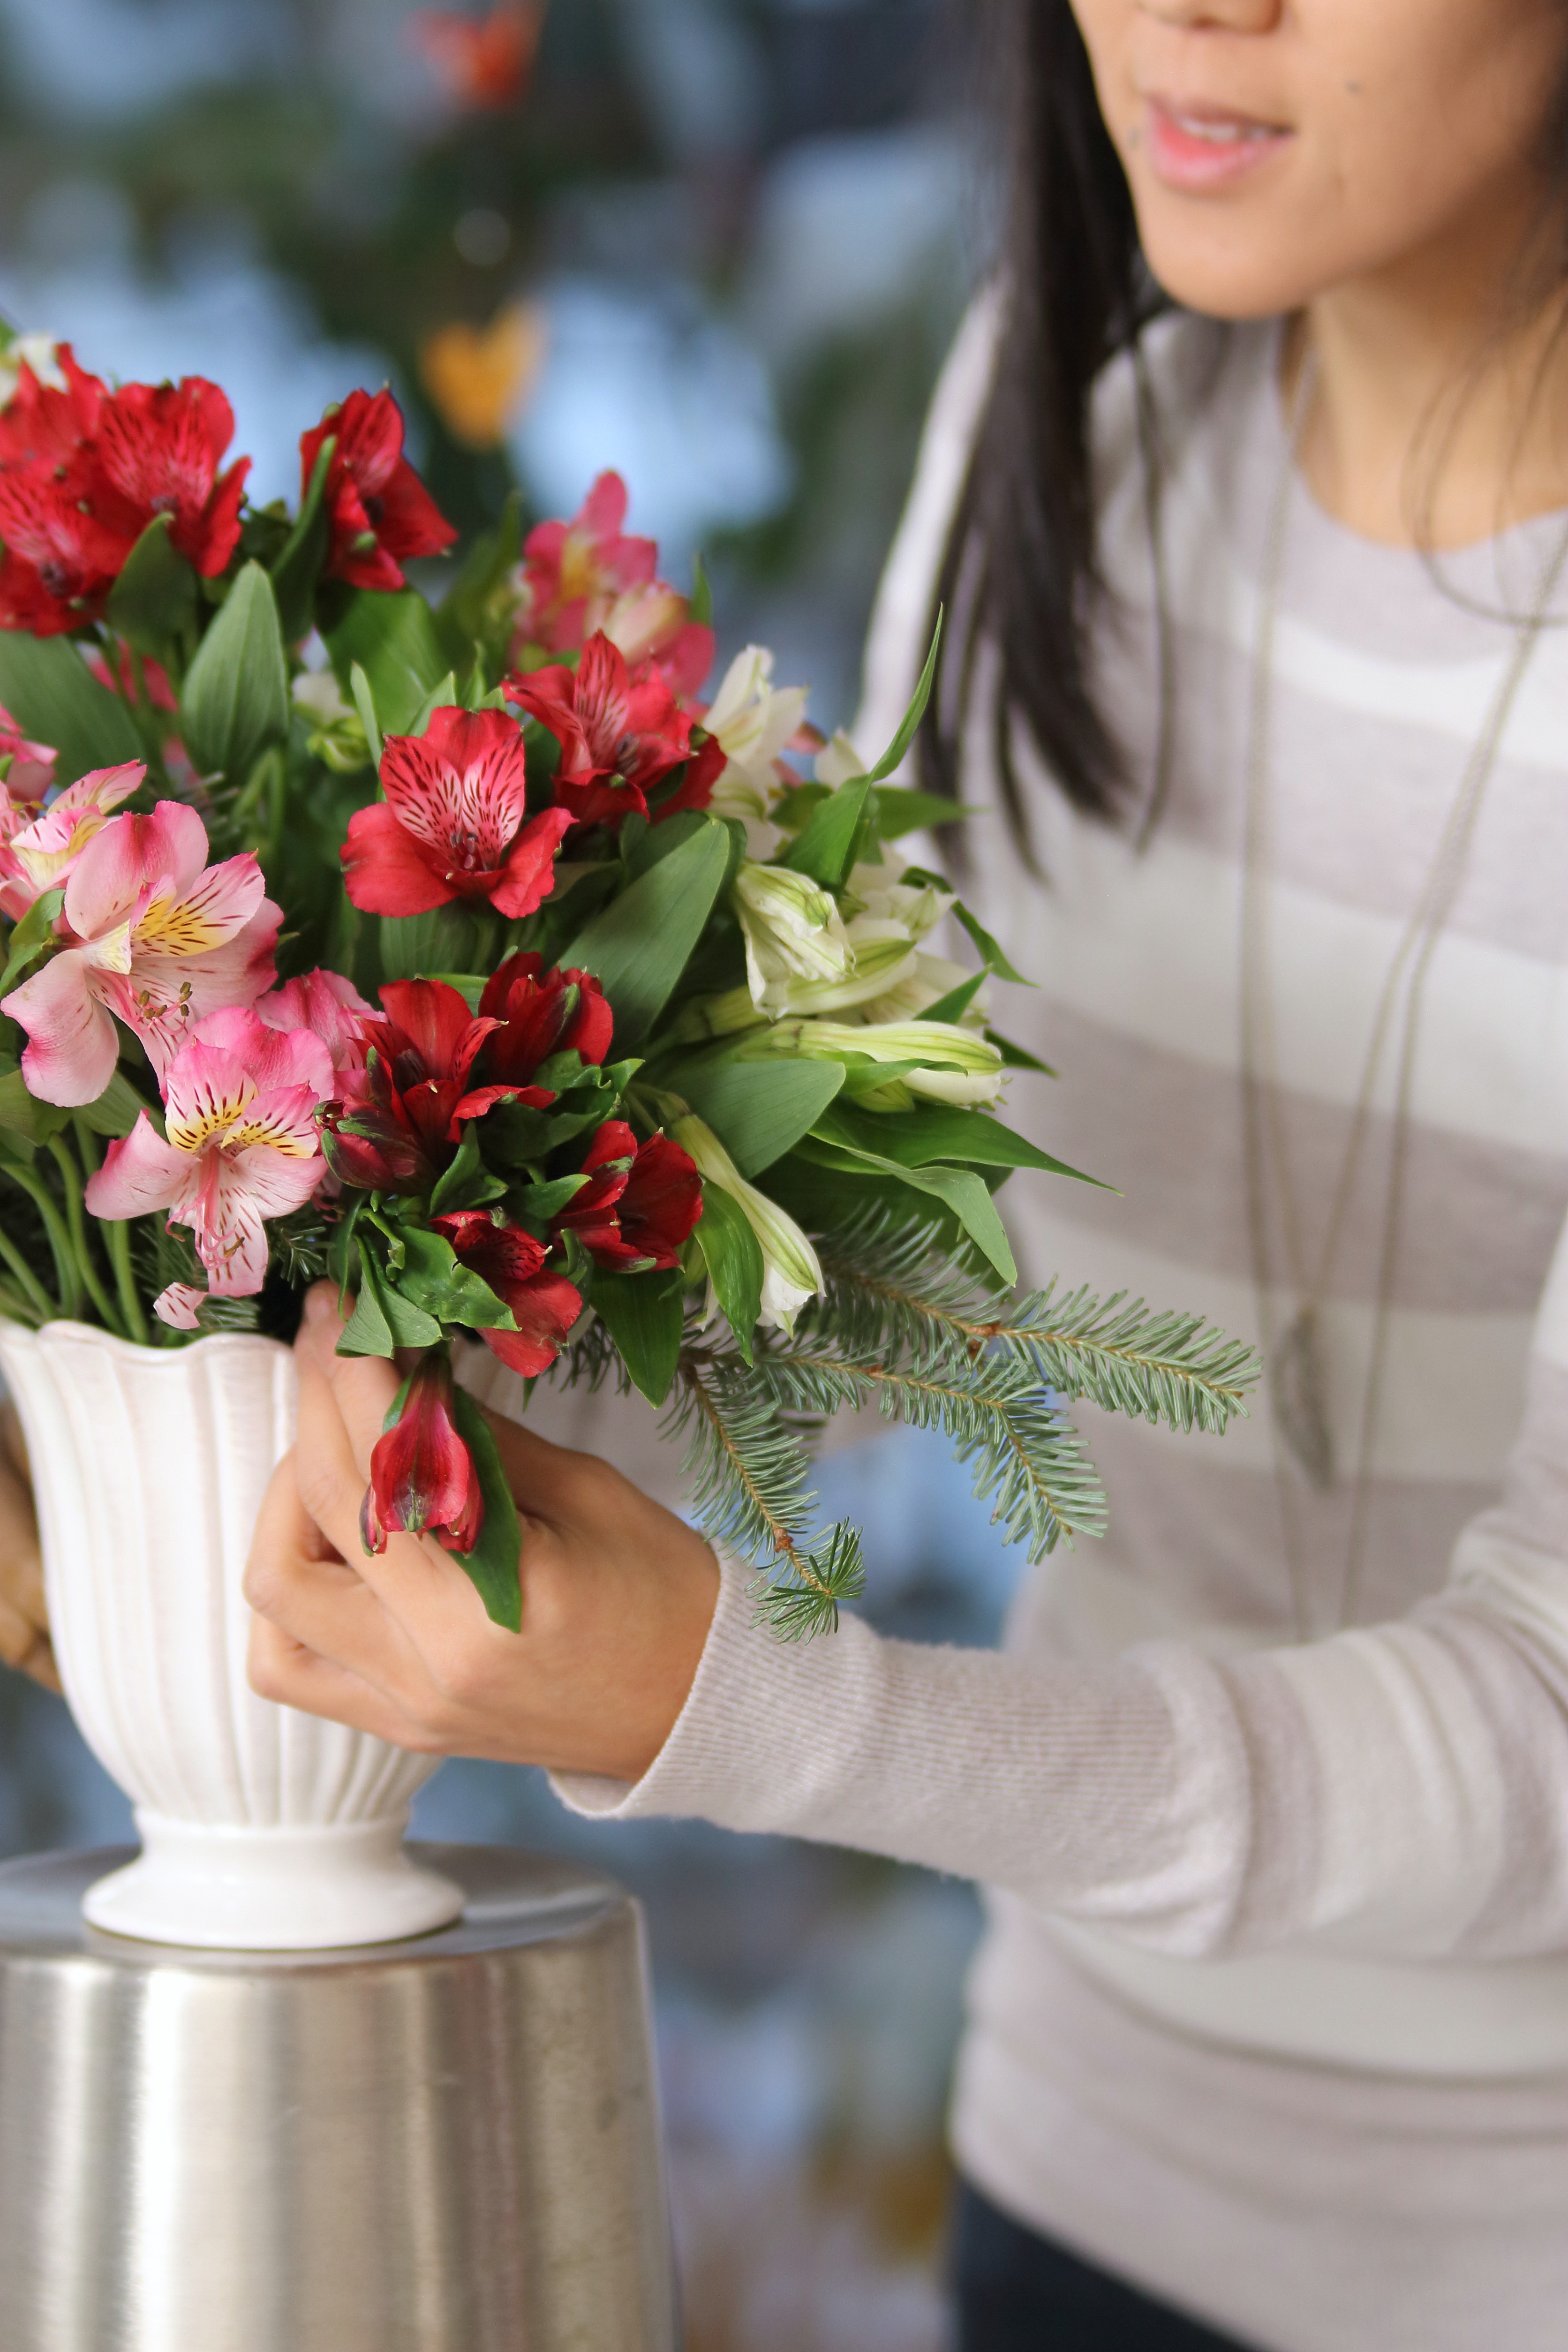
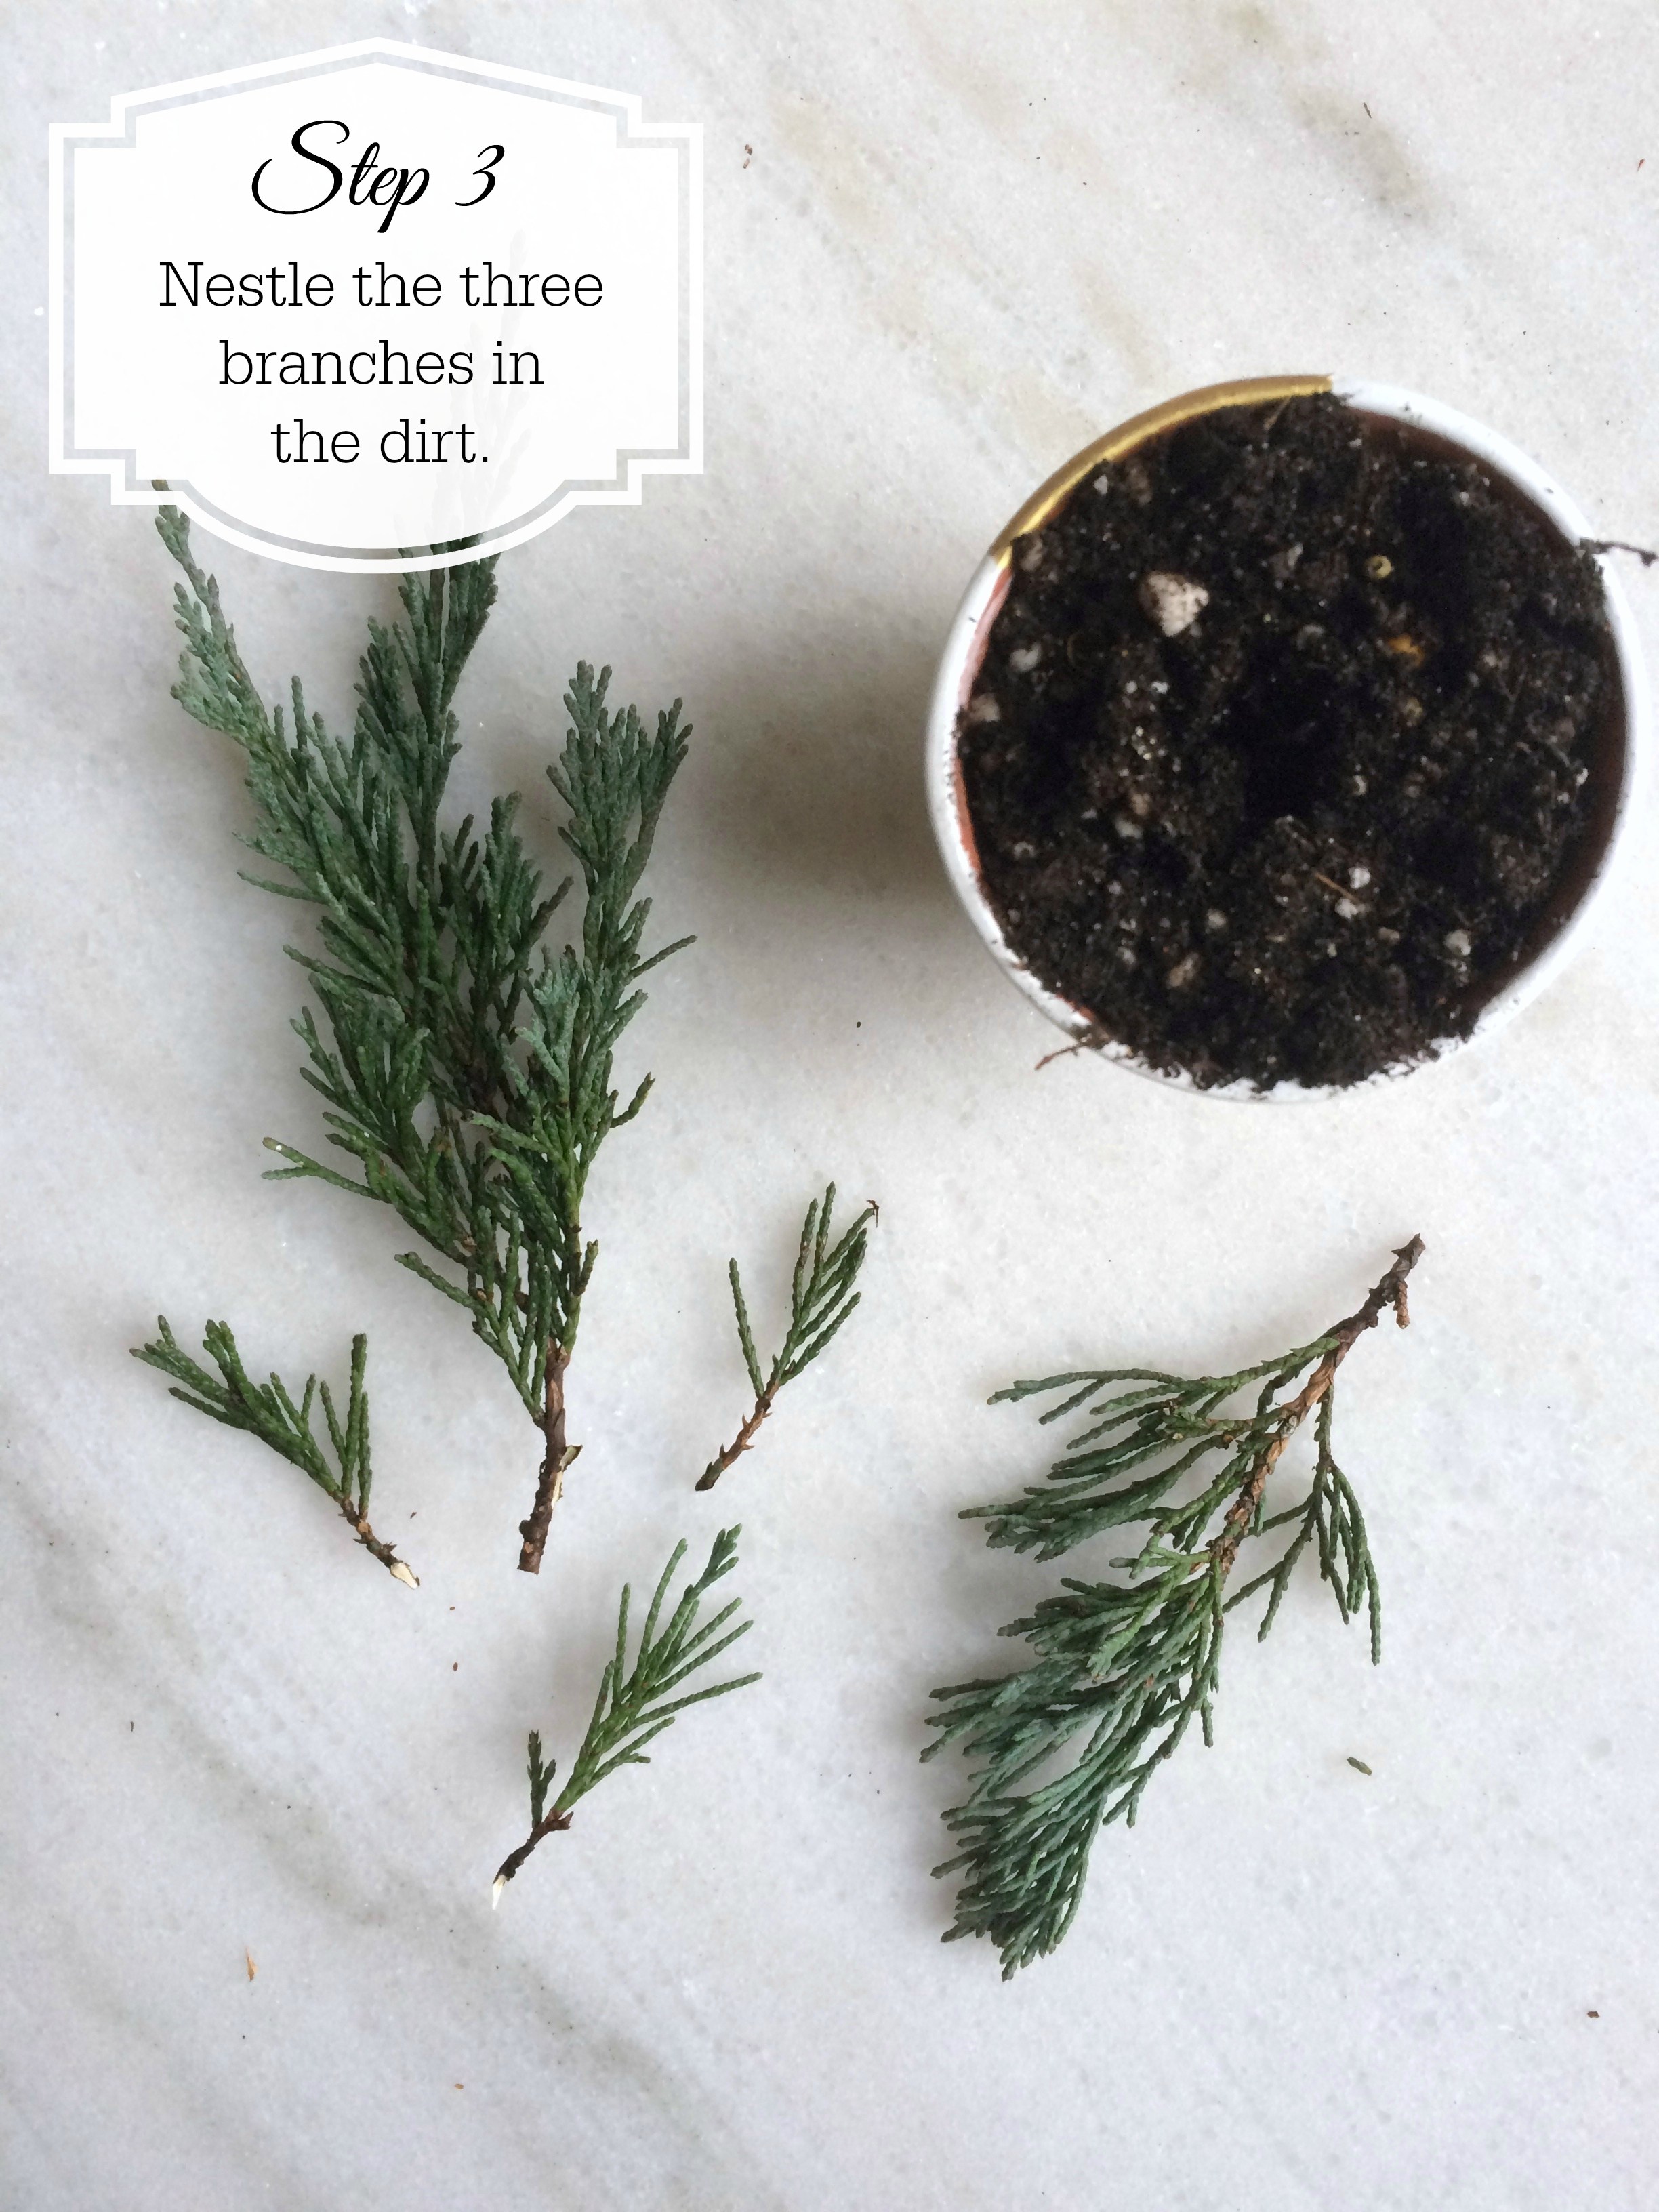
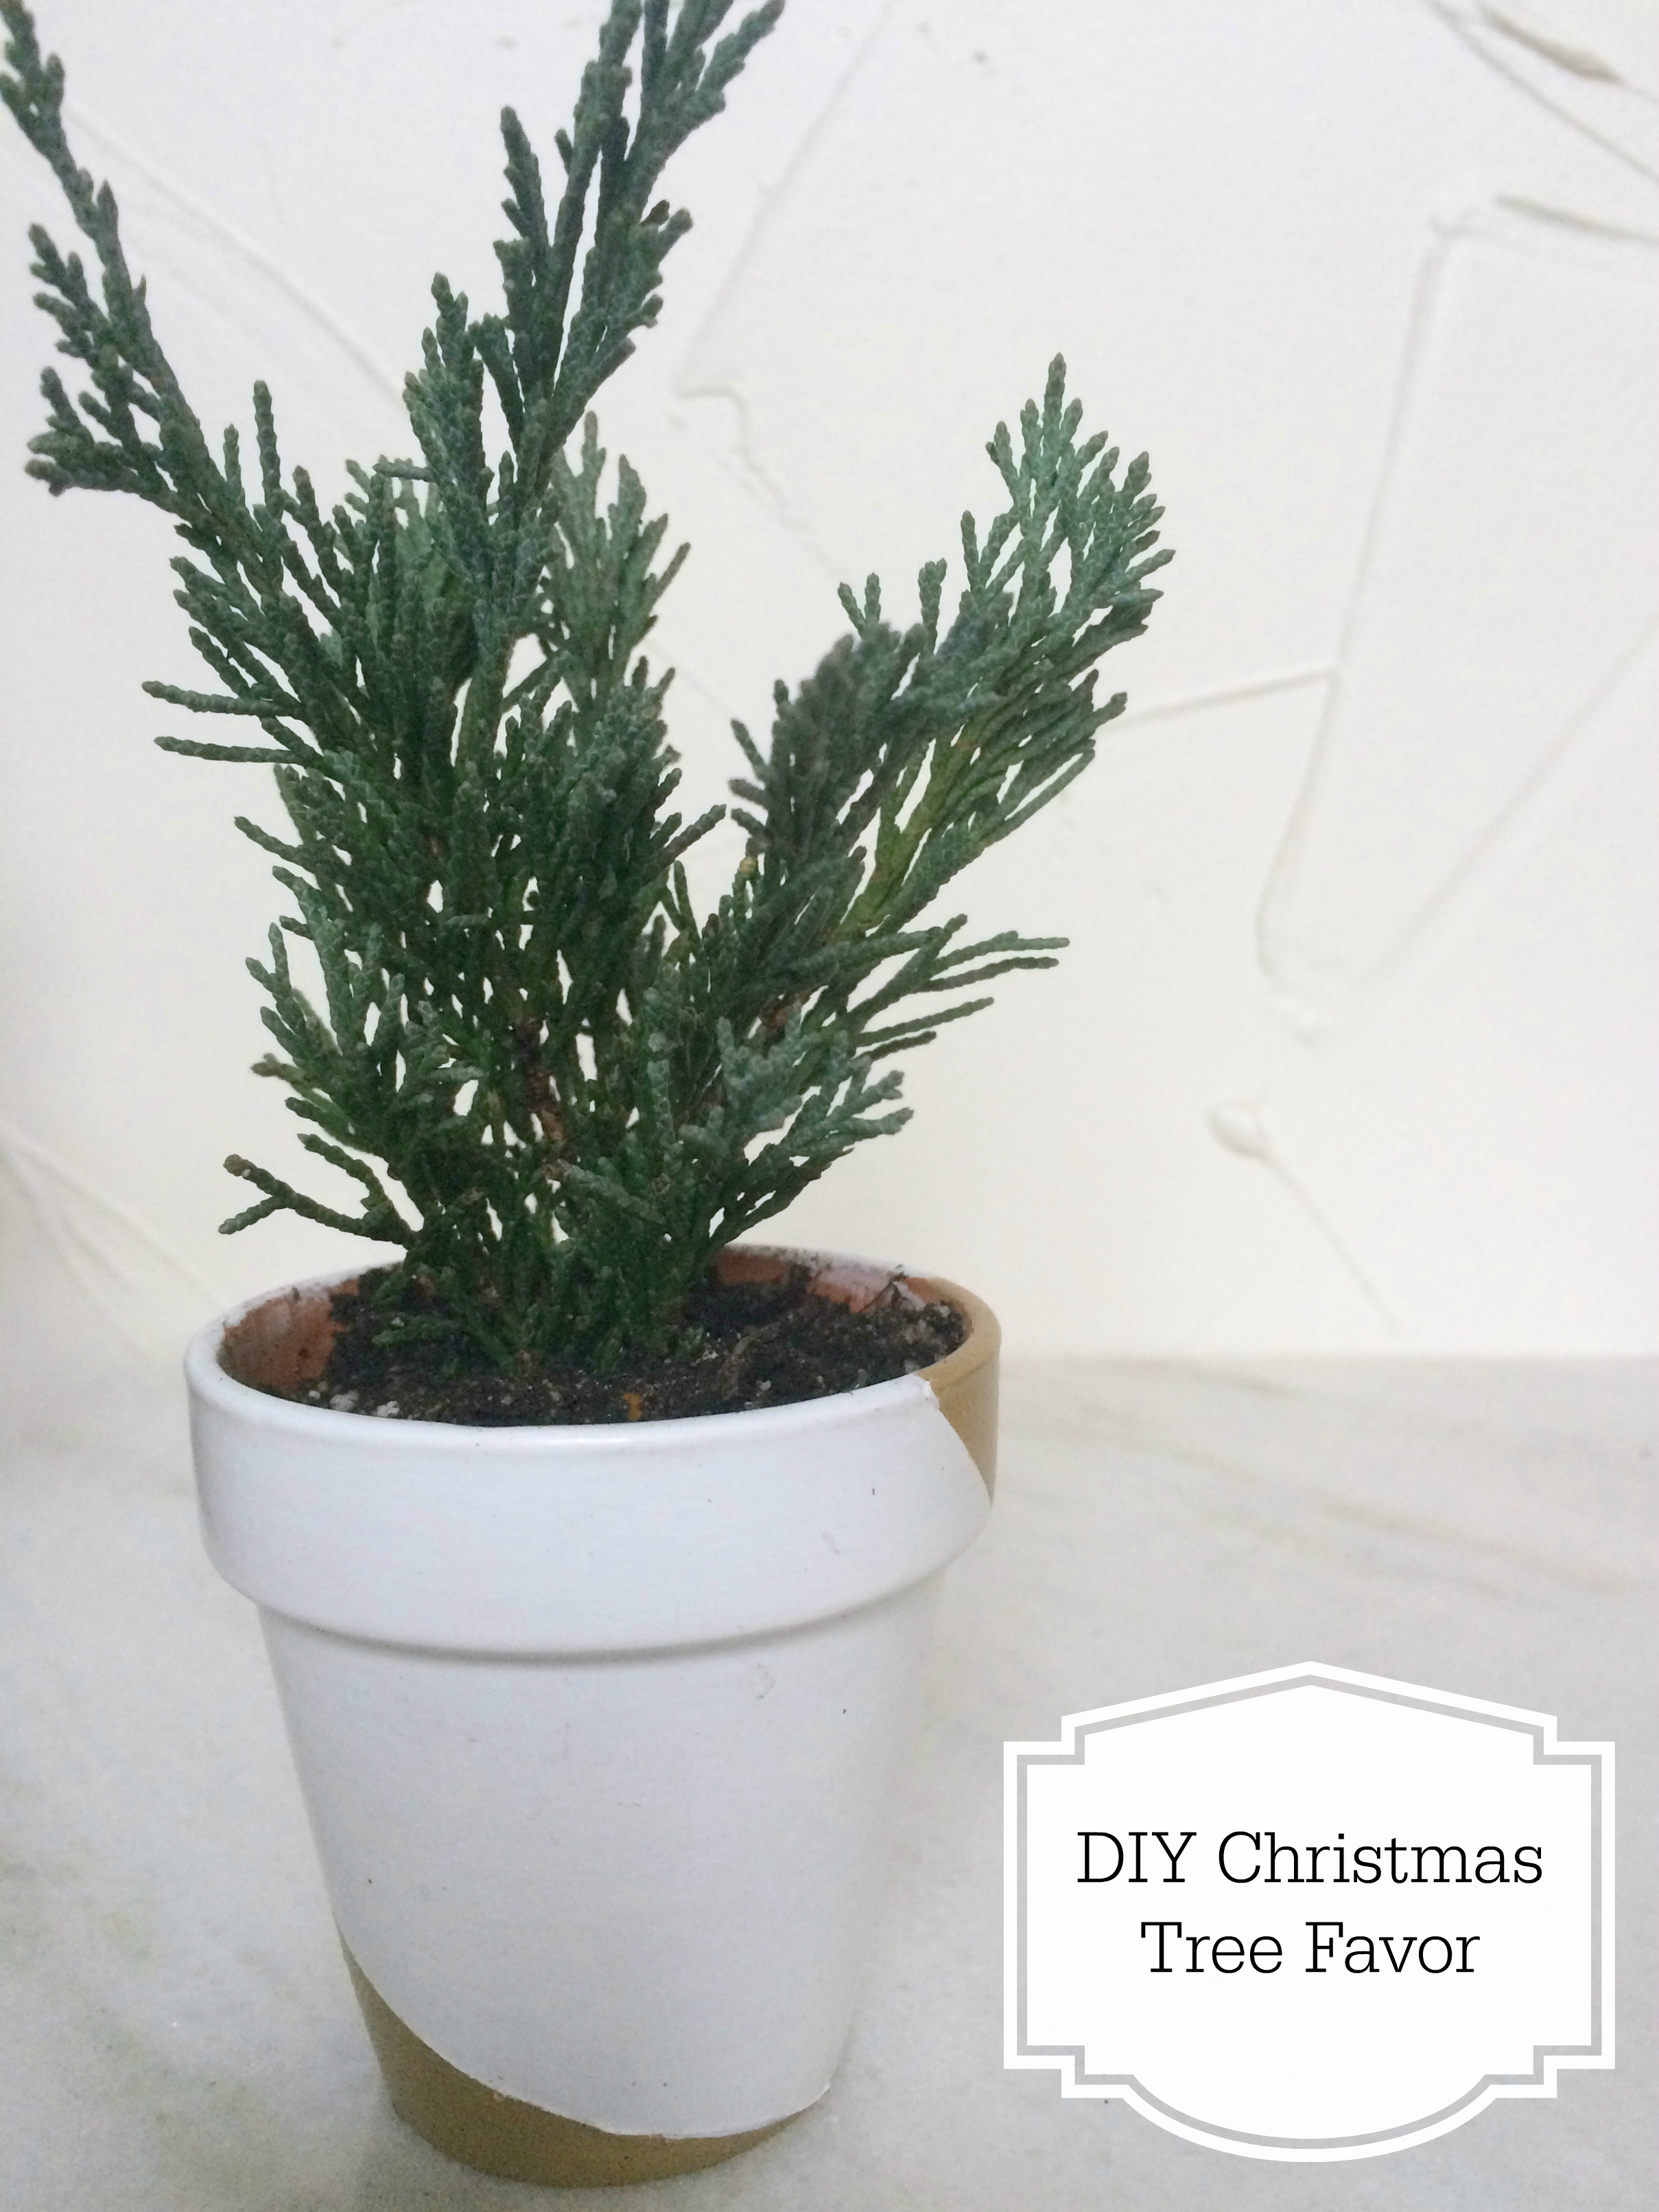
I like to include some type of plant in each gift box. Depending on the person, you could give potted herbs, succulent, a small bouquet, or even an air plant.
Instructions:
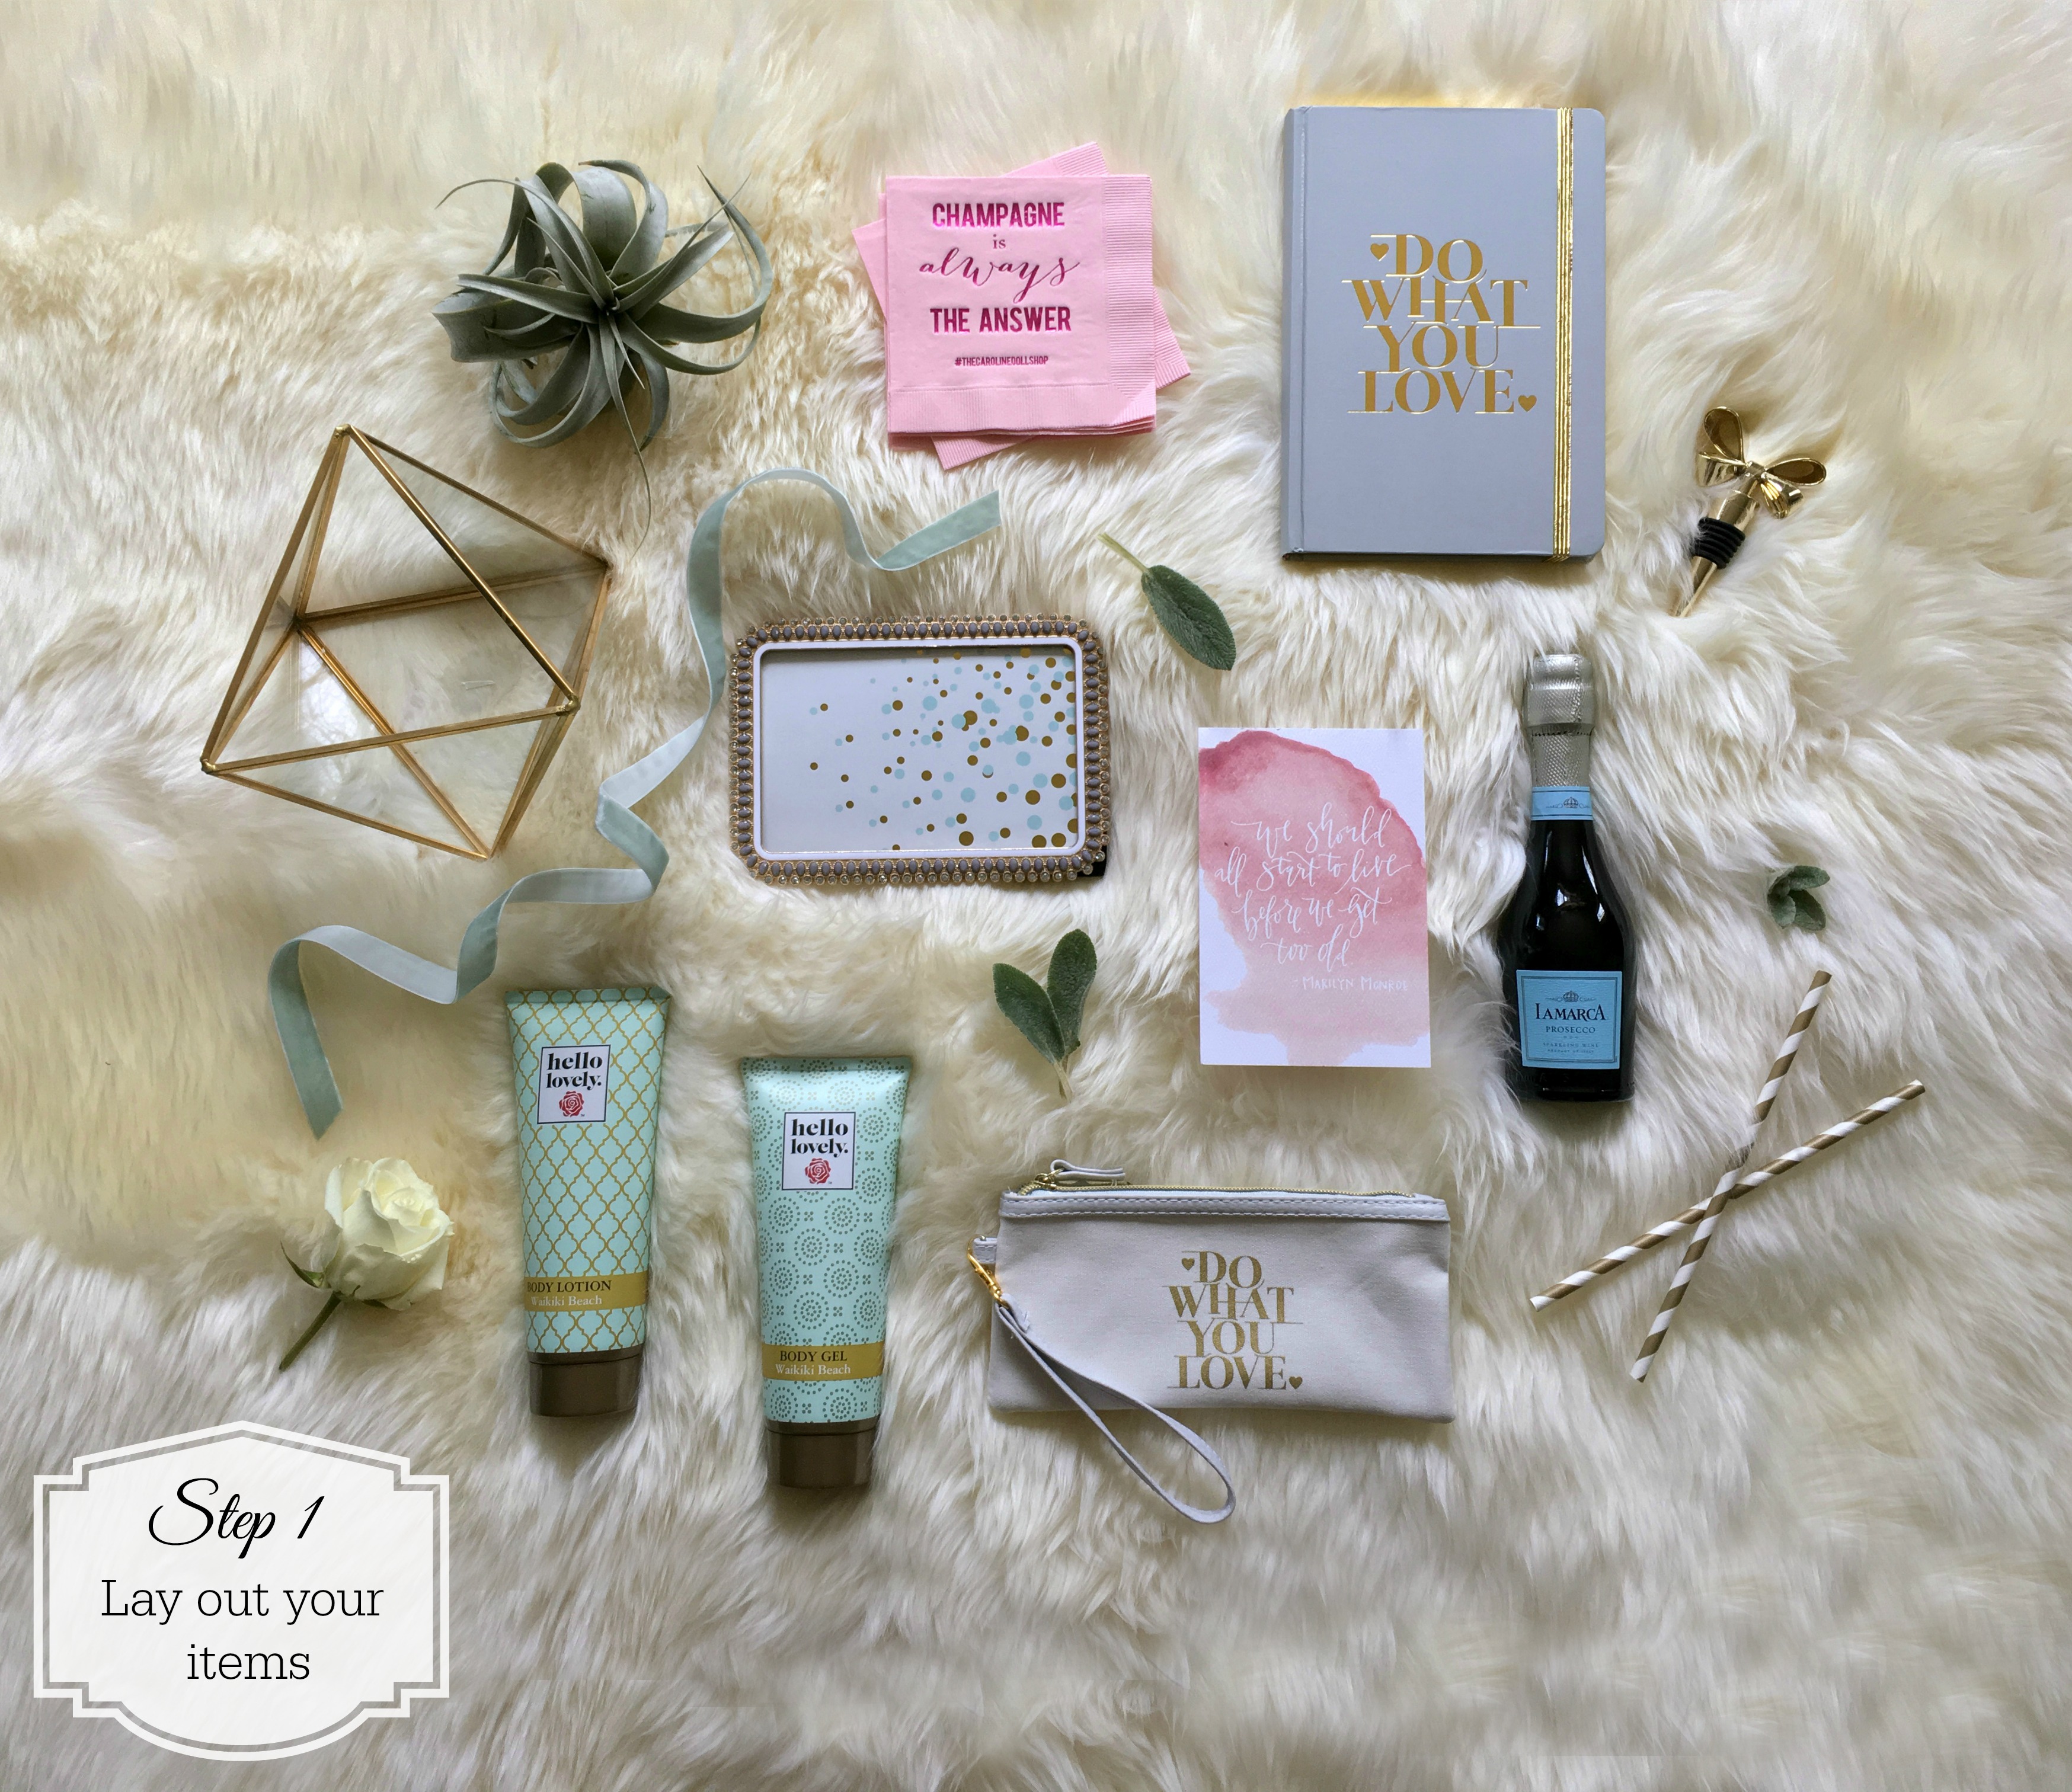
1. Lay out everything you want to include in each gift box. It helps you get an idea of what you have. Keep in mind you might not use everything you bought.
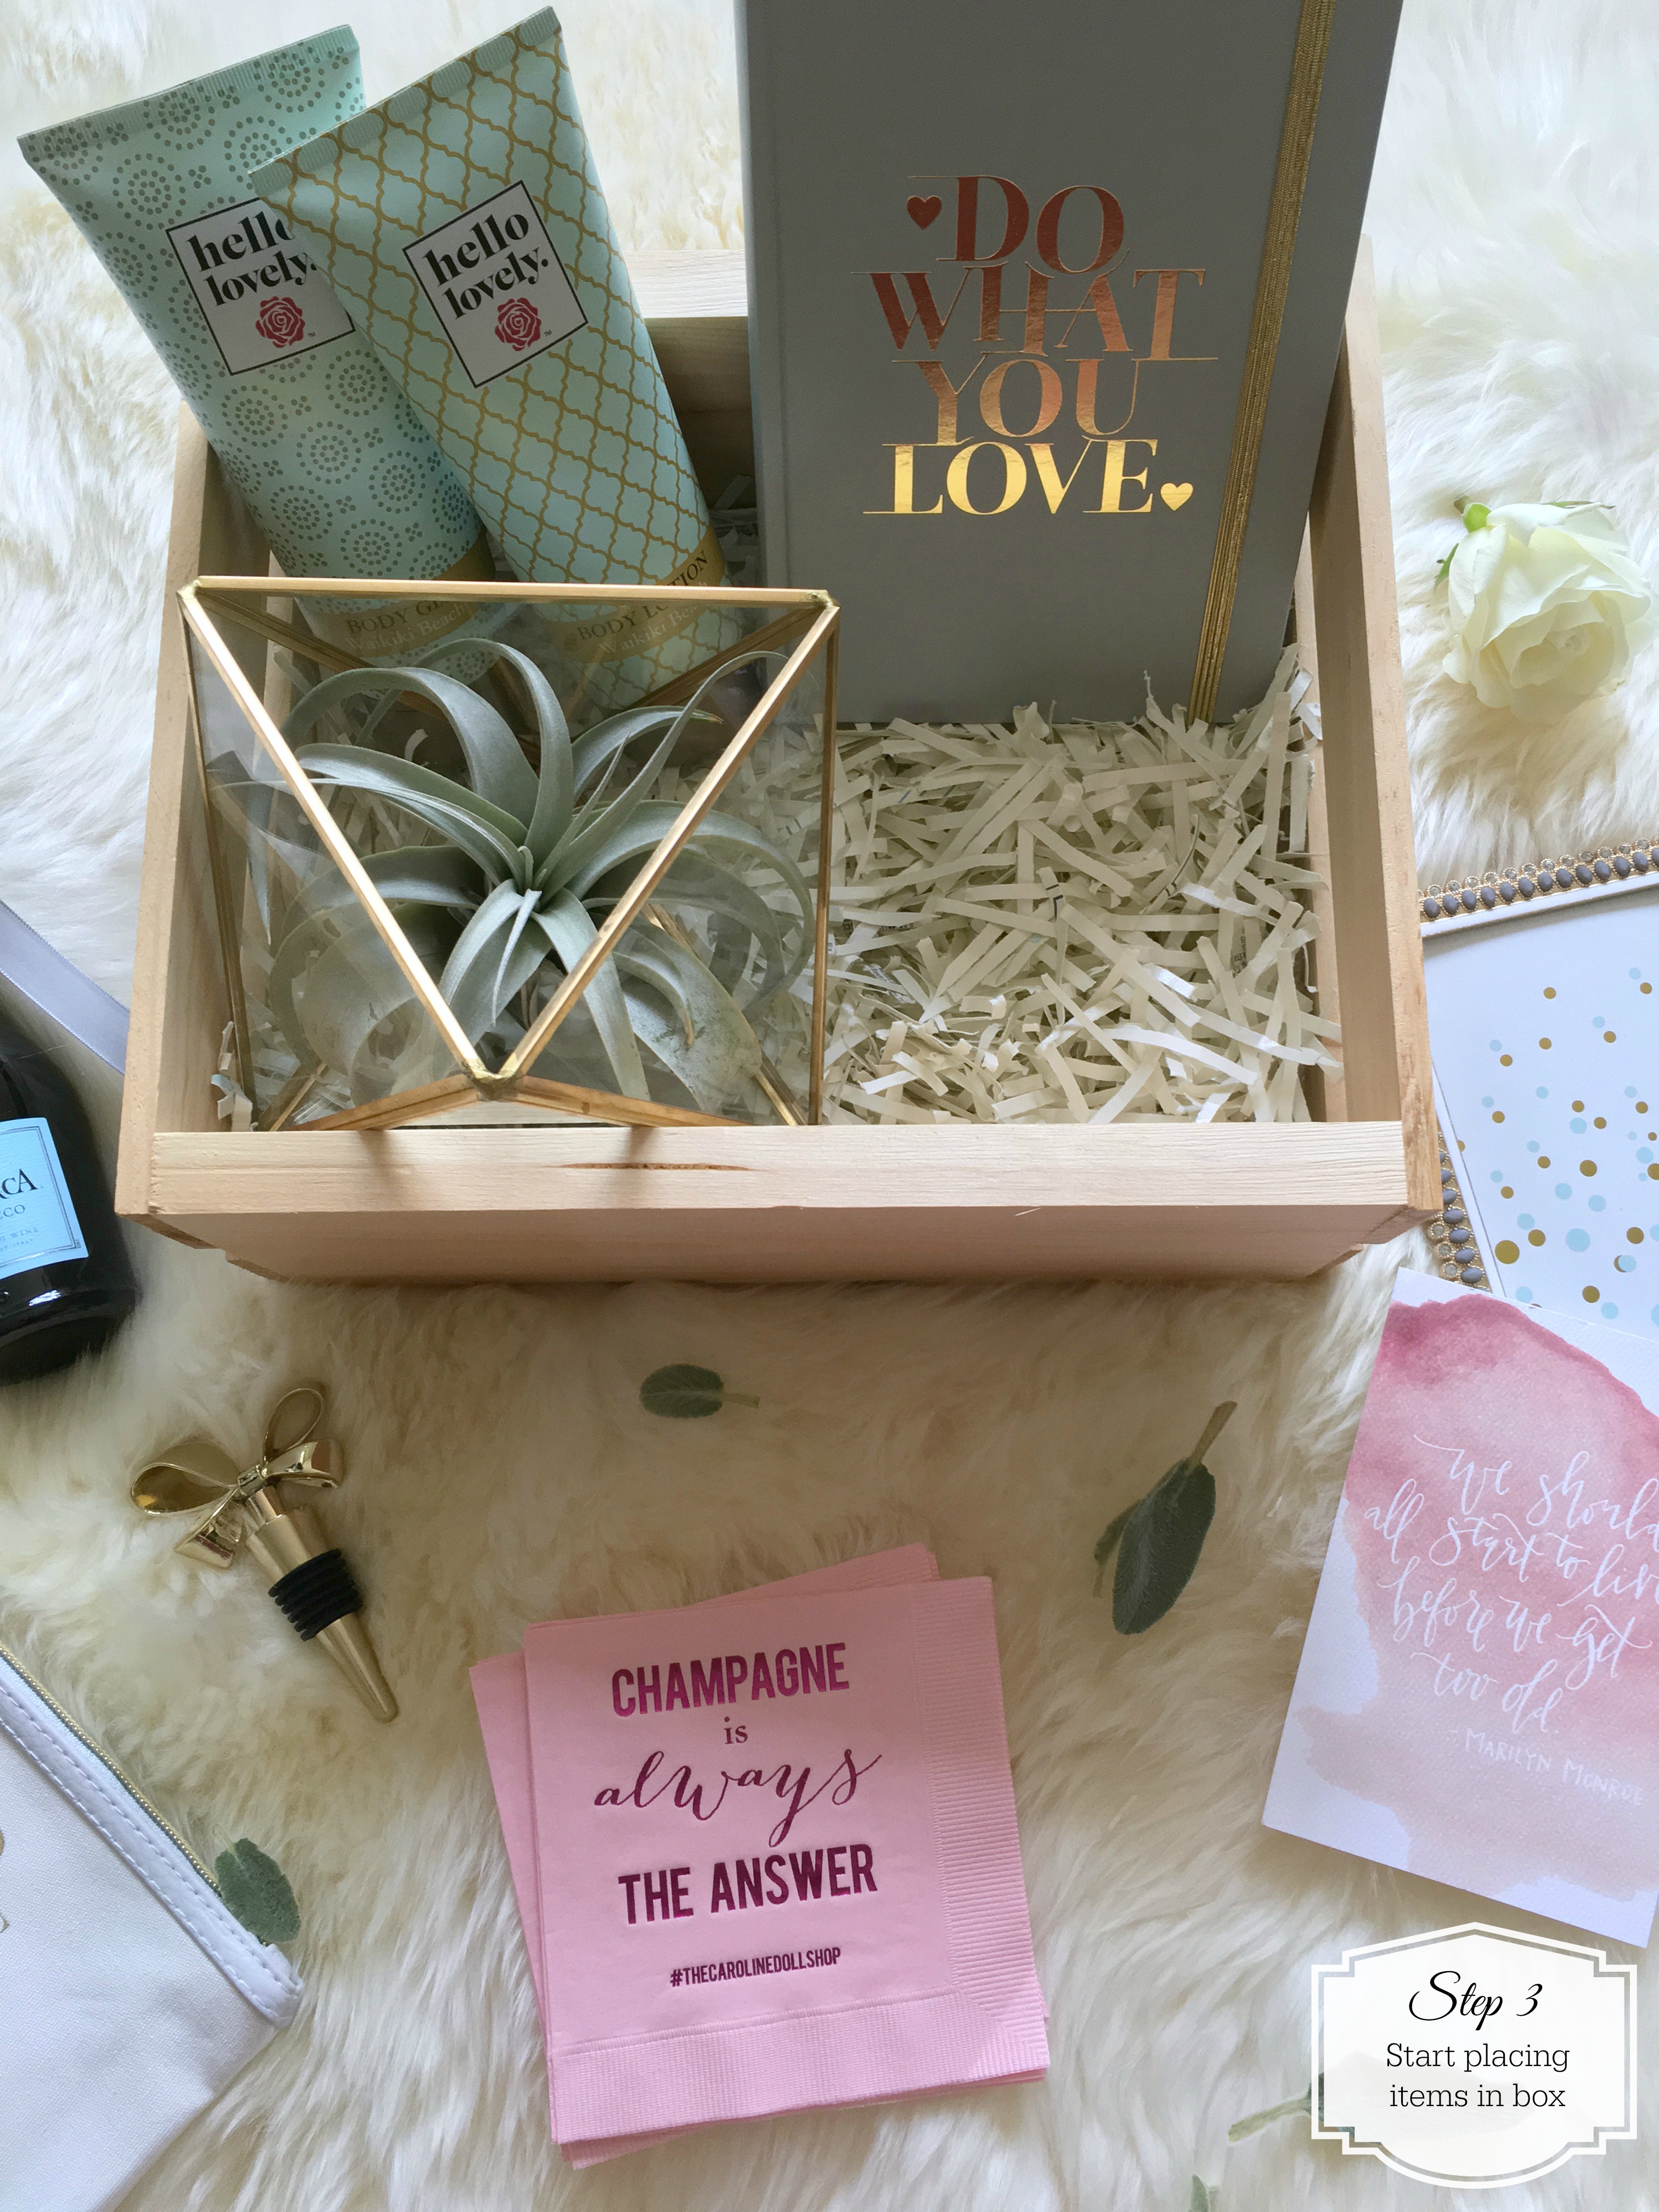
2. Place the crinkled paper in the bottom of the box.
3. Start playing around with where items should be placed. Generally, the taller items should go in the back, with smaller items placed on top/last.